Aperture and Shutter Speed: The New Light of My Life
This week for my learning project, I tried to familiarize myself with my camera and the meaning behind much of its terminology. Over the weekend I visited a friend of mine who has been a photographer in western Canada for most of his life. He has even won a couple of competitions in Saskatchewan. During our conversation, he explained to me the basics of his camera by breaking down its moving parts. In order to get the most personalized feel of the camera, he recommended that I prioritize using the manual mode. In manual, I can control the shutter speed and aperture, which it turns out just controls how much light the camera is exposed to. Each contributes to the lighting of a shot but in different ways.
After I left my friend’s place, I had to do my own research as I was already mixing up the information he had told me. In my early quest to understand my camera, I came across a photography blog site called Photography Life that easily explained many of the terms I faintly recalled (shutter speed and aperture) and how to apply/adjust these terms for different lighting situations. I used this site for all of the research done on this blog post. The site explained that shutter speed is how long the camera shutter is open before the picture is taken. When adjusting the shutter speed we look for the number that is usually quite large and does not have an f in front of it. Occasionally the shutter speed will read as a fraction under a 1 (e.g. 1250 or 1/1250). The number for shutter speed is measured as a fraction of a second. If the shutter speed was 1250, that means the shutter is open for 1/1250th of a second. If the number was 4, then the shutter would be open for a quarter of a second. This would mean that the darker the setting, the smaller you would want your shutter speed so that the camera has time to pick up more light. Shutter speed can also be used when trying to capture different levels of motion. I remember a time in my photography class in high school when we were able to keep our shutters open for several seconds in a dark room and draw pictures with flashlights.
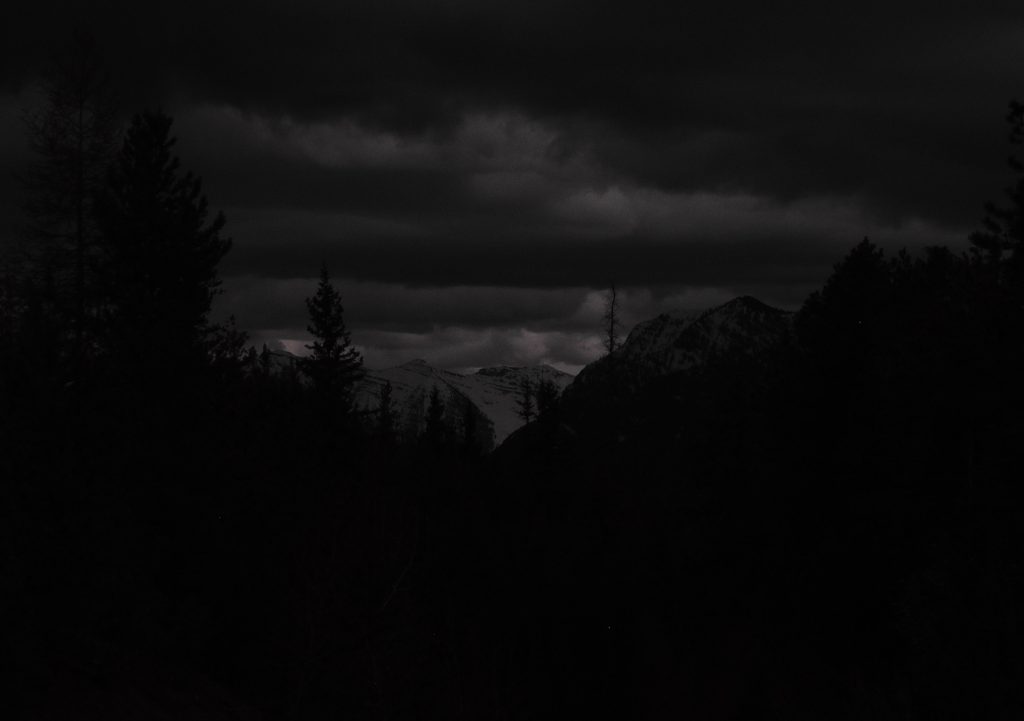
Manual setting. Shutter speed: 2000, Aperture: F5.1 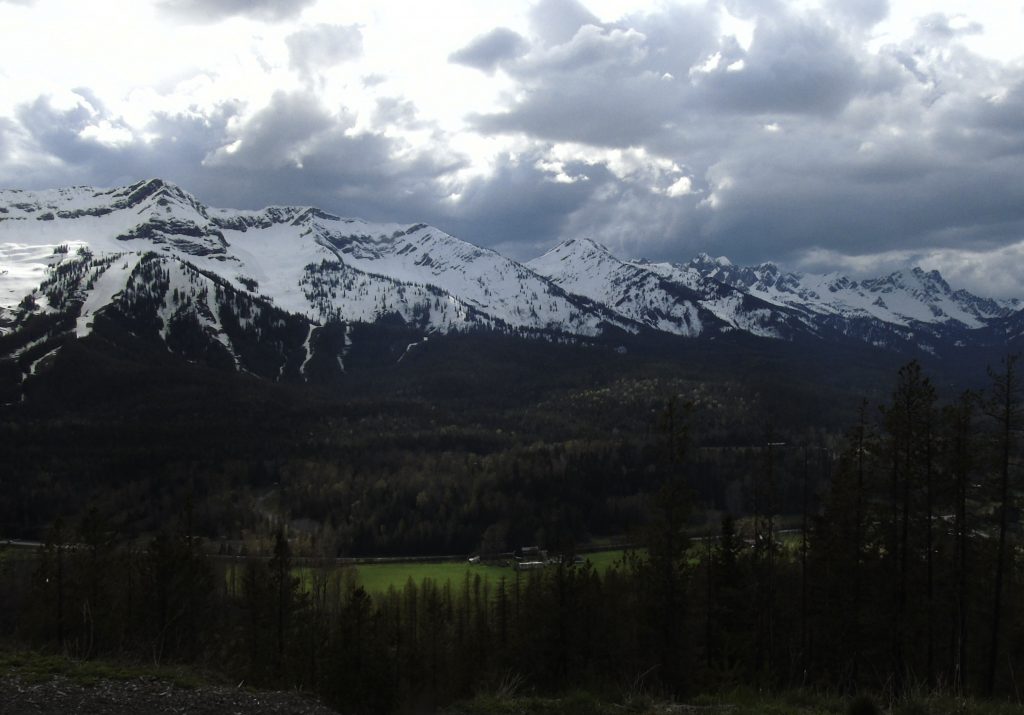
Auto setting. Shutter speed: 1000, Aperture: F5.1
The other important tool for adjusting the light in a photo is the aperture. Aperture is explained as “the pupil of the camera.” It controls how much light the lens allows by opening and closing depending on the setting. Aperture is measured differently than shutter speed, it is measured in “f-numbers,” such as f2.9 (large aperture) and f14 (small aperture). When thinking about measuring aperture, I like to think of the “f” as a stand-in 1 as it is used for shutter speed. A large aperture (f2.9) means the “pupil” would be very open and allow a lot more light during the time the shutter is open in the moments before the picture is taken. A small aperture (f14) would be the opposite. Aperture lets you play with depths of field as a large aperture creates blurriness in the background and focuses on the foreground. I largely played with smaller apertures for this week as they are the best for landscape photos.
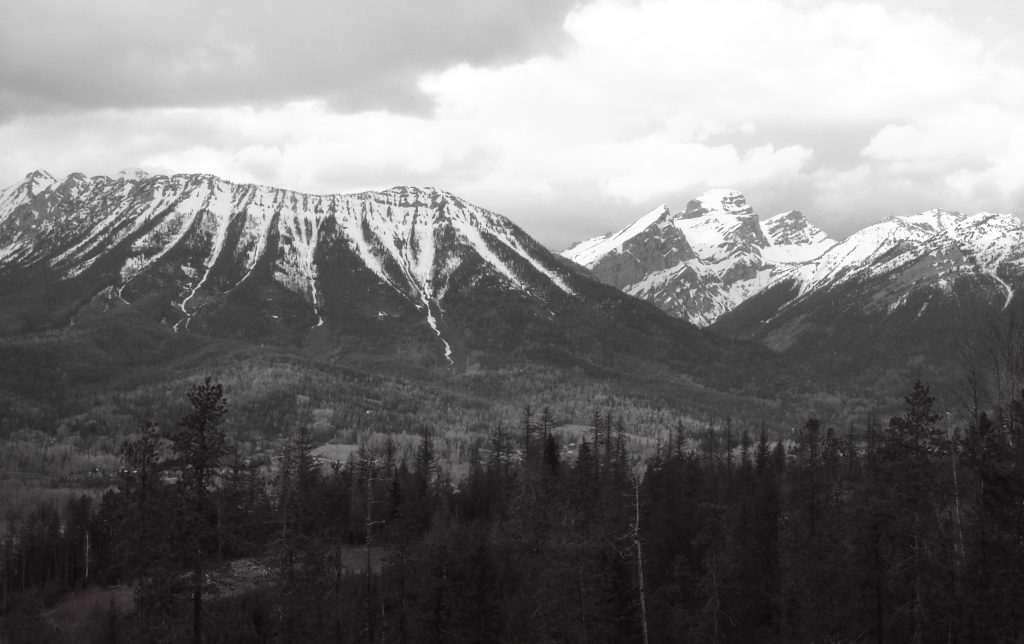
Manual setting. Shutter speed: 100, Aperture: F7.9 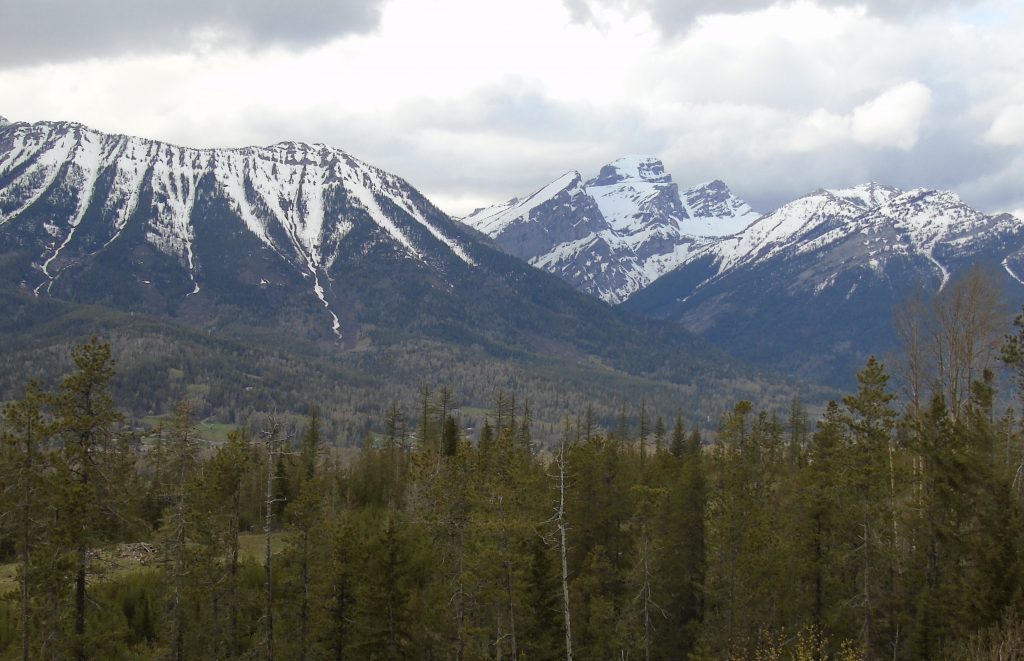
Auto setting. Shutter speed: 400, Aperture: F3.8
The biggest problem I will have to overcome for next week is figuring out how to create more colour in my manual shots. There is something I seem to be missing between the auto and manual shots that I look into more. Overall, I am pretty happy with how my first photos turned out. I am starting to understand what settings work for different lighting situations and look to use this for more close-up shots next week.