Hey everyone! This is my last blog post for my learning project. Over the past couple of weeks I had the chance to learn a lot about crocheting and different techniques for my future projects. I am going to go through each week and talk a little bit about each one and how it went.
The first stitch.
The first week I just started with creating a game plan for the semester. I talked about why I wanted to learn more and where I was already at in my crocheting journey. I also talked about where I would be getting all of my inspiration from which was Pinterest. I was not feeling overwhelmed or anything, I truly thought this was going to be a piece of cake because I already had some experience crocheting.
The second stitch.
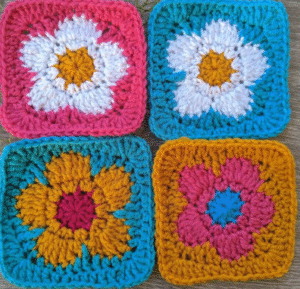
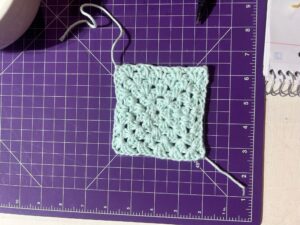
My second week I dove into making my granny squares. I started with making a Pinterest board and continued adding granny squares to it as the weeks went on. I was having a lot of fun making them and also making the blog posts. I made 3 basic granny squares this week to get back in the swing of things.
The third stitch.
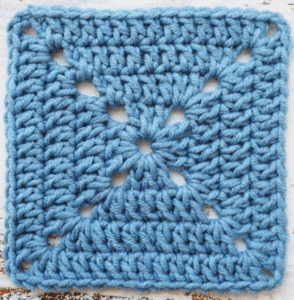
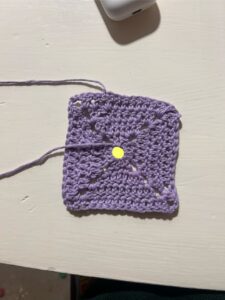
For week three I learned how to do a solid granny square. I hate doing this square. The youtube video I was learning from was not very helpful. Nor could I fully remember what stitch I was on and my tension was off. Every square turned out mediocre but I was just glad they were over with.
The fourth stitch.
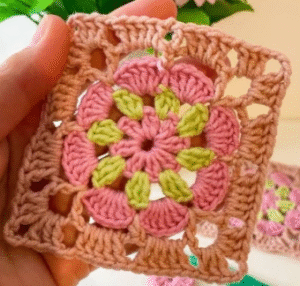
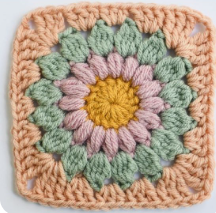
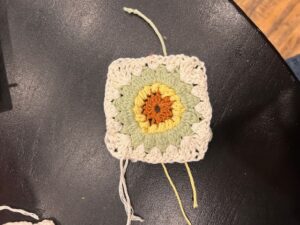
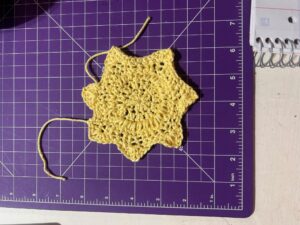
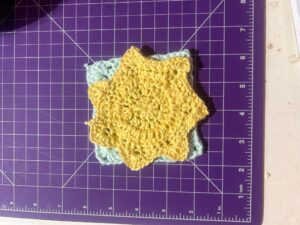
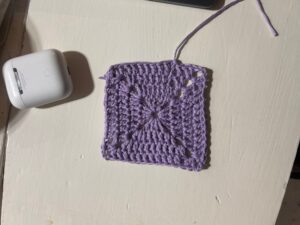
For week four I learned how to do a starburst granny square. I got to learn a couple different stitches for this one besides a basic double crochet. This square was fun to learn. The website I used was super helpful and I really enjoyed using it because everything was already there. I had no clue what a puff stitch, partial cluster or a cluster stitch was and the website told me.
The fifth stitch.
The fifth week made me want to crash out a little bit.
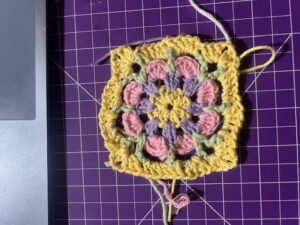
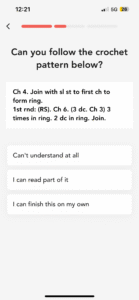
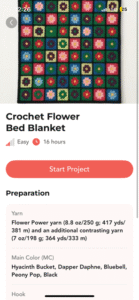
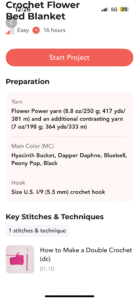
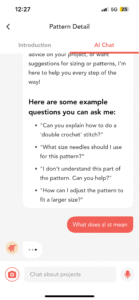
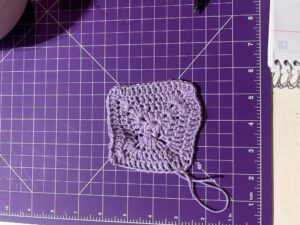
Up to this point I was also using youtube videos and websites as my main form of tutorials. However this week I branched out and used an app I found. I actually really liked the app especially because of the AI chat it had. My only issue was the pattern itself felt a little far out of my skill set. I am still glad I tried it but I might wait a few more projects before I try it again.
The sixth stitch.
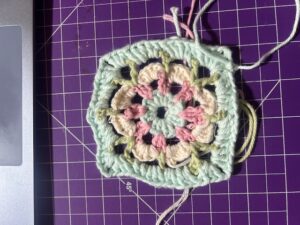
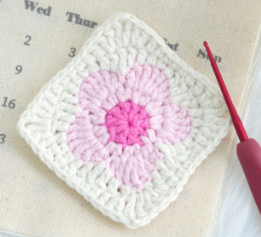
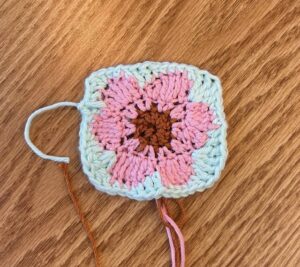
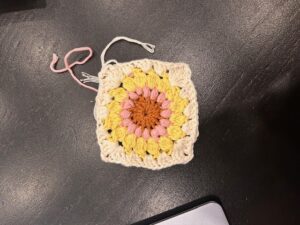
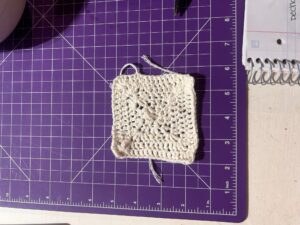
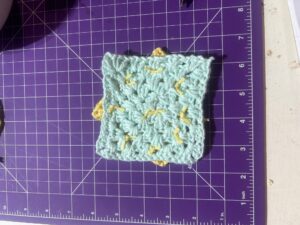
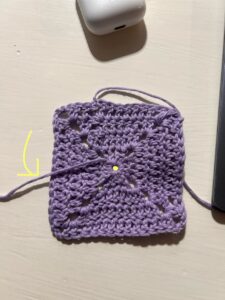
For week six, I made another flower looking granny square. This one was a little different because it was not an actual flower but it looks like a flower when you use certain colours. This week I also learned that your yarn size matters. My first square I made for this week I noticed I could see some of the fourth row yarn peaking through. This was because my fourth row was a half size bigger than all of my other yarn. I fixed this with my second square by using the same sized yarn for my fifth row.
My top threes
- Youtube and Tik Tok are the best way for me to learn because I can see what they are doing as I am doing the same thing. I am such a huge visual learner so I need to do something as I am also watching someone else do it.
- Learning new skills is fun! While it can seem hard to start something new or intimidating you should just start! Even though I already knew how to crochet, I only knew one stitch and I only knew how to do about 2 things. Now I know different stitches and how to make different squares which is motivating me to create other projects.
- Having an online presence is important. Especially through this class and my learning project, I have learned that having an online presence is important and will be helpful for you in the future. This way you are also able to showcase what you want representing you. EDTC 300 is a great class that I have learned so much from and I am glad it is something I get to use as something to showcase who I am not only as a future educator but also as a learner.
Overall, EDTC 300 was a fantastic class and I would recommend it to anyone. I feel like I learned so much about not only using technology in the classroom but also the internet in general. I had no clue that there were multiple different forms of AI, other than Chat GPT, or that you could “make your own code.” I also never realized how easy it is to teach yourself through the internet as long as you make a plan for yourself and put your mind to it.