Completing the Shape and Detailing of Snake Plant Leaves

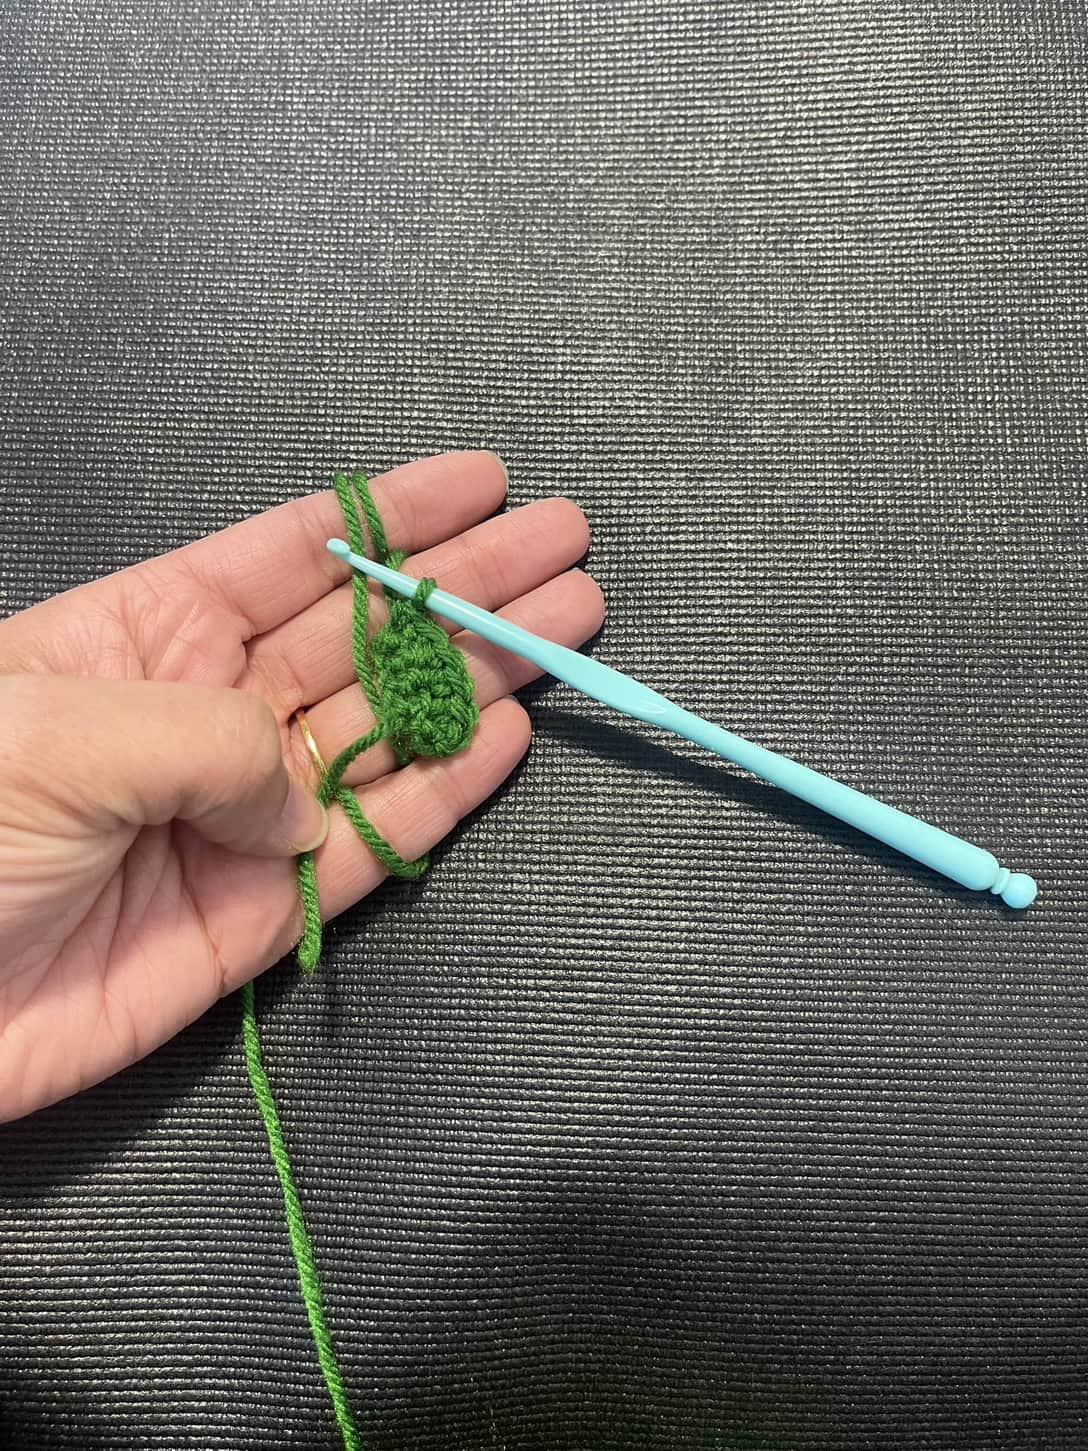
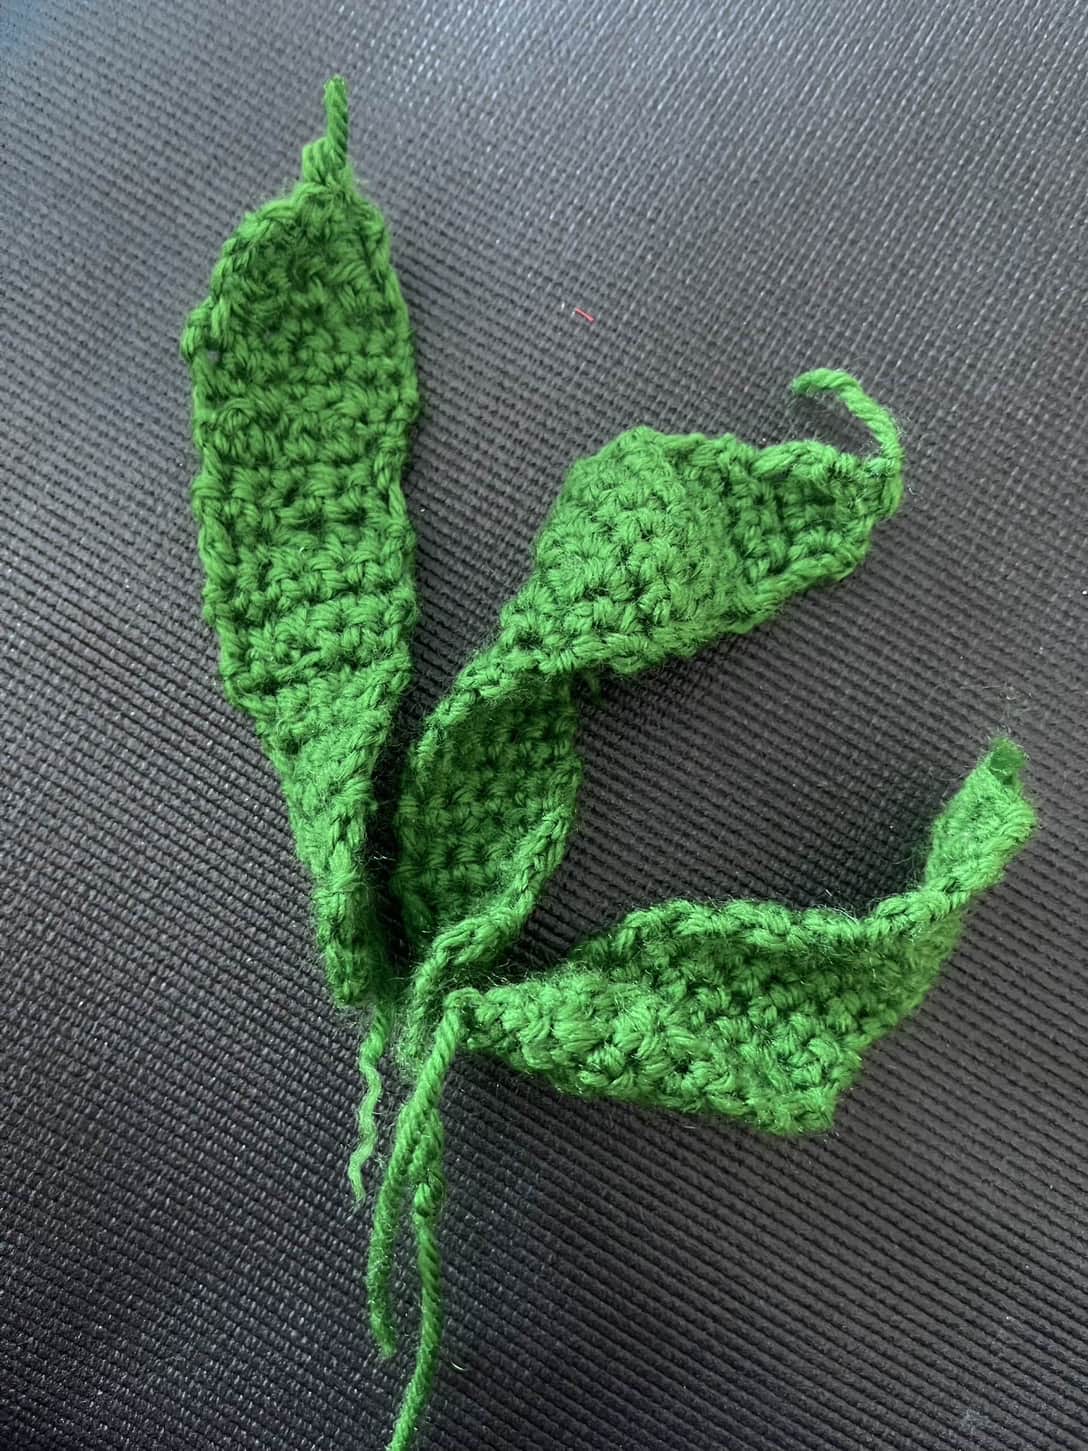
This week, I worked on wiring and edging to give my crochet snake plant a structured and polished look                                                                                                              1. Preparing the Wire for Each Leaf:

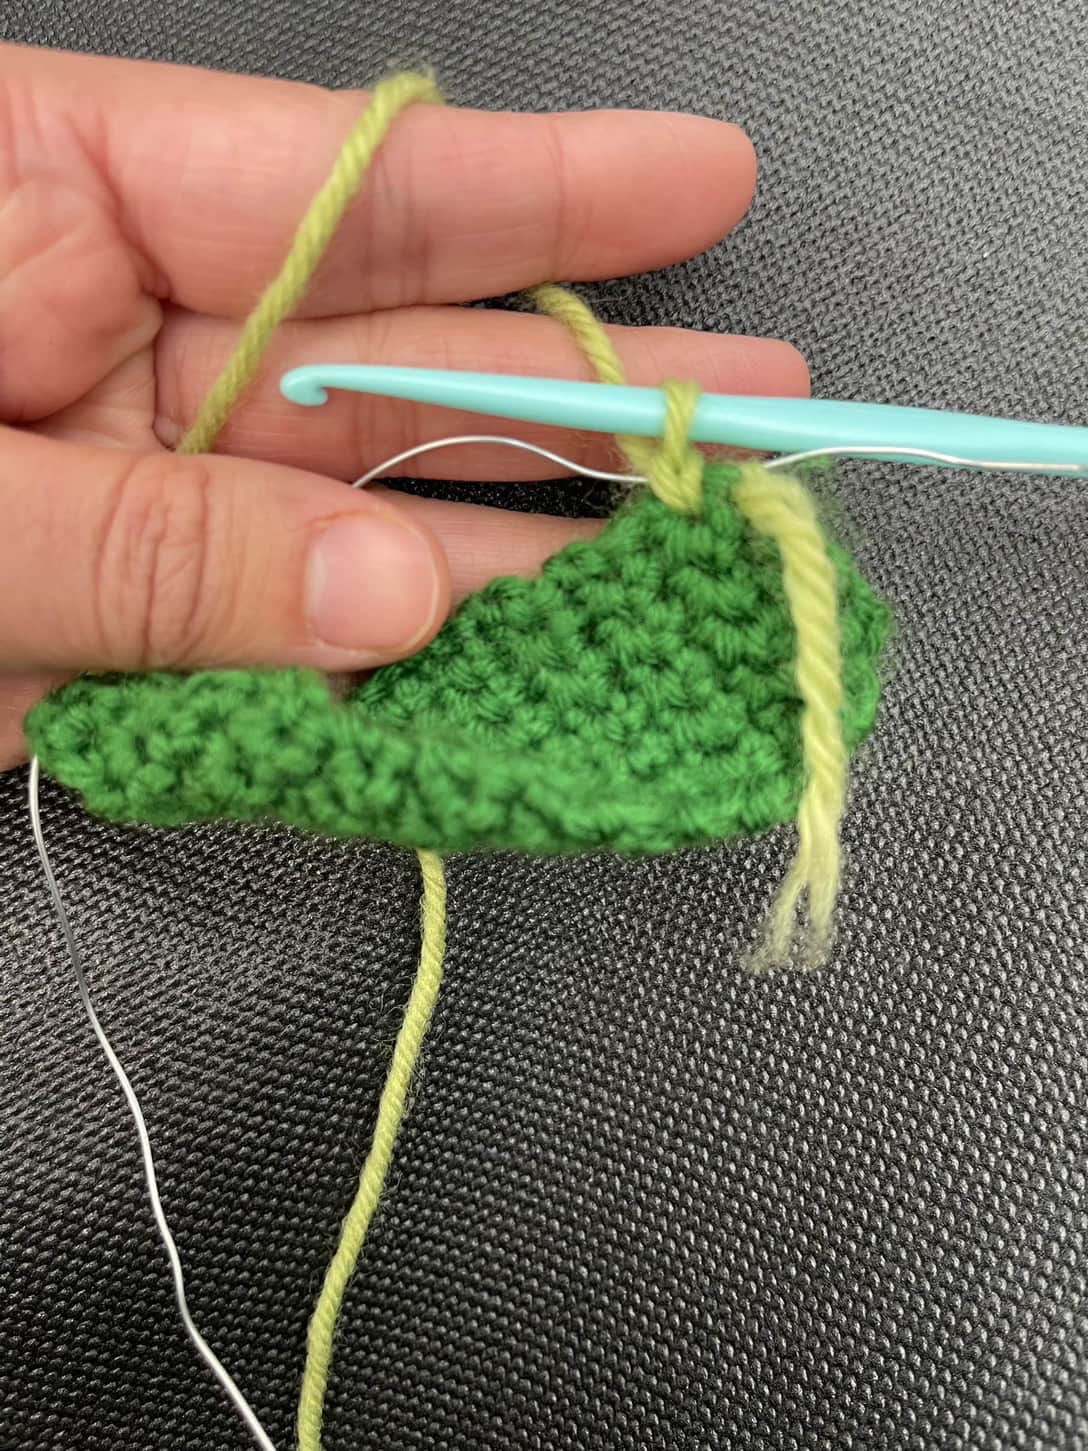
    1. I cut three wire lengths—10 inches for small leaves, 12 inches for medium,  and 14 inches for large leaves.
    2. Bending the wire slightly (without pinching it) gave the   leaves a natural curve.

2.  Adding the Edging for a Clean Finish:

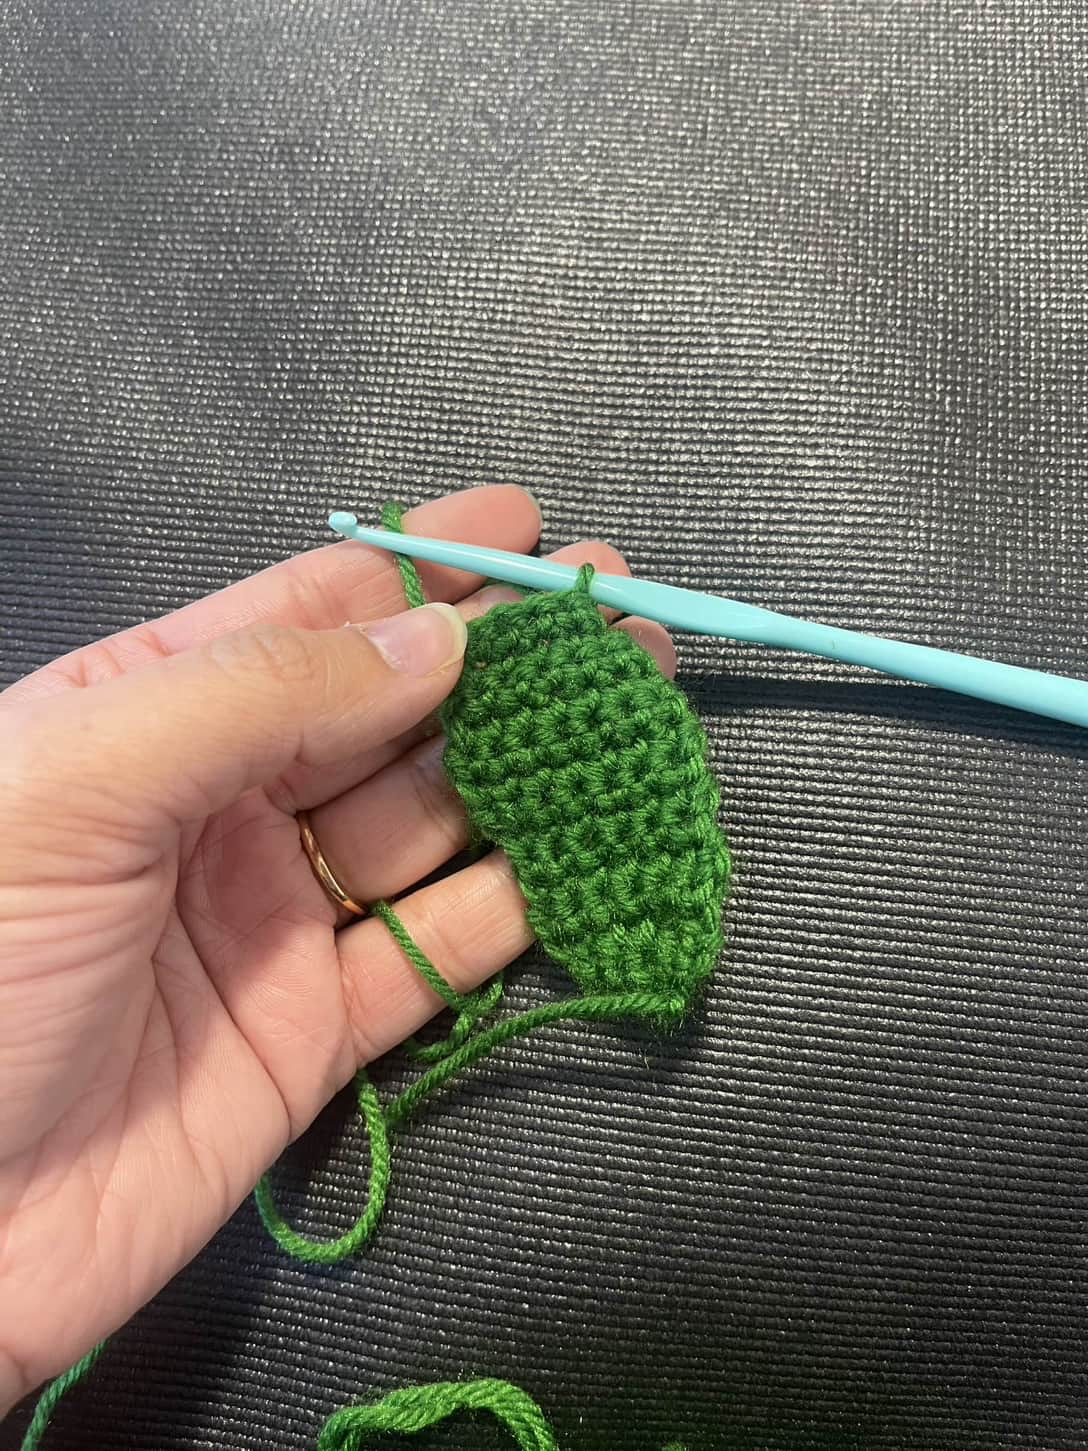
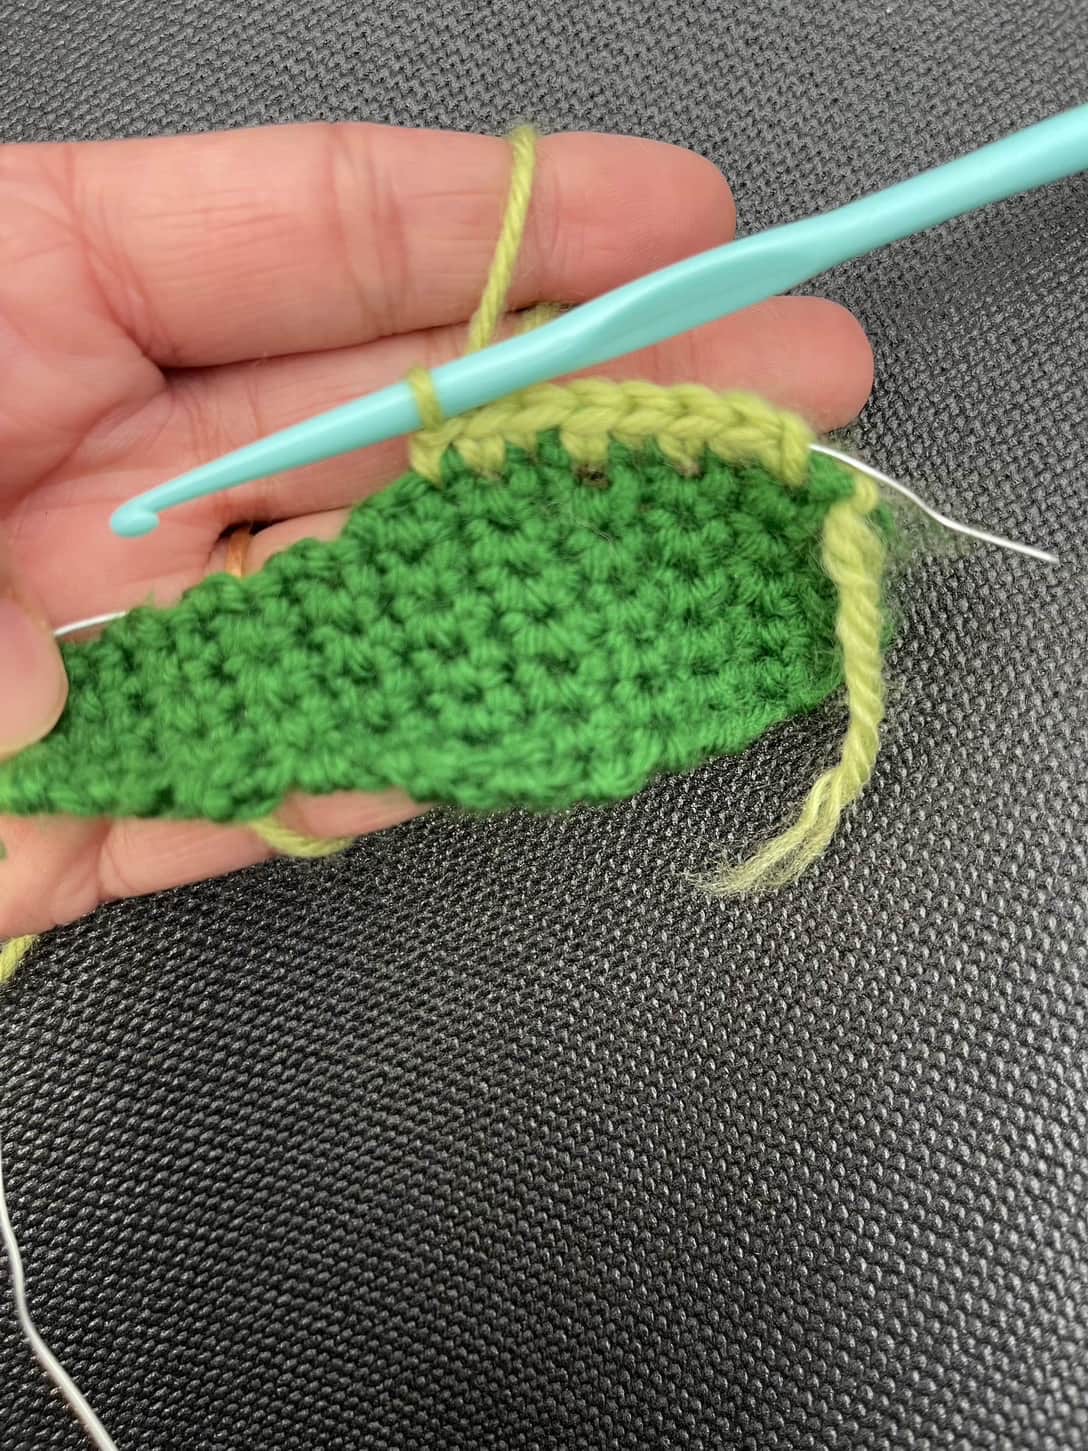
I started by watching the video, which introduced the concept of edging, but it  didn’t provide much detail on the actual process. To learn how to properly create a neat border, I followed the  tutorial, which explained the importance of adding three stitches at the corners to keep the edges looking clean and even.


I also looked at the blog from last week, which helped                                         reinforce my understanding of the 
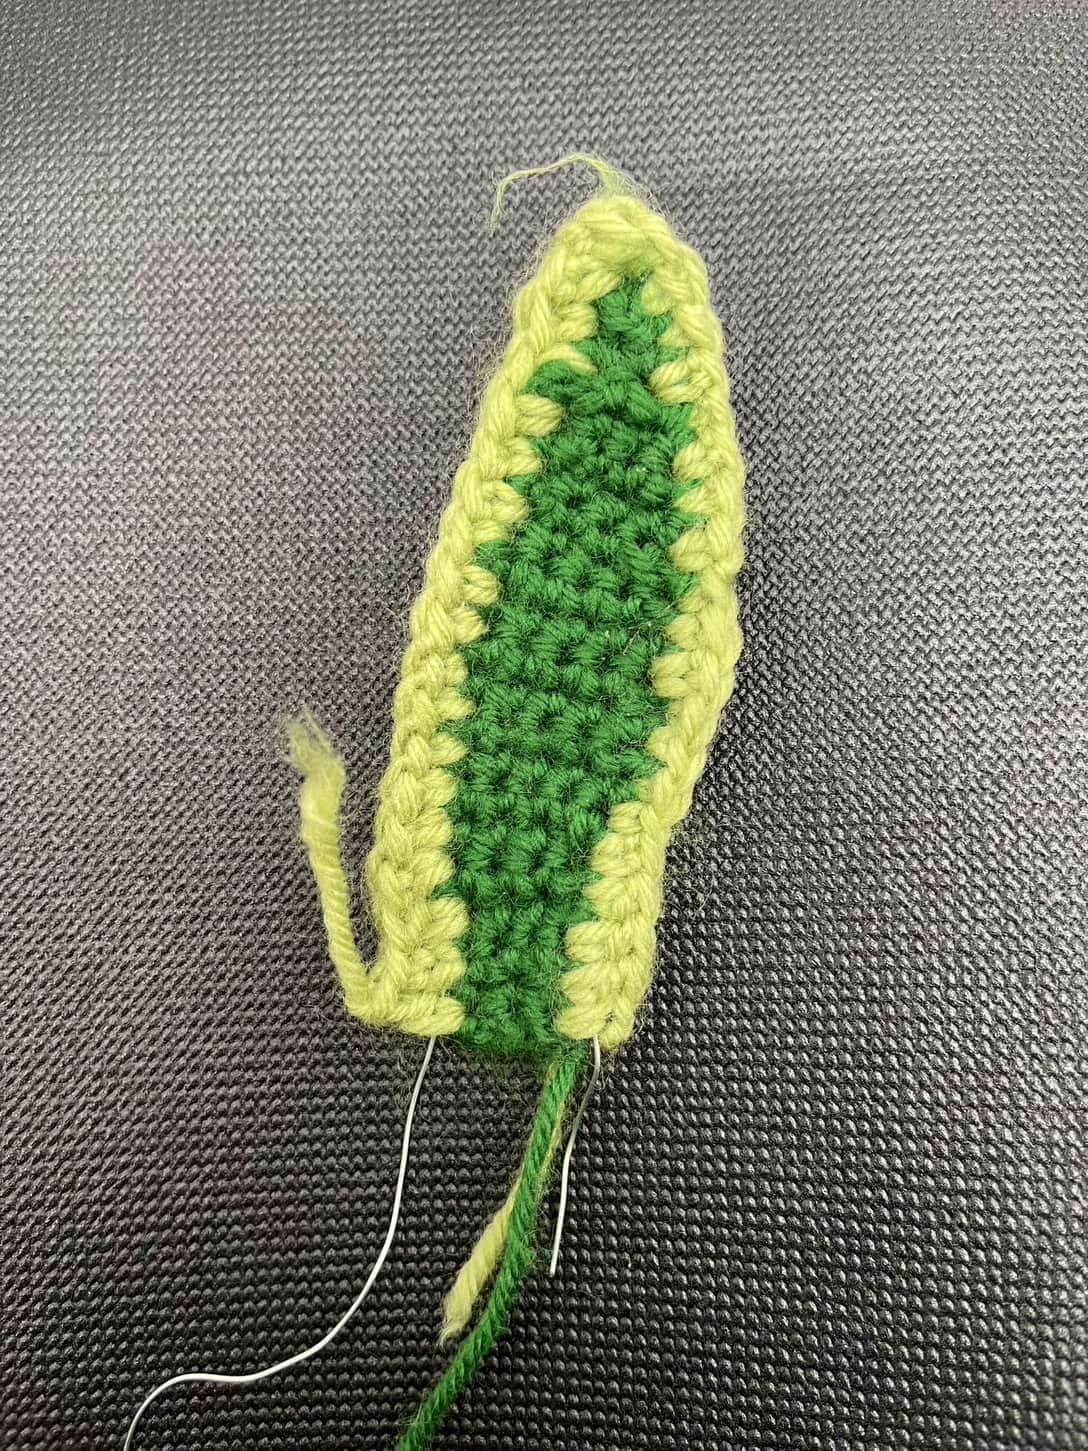
different stitch techniques used in leaf formation.

I applied these techniques to my snake plant leaves to ensure the border looked uniform and professional.

Reflections on This Week’s Learning:

At first, I found it really difficult to hold the wire and yarn together while crocheting. During my first attempt, the wire that I left at the end accidentally got inserted into the leaf, making it look messy and uneven.

After struggling with this, I turned to different resources to troubleshoot my issue. The first video I watched provided a visual guide for adding edging but didn’t go into enough detail about how to hold and manage the wire properly. This led me to search for additional tutorials, and that’s when I found the second video, which focused specifically on creating neat and professional-looking borders.

This second resource was incredibly helpful because it explained why adding extra stitches at the corners is necessary to prevent tight or uneven edges. After watching it, I tried again, and this time, my edges looked much neater, and the wire stayed in place properly. This experience reinforced how valuable it is to explore multiple resources when learning a new skill.

Now that the leaves are wired and edged, I’m excited to make planter/ pot for my snake plant next week.

Snake Plant Crochet: Leaf Creation & Learning Reflections

This week, I focused on making the leaves for my crochet snake plant. Since the plant has three sizes of leaves (small, medium, and large) and two striping variations, I wanted to challenge myself by making all the different types for added character.

Steps I Followed

1.Practicing Consistency:                                                      Stitch Tension: I focused on keeping my tension even so that all the leaves looked smooth and well-formed. Uneven tension could make some leaves stiffer or looser than others.


                                                                                                                                                                                                                                              Size & Shape Matching: To ensure all my leaves were proportionate, I frequently compared them side by side, adjusting my stitches as needed to maintain uniformity.


2. Following the Leaf Pattern:
I started by crocheting the small, medium, and large leaves for my snake plant. The original pattern included striping variations, but I kept it simple by using one solid color for all my leaves. This made it easier to focus on the structure and technique rather than managing multiple color changes. I carefully followed the stitch count for each row, making sure to shape the leaves correctly.


Reflection on This Week’s Learning

I really enjoyed following the blog I used as a reference for crocheting my snake plant. The blogger did an amazing job explaining each step clearly by including pictures, which made it easier to understand. I also appreciated that there was a PDF version available for the correct pattern, making it more convenient to follow along.

One of the things I found particularly helpful was how the blogger broke down the pattern based on the size of the leaves. She explained the number of rows, types of stitches, and the stitch count for each row, which gave me a clearer understanding of how to shape the leaves properly.

However, I decided to skip the color variation part because I want my snake plant to be in one solid color. Even though the original pattern includes different striping effects, I liked keeping it simple for my project.

This week, I feel more comfortable with crochet patterns, and I’m excited to move on to the next steps of wiring and edging the leaves next week!


Compress App: A Handy Tool for Reducing Image Sizes


Last week, I faced a challenge while working on my blog. The platform only accepts

images up to 1 MB, but the pictures I take on my phone are 3–4 MB—a huge difference!

I spent a lot of time searching for apps and adjusting settings on my phone,  hoping to find an easy way to reduce the file size without compromising quality. Finally, I found a solution: an app called Compress. I found it a bit confusing when I first used it, but after my second try, I fully understood how it worked. Now, I use it regularly, and I find it extremely useful for the following reasons:

Why Compress is a Great Tool

Simple Interface: After a little practice, the app becomes very easy to use.
High-Quality Compression: It reduces file size while keeping good image quality.
Batch Processing: You can compress three images at once.
Customizable Settings: You can choose the level of compression you need.
Fast Processing: The compression process is quick, saving a lot of time.

❌ What I Don’t Like About Compress

🚫 Too Many Ads: One thing that irritates me about this app is the number

of ads that pop up while using it. If you’re in a hurry and don’t have a lot of time to spend,

these interruptions can be frustrating.                                                                                    How to Use Compress (Step-by-Step Guide)

Step 1: Download and install the Compress app from the App Store or Google Play.
Step 2: Open the app and select the image(s) you want to compress.
Step 3: Choose your preferred compression level.
Step 4: Click the “Compress” button and wait a few seconds.
Step 5: Save the compressed image to your gallery or share it directly.Using Compress in the Classroom & the SAMR Model

This app can be incredibly useful in an educational setting. Here’s how it fits into the SAMR model:

  • Substitution: Instead of uploading large images that take a long time to load, students can use Compress to reduce file sizes before submitting work.
  • Augmentation: Teachers can save storage space and improve website performance by using smaller images in online materials.
  • Modification: Students can use the app to compress images for multimedia projects, improving efficiency.
  • Redefinition: The app allows students to easily share compressed images in collaborative projects without worrying about file size limits.

How I Used Compress for My Learning Project

As part of my learning project, I’m documenting my progress in crocheting. I take lots of pictures of my work, but since my phone’s camera produces large file sizes, I needed a way to reduce them for my blog.

I used Compress to shrink the images before uploading them. Here’s what I found:
✅ The compressed images loaded faster on my blog.
✅ I was able to upload more pictures without hitting storage limits.
✅ The image quality remained clear and detailed.

⬅️Here’s an example of an image before and after compression:

Reflection                 

If you need an easy and effective way to reduce image sizes, the Compress app is a great choice. However, be prepared for a lot of ads, which can be frustrating if you’re short on time.

Have you used Compress or a similar app? Let me know your thoughts in the comments!