This week, I focused on bringing my crochet snake plant closer to completion by working on three key elements: making the dirt, stuffing the pot, and assembling the leaves.
Creating the Dirt
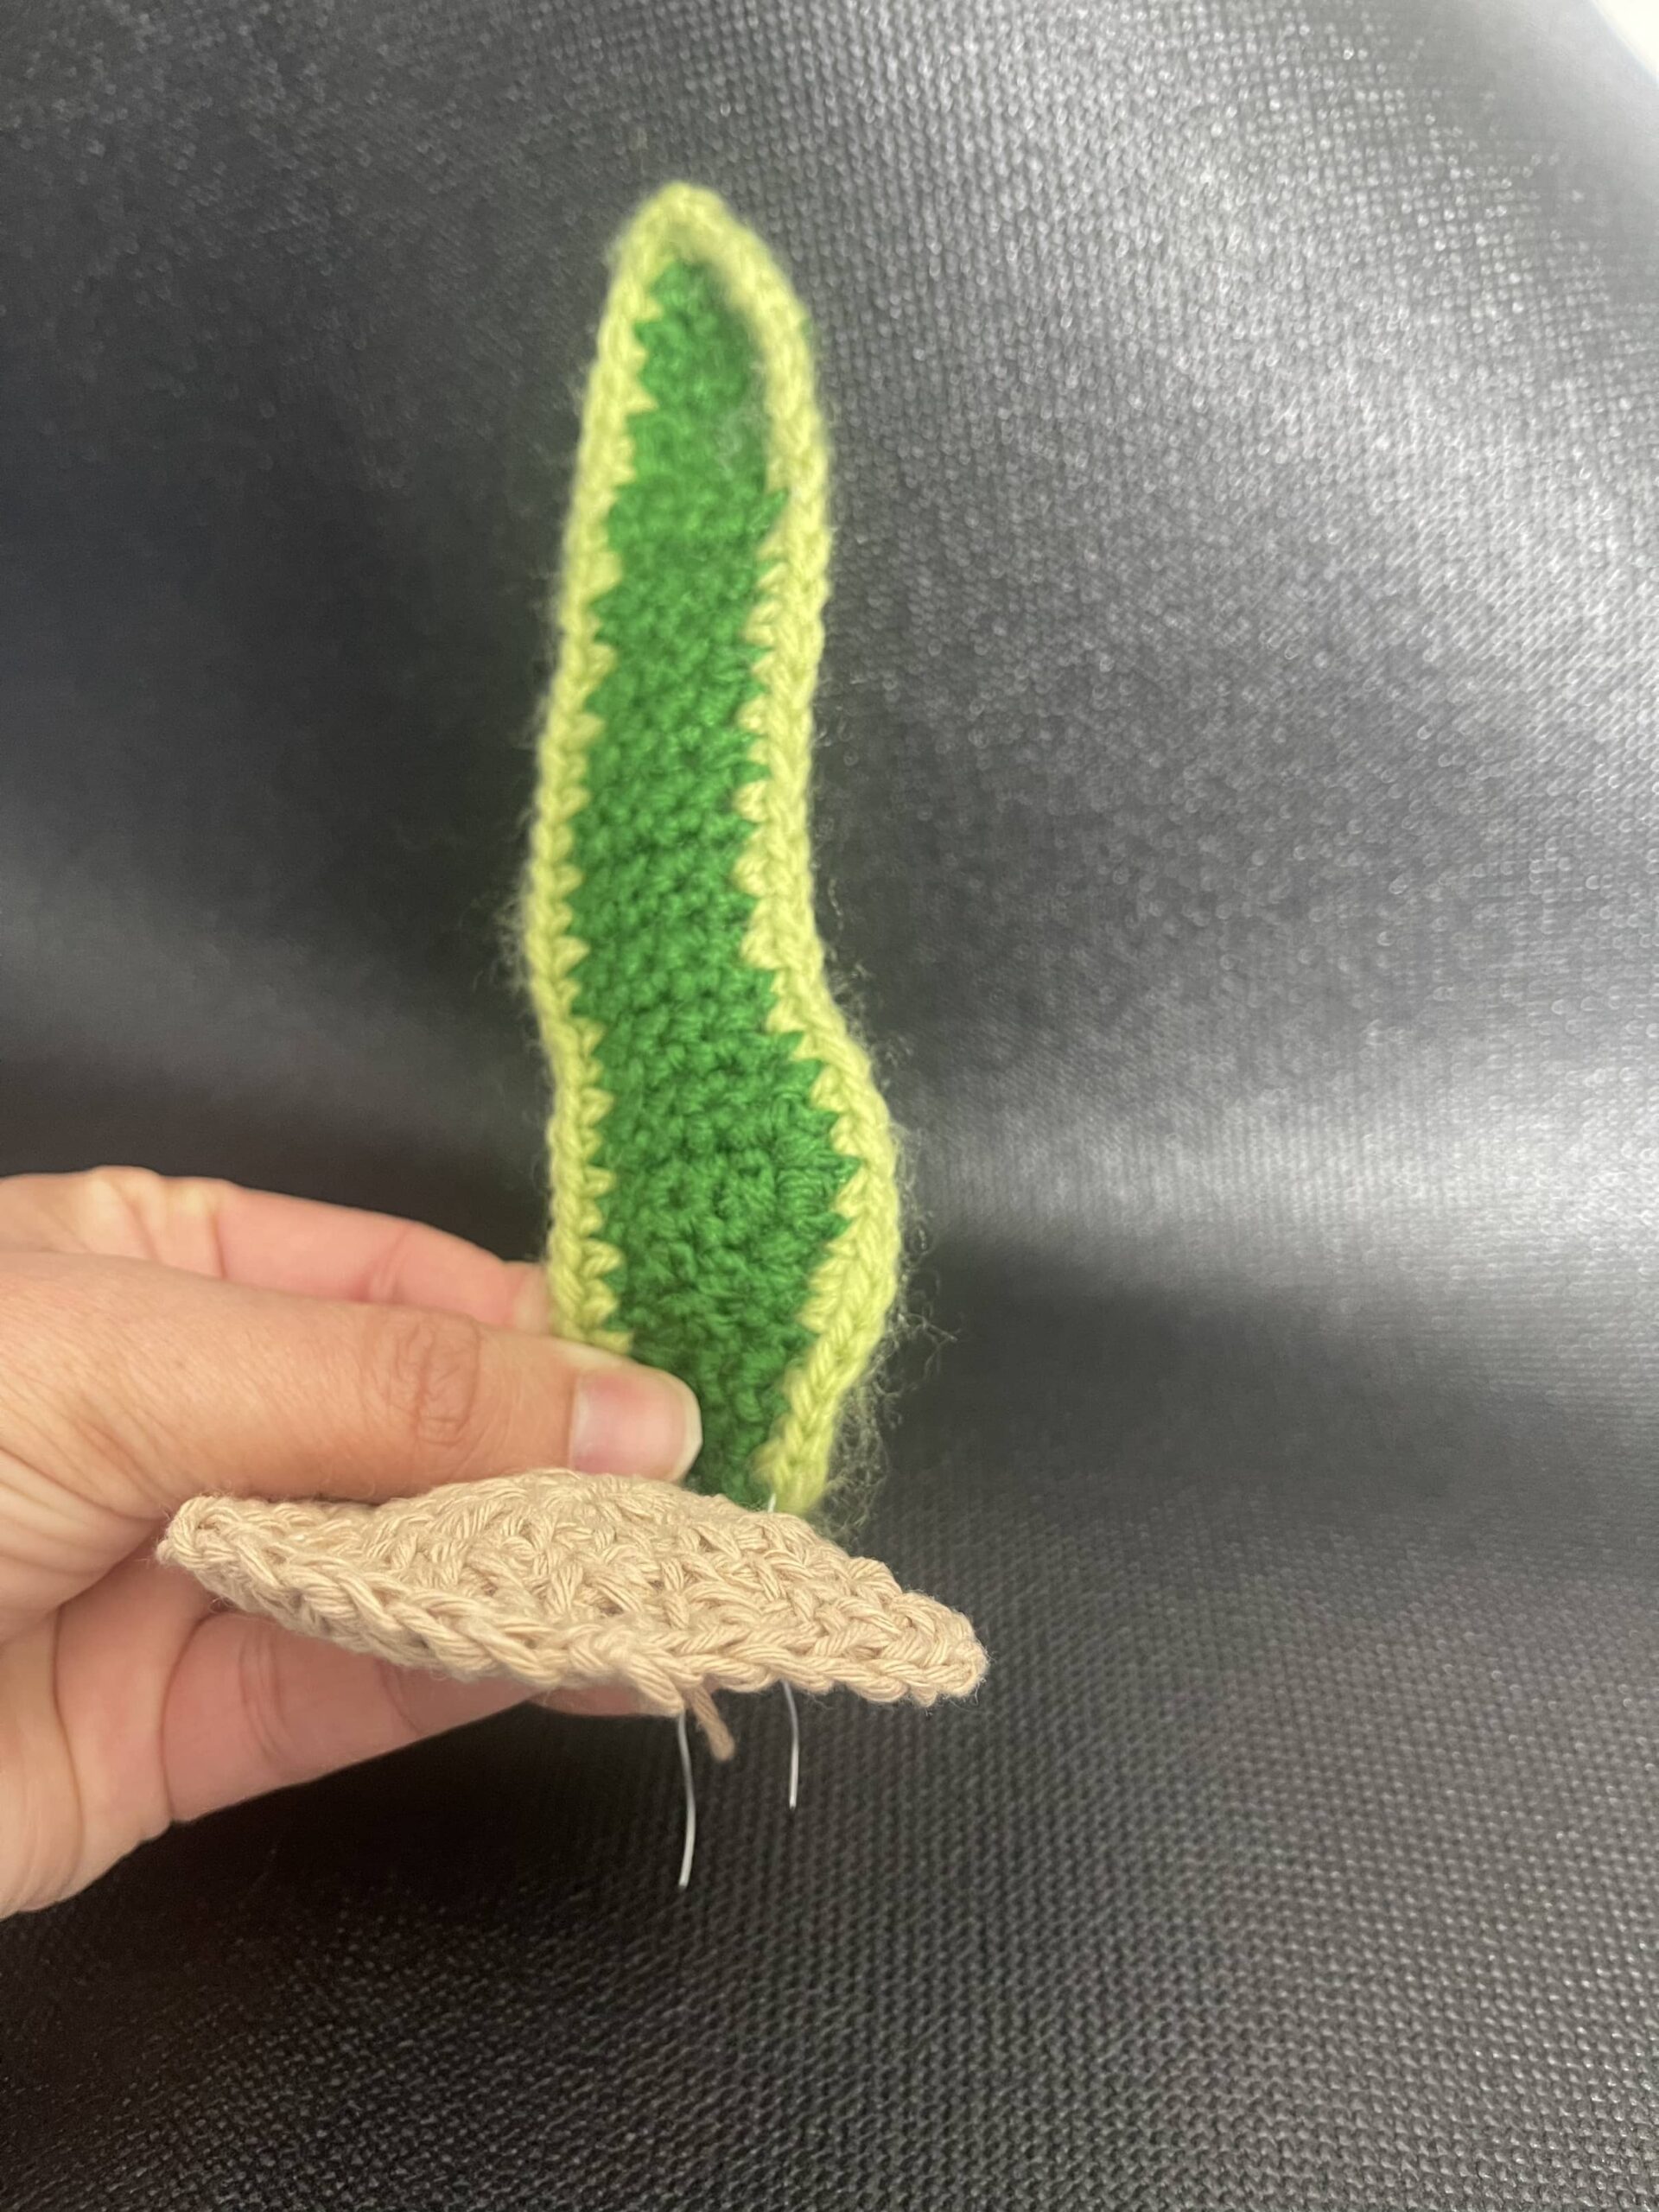
To give my plant a realistic base, I crocheted a circular piece to resemble to the soil. Finding the right size was a bit tricky—I had to make sure it fit snugly into the pot while also leaving enough space for the leaves. After experimenting with different stitch counts, I finally achieved the right shape and texture.  Assembling the plant In this step I will attach the leaves to the dirt. I arranged in dirt carefully to create a natural, full look. Some leaves needed reinforcement with wire to help them stand upright. I put them securely into the dirt base, making sure they were evenly spaced and well-balanced.
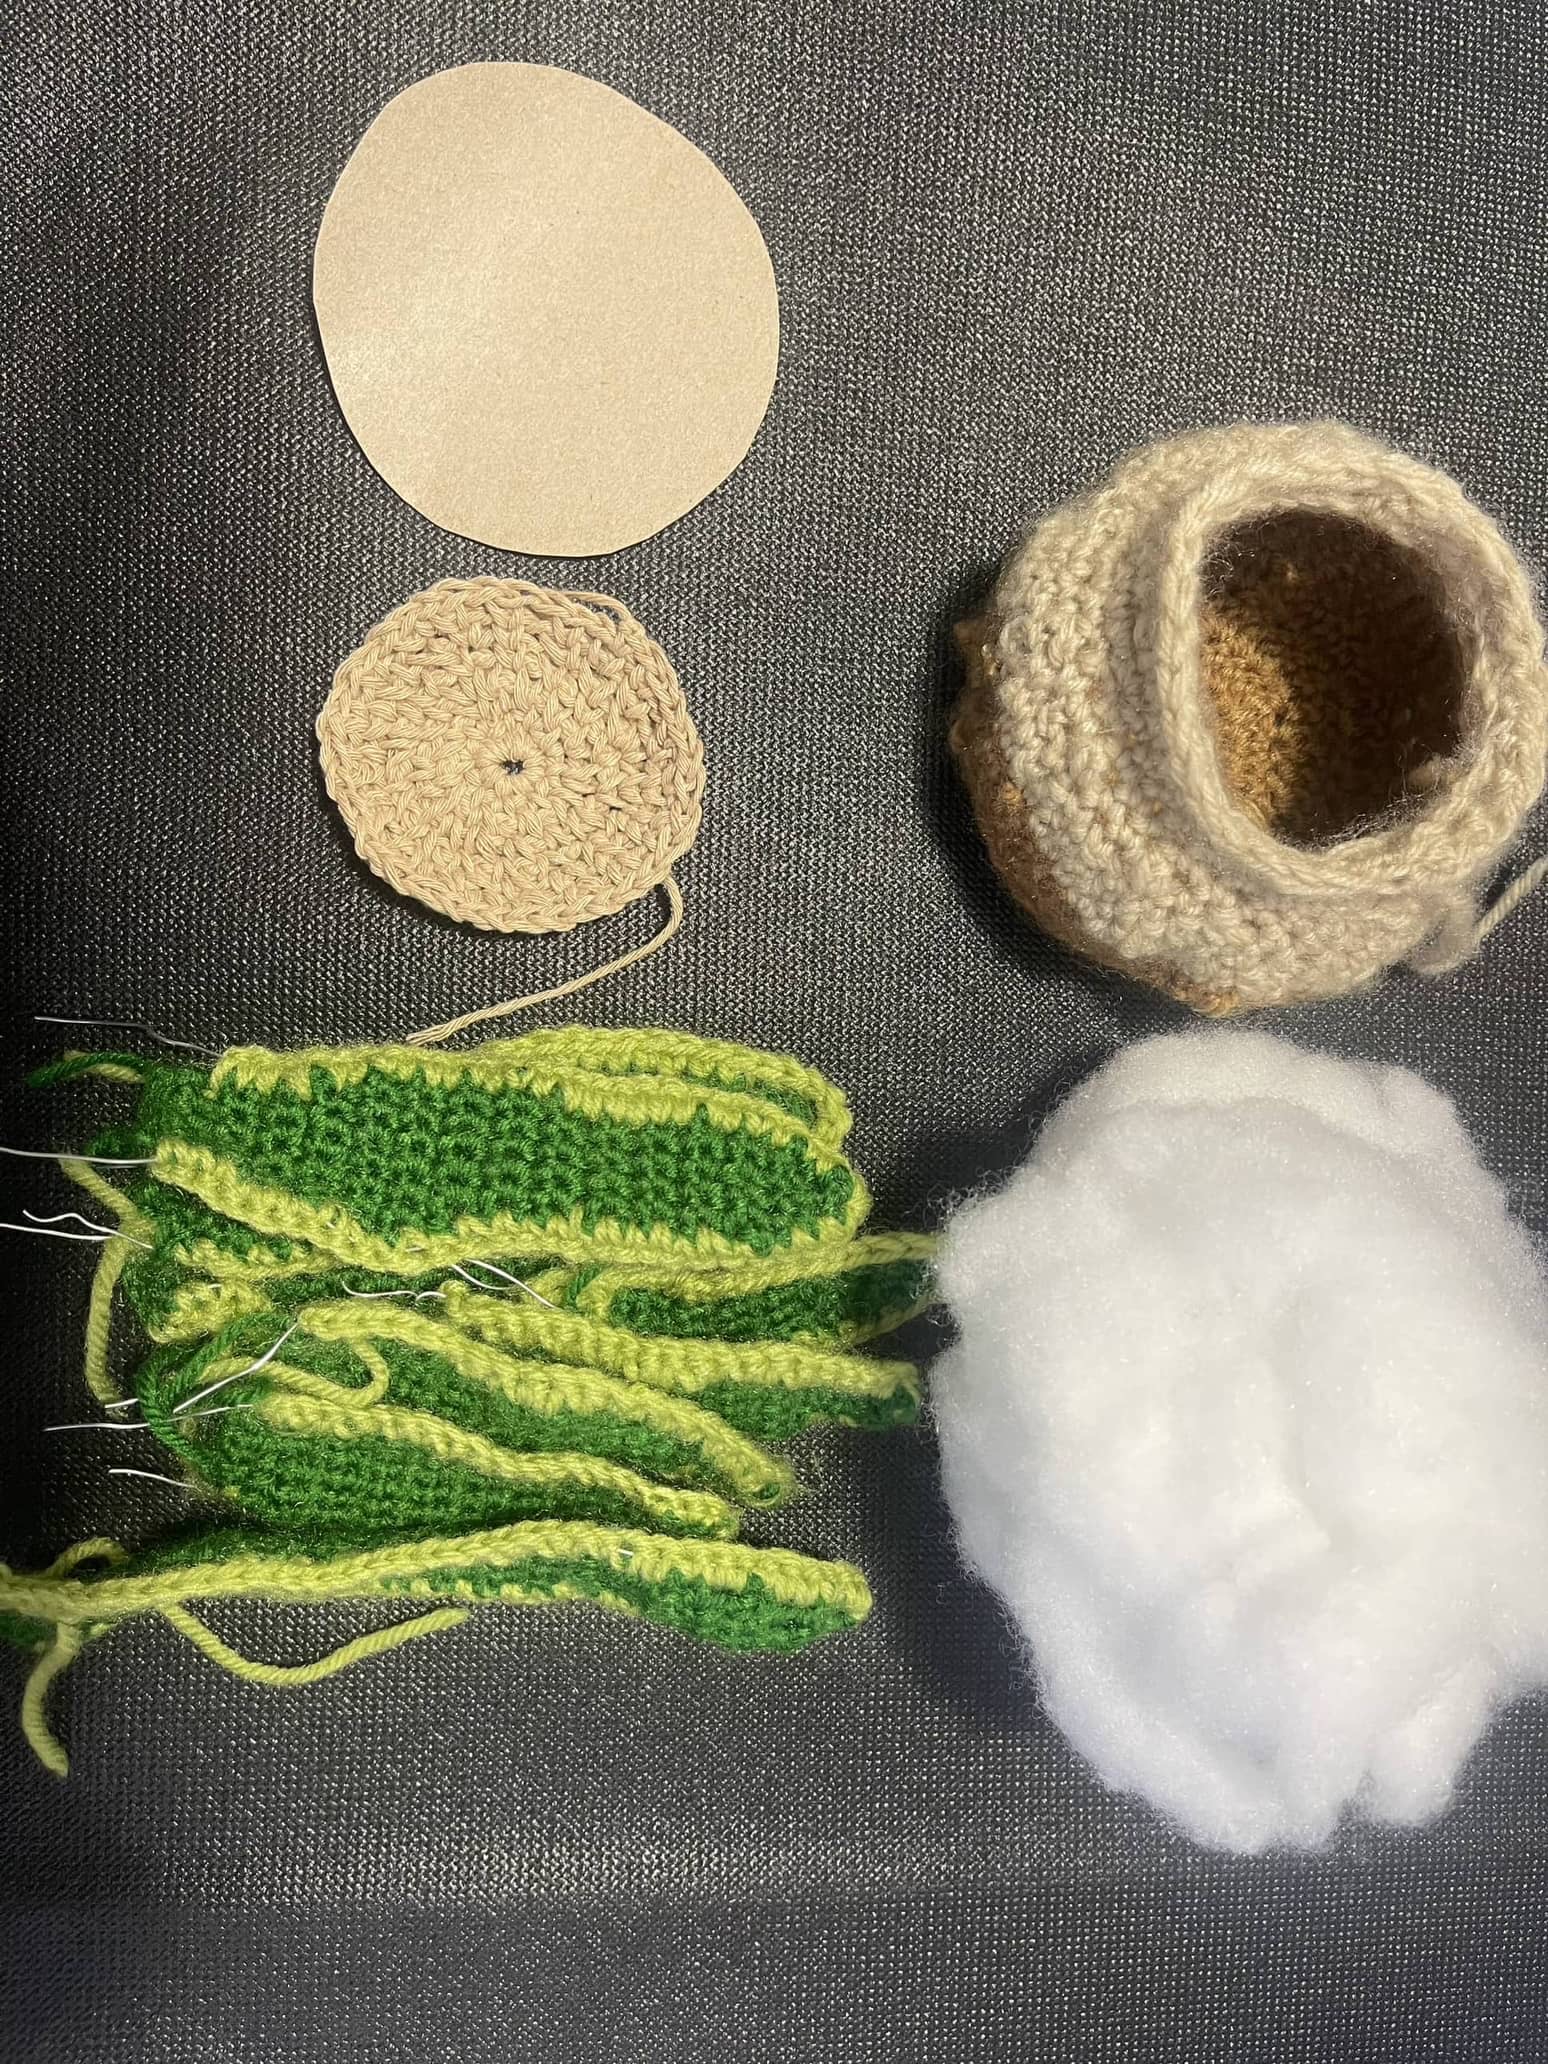
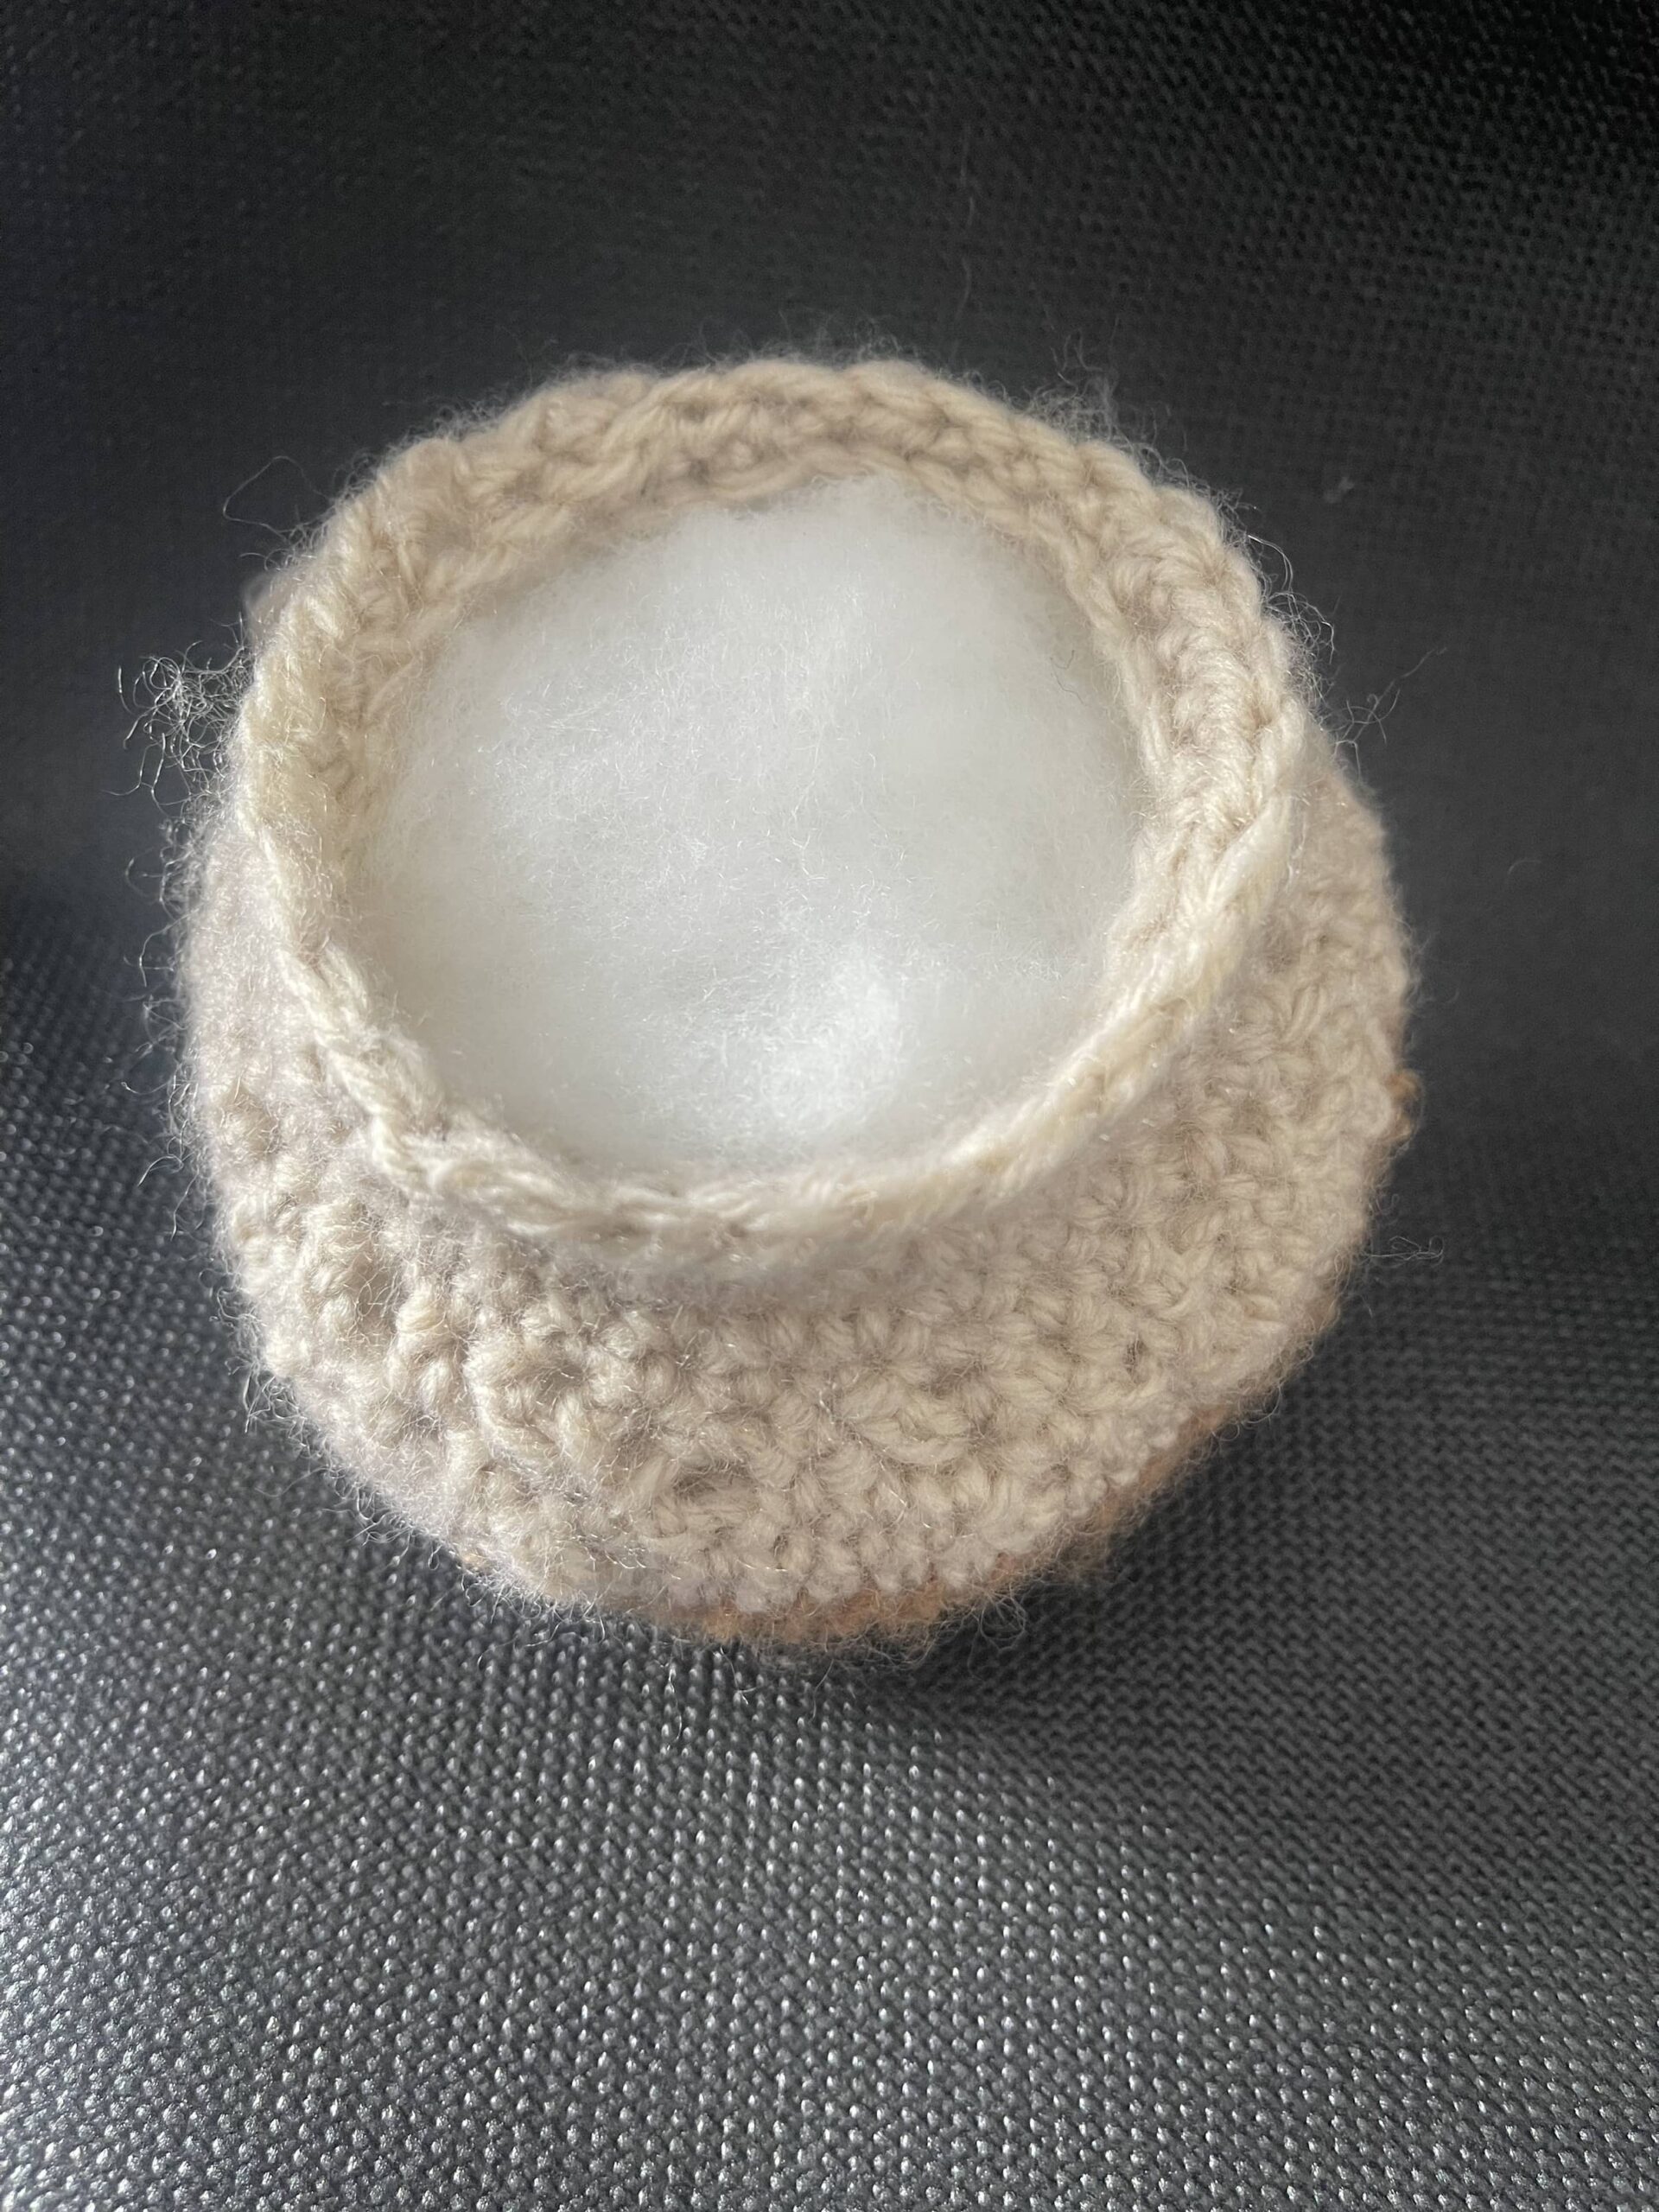
Stuffing the Pot To ensure the pot maintains its structure, I cut a cardboard of same of the base of pot and then filled it with fiberfill. I initially used a small amount, but I realized it wasn’t providing enough support. After adding more stuffing and pressing it evenly, the pot took on a sturdy, well-shaped form. This step was important because it prevents the pot from collapsing and helps the plant stand upright.
 After assembling the leaves and stuffing the pot, my crochet snake plant is finally taking shape. Here’s a look at how it all came together before the final touches.”
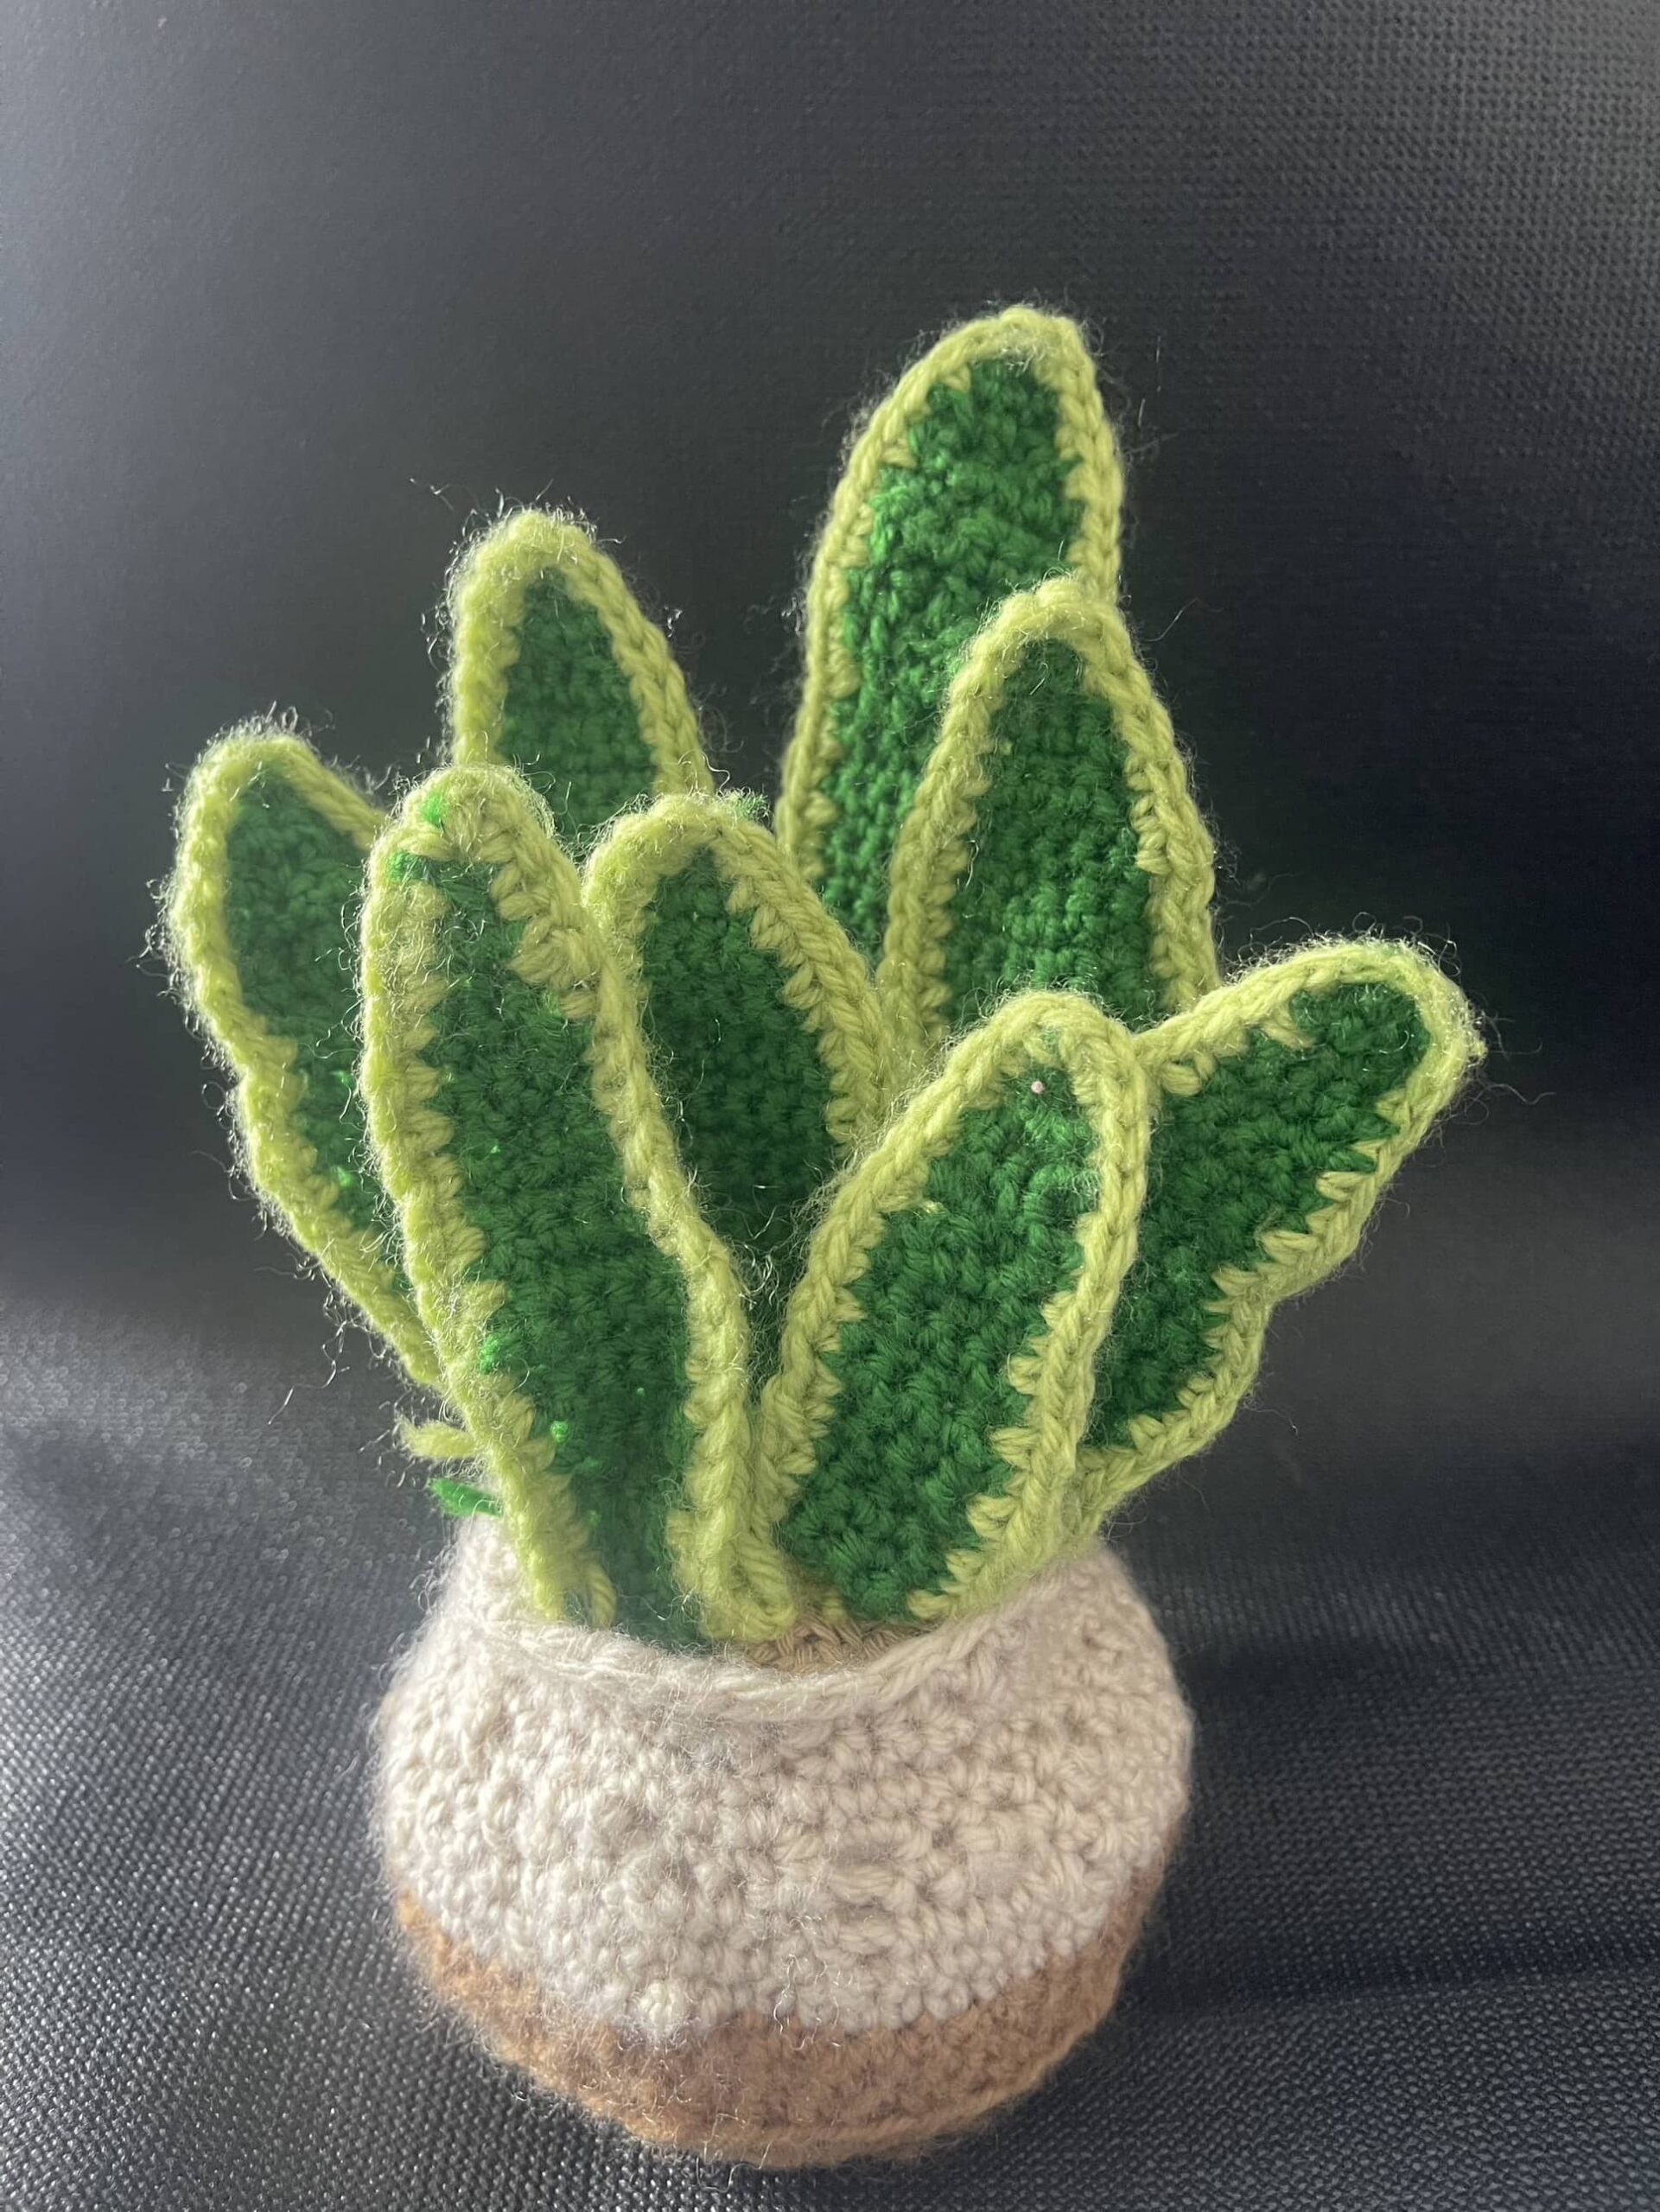 Reflection on the Process Adjusting the stuffing amount and experimenting with different attachment methods for the leaves helped me understand the importance of structure in crochet projects. I also learned that small tweaks, such as adding more stitches for stability, can make a big difference in the final look.
I really appreciated how the blogger explained this part of the process. She used a diagram to show exactly where to place the leaves for a more elegant and balanced arrangement. The pictures she included—showing each leaf being added one by one from different angles—made it so much easier to understand the concept of assembly. These visual aids helped me gain a clearer perspective on how to arrange the leaves for the most realistic and polished look.
This is how I completed my first crochet project .I’d love to hear your thoughts in comments and any tips you might have for future crochet projects.
Your crochet snake plant looks amazing! I really liked how you experimented with different techniques to get the right shape and structure. The idea of using wire for support is so smart! A tip for future projects, I like to use stitch markers to help keep track of my rounds or important stitches. It can really help maintain the shape and structure of your work. Hope this helps 🙂
Your snake plant looks amazing! I hope you are so proud of yourself! Using cardboard to help support the base as a great call. I love that your project progressed each week. It’s been fun to follow along!
Awww it’s so cute! Great work! It’s been awesome watching your progress and seeing the outcome!