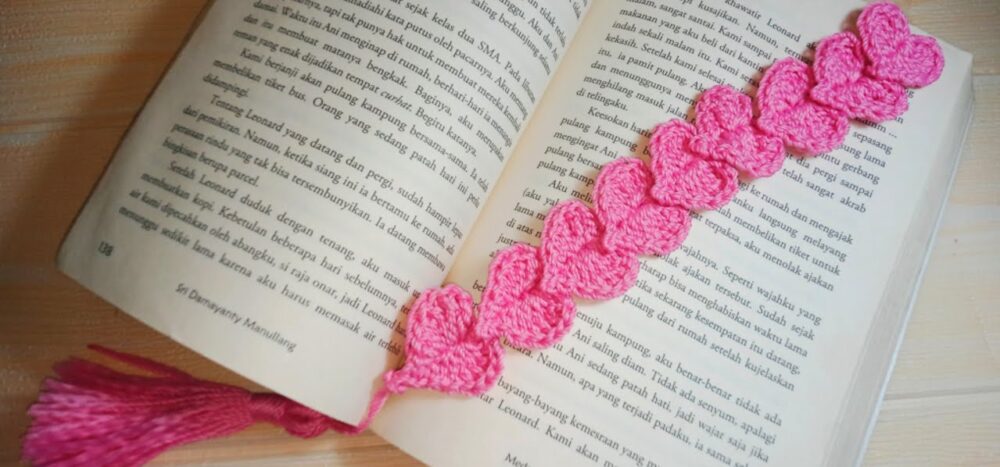
This learning summary showcases the journey I undertook during this course to explore and develop a new skill: crocheting. Starting with only a basic understanding of single crochet, I used a variety of online resources—like video tutorials, blogs, books and apps—along with guidance from my teacher and feedback from classmates to deepen my learning. Throughout the process, I documented my progress, reflected on challenges, and celebrated milestones. What follows is a collection of key moments, reflections, and takeaways from this hands-on, creative learning experience.
Week 1 A Glimpse at my learning Adventure. Crochet Garden; Growing with Yarn !
This week, I reflected on my motivation and set goals for my learning project. I decided to learn how to crochet, inspired by past experiences with crafts and fond memories of my grandmother crocheting. I’m combining this with my love for plants by planning to make a crochet snake plant.
I also began learning how to blog for the first time. I see blogging as a chance to share my journey, get feedback, and connect with others.
Key Takeaways:
- Chose crochet as my new skill
- Set the goal of making a crochet snake plant
- Planned to use YouTube tutorials(The Woobles ), crochet blogs and blogs for guidance
- Started exploring blogging to document learning and reflect week
Week 2 Exploring the Basics of Crochet, My journey with Yarn and Stitches
This week, I began learning the fundamentals of crochet, an art form that uses a hooked tool and yarn to create fabric. I started by gathering basic tools: a crochet hook and yarn. I learned several Techniques like : Holding the yarn and hook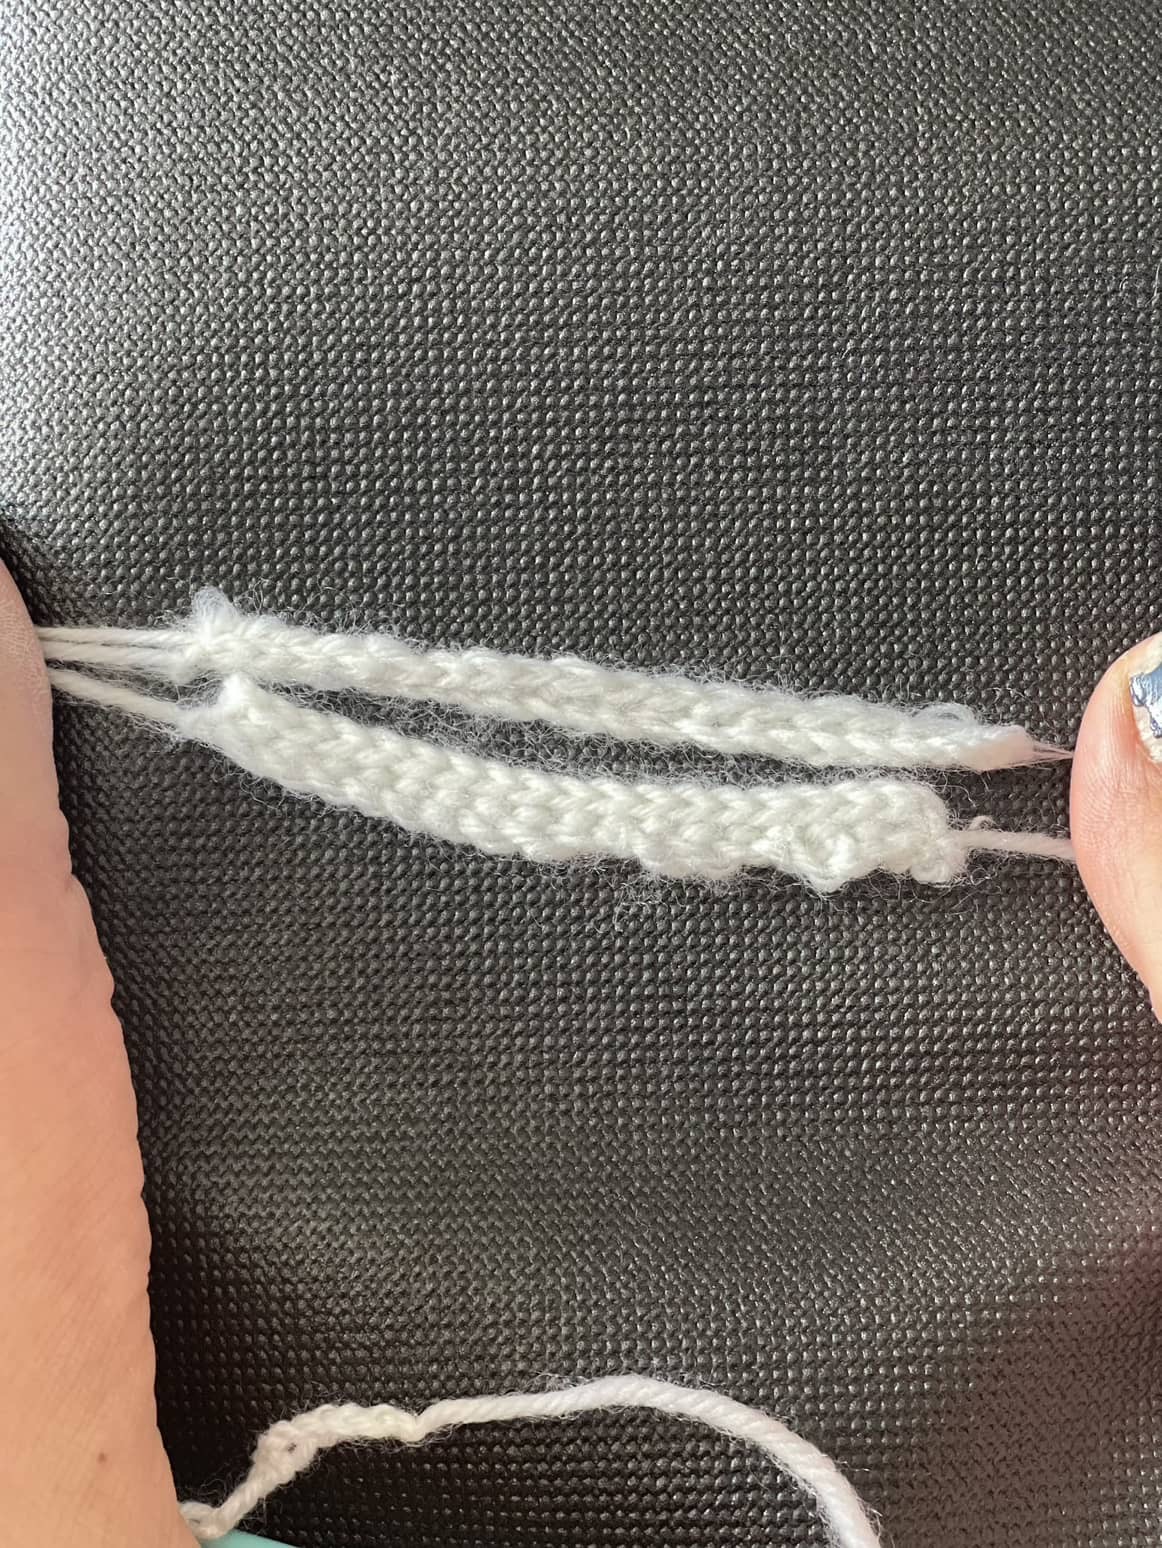 (Knife Grip)
- Slip Knot
- Yarn Over (YO)
- Starting Chain
- Working into the Chain
- Single Crochet (SC)
- Turning the Work
- Working in Row 2
- Fastening Off
- Slip Stitch
Week 3 Snake Plant Crochet: Leaf Creation & Learning Reflections This week, I focused on making the leaves for my crochet snake plant. I made small, 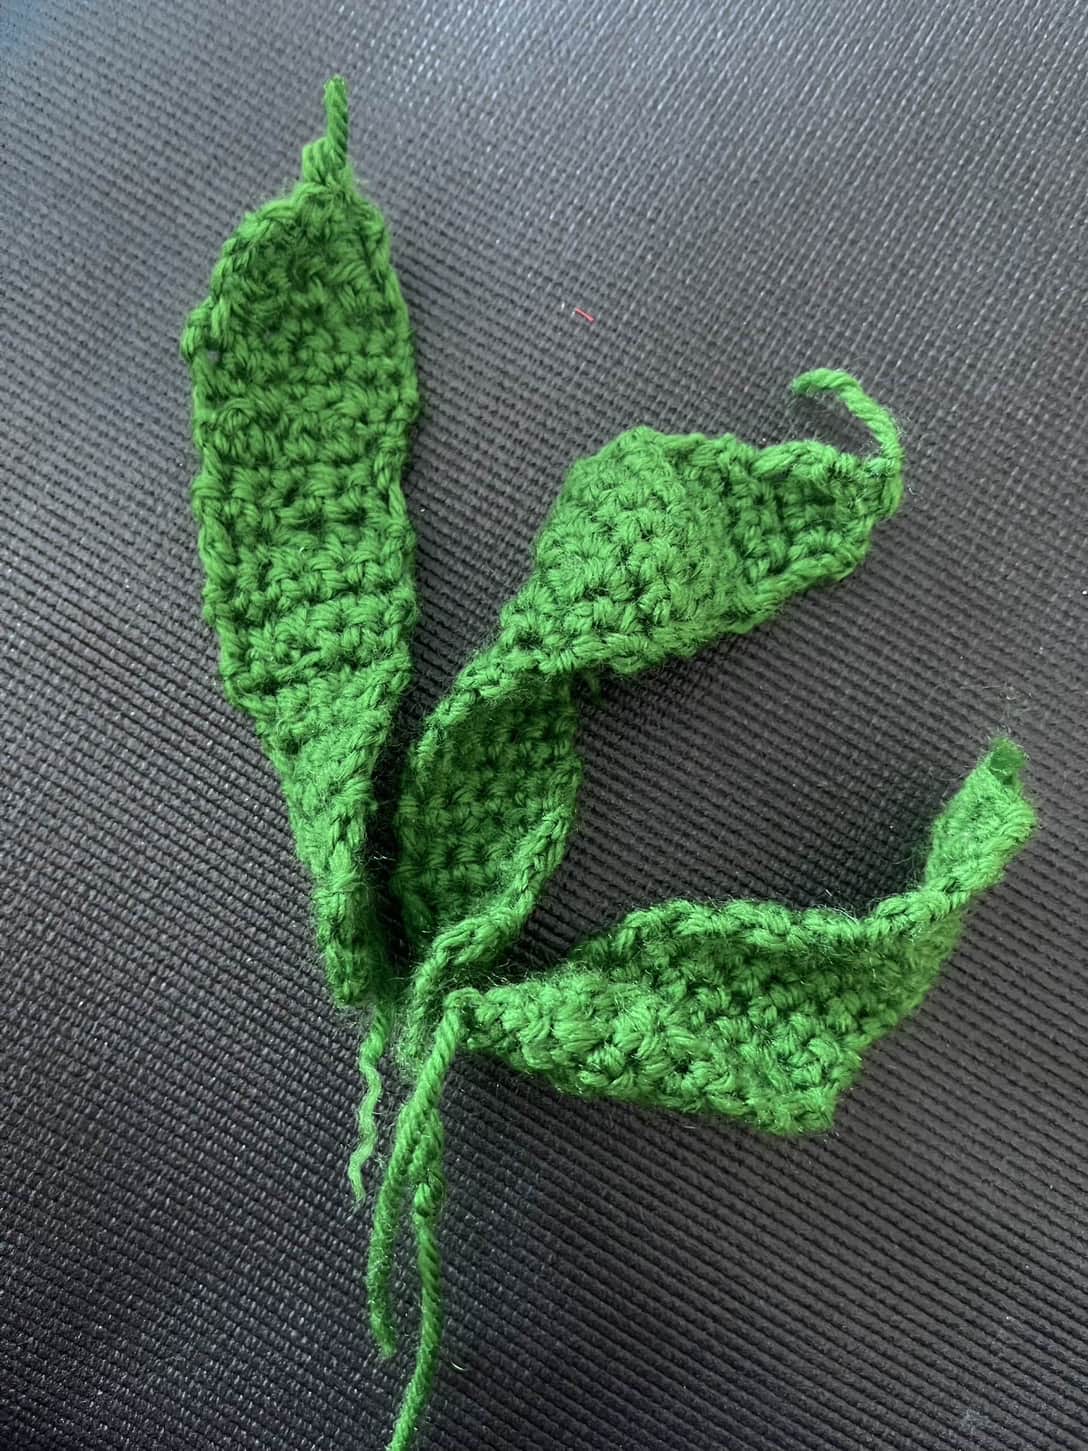 medium, and large leaves for my crochet snake plant, challenging myself by creating all the different types for added character. Here are the techniques I learned this week:
- Practicing Stitch Tension
- Size and Shape Matching
- Following a Crochet Pattern
- Stitch Counting
- Crocheting Small, Medium, and Large Leaves
Week 4 Completing the Shape and Detailing of Snake Plant Leaves 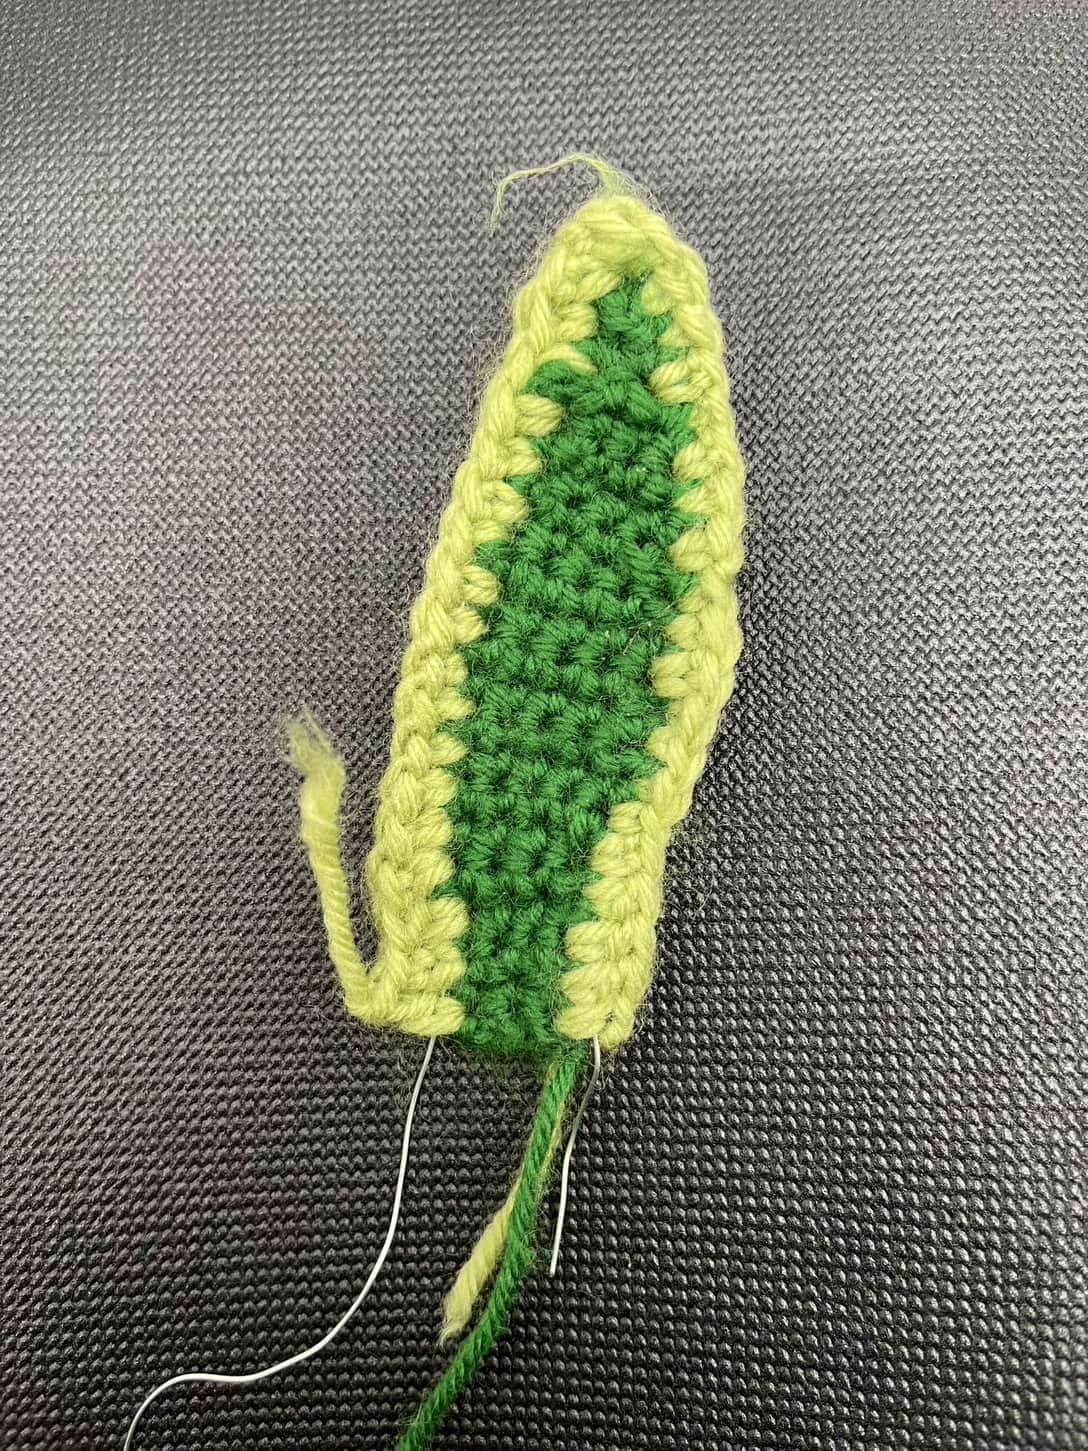 This week, I worked on wiring my crochet snake plant leaves by cutting wires for different sizes and adding neat borders using corner stitches to ensure clean edges. I initially struggled with managing the wire and yarn, but after finding a more detailed tutorial, my edges turned out cleaner.
Week 5 Crocheting the Base of the Pot: Overcoming Challenges This week, I worked on the base of my crochet pot, starting with the magic ring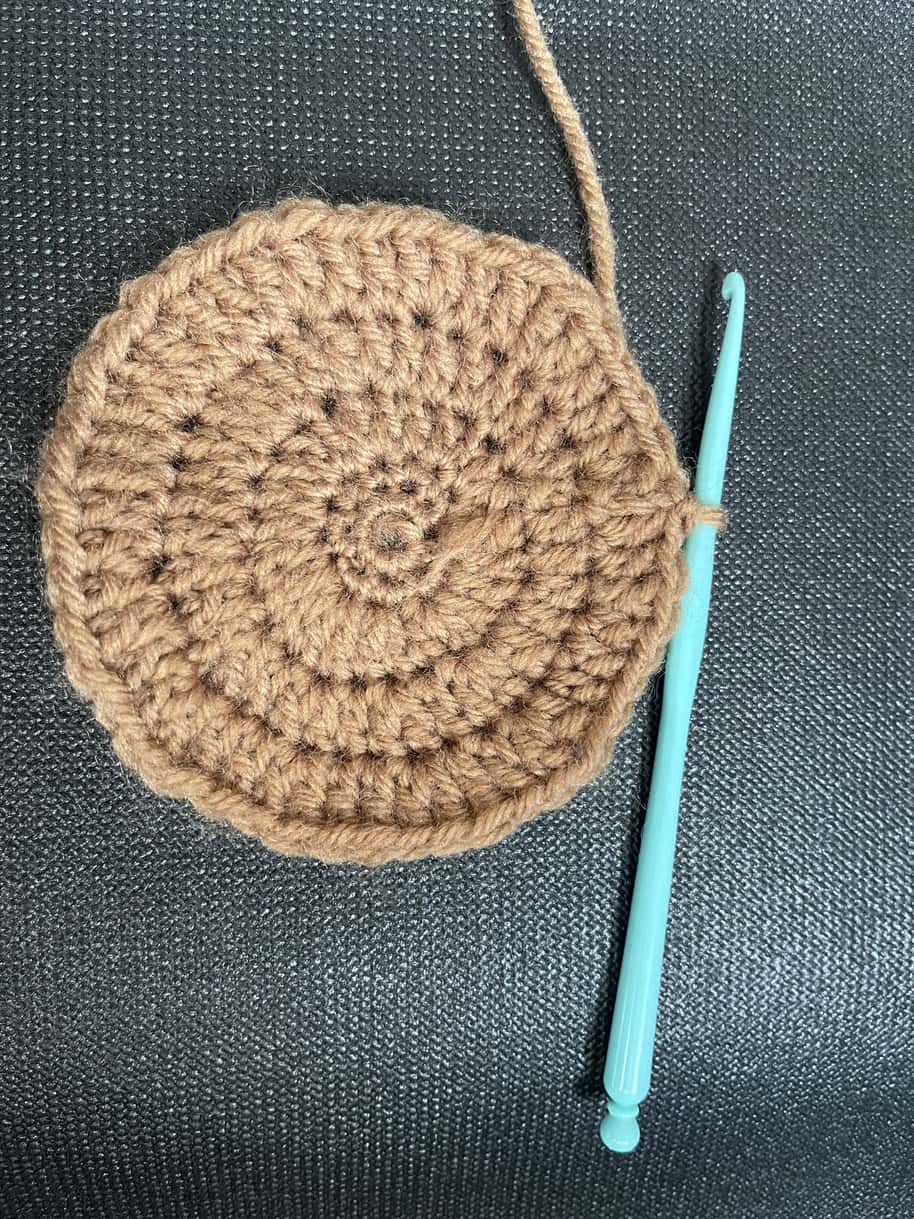 technique. Initially, I used a piece of white yarn as a stitch marker, but it was tedious, so I switched to a bobby pin. The base kept curling, so I explored different tutorials, adjusting my stitch count and switching from single crochet (SC) to double crochet (DC). These changes finally helped me create a flat base. Through trial and error, I learned the importance of patience, problem-solving, and adjusting techniques. I found the best tutorial that provided clear, detailed instructions, helping me resolve my issues.
Week 6 Pot for my Snake Plant This week, I focused on completing the crochet pot for my snake plant. After exploring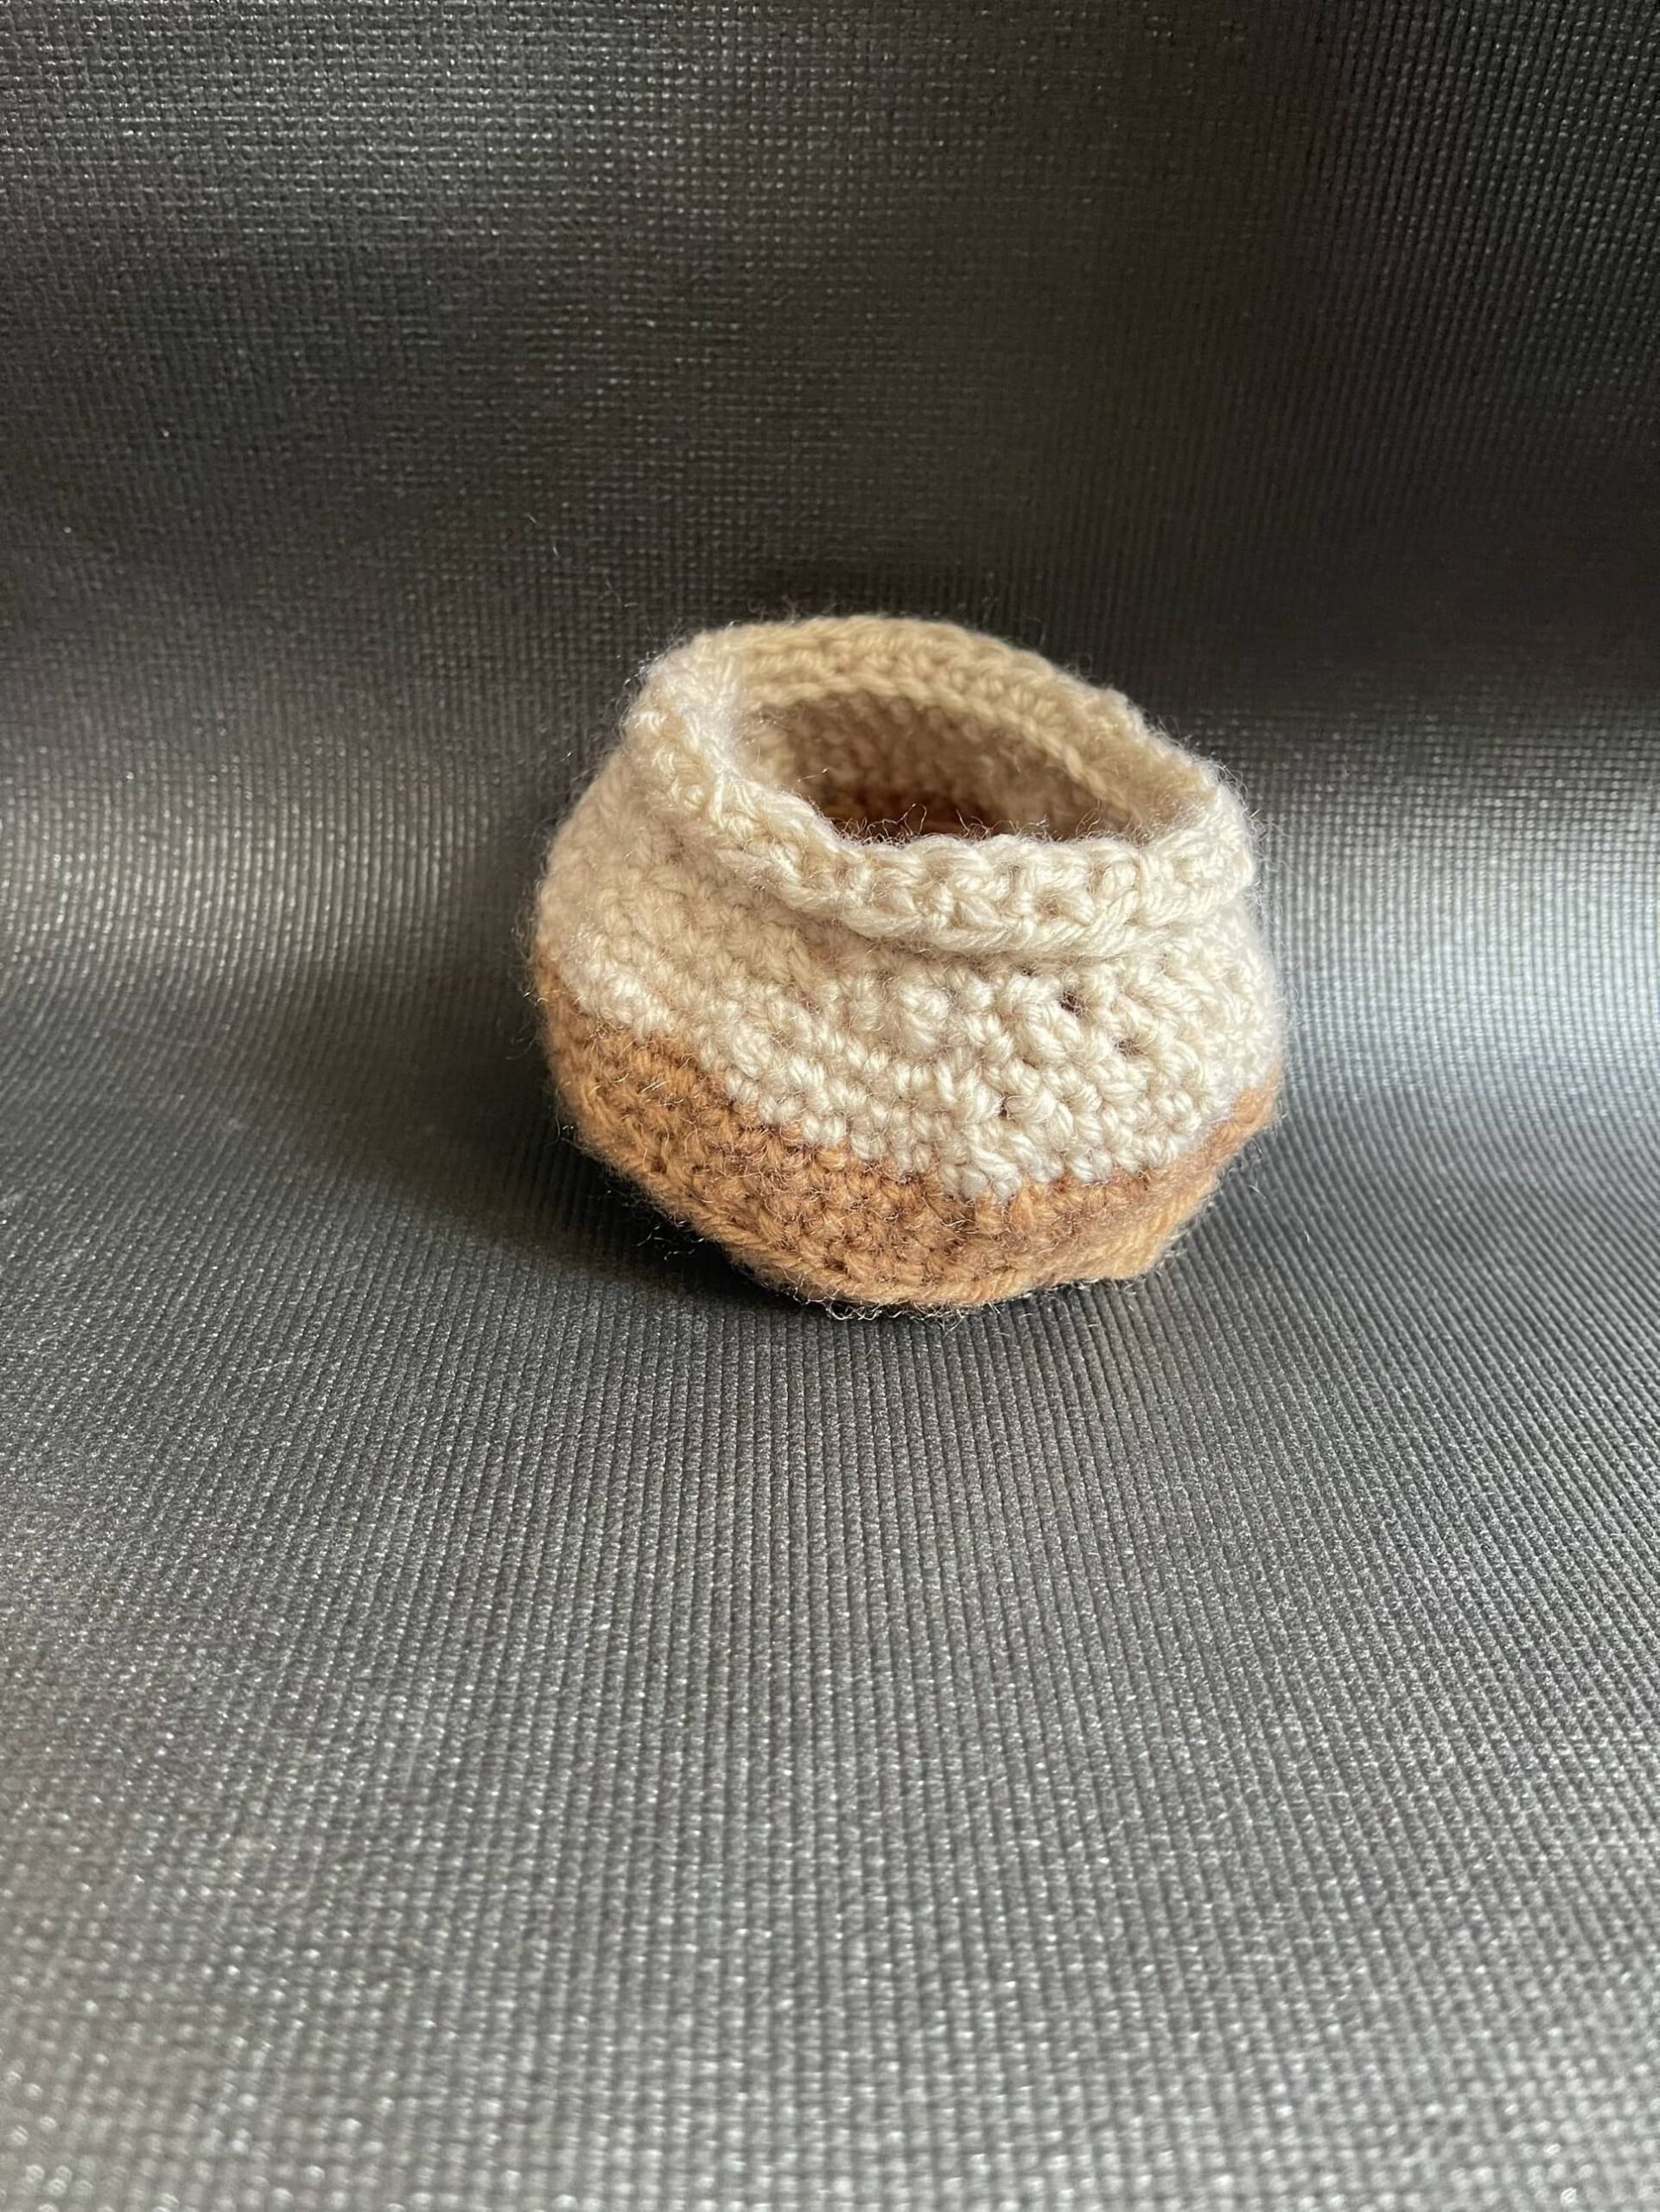 various resources, I found a pattern that worked and used a mix of YouTube tutorials, blogs, and the Whimsical Stitches e-book to guide me.
The main challenge was shaping the pot and maintaining consistent tension. Through trial and error, I adjusted stitch counts and techniques to fix sizing issues. To personalize the pot, I added a second yarn color for a two-toned look, adding contrast and texture.
Week 7 Assembling the Snake plant
This week, I completed my crochet snake plant by making the dirt, stuffing the pot, and assembling the leaves.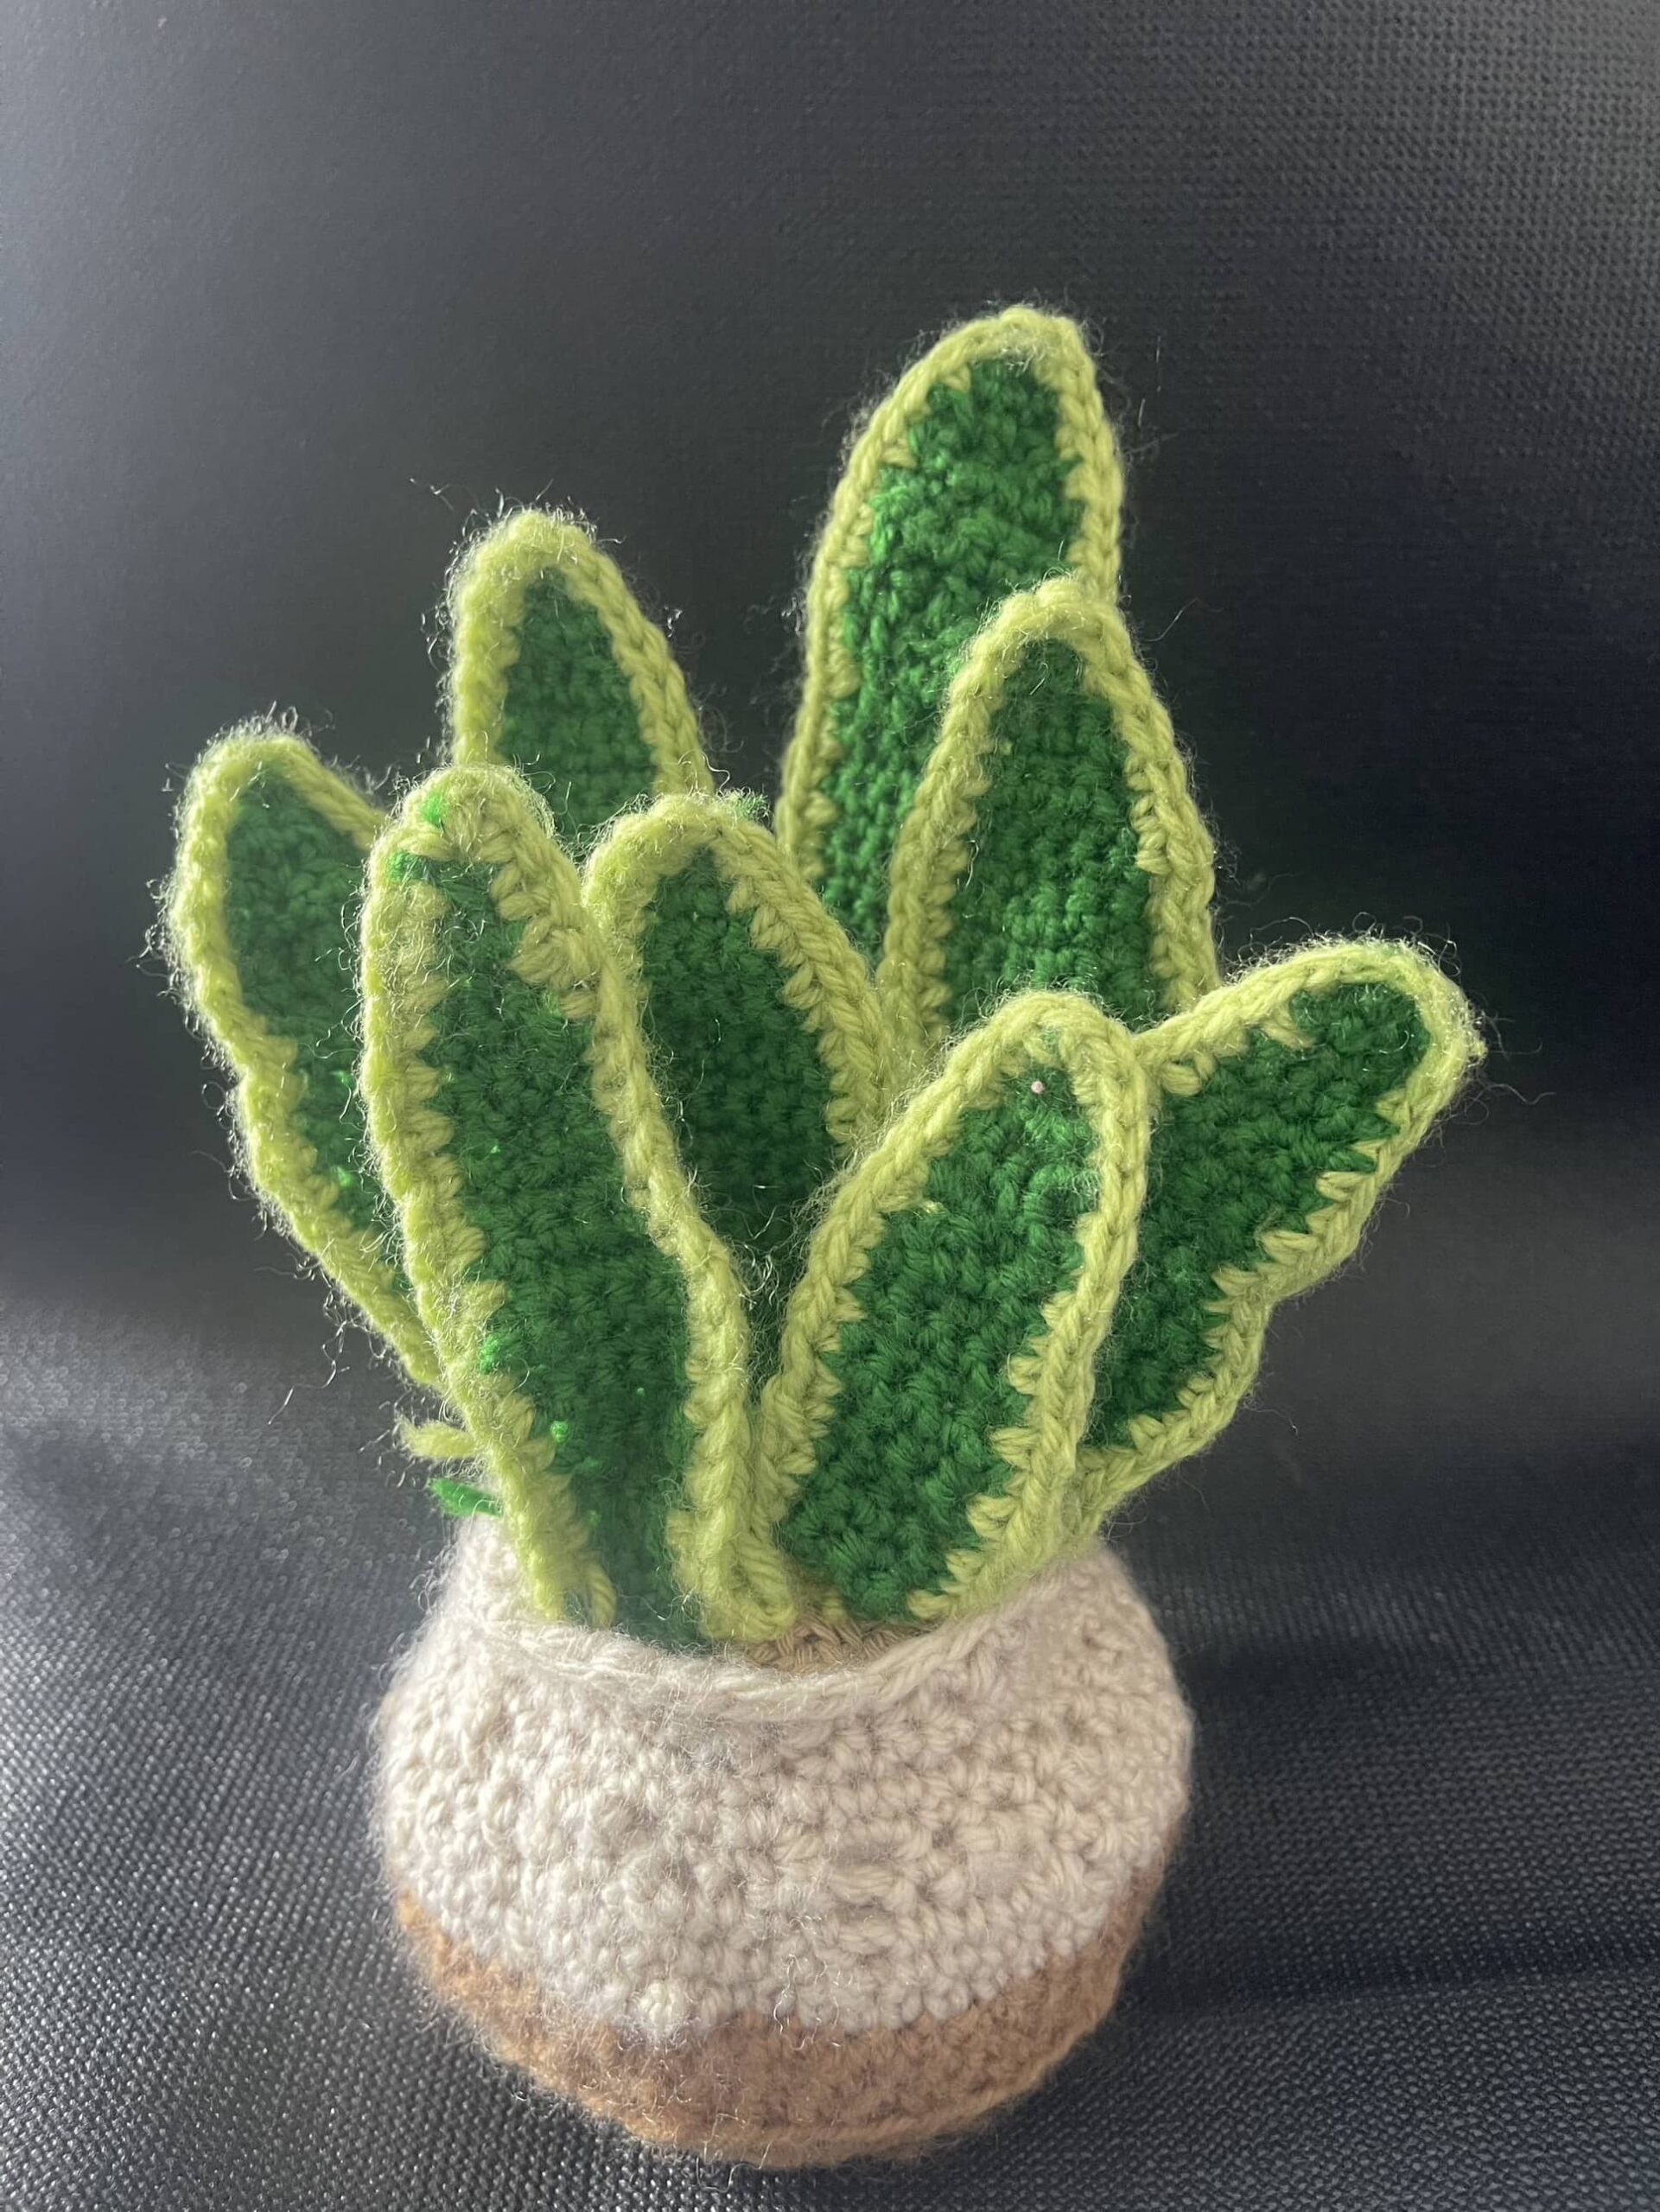
For the dirt, I crocheted a circular base, adjusting stitch counts until it fit well. I added a cardboard base and fiberfill to keep the pot sturdy. Then, I attached the leaves—some reinforced with wire for support—arranging them for a natural look.
I learned how important structure is in crochet, and how small changes, like more stuffing or stitch tweaks, can improve the result. A blogger’s diagrams and photos made the assembly process much easier to follow.
Week 8 Crocheting a Floral Coaster: A New and Exciting Project
This week, I crocheted a floral coaster after getting inspired during breakfast. I followed a YouTube tutorial and used violet and green yarn to make the flower. The pattern was tricky at first, especially with stitch increases, but I figured it out after rewatching the video.
It was my first time making crochet flowers, and I loved shaping the petals. I even made a quick video using CapCut—my baby’s background noise included!
The project boosted my confidence and made me excited to try more floral designs.
Week 9 Crocheting a Rose: Bringing Floral Beauty to Life
This week, I was inspired by a beautiful crocheted rose I saw on Instagram and decided to make one myself. I used deep red yarn for the petals, starting with a magic ring and increasing stitches to create layered, realistic petals. For the leaves, I tried triple crochet for the first time and added floral wire for shape and flexibility.
The project pushed me to explore new techniques and textures, and I loved how the rose began to take shape. I followed a clear video tutorial for the petals and a detailed blog for the leaves, which helped guide me through the process.
This has been one of my most rewarding crochet experiences yet!
Week 10 Overcoming Challenges in Crocheting Sepals and Assembling My Rose
Crocheting flowers can be beautiful but challenging—especially the sepals and assembly. This week, I struggled with the sepals at first, trying multiple tutorials until I found one with clear steps that finally worked. I was proud of myself for not giving up.
Assembling the rose tested my patience. I created the stem by wrapping yarn around wire and attaching the leaves. I initially glued the first petal, but the residue looked messy, so I switched to stitching the rest. In my focus, I forgot to add the sepals! Since the first petal was glued, I couldn’t remove it, but I managed to unwrap the stem, add the sepals, and reattach the petals.
This experience taught me the value of patience, planning, and choosing stitching over glue for a cleaner finish. Mistakes happened—but I adapted and ended up with a result I’m proud of.
What Contributed to My Learning
Several factors played an important role in my crochet learning journey. This course gave me the motivation and space to explore a new skill, and the flexibility to use different online resources like YouTube and crochet blogs made it easier to find guidance that worked for me. When I faced challenges, switching between tutorials and trying again helped me understand better. Supportive comments from classmates and helpful guidance from the teacher really encouraged me to keep going. Their feedback motivated me to push through difficult parts and celebrate small wins. Reflecting on my work, making videos, and seeing my progress also made the learning process fun and meaningful.
Personal Growth Reflection
This crochet journey has been about much more than just learning a craft—it’s been a real process of personal growth. Before this class, the only stitch I knew was the single crochet. I didn’t know how to hold the yarn properly or how to follow a pattern. But through this course and with the help of different online sources, I’ve learned so much more. I’ve now explored a wide variety of stitches like half-double crochet, double crochet, and even triple crochet. I’ve learned how to hold the yarn in a way that gives me better control and flow. Beyond the technical skills, I’ve grown in patience, problem-solving, and persistence. I used to get discouraged when things didn’t turn out perfectly, but now I see those moments as opportunities to learn and improve. Each project gave me the chance to challenge myself, and with every flower, leaf, and petal, I became more confident in my ability to create something beautiful with my own hands.
