This week, I began to learn the fundamentals of Crochet. Crochet is an art form that involves creating fabric by using a hooked tool (a crochet hook) and yarn or thread 
Tools I required:
Crochet Hook
Yarn
Learning the Basics: I started by familiarizing myself with the basic techniques and stitches in crochet. Here’s a breakdown
How to Hold the Yarn and Hook: At first, I was a bit confused about how to hold the yarn and crochet hook. After trying several ways, I finally found what worked for me. I hold the hook in my right hand (since I’m right-handed) and the yarn in my left hand. There are two common grips for the hook: the Pencil Grip and the Knife Grip. I personally prefer the Knife Grip as it felt more natural for me.
How to Tie a Slip Knot: I learned that the slip knot is the first step in starting a crochet project. It’s the knot that gets the yarn onto the hook so you can start crocheting.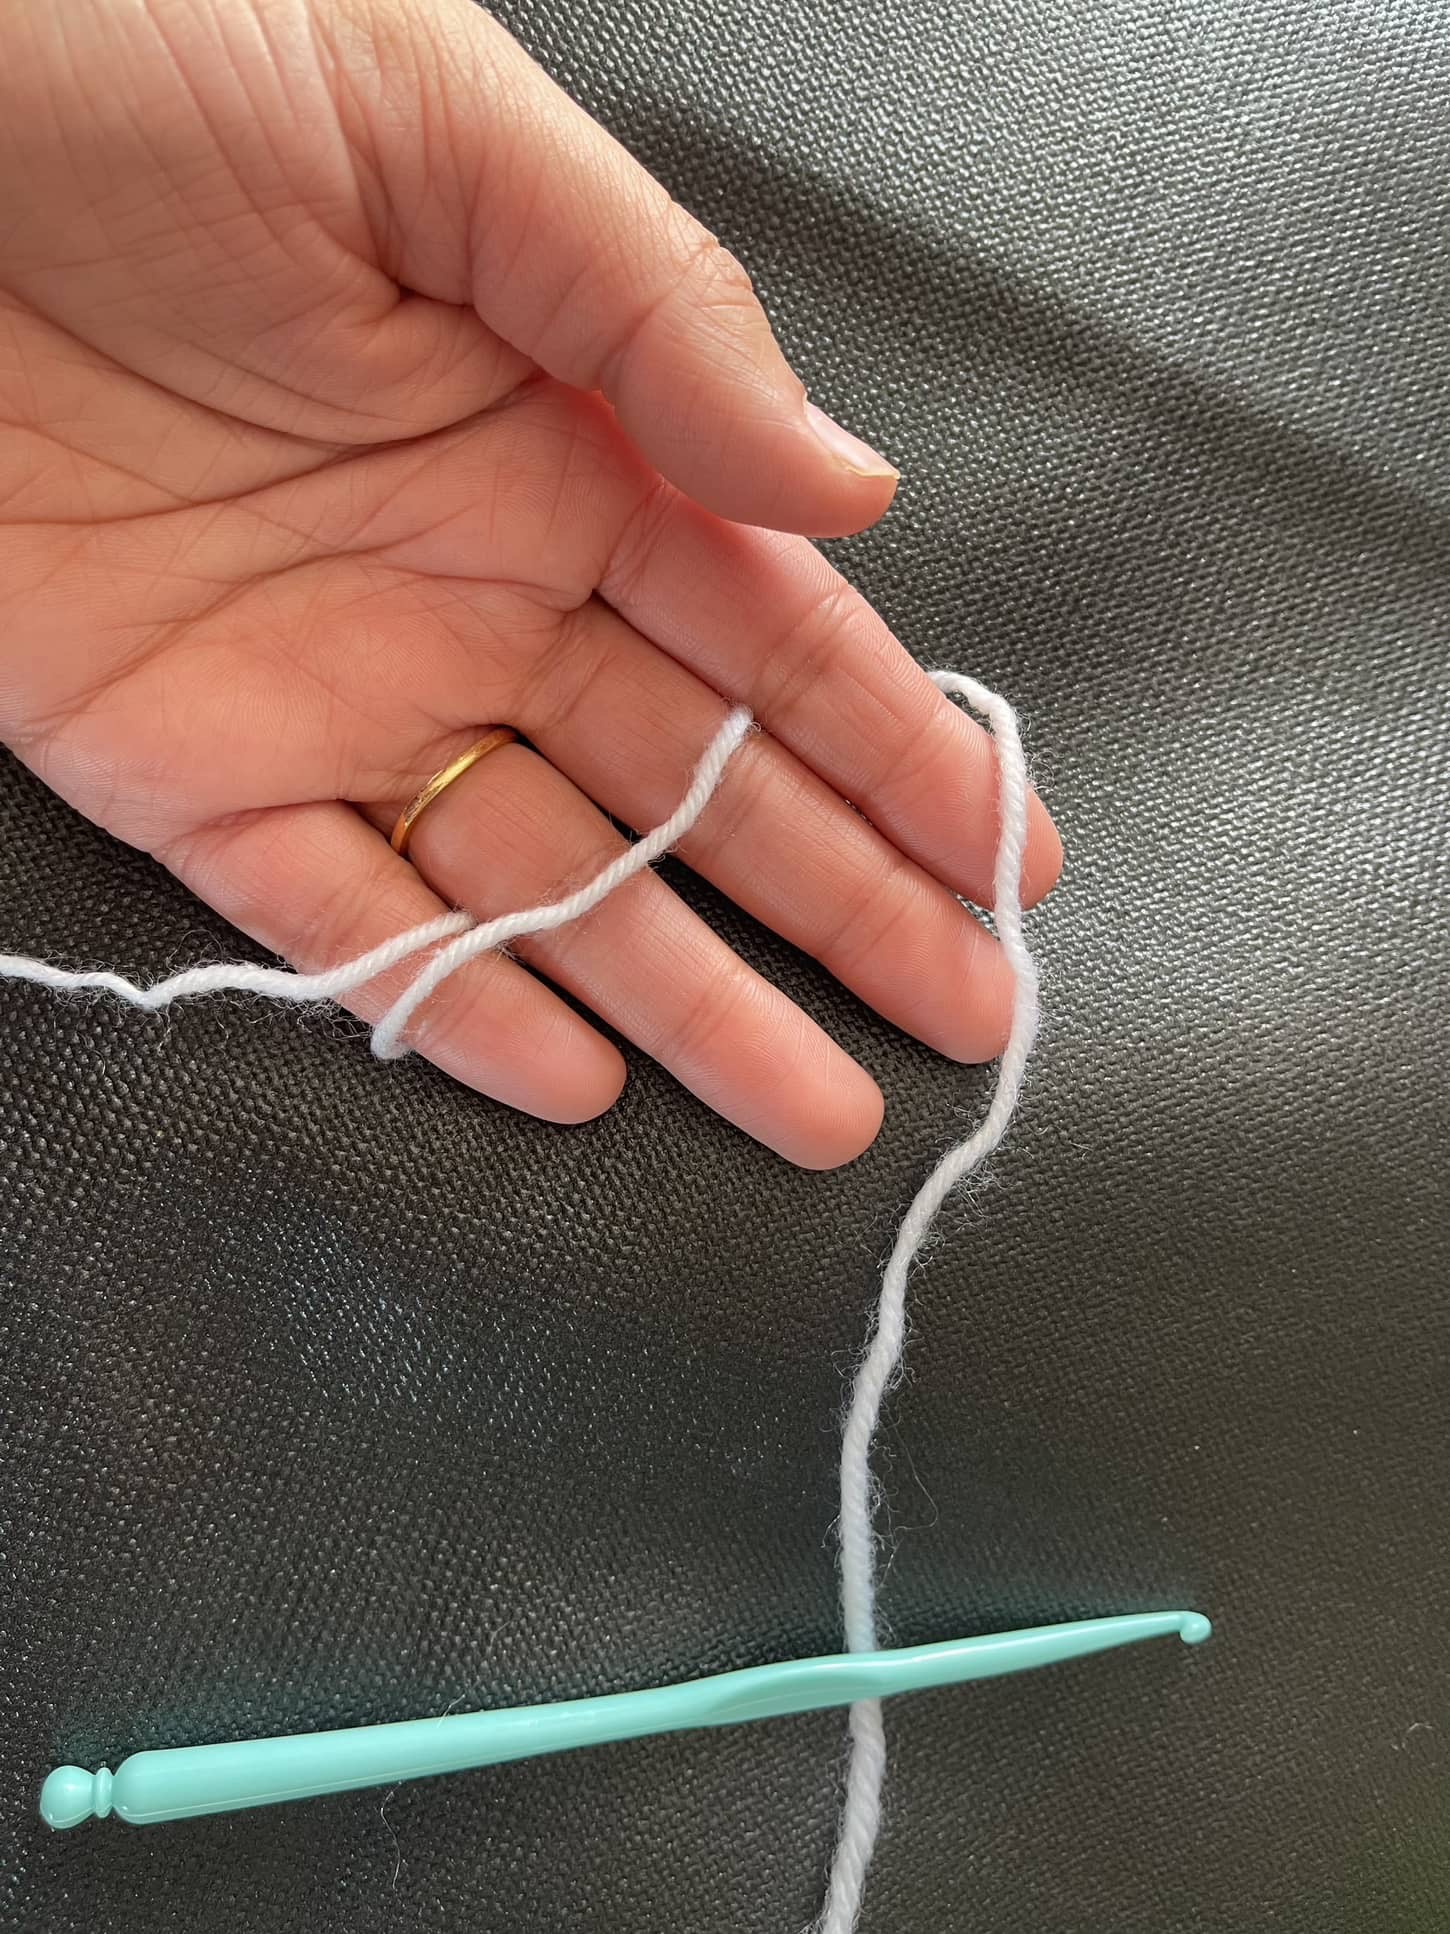
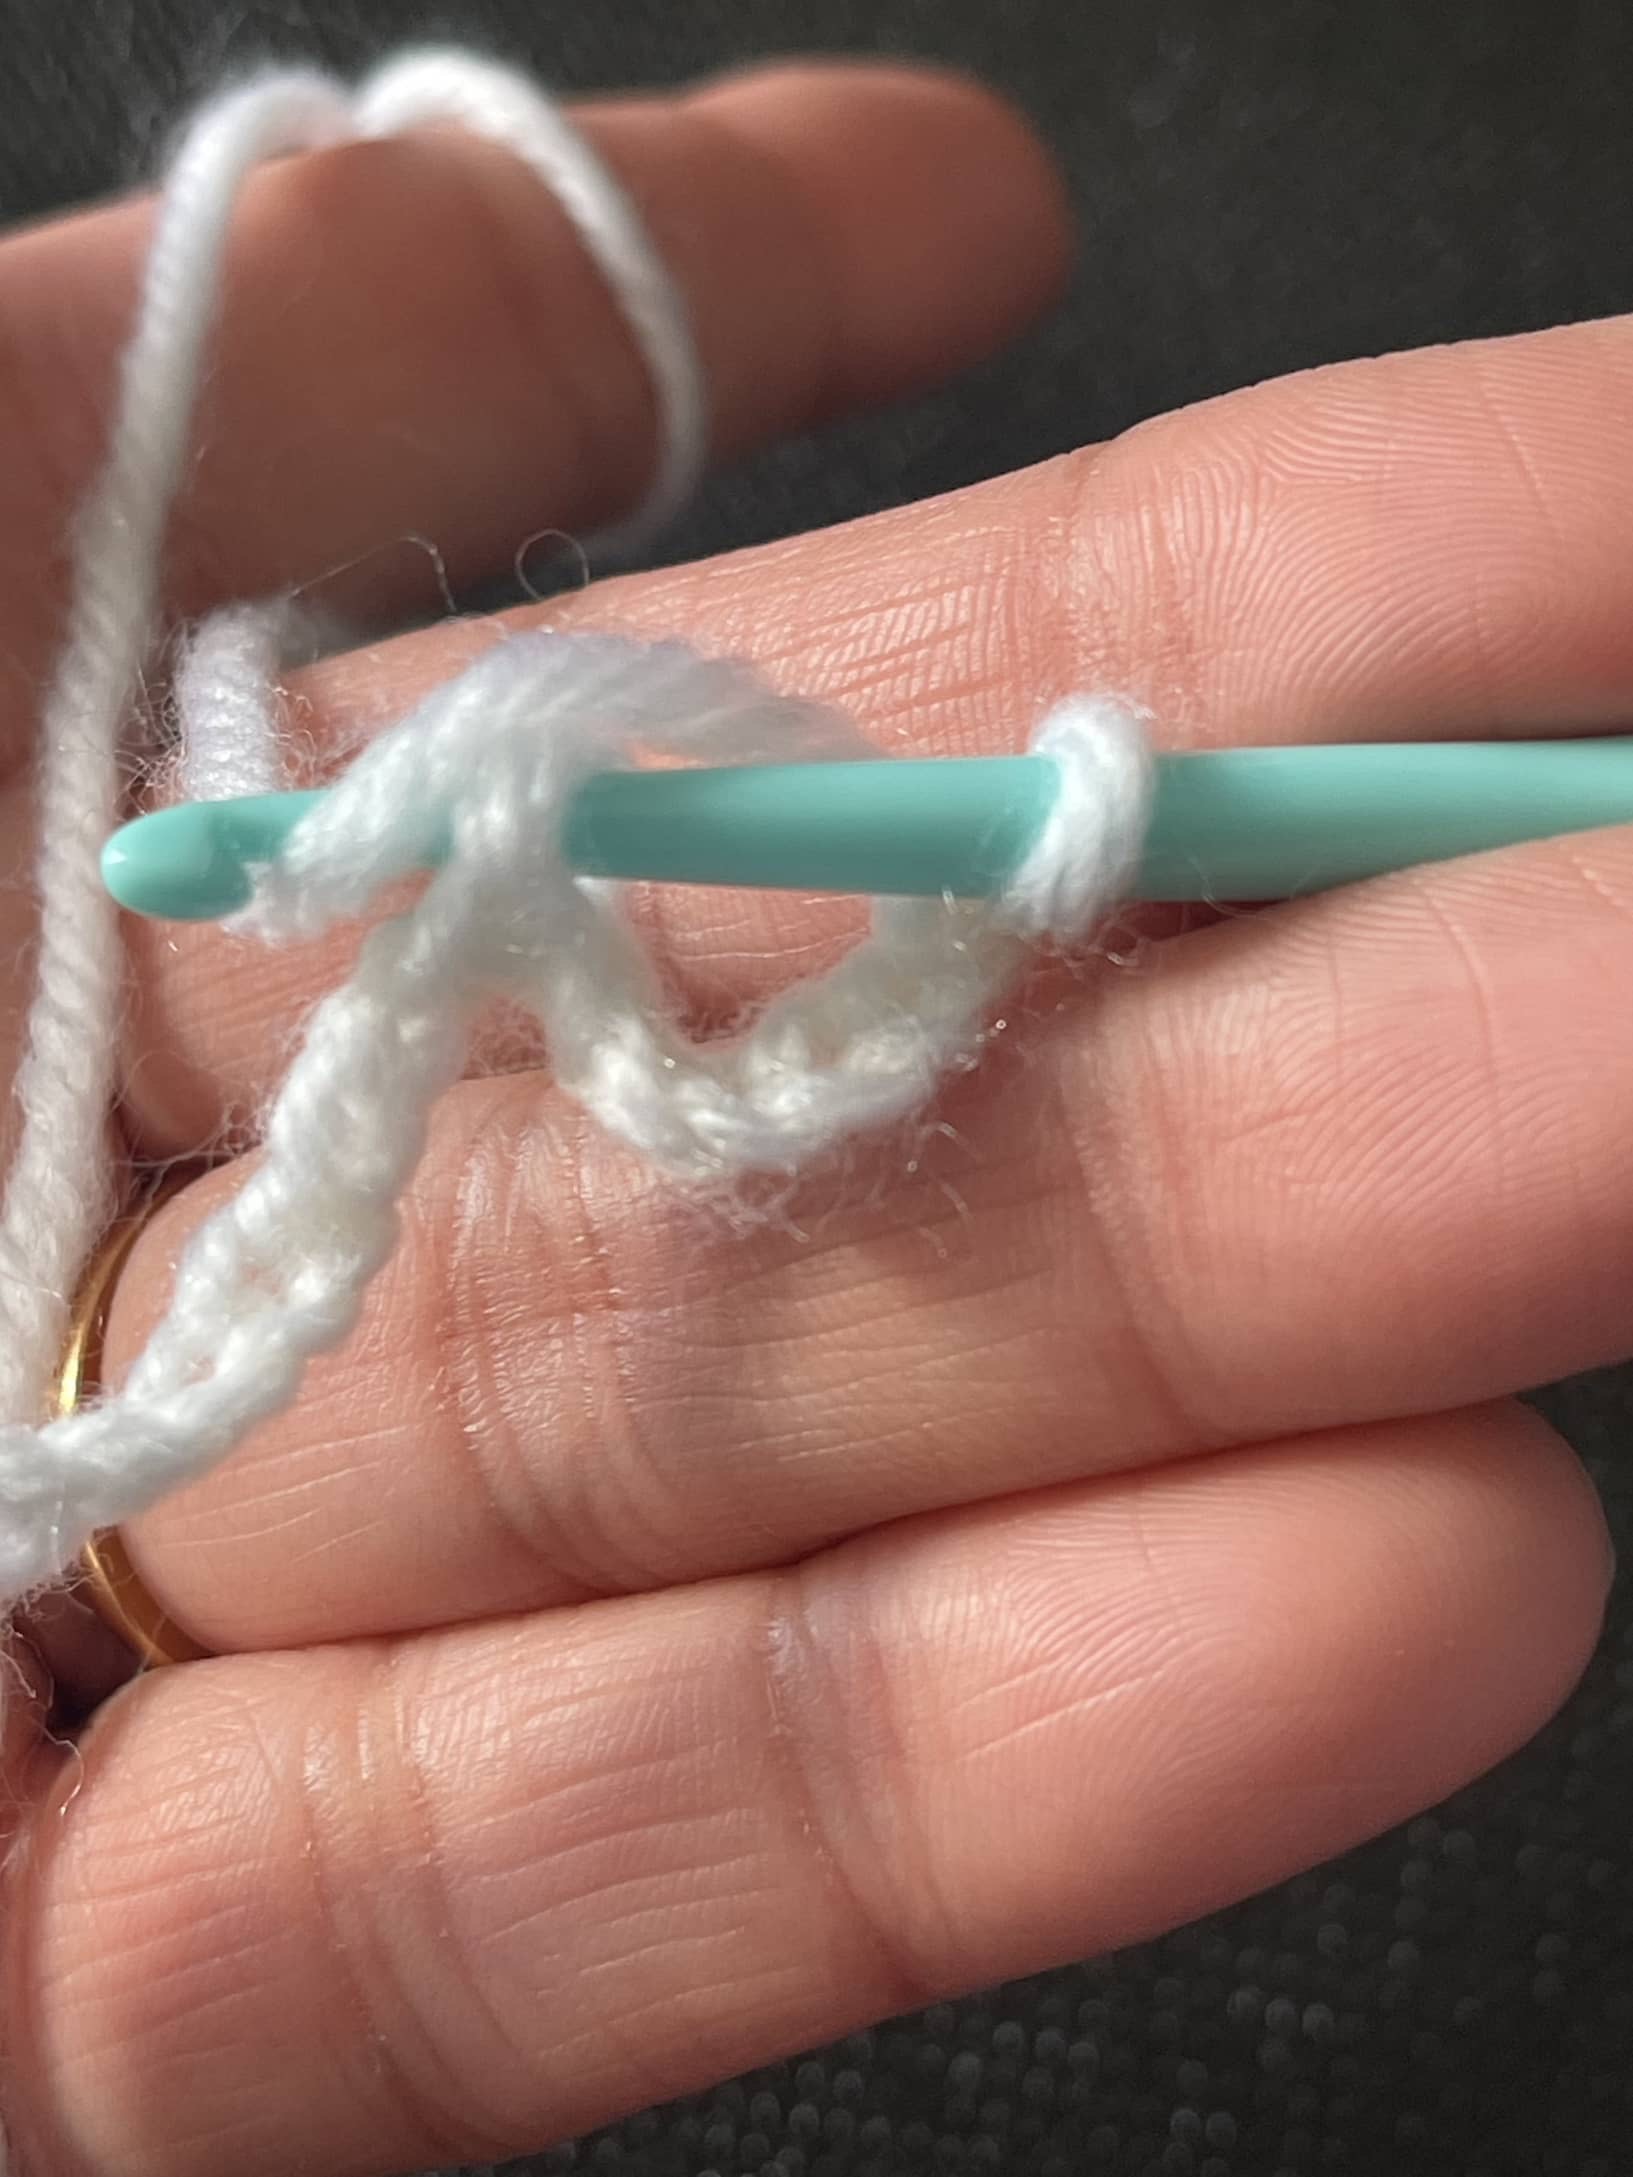
Yarn Over: The “yarn over” (YO) is essential for almost every stitch in crochet. It’s when you wrap the yarn over the hook to create the loop needed for stitches. It’s one of the most important steps to master early on.
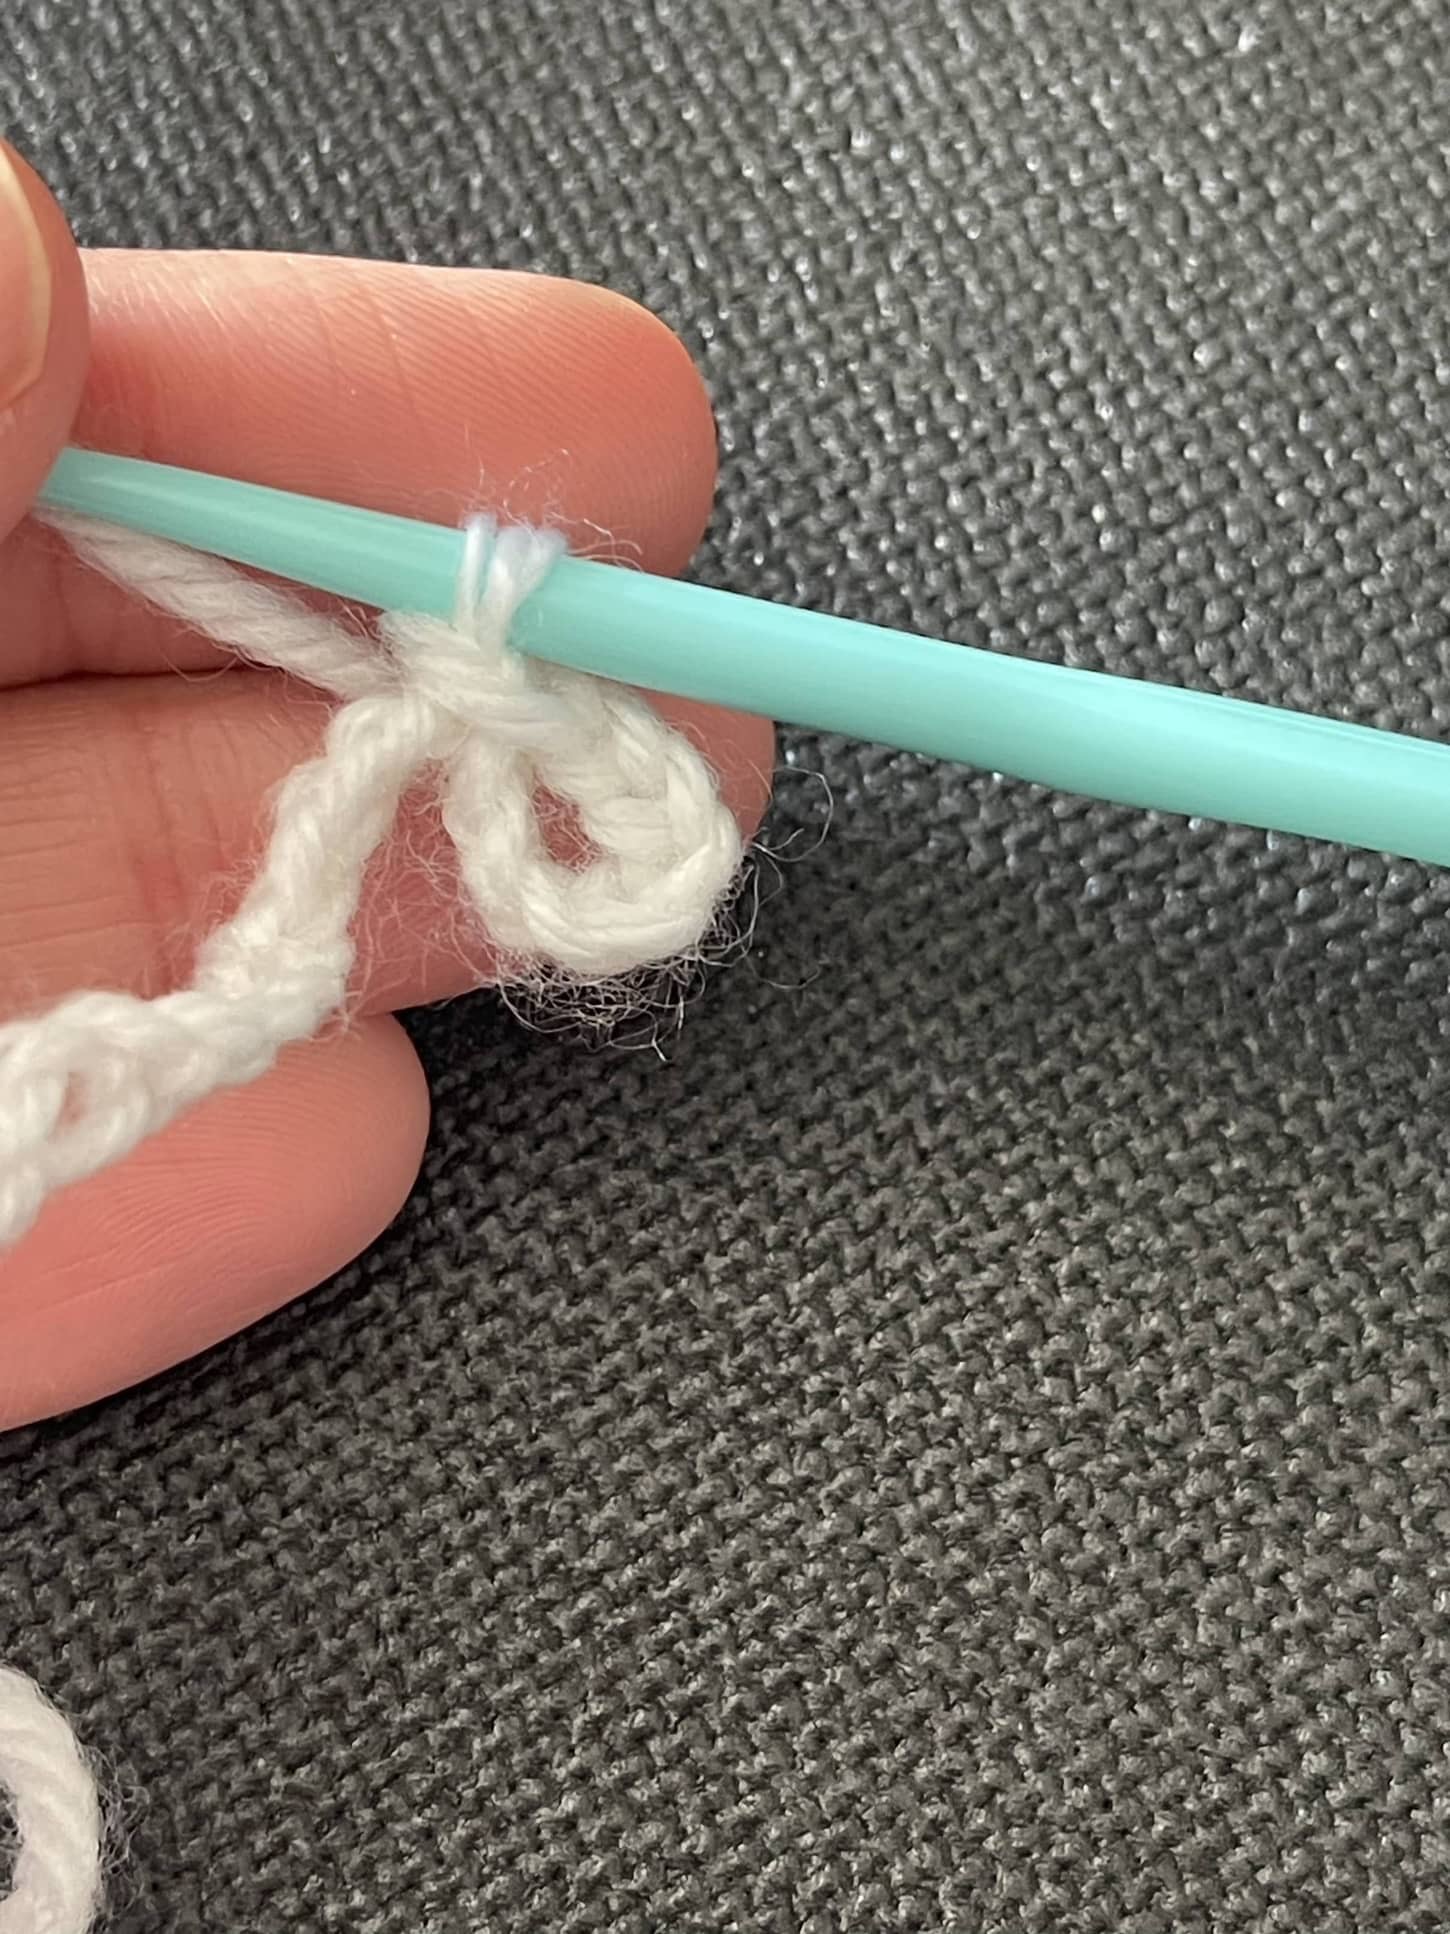
Making a Starting Chain: The starting chain is the foundation for many crochet projects. I learned how to chain a series of stitches to create the base for my project.
Working into the Chain: When I started working into the chain, I found that the front of the chain looks like a series of interlocking Vs, while the back has bumps. This helped me figure out where to insert the hook for the next row.
How to Single Crochet (SC): The single crochet stitch was my first stitch to learn. It’s the shortest stitch in crochet and one of the most basic. I spent a lot of time practicing this stitch.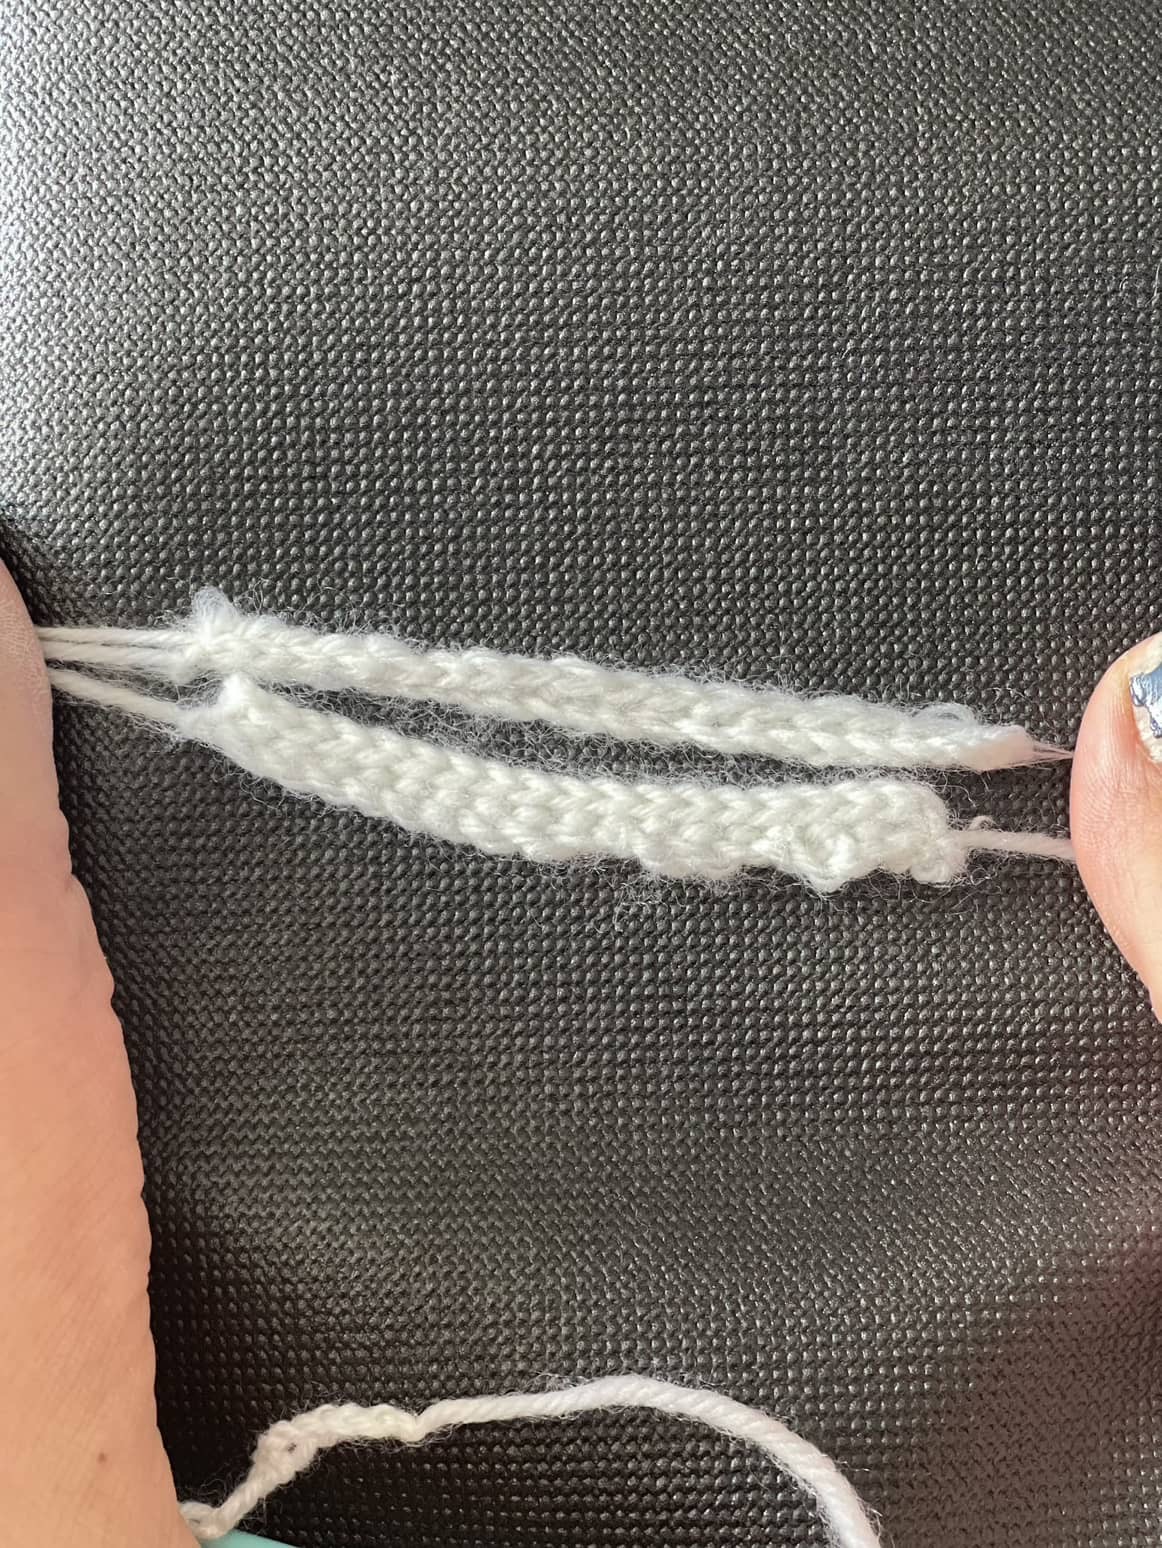
How to Turn the Work: After completing a row, I learned that you need to turn the work and chain 1 before starting the next row. The turning chain doesn’t count as a stitch, so I had to be mindful of this.
How to Work in Row 2: To continue crocheting, I turned the work, chained 1, and inserted the hook into the last stitch of the previous row. After yarning over and pulling through, I completed the single crochet stitch. This took a bit of practice, but eventually, I got the hang of it.
How to Fasten Off: After completing the crochet swatch, I learned how to fasten off. This involves cutting the yarn, pulling the yarn through the loop on the hook, and tightening it to prevent the stitches from unraveling.
Slip stich : I used the following three steps to complete the Slip stich.

Reflection on My Experience:
At first, I struggled with positioning the yarn and hook, but after several attempts, I found a method that felt most comfortable for me. When making the second and third rows, my stitches looked a little funny. It took me a few tries, but I eventually made the stitches more uniform and cleaner. The process of trial and error helped me build confidence, and I began to feel more comfortable with the techniques.
One thing I found challenging was the slip stitch. It felt a bit awkward, but I’m planning to keep practicing it so I can get more comfortable.
Reflection on crochet Blogger:
The blogger has done an excellent job of clearly explaining the fundamentals of crochet. I truly appreciate how she breaks down each step in detail, making it simple for beginners to follow. Every strategy is fully described because of the way she arranges the material into distinct points.
One of the things I liked the most about her post is that she included images at every stage. Visual aids make a huge difference in learning a hands-on skill like crochet. Additionally, she goes beyond just explaining stitches as she has provided guidance on choosing the right crochet hook and yarn size, which is essential for beginners.
Another great feature is the inclusion of direct links to purchase the recommended materials. This eliminates the need for readers to look for the appropriate tools individually, making it convenient. Overall, this blog is well-organized, educational, and beneficial for anyone to start their crochet journey.
Reflection on YouTuber:
The YouTuber did a great job of describing the various ways to hold the yarn, four distinct techniques assist everyone to find the most comfortable and natural grip.
Her use of large-sized yarn in the demos was one of the things that I found most useful. This ensured that even the smallest details were obvious and made every step extremely transparent and simple to follow. She also provided an insightful description of yarn tension. She gave viewers thorough instructions on how to keep the tension at the ideal level, which is essential for reliable stitches.
Everything described in her video was quite educational and easy for beginners to follow. Her meticulousness and learning to crochet was made easier by her careful presentation and attention to detail.
What’s Next?
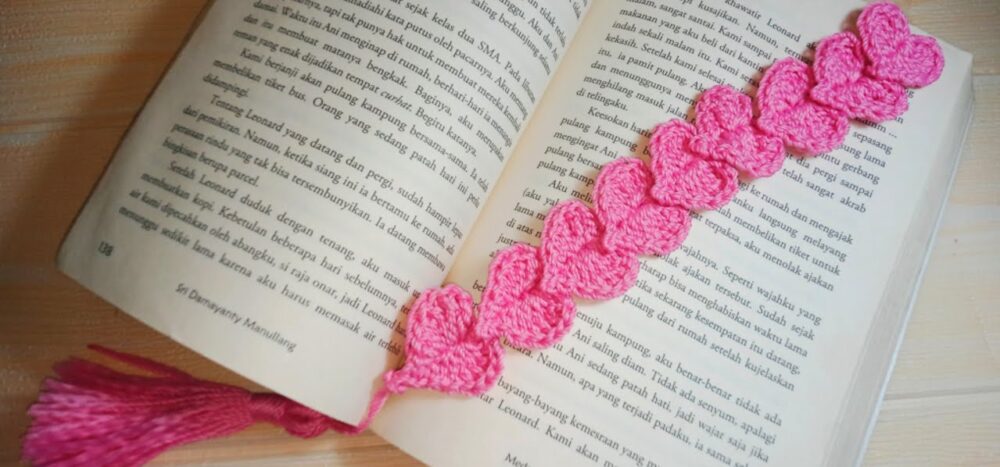
Now that I’ve covered the basics, I’m ready to take the next step in my crochet journey. For next week, I’ll be making leaves for my crochet snake plant. This will allow me to apply what I’ve learned so far, practice shaping techniques like increasing and decreasing, and explore creating more complex designs.