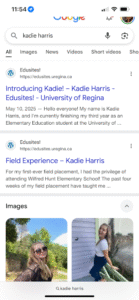
Hello! My name is Kadie Harris. I am from a city called Regina. I am currently attending the University of Regina’s Elementary Education program. Once I obtain my degree, my goal is to stay in Regina and pursue teaching young students to become wonderful young adults.

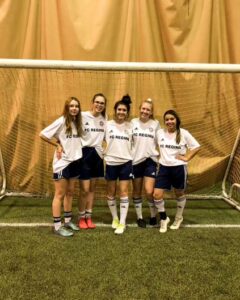
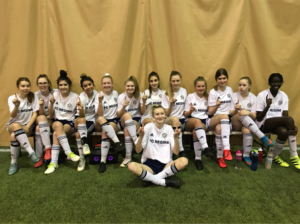
I had played soccer for 9 years, until recently of covid taking that away from me. Playing soccer has changed my life, and had became an outlet for me where I am able to relieve stress and anxieties once I step onto that field. In addiction, soccer had taught me valuable skills such as communication, confidence and dedication for success, which I am able to take with me into the teaching profession. Although I no longer play soccer, the skills I developed guided me into the person I am today.
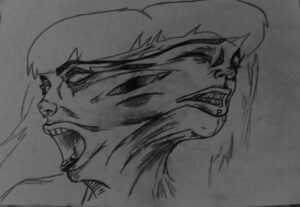
In my life a safe place for me has always been sitting in a quiet area with a piece of paper in front of me, and a variety of different pencils. My creativity is a huge part of my identity, it’s where I express my emotions, my knowledge and my character. Most of my life I have had a hard time expressing my feelings physically. Throughout my journey in life, I came to realization that drawing is the best way I do so. Drawing and creativity is one of the reasons why I am pursuing to becoming a teacher. The main skill I took from it is even if your non-verbal, you can still communicate with the world through creativity of art. My goal in my teaching profession is help children find a voice, even if that’s not verbally. Studies have shown in fact, many people have an incredible affinity for visualizing thoughts, or “thinking in pictures.” So Why not bring my passion into my other passion of the teaching profession.

I am excited to continue my journey towards becoming a teacher at the University of Regina. My life experiences have gave me valuable skills that I look forward to be using as I become a teacher. Students deserve to have a teacher who is excited and passionate about their career, and that is who I am going to be. I hope to influence the next generation and the ones after that to be confident in their abilities and inspire them to never give up on their dreams.