Canva Presentations… Are They Worth It?
This week I decided to immerse myself in learning Canva, specifically how to make presentations on it. This past year I have been really starting to get the hang of canva. Canva is a tool just like google slides, prezi, or powerpoint. You can make documents, presentations, and even more useful things on the app. I used it a lot in my pre internship to make my own worksheets for the class and was really surprised with how much I started to enjoy it. I have always been much more comfortable with google docs and even powerpoint in some situations but now I would confidently say that Canva is my top choice.
One tool that I was not aware Canva could do was to make your own presentations and be able to present them. I could see how this would be useful in so many situations in a classroom nowadays. One way that I would use it is by having my students first make a poster on the subject given to them. They would have to have all their key points on the poster or slideshow and instead of having them go to the front of the class and present, I would have them record their presentation on canva and then post all of the videos to our class google classroom or padlet. The SAMR model is a concept that we talked about last week. It is used to analyze a lesson or idea and improve it by making it more technologically advanced. SAMR stands for Substitution, Augmentation, Modification, and Redefinition Using the SAMR model, I would improve my idea even more and have the students comment on each others videos, leaving notes of what they liked and maybe one thing to improve on.
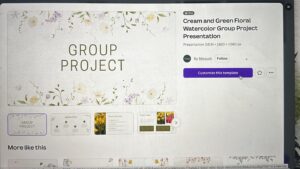
A presentation on Canva is fairly easy and only requires a few simple steps. First you will start off by either creating your own template of a presentation or searching for one using the search bar on the home screen. If you chose to search for one you will click on it and press customize this template. Once you have done that you are able to edit the presentation however you please.
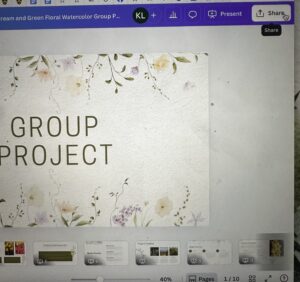
Once you are happy with your final product and are ready to record and present you will first click on the share button on the top right hand side of your screen.
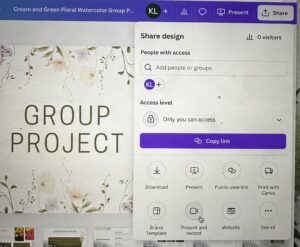
Next you will click on the second circle near the bottom of the options which says record and present.
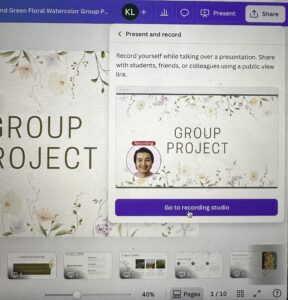
Once you have pressed that, you will get a screen that says “go to recording studio”. You will want to click on that.
You will want to allow canva to access your camera and microphone, so you should click allow on that. This does not mean that you always have to video yourself presenting but this gives you the option to if you would like.
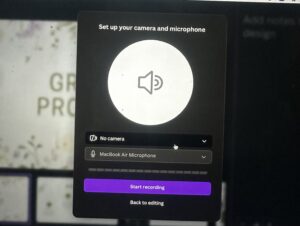
Next you will get a screen that pops up and says “set up your camera and microphone. This is where you have to choose what kind of presentation you want. If you would like to present with just your slides and your voice you will click on No Camera. If you would like a presentation with a video of you talking in the corner of your presentation you will click Facetime HD Camera.
Once you have chosen that you will click on start your recording and once you are done you will click on end recording and you are done! You can download the video and upload it to wherever you need to. It is a super easy and quick way to do a presentation for students. I personally would highly recommend canva for your next presentation!
Hi Kallie!
Thanks for this awesome breakdown of using Canva for presentations! I’ve used Canva a bit for worksheets and visuals in my before and after school program, but I didn’t realize how smooth and simple the presentation and recording features were. I love your idea of having students record their presentations and then share and comment on each other’s videos—it’s such a creative way to build confidence and integrate tech meaningfully. This definitely takes a typical poster project to the next level using the SAMR model. I’m excited to try this out with my own students one day!
Hey Kallie!
I love Canva! I still have lots to learn as it offers so much. You did a great job showing how to create or choose an already made presentation and adding a recording with audio included. This is such a great way for students to create a presentation and sharing a new way of presenting their work. Thanks for the info.
Hey Kallie!
I love Canva! Canva has dozens of features for users. Not only is Canva designated towards making PowerPoint presentations, but, this online digital tool can be utilized for creating pamphlets, newsletters, lesson plans, comic strips, and more.
What I appreciate about your blog post, Kallie, is the fact that you like to take a close up photograph when implementing pictures for your learning journey project. One thing I would mention is to kindly include videos to better demonstrate your learning process. Overall, I loved the blog post. Thanks Kallie!
Hi Kallie, thanks for sharing. I have recently just started using canva this past semester and I love it. It’s a pretty handy tool to have and as you mentioned, being able to make your own slides is a very useful tool to make them how you want and unique. Your steps on how to make a presentation were super easy to follow and understand. I did not know you could record your own audio or video on Canva, that’s pretty neat!