I can’t believe this is the last Nail Day.. I remember getting super excited the day Katia told us about the Learning Project, and how I was talking to my friends and family for ideas. Then I remembered there is something I’ve been wanting to do for a while— nails! I’ve been hesitant to buy the supplies and start on my own because being a full-time student means not much free time, but having to take this class in spring was the best decision of my life. I’m so glad that I chose to start my Nail Days with such amazing classmates, so here is a summary of all my Nail Days! Check the last Nail Day for my last set that I’ll be sharing with all of you.
Nail Day 1: First try never goes well…
This is my very first set— and as expected, they turned out a little wonky. The tutorial video I watched is by Cutepolish on YouTube. It was definitely a trial and error process as the first two extensions turned out horrible— they were super thick and bumpy, and they weren’t fully attached to my nails. I was also able to experience and find out what length I liked the best since I’ve never got nail extensions before.
Nail Day 2: Improvement!
The second set definitely turned out better than the first— they were much smoother and were the right thickness. Looking back at it now, I love the shape and the length, so I might have to try that again. I didn’t watch a tutorial video for this set because I wanted to work off of the tips I learned from the last set. I love how they turned out!
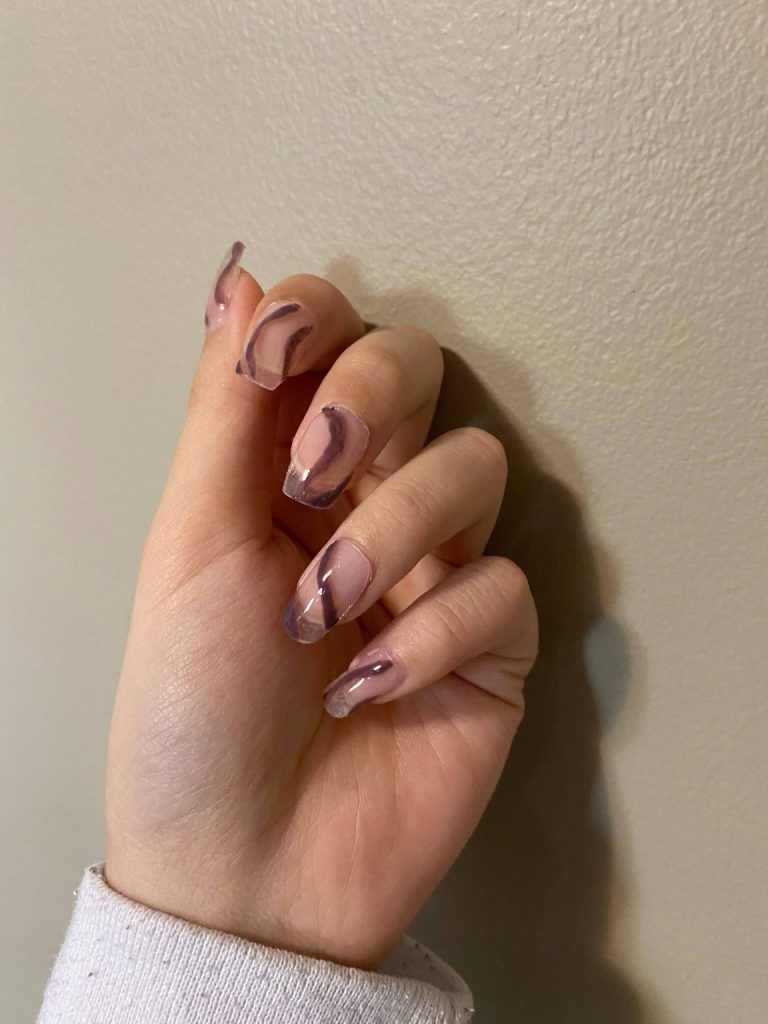
Nail Day 3: Salon quality??
Oh my goodness, I’m so excited to revisit this lovely set! This is still, and will be my favourite set ever. How pretty is this?? Again, I didn’t watch a tutorial video but I’m glad that I trusted myself with this set. The set was basically perfect and I have no complaints. I saw the most improvement with this set, so definitely go check it out for my uncontrollable excitement.
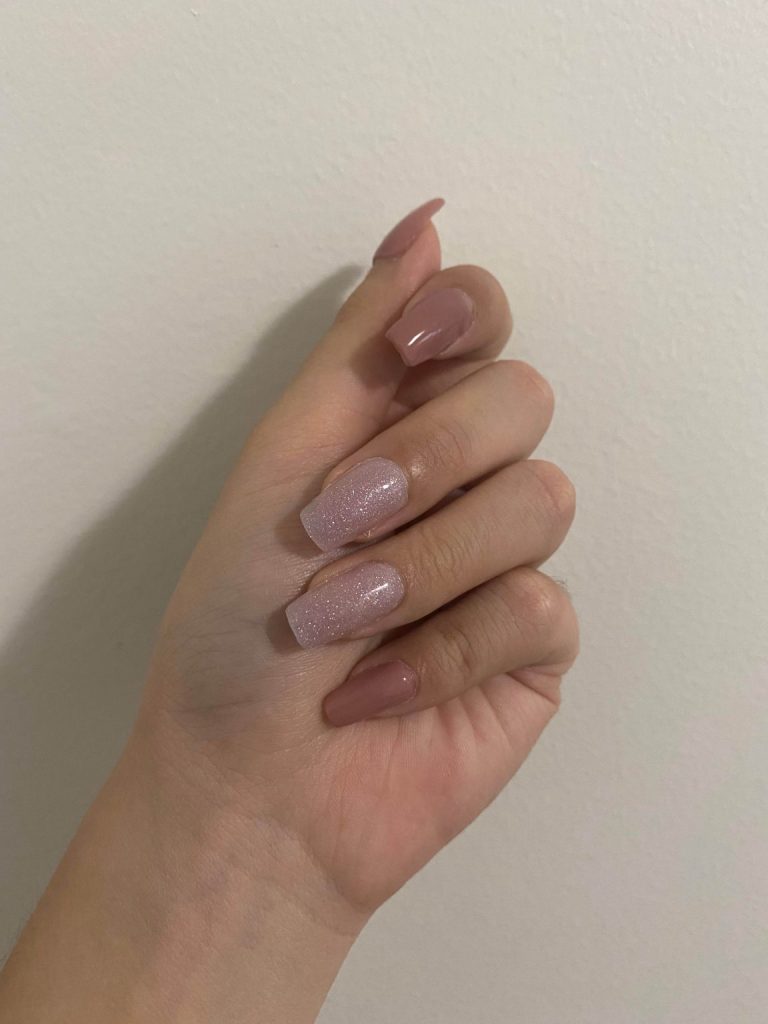
Nail Day 4: We all need a break…
This is one of the most memorable Nail Days because I did a voiceover video of the process using FilmmakerPro. This is the first set where I didn’t do extensions because my nails were very damaged from constant extensions removal.
However, I still love the way they turned out— and I learned a valuable lesson to let my nails rest in between Nail Days. They did turn out a little bumpy and rough, but sometimes, simplicity is good.
Nail Day 5: Pink everywhere!
This set is also so gorgeous as you can see in the picture— I had to revisit the design I did for Nail Day 3 but just with different colours. I’m not a fan of pink but I still love the way they turned out. I used a YouTube tutorial by one of my favourtie YouTubers, Tina Yong. She does a fantastic job at explaining how to get the most perfect extensions out of cheap polygel.
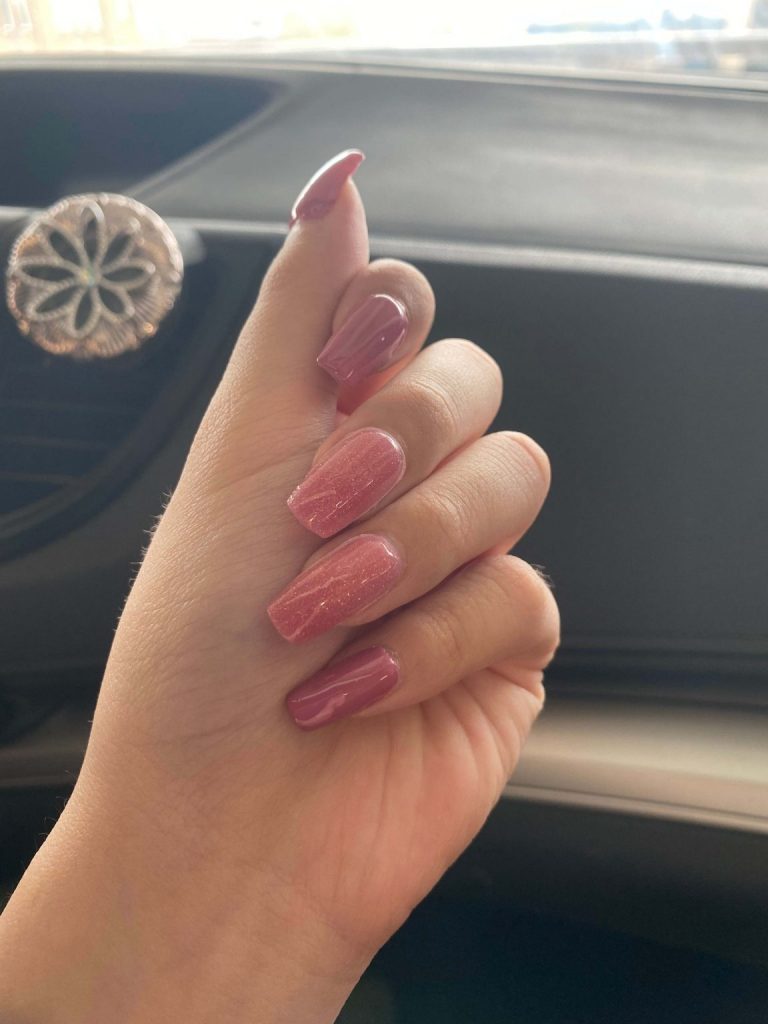
Nail Day 6: Pink-ish nude vibe!
Looking at all the sets at once, I can’t believe how much I improved. They look flawless in pictures. I wasn’t too happy with the colour of the extension on this set, but I still love the way they turned out. I ended up mixing two nail polish to get the perfect colour, and I’m so glad that I did!
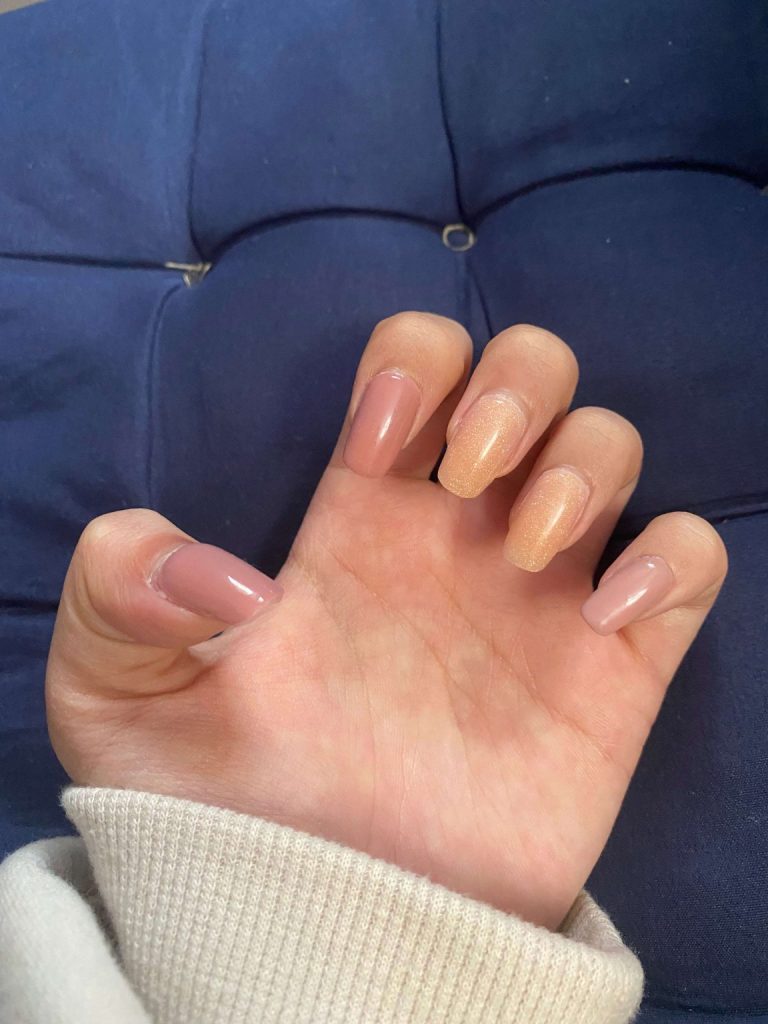
Nail Day 7: Keeping it simple
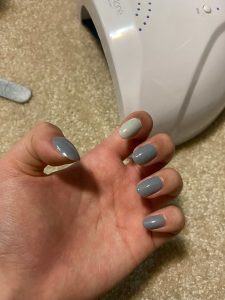
Here is the second last set of the learning project.. I realized I never did just solid colours, so I decided to use the blues. They turned out super smooth and neat, I followed this tutorial to get the ultimate, smooth nails. I love how they turned out— even though I didn’t do extensions, I could still see how much I improved!
Nail Day 8!
And… here is my last Nail Day! I asked on Twitter and my last Nail Day blog for some ideas for my last set.
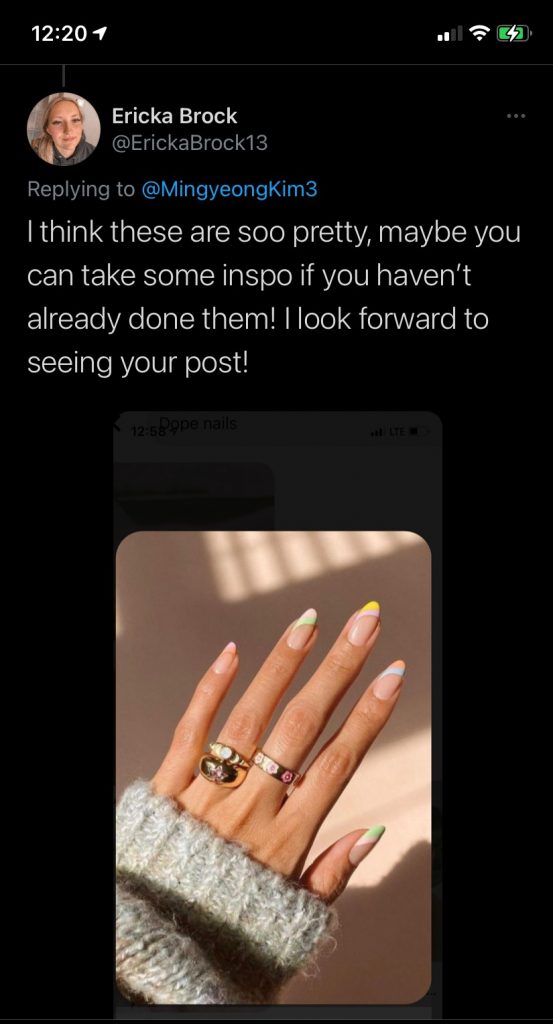
Ericka recommended this cute design on Twitter, which I absolutely fell in love with. The only problem was that I have limited colour choices, so I had to use what I had to create similar designs. After doing one nail, I figured how hard it is to do these kind of designs— especially when trying to do the exact same design on all other fingers. So I decided to do the design on one finger only (cheap, I know). But I love the way they turned out! I added a little heart on my ring finger for extra cuteness.
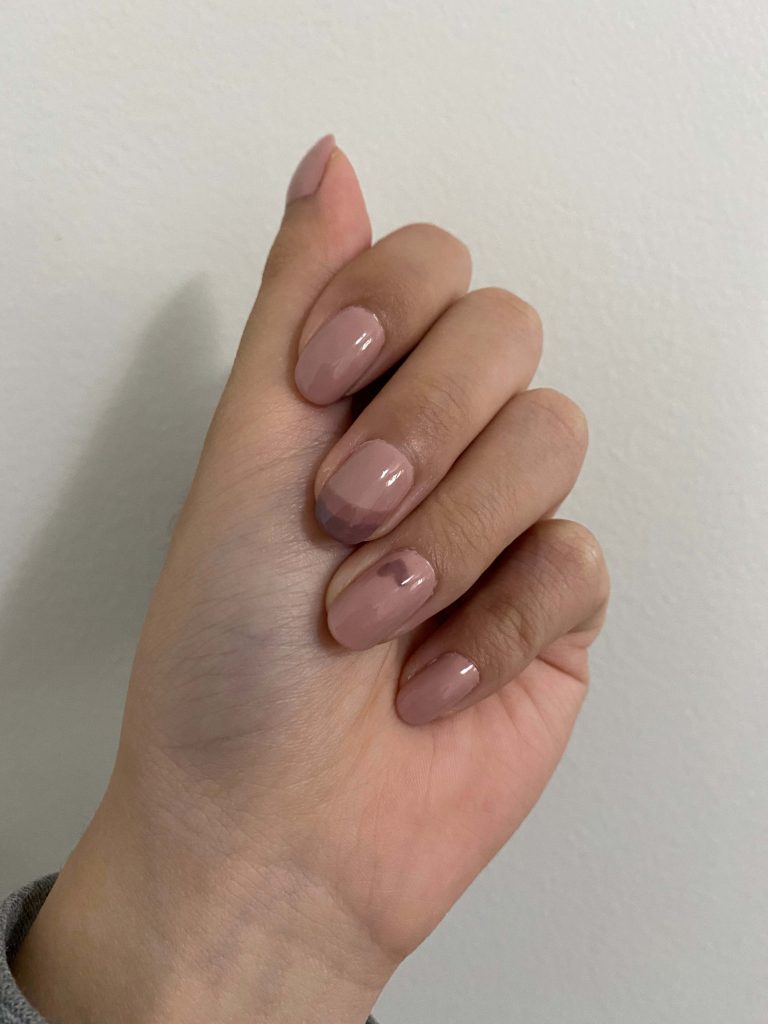
I adore how these turned out. From my experience, I’m going to share some tips and advices:
- take your time and be patient
- it’ll be a trial and error process, don’t expect good results right away!
- don’t be afraid to try new designs and colours, you’ll never know unless you try
- give your nails some break, they’ll thank you for it
- and lastly, have fun with it! They’re your nails, so don’t be afraid to mess up.
Some of the most useful resources/platforms were YouTube, FilmmakerPro, and Pinterest. YouTube has millions of tutorials, which means there will be at least one video you will like. It also has a “like video” function which stores all liked videos in one spot. This way, I didn’t have to scroll through millions of videos to find the one I’ve watched. FilmmakerPro is a great tool for editing videos. Its voiceover tool is especially helpful for making a tutorial-like videos. I definitely recommend it. And Pinterest— I’ve never mentioned it on my blogs but this is where I get most of my inspirations from. I never follow the exact designs I find on Pinterest, but it definitely gave me ideas for my sets.
I can’t explain with words how glad I am to have chosen doing nails for my learning project. I probably would’ve never started if it weren’t for this class. I also appreciate the tremendous support I received from my classmates and Katia— thank you all for your kind words and for following along my journey! The improvement I’ve made is such a great feeling and I’ll definitely continue doing my nails. I hope to stay in touch with everyone on Twitter and on future blogs, thank you all again!