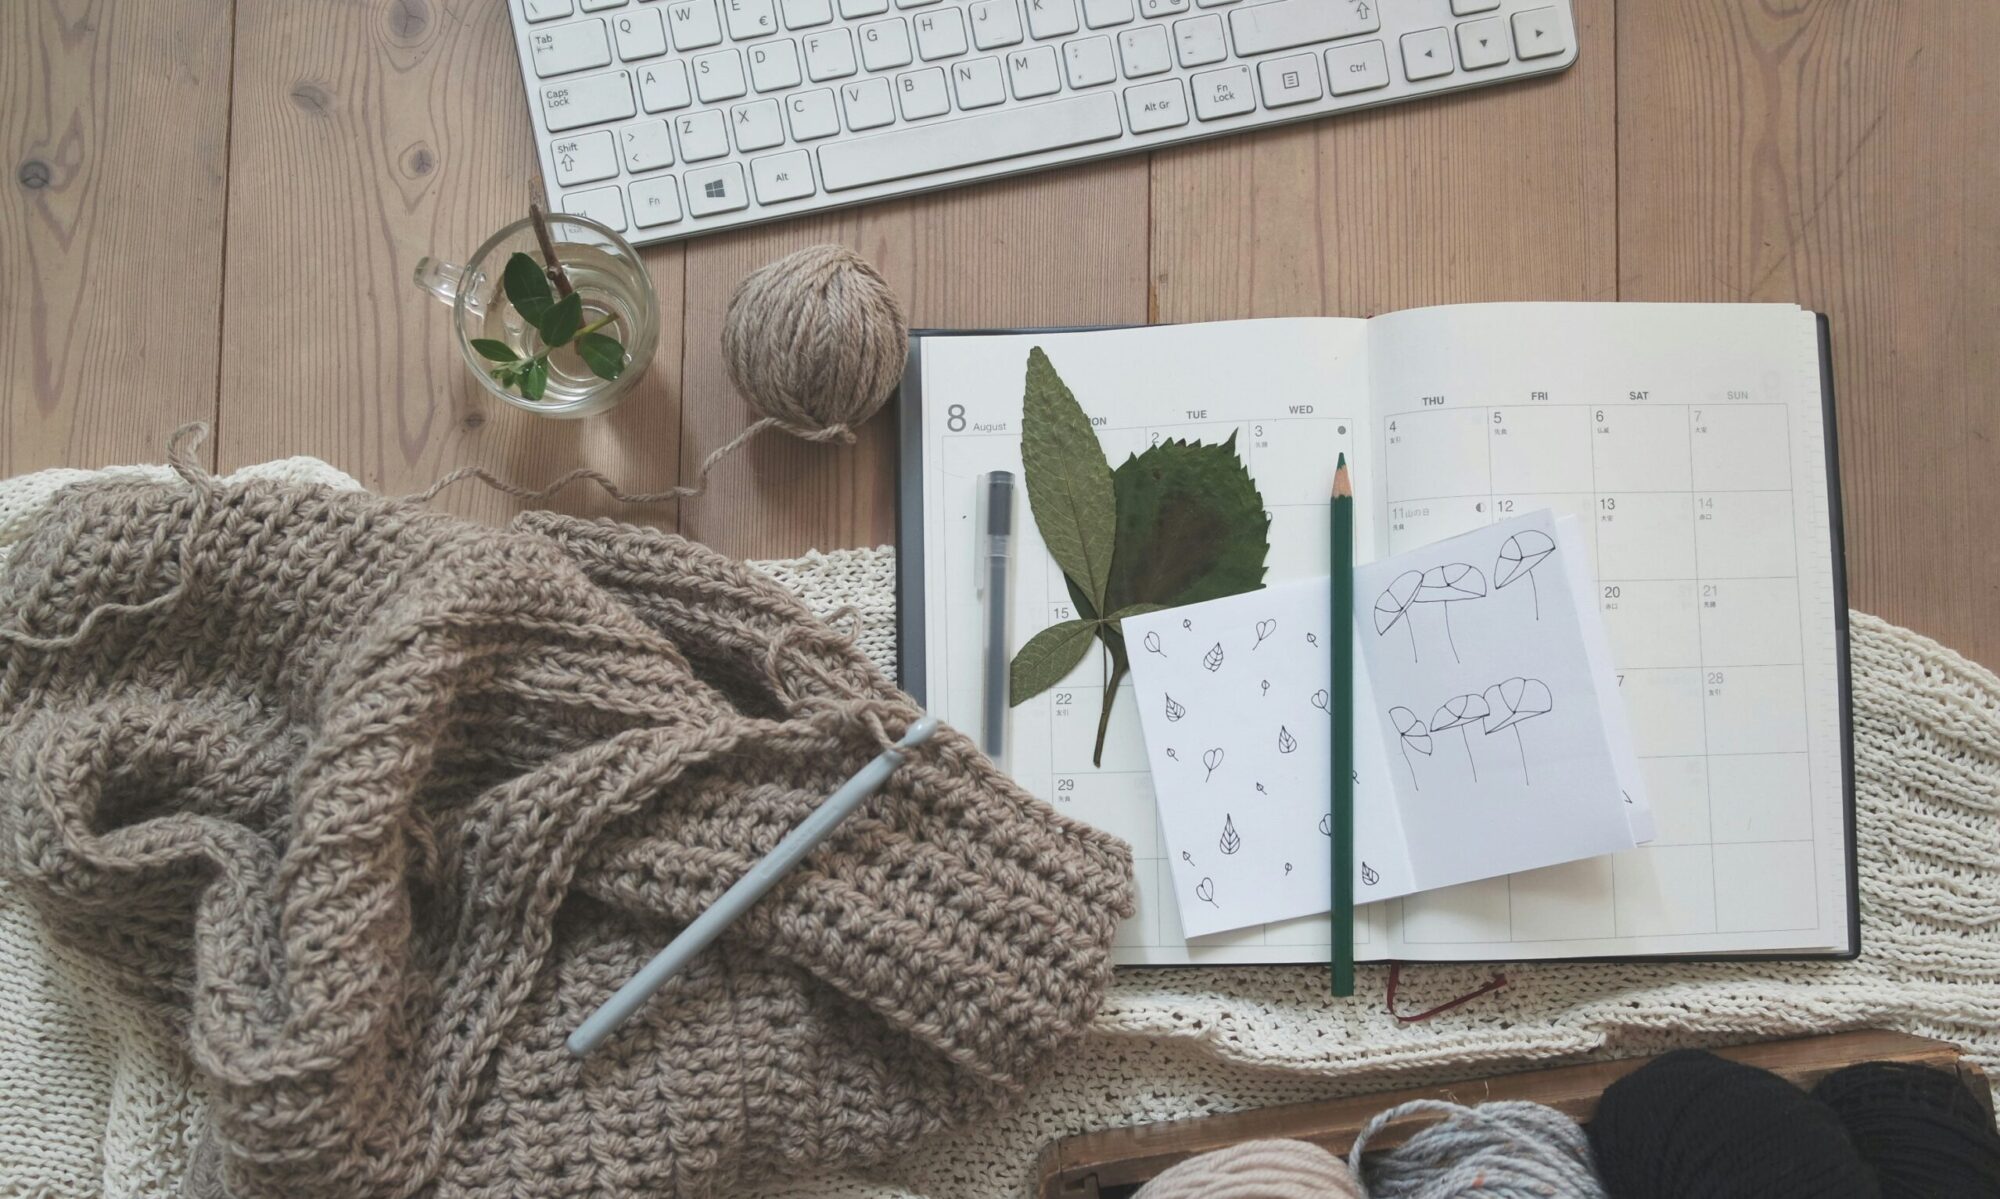
This week has been one of the busiest I have had in a while, and crocheting became my sweet little escape. I realized that crocheting is no longer just a project or task I need to check off after a long, tiring day; it’s a form of therapy. Each session feels like my little retreat, my me-time, a moment reserved only for me, my thoughts, and my hands moving in quiet harmony with hooks and yarns flowing through my fingers like magic.
My learnings from online communities
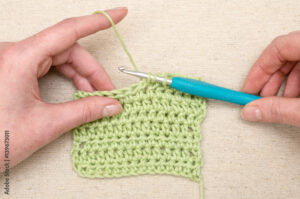
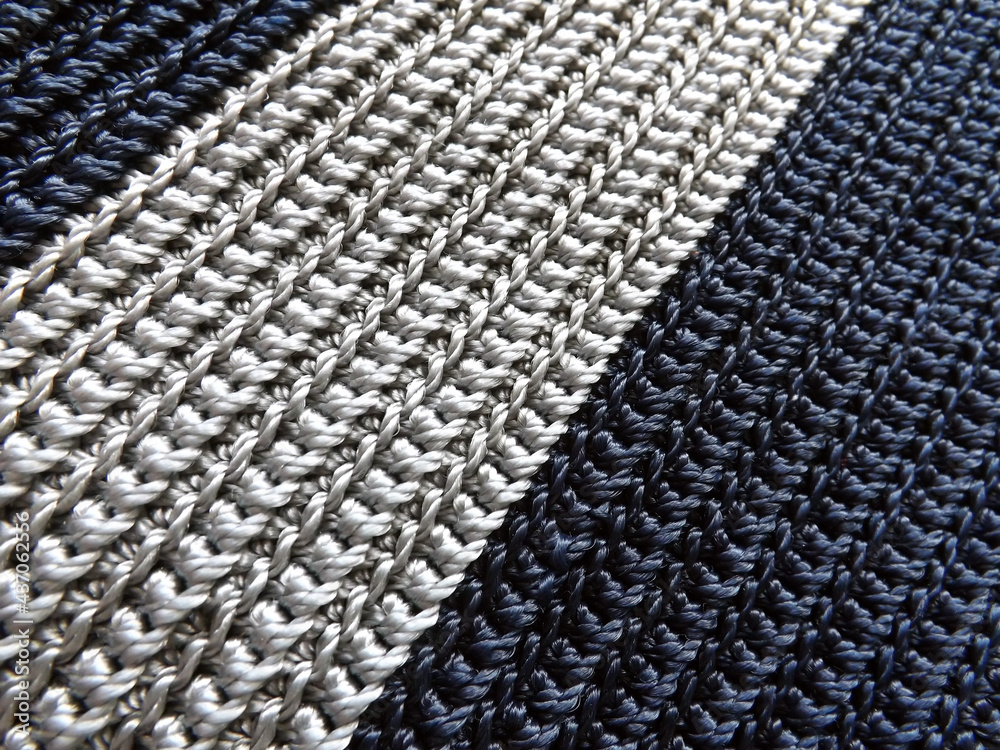
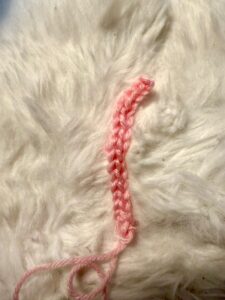
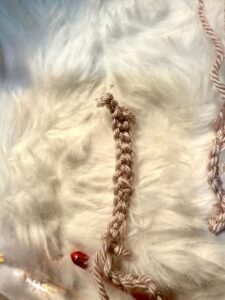
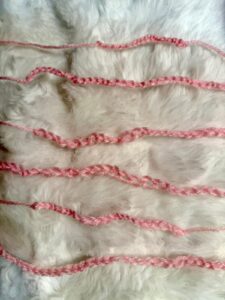
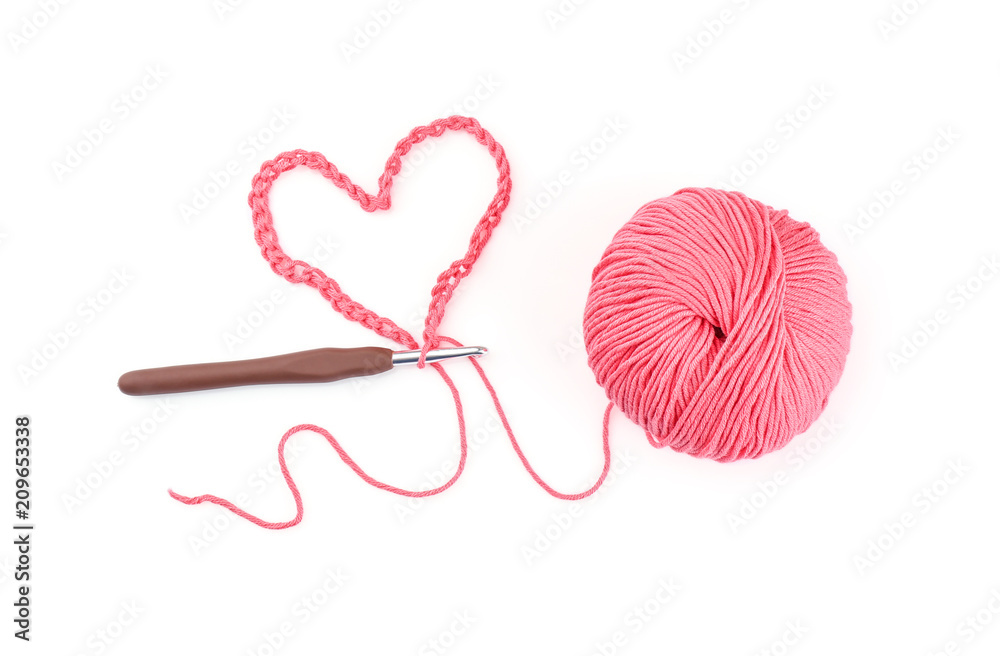
This week, I learned two stitches: the double crochet and the half double crochet. Compared to the simpler single chain, these stitches required a greater level of focus and coordination, as they involve yarning over through multiple loops and maintaining consistent tension. The most challenging part was counting the chains accurately, which demanded careful attention and sometimes even strained my eyes after long practice sessions. Despite the challenge, I found the process rewarding, it pushed me to slow down, focus deeply, and appreciate the precision that crocheting requires. Each attempt reminded me that mastery comes with patience and persistence.
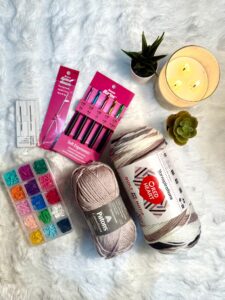
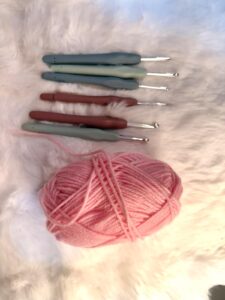
My learning resources would be YouTube tutorials by Sigoni Macaronni and Crochet Guru (someone I discovered this week).
Here are the clear instructions I noted down for double crochet:
Before you start
-
Make a foundation chain (any length).
-
For your first dc of a row, you usually chain 3 (this is the “turning chain”).
-
To begin Row 1, work your first dc into the 4th chain from the hook (the skipped 3 chains count as your first dc).
One double crochet stitch
-
Yarn over (YO) once.
-
Insert the hook into the target stitch (or chain).
-
YO and pull up a loop — you now have 3 loops on the hook.
-
YO, pull through 2 loops — you now have 2 loops left.
-
YO, pull through the remaining 2 loops — 1 loop stays on the hook. That completes one dc.
Continue across the row
-
Repeat steps 1–5 in each stitch across.
-
At the end of the row, chain 3, turn, and work your next row of dc, usually placing your first dc into the second stitch (because the ch-3 counts as a dc). Check your pattern—some designers prefer the first true stitch instead of counting the ch-3.
Tips to avoid common mistakes
-
Count your stitches each row (including the ch-3 if it counts as a dc) to keep edges straight.
-
Place the last dc into the top of the turning chain from the previous row to avoid slanted edges.
-
Keep a steady tension; if loops are tight, loosen your grip or go up a hook size.
-
Use stitch markers at row ends to remember where the last stitch goes.
Here are the clear instructions I noted down for half double crochet:
Before you start
-
Make a foundation chain.
-
For your first hdc row, you usually chain 2 (this is the “turning chain”).
-
Begin your first stitch in the 3rd chain from the hook (the skipped 2 chains count as your first hdc).
One half double crochet stitch
-
Yarn over (YO) once.
-
Insert the hook into the next stitch (or chain).
-
YO and pull up a loop — you now have 3 loops on the hook.
-
YO again, and pull through all 3 loops at once.
-
That’s one half double crochet completed!
Continue across the row
-
Repeat steps 1–4 in each stitch across the row.
-
At the end of the row, chain 2, turn, and begin the next row in the first stitch (unless your pattern says otherwise).
I also explored Ravelry, an amazing online hub full of crochet and knitting patterns created by people from all over the world. Scrolling through different designs sparked so many new ideas and made me realize just how global and connected the crochet community really is.
Along with that, I joined a few Facebook crochet groups and Reddit threads, where beginners like me explored others progress and new patterns which looked impossible for me to pull off. It was overwhelming but as well as motivating since their journey too started not knowing double chains like me. It was really encouraging to see how supportive and generous people are in these online spaces, proof that learning communities can thrive beautifully in the digital world.
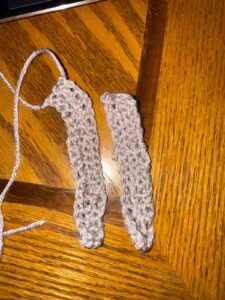
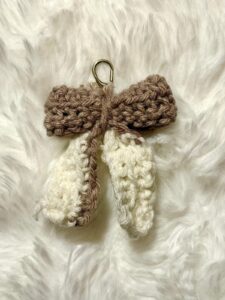
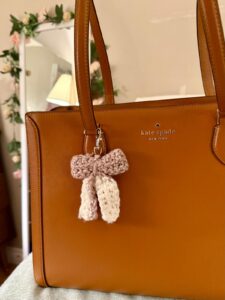
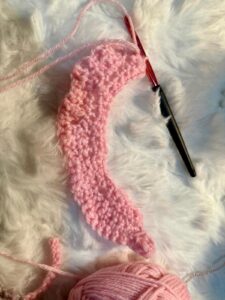
My Mini Project: A Bow Keychain
I was feeling a bit impatient and just wanted to make something — anything! Big or small, it didn’t matter; I simply wanted to see my learning come to life. So, I turned to YouTube and searched for simple crochet projects. That’s when I stumbled upon a step-by-step tutorial on how to make a crocheted bow keychain. As I followed along, I could actually see my progress forming right in front of me, each loop and stitch building something real. With every step, my excitement grew, and by the end, I couldn’t stop smiling. It might look like a small, slightly uneven keychain to others, but to me, it felt like a tiny victory trophy hanging proudly from my bag, my first real masterpiece.
Step-by-Step: Creating My Crochet Bow Keychain
To bring my little project to life, I began by making a slip knot and chaining 21 stitches. Starting from the second chain from the hook, I worked single crochet stitches across the row. I repeated this process for four rows to create the first piece, which would form the bow head. I made another identical piece for the bow tails. Once both parts were ready, I shaped the first piece into a loop, stitched the ends together with a yarn needle, and wrapped the loose yarn tightly around the middle to form the bow’s center. For the tail piece, I carefully tucked in the loose ends by stitching them along the edge and then folded it in half to create two tails. Finally, I attached both pieces together using a few neat stitches and secured a keychain hook at the back. The result was a small but meaningful creation, a handmade bow keychain that reflected patience, precision, and pride in progress.
Reflections
This week taught me that patience and persistence truly are the keys to master something. Crocheting is beyond a creative skill, it has become my personal form of therapy and a peaceful “me-time” activity. Whenever I pick up my hook and yarn, I feel a sense of calm and focus that helps me unwind from the day. The process itself is incredibly fulfilling; each piece that is finished, such as my small bow keychain, feels like a celebration of my effort and growth. Additionally, I’m immensely grateful of the kind artists who post their free patterns and lessons on social media. My crochet adventure would not have been possible without their generosity and desire to share their knowledge. I’m reminded by their videos, advice, and support that education in the internet era can be both deeply personal and exquisitely communal.


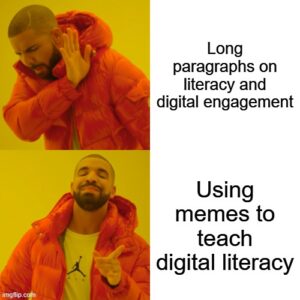
 Which applies to the fact how meme is a form of participatory literacy. I was baffled discovering how memes existed long before the internet was accessible to the general public from the following YouTube video.


 Back in 2016, during the height of my fitness mania, I often shared photos of my healthy meals in group chats consisting of my close friends in hopes of motivating myself and others. I was given the idea of starting an Instagram page of my own ‘healthy meals’. It lasted as long as I could and still now I tell myself to resume the forgotten passion I had. Maybe one day I will…