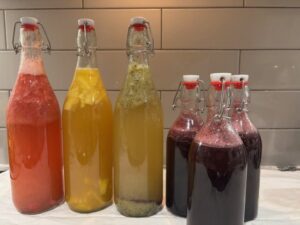
Last week I bottled up our first ferment to make four flavours of kombucha: Pineapple Mango, Strawberry Cream Soda, Blueberry and Kiwi. This week it was time to test our second ferments.
I moved our production to the basement. I started out burping the kombucha. As you will see in the video that follows my first time opening the flip top bottle I was quite nervous. Thankfully the first flip open on the Pineapple Mango was not very explosive. There was a little carbonation. It did have a nice flavour profile. Next I opened the Strawberry Cream Soda. This one had a lot of pulp. In our taste test my daughter and I thought this one was quite flavourful. Having opened two flavours I went into opening the third, Blueberry with a little more confidence. It was explosive! The blueberry was so pressured that it sprayed the roof, wall 10 feet behind and even hit my cream coloured couch in the adjoining living room. This was a little upsetting and I spent most of the evening cleaning. I will have to replace the drop ceiling tiles. Thankfully I was able to get it out of the couch cushions. Into the fridge went our second fermentation to prevent over carbonation.

We now open our kombucha outdoors. The blueberry was a bubbly disaster. It tasted horrible, it was overly sweet with a boozy aftertaste. Finally we ended off our flavour tests with the kiwi. It came out on top for flavour despite not being carbonated. It was tangy, sour and sweet and my daughter’s favourite.
I think I need to learn yet about carbonation. I listened to a podcast this week that while it was from a commercial brewer it left me with a few questions. In this podcast, Living Full Kombucha – Teacher Turned Alchemist/ Episode 17- All Things Flavoring, she speaks of force carbonating her kombucha. Can I do that? Is that what they are doing with kombucha I purchase at the grocery store? I love when a kombucha is carbonated and yet my explosive tests this week leave me questioning does increased carbonation also equate to a boozy taste? My blueberry had the most carbonation, but it was also the worst. The kiwi had the least carbonation, but tasted the best.
It was interesting to hear that as a commercial brewer she is only working on mastering three flagship flavours. Here I was trying out four flavours! Actually, I am sure she landed on these three flavours after much trial even though she does not mention this. Part of mastering these three flavours is keeping consistent flavour, and a low alcohol content while increasing batch size. A low pH starter that was acidic combats bacteria and drives down alcohol content she shared. I thought the podcast was very interesting, she was good at storytelling and I may return to her story later. I enjoy listening to podcasts for their flexibility. I can listen while driving, walking or doing chores around the house. As a way of learning a skill it is easy to fit learning into daily life. I also enjoy auditory experiences in my downtime as sometimes I come home from a day of screens and feel like my eyes could use a rest. At the same time the podcast was a little confusing for where I am in my journey. A podcast has limited interactivity. In a way it is harder to practice alongside the content or visualize what the speaker is saying. If I was really learning from this experience or another podcast I would need to pause and replay frequently, which disrupts flow.
After the question of carbonation was raised I mined Youtube for videos on carbonation. YouTube makes it easy to see process in action. At first I was excited to find Bite Scized Education had a video on the Science Behind Kombucha Carbonation and I could connect with Molly’s journey. The hardest part she found initially when she was learning how to make kombucha was deciding if she wanted it fizzy and then how fizzy. “Making kombucha that is not fizzy is so much easier.” This video models scientific thinking and encourages curiosity, observation and inquiry by setting up a testable question. She asks “can we engineer a way to measure the pressure that builds inside a bottle.”She then builds a few prototypes to measure the pressure including using a gauge from a basketball, a recycled bottle and household glue. This demonstrates that learning is not always about answers, but the process of exploration. While this was a fun video to watch she concludes that maybe it is up to us the viewers to figure out. The conclusion is open ended leaving viewers to think critically and encourages active engagement. However, this lack of closure still leaves me confused without clear answers. It still feels ambiguous.
In this next video, the creator talks about carbonation being something that every brewer struggles with at some point. To address it he also uses a scientific process to test various variables in a lime juice kombucha. Controls include temperature (stored in a chest set to 78 degrees) and 9 grams of sugar in each bottle. The changing variables include nucleation sites (lime pulp, ginger, strawberry), pH (removing lime juice replacing with more simple sugar and zest) and time. The takeaways were to reduce the amount of pulp (nucleation sites) and that ginger always overwhelms. The most explosive/pops were the ones with increased nucleation sites yet after the explosive impressive show (the strawberry) what remained in the bottle was flat. The creator’s advice was to increase the amount of time as the second bottle with 7 days of fermentation compared to 3 in each of the others produced an effervescent, carbonated, delightful tingle with the best flavour profile. This video is helpful to see various variables manipulated. Viewers might apply these findings in their own problem-solving process especially with citrus based kombuchas. I appreciate his conclusions even if I might not be able at this time to control variables like temperature or sugar levels. I wonder if he is letting it ferment for the full 7 days without burping. It seemed like the 7 day open was the first open. I reflect on Madison’s instructions to leave the second ferment for 7 days before returning to the fridge. Further, she added in juice rather than fruit. Perhaps there is something in having less nucleation sites!
This week I am going to scale back my flavours and test the lime kombucha that this creator makes. I am going to be patient and wait the entire 7 days before opening my second ferment. I am also going to test the kiwi kombucha again/juicing the kiwi this time and waiting 7 days.
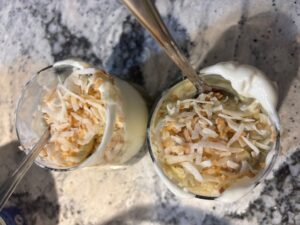
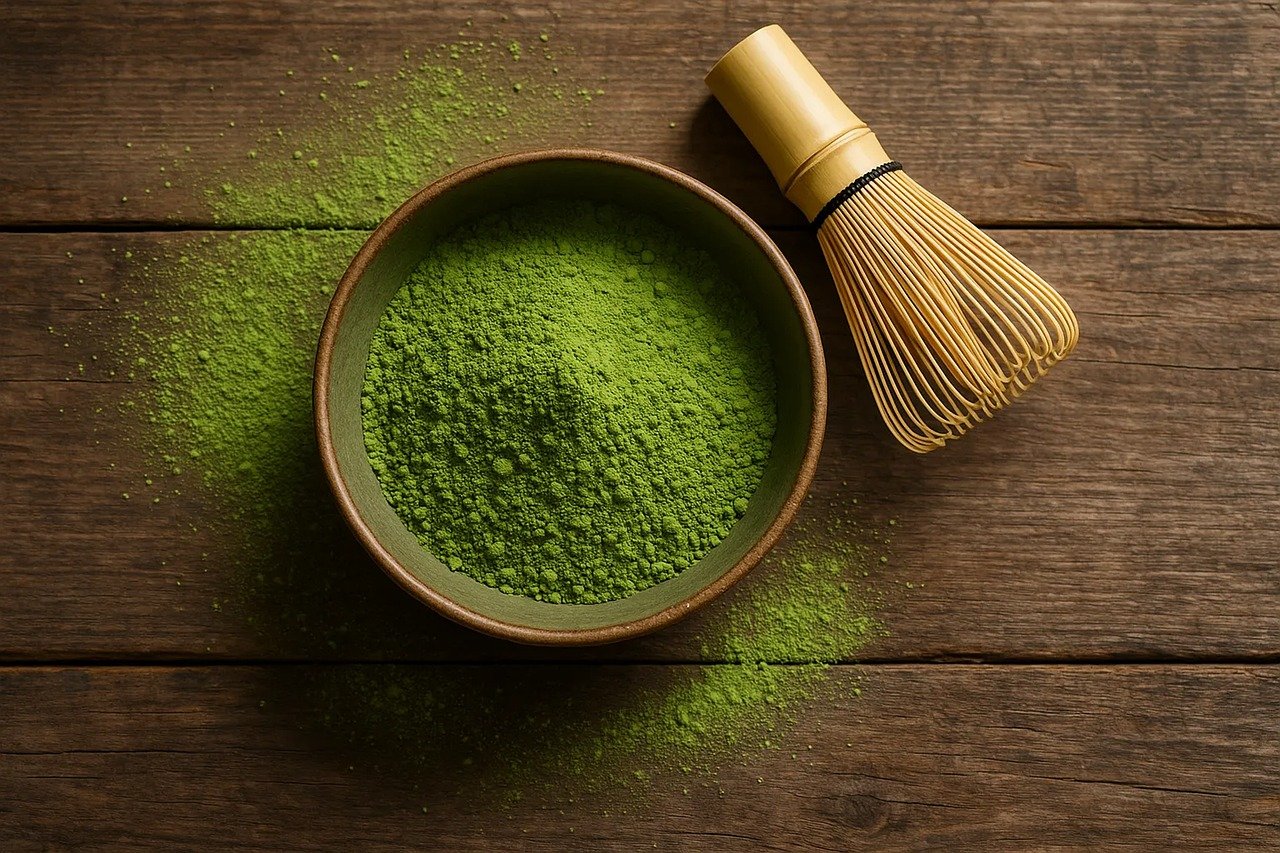
As a fun addition to this weeks learning, I thought I might make a matcha kombucha float with the first ferment this week and I thought it was delicious.
Inspiration was a matcha float . Instead of sparkling water I added kombucha because Food52 has an article on why kombucha floats are the greatest drink of the year (even if it was 2019).
 In this week’s learning project update, I will explore the second fermentation process of kombucha, focusing on flavouring and using social media platforms like
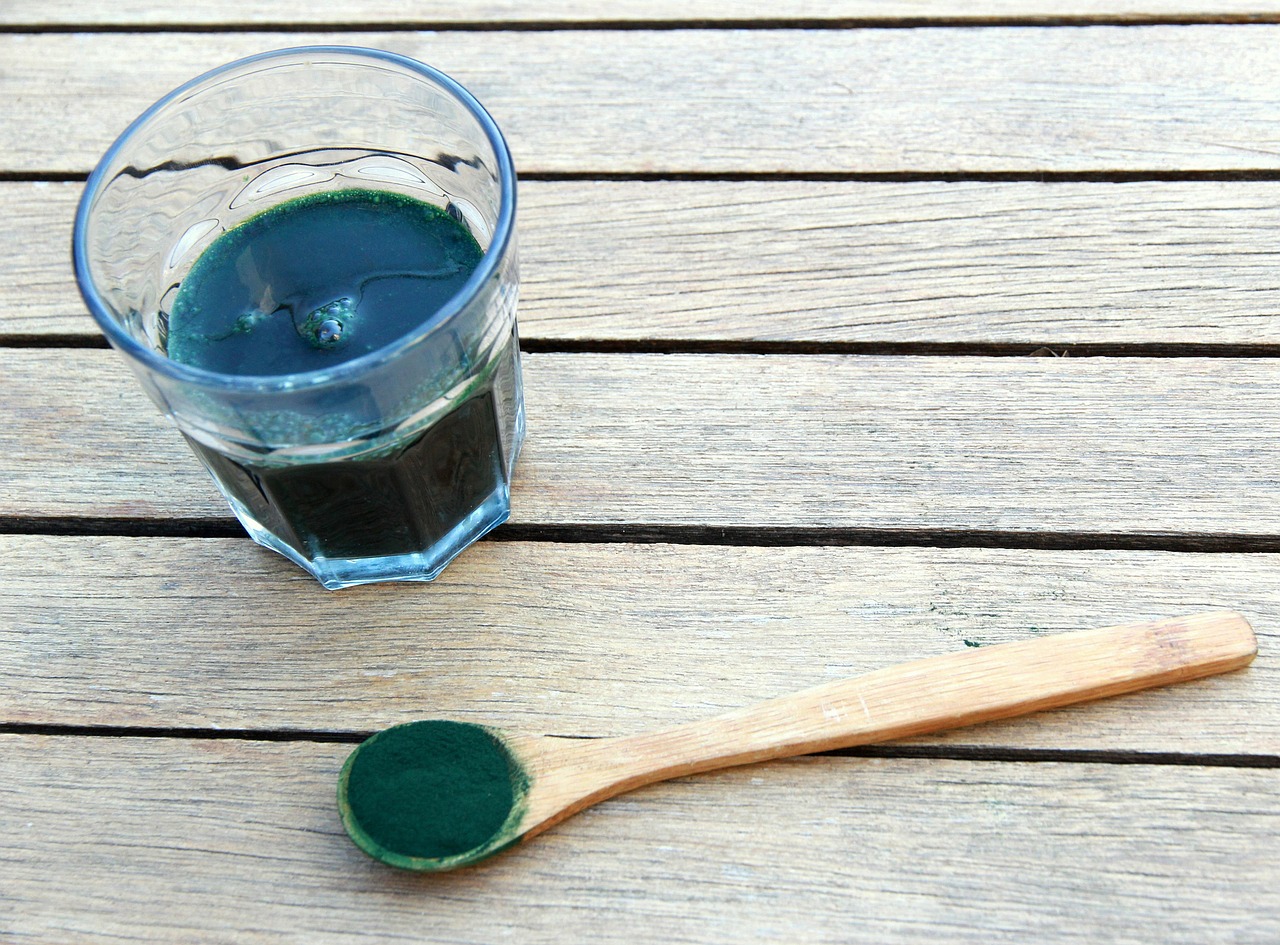

 A challenge I found with curating a board was that there is an overwhelming volume of pins and often many are ads for products or unrelated. One of the pins that I tried to follow my computer informed me that it had malicious links attached which was a little shocking and I quickly clicked off. While the pins helped source blog posts often I found the blog posts were so cluttered with pop up ads.
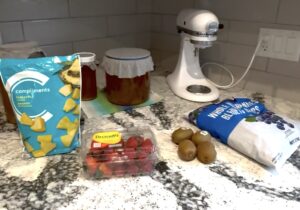
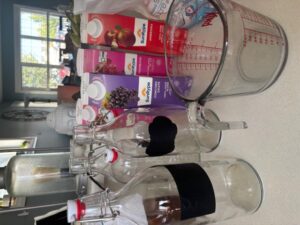
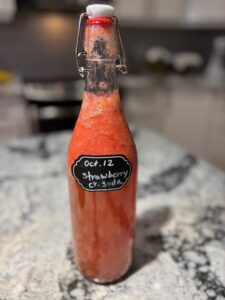 This recipe, from Bucha Brewers, leads with a clear photo that shows the ingredients that are needed. I found this helpful to see quickly what was needed. The recipe layout is well organized and printable. The jump to recipe button improves navigation, even though the entire post is not cluttered. The author tries to make the post fun and engaging pointing out visual cues like carbonation building up in the bottle. There are links to resources and support that are subtle and unassuming offering convenience without overwhelming the reader. While the author provides the opportunity for feedback, “enjoy! Let us know if you like this one,” I do wish there had been a comment. It shows how a platform like Reddit or even Instagram shines in the opportunity it provides for users to discuss and review providing tips, variations, and troubleshooting advice.
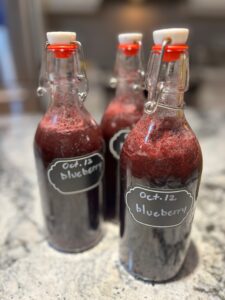 This blog prominently shows a toolbar indicating how many times the post has been pinned or shared which highlights its popularity and encourages further sharing. There are options to jump to the recipe or print which are helpful considering the lengthy post which includes videos, advertisements and descriptions. The photos are visually striking and clearly designed to be pinned. The photos make the recipe attractive and even inspired me to try this recipe. There are multiple links to other kombucha flavours and additional blueberry recipes which allow the readers to explore related content.
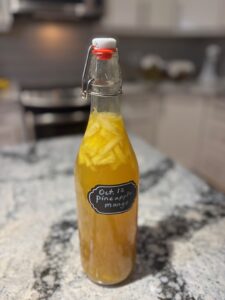 This blog was quite clean also. I liked that there were clear directions indicating how much pineapple in comparison to amount of tea and what size of flip top bottles were used. Also in the method it tells how to avoid gas build up and explosions. If I search Kombucha on the blog I can see several other posts about Kombucha which gives me some hope that this author, a holistic health coach, knows what she is talking about.
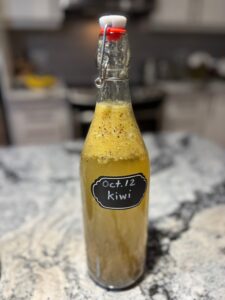 While the first two steps of the recipe were clear making it easy to follow, the blog was less polished in other areas. One of these areas is the tip about straining out the mango which is confusing since the recipe never mentions mango. This inconsistency may cause confusion for readers especially beginners. I did not like this blog as much for all of the advertisements which distract from the main content. It impacts readability and makes the page feel cluttered. I thought the background information was basic. I question the nutritional information included as fermentation consumes some sugars so the numbers may not accurately reflect the final beverage. Accuracy, clutter, and clarity in tips and nutritional claims could be improved.
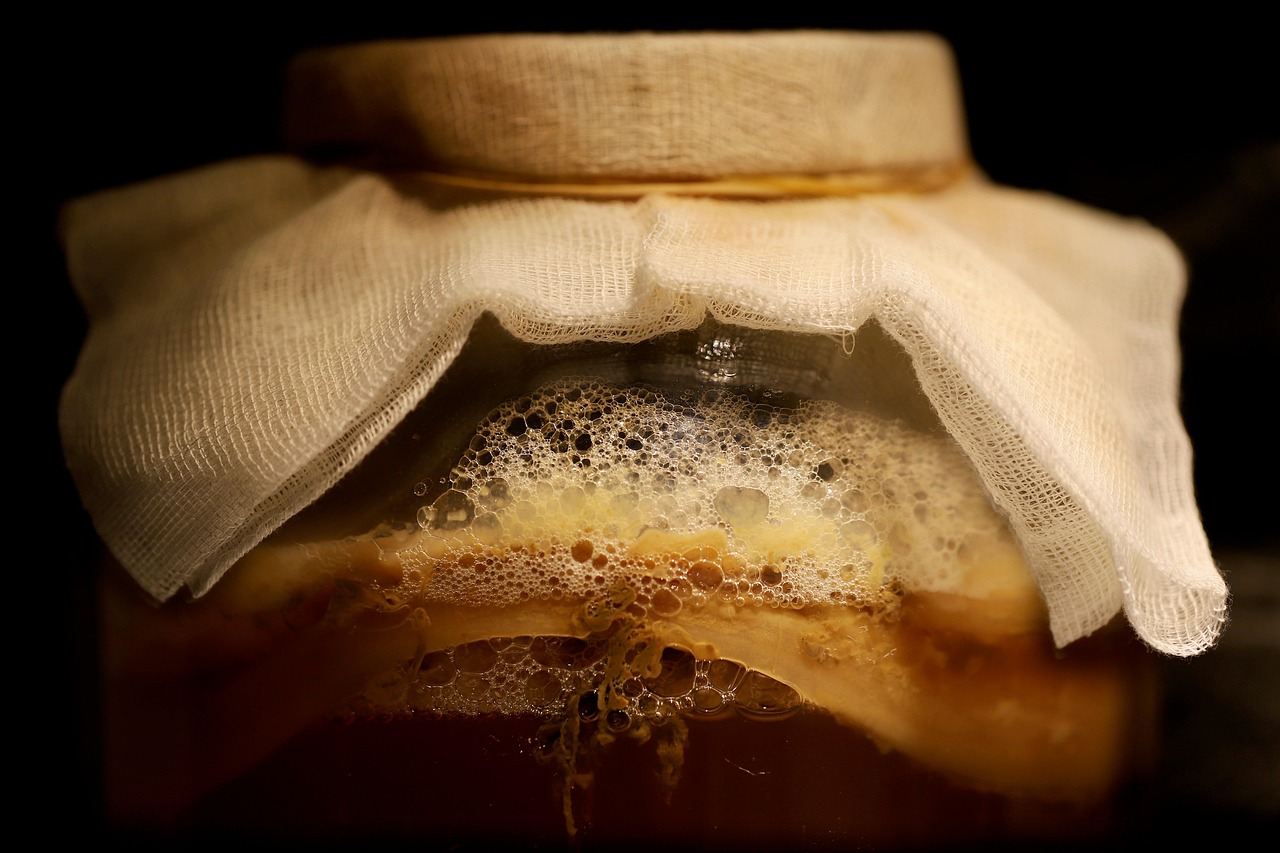
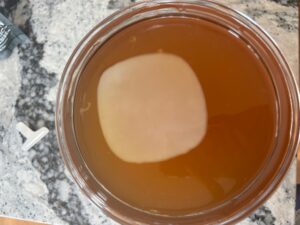
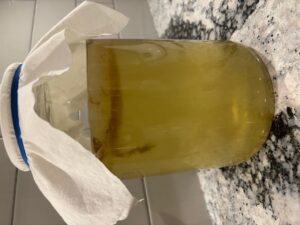 Today felt like an ambitious day as I attempted to make four flavours for the second ferment. I wasn’t completely done. The process of making kombucha is a cycle. I needed to rehouse my original SCOBYs and start the fermentation cycle again. I am happy to report my SCOBY’s are looking good (even the
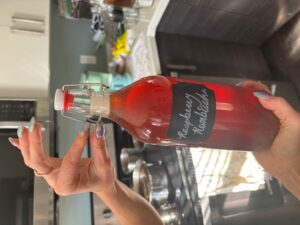
 Madison also shared with me a
  Last Sunday, I ordered a starter kit from a Canadian company,
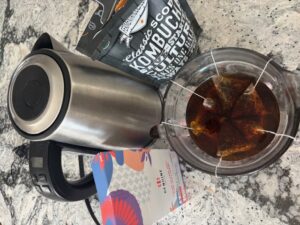
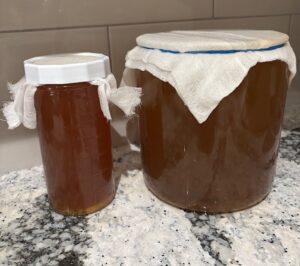
 I wonder if 14 cups was a little much to add to my jar as there was not much room to add in the SCOBY. I also wonder if the top of the jar is too large for this size of SCOBY. I covered the top with several layers of cheese cloth and secured it with an elastic band. After reviewing the online course video again my daughter and I thought we might change out the cheese cloth to a thicker cloth to prevent any fruit flies from finding our Kombucha.