I’m interested in how technology can build engagement and support creative learning within the classroom. So this week, I tried my hand at VideoScribe, an animation app that creates whiteboard style animations.

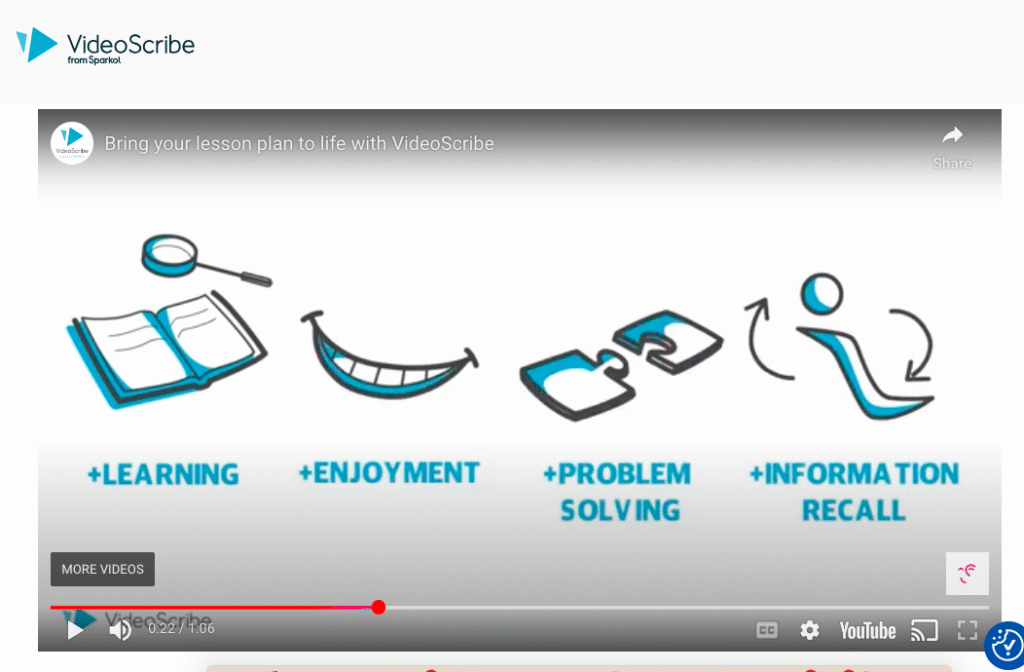
The website says it’s quick, user-friendly, and for all skill levels; specifically promoting it as a tool to support student engagement within the classroom. Could this app be fun visual learning tool that both my middle years students AND this Gen X educator be able to use???
But first, I wanted to know whether I would be inclined to pay for this app if I really liked it. So before giving it a trial, I looked up the subscription fee.
$16.25/month for the basic plan.
It’s more than I’m inclined to pay for an app but my curiosity lured me in.
I gave VideoScribe a shot using their 7-Day free trial. To get the 7 day free trial you DO NOT need to put in a credit card or a lot of personal information. All you need is an email address and a password.
However, with the free trial all videos are watermarked (until you pay for a subscription).
HOT TIP: There are also ‘premium’ images within the application (identified by a little crown). If you use these, you won’t be able to download your animation. You CAN get a link to your animation, however – it is only good as long as the 7-Day free trial. After that ..bye bye.
As soon as you set up an account you are given the option to EXPLORE TEMPLATES or CREATE A BLANK PROJECT. For this review I chose to create from scratch.

Because apps aren’t generally intuitive for me (or maybe my brain just likes instructions), I liked that when I chose to Create A New Project, it immediately gave me the option of ‘getting tips as you go’ OR ‘watching a video to start’.
This video walks you through features – so you have a sense of what is available and where to find things. However, it doesn’t go into a lot of detail, nor does it demonstrate visually what some of the features actually look like – which isn’t very useful. I had to learn what features looked like through trial and error.
TIP: I recommend watching the VideoScribe Intro video in its entirety BEFORE starting a project. You can also access all the VideoScribe tutorial videos here.
I’d recommend watching an audio tutorial and an animations tutorial before starting as well. (I DID NOT – and probably took longer than necessary fussing to figure these things out)
I also used this tutorial from YouTube to supplement my learning. It helped give me an overview of features with a bit more detail that the VideoScribe Intro Tutorial.
From this tutorial I learned that there is a cloud-based version and desktop version of VideoScribe, and there are benefits and drawbacks to each.
The desktop version offers a royalty free music library.
The cloud-based version can sometimes be glitchy (YES – I did experience this too! Overall, I really liked this tutorial. It went into lots of detail and walked you through creating a project from scratch at a very accessible pace.
CREATING AN ANIMATION:
Here are a few key features to be aware of when you start.
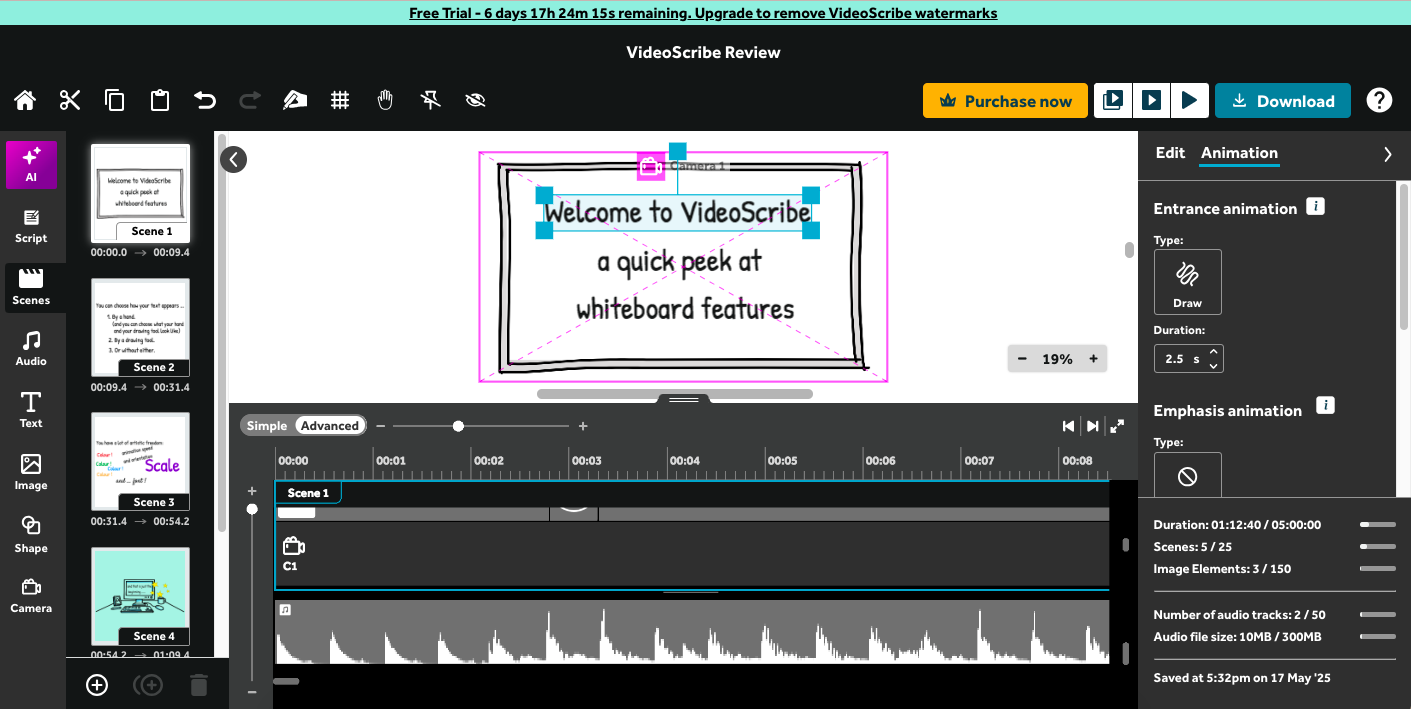
1. The left toolbar offers options for images, text, objects, and audio features.


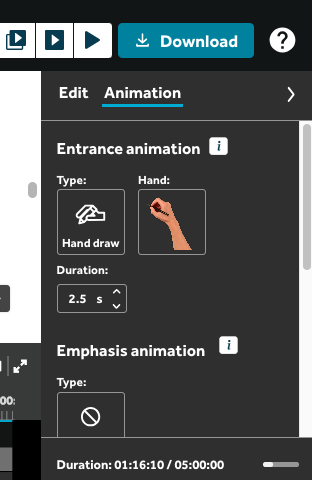
2. When an image/ text/ object is selected, the right toolbar offers you two modes to work in: Edit and Animation. Edit allows you to adjust the feature (colour, font, flip, crop, opacity, etc). Animation allows you to adjust how the feature is animated (ex: drawn by hand, slide on from the side, bounce), along with speed of the animation and length of pause caps the animation.
3. At the bottom of the screen, you have your Timeline. TIP: there is a – + bar on both the left side and top of the timeline. These allow you to scale your view of both the stacked frame layers AND the project. I found this really fussy. Started out ok – but the more content I got in the project the trickier it got.
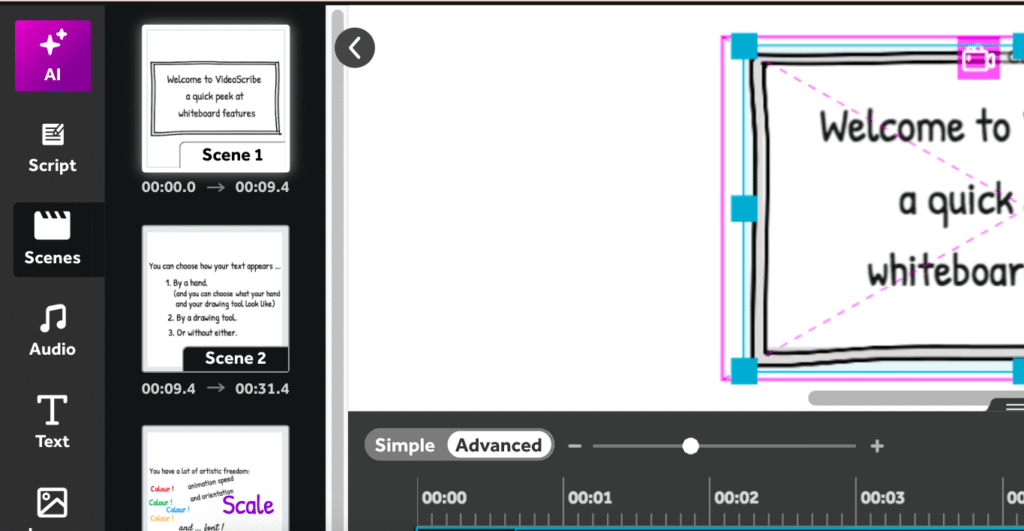
4. Scenes: the left toolbar has a scenes icon. Once you click this – you’ll have the option to + more scenes. 
TIP: When a scene is selected, you’ll find the option in the right toolbar to add a transition between it and the PREVIOUS scene. This includes eraser, bounce, slide, fade, etc.
QUICK, EASY, BEGINNER-FRIENDLY?
I found that using the text and simple images was pretty straightforward and I enjoyed the process. But once I wanted to add more images and transitions…it started to get finicky.
But remember …. I’m really a beginner in using a tool like this.
The audio feature was cool, in that there was music you can add as background AND you can do a voice recording directly over your video as well.
TIP: don’t try to do any kind of voice over until the very end. If you end up editing your work after adding your voice over, you’ll likely end up with the voice audio out of synch and will have to adjust it to line up with your video again.
Here is the video I made to learn the processes ! It actually took me a couple hours…but I was learning along the way as I went.
Will I use this again? Ya, I think I will. I like the possibility and I’ve always liked white board animations. It would take a solid investment of time to watch the tutorials and get familiar with the app before I could build videos with ease.
Is this useful for the classroom? If I had a lesson I was really keen to use with classes over the years, then YES – I think it could offer an engaging way to share lessons. But for a one-off lesson, this is far too time consuming.
Would I offer it to students? I’m interested in giving it to my own kids (10 & 12) to try out. I’m aware that kids can be pretty savvy (and less precious) in using a tool like this. They may have more ease with it than I did.
Could this tool take learning to the next level? Yes, I think it has a lot of potential. Using the SAMR model, lets look at how this app might enhance opportunities for learning and teaching:
Substitution – VideoScribe offers teachers a way to pre-build a lesson they might have planned to share on a classroom whiteboard. So in the simplest application of this tool – it could be seen as a way teachers might carefully craft their lesson in advance and then share it as a video. But even this conversion actually acts to impact the students’ learning experience….
For example: by playing a video of a lesson being written out on a whiteboard rather than writing it in real time, two things change. Speed of the writing is impacted, so students might stay engaged longer. But more importantly, the teacher themselves is removed from the equation (visually)! And this is a big one. In a 2004 study, primary school students with dyslexia stated that it was helpful to their learning experience when they were able to see the board and the teacher wasn’t obstructing it!
Augmentation – The ability to adjust font, colour of both the font or background, speed of which text appears, images, and audio tracks means that this tool enhances both the student and teacher experience. Teachers can prebuild a lesson and present it at a quicker pace, enhancing it with music, voice over, images and charts. Colour and font choice provides students with more readable text, can be used to visually identify ideas, and can be again used in support to support reading fluency by using coloured background.
Modification – VideoScribe, being an animation program, allows for something similar to a powerpoint presentation but where the features are animated. Images and text can be animated and coordinated to provide a next-level storytelling experience (not matter the subject). It changes the way information is shared and potentially more efficiently.
Redefinition – Putting the tool into the hands of students, there is the potential to change the way students share their learning. By offering an image bank, audio voice over and a music, a variety of text options, and capacity for animation through scene-to-scene storytelling, VideoScribe offers students the ability to create multimodal texts. Overall, it can offer a more comprehensive, inclusive demonstration of student learning.
Final thoughts: While I’m not keen on the price tag, this app did get me excited to build whiteboard animations. My next step will be to try out the templates and look into whether I can pay monthly for shorter term project use.

