I began this class with very little knowledge when it comes to using technology for the classroom, very little experience participating in online communities, and not a lot of skills with even basic applications that a lot of folks use daily.
Skills & Experience Development
STARTING EXPERIENCE
END OF COURSE
Very comfortable with google work space (less with google slides)
Some experience with Instagram
Some experience with Facebook
Some experience with Edsby
Very little experience with graphic design programs
Little to no experience with work/school applications, add-ons, and AI
Building comfort with GIMP, VideoScribe, and PowToon
Have created a blog and know the basics of posting and maintaining my ePortfolio
Hands on experience with numerous other applications that can be used in the classroom
Some experience with AI applications
Big increase in practical exposure to general tech skills involving audio, video, and image files
Also, my tool kit and vocabulary has exploded!!!
It was slow going at the start. It took a lot of time. A LOT. And I would get frustrated by how cumbersome my process of learning was. But in the past couple weeks I’ve realized that I move through trying new applications and navigating them just a little bit more easily. And what is exciting about this is that my brain isn’t just fighting to understand how to use these tools, decode the language of them. I have the mental space to start seeing the possibilities in what they offer as learning tools. I’m excited to work with them, try things out, explore the possibilities.
I can’ t emphasize enough what massive growth I’ve experience over the past 7 weeks!
THANK YOU
Below I’m sharing my Summary of Learning through a whiteboard animation created with PowToon. To make this video, I had to draw on a lot of skills that I still didn’t really have (working with audio files and learning this new web-based animation platform). And yes, it still took me a lot of time.
But, I took this learning in stride. I felt more able to intuitively decode or find the answers I needed. I felt more nimble in my brains ability to navigate these digital forms and tools.
I’m wrapping up this course feeling far more confident (and not quite as old) as when I started.
When I began the EDTC 300 course seven weeks ago, I had very little experience with educational technology and wasn’t actively engaged in social media. So, when I realized that social learning through technology was the foundation of the course …I felt apprehensive and a little ill-equipped.
However, I became excited by the course content: thinking critically about digital citizenship, learning about the vast array of learning technologies, and reflecting on how to responsibly integrate technology into the classroom. This excitement translated into engagement, and I was drawn into contributing to my course community. Now I am keen to continue building my professional learning network.
Over the past seven weeks I’ve contributed to my course community and the learning of others in three ways:
By being present and engaged during our synchronous zoom sessions
Through Q&A in our course community on Discord
Commenting and offering resources on classmates blogs.
Zoom SessionsI participated in our zoom sessions by asking questions, bringing an engaged presence to the ‘room’, and responding opening and thoughtfully to class discourse (both through the chat and vocally).
I took an active role in breakout room discussion, helping guide conversations. I not only contributed my ideas and reflections, I worked to further conversation by offering questions that would carry our discussion forward.
Online Contributions: To follow my growth as a contributor to the learning of others, I’ve documented and reflected on my engagement on Discord and classmates blogs.
Discord When I first opened this platform, I didn’t understand it. When you don’t know how to read the visual language of a new application, every action you take feels scary. Especially when it’s all public.
My first night on Discord, I had no idea how to communicate. I kept posting giant cute animal emojis ….unintentionally. I wasn’t sure what the results were going to be…but I knew everyone in the class would see. Was I nervous.
Yes. Yes, and…
And every time I chose to post a question, it helped establish my place within the community and my comfort with the tool. I found that I actually had the answers to a lot of other folks’ questions…which I hadn’t anticipated. And being able to contribute to the learning of others was satisfying and helped me feel connected to my course community.
Blog Comments Blog posts were one of the most consistent ways I could contribute regularly to the learning of others. I generally checked the Voices of EDTEC300 twice per week, reading and commenting on 2-3 peoples blogs per visit. Sometimes my comments were a simple recognition of what their goals or achievements were. Often, I participated by offering resources, sharing personal reflections or experiences, and offering considerations or questions.
What I found was that as the term went on, I began building more established connections with certain classmates and through their blogs gained insight into who they were and where they were on their own learning journey. This sense of connection is key to building personal engagement and a responsibility in supporting the learning of others. As this term comes to a close, I feel I’m just now developing an established network of learning and am eager to continue building my online community.
Through this course I have developed a genuine appreciation for the importance of a professional learning network where I can gain insights from a community of educators while contributing to the broader online discourse by sharing my unique experiences in social justice and as an artist-educator.
Seven weeksago I chose to begin exploring how to create digital animation. With almost no experience, I wanted to get a feel for what applications I might use and dip my toes into the ocean of digital design.
I achieved some solid goals that I’d made and I’ve started to get a sense of the applications and tools out there that one can use for digital drawing and animation. Most importantly though – I’ve pushed through that uncomfortable, awkward, and cumbersome process of penetrating the language barrier that had kept me separate from this creative form.
What I’ve learned is that with each slow and challenging step towards understanding this digital terrain, it’s opened up a perspective on what the landscape of applications, tools, and creative possibilities exist.
The first few weeks were HARD. Everything I did felt like it took forever and I spent a lot of time in that frustrating place where you don’t know what to do so you keep doing the same thing (and continue to fail and feel frustrated). There is a re-wiring of the brain that has to happen when you learn to work within a new form like this (and my aging brain is clearly not as agile as it once was).
But through the uphill of the learning curve, I eventually built either some skills or maybe it was just endurance, and by the end of this seven weeks I was feeling more at ease.
Here’s a breakdown of what these past seven weeks have looked like:
I began by researching what applications could provide me with the design and animation abilities that I was looking to accomplish. I asked these questions:
What beginner-friendly programs exist.
What do they offer?
Will it align with the technology I currently have access to?
What is the cost involved?
I used video reviews to introduce me to tools like Adobe Animate which led me to doing further research into how these applications work and which would be most accessible to me.
Accomplishment: Getting the lay of the land.
Week 2 – Talking the Talk
I set some goals around what I wanted to be able to create in order to help direct which application I would choose. These goals were:
Collage separate digital images into one image
Draw and save a digital drawing at a resolution to be used for projection.
Learn how to use basic ‘tweening’ to animate from a few drawings (if I get time).
As I tried to do research about the applications from the first week, I quickly realized that part of my learning involved building language skills before building any digital studio skills. (What is a vector file vs a raster file? How many ppi do I need for the job I’m doing?)
Long hours trying to get my bearings, watching videos and doing a lot of googling of terms, and I just wanted to get learning. I felt stuck because of my own ignorance around the topic. So I decided to choose a GIMP because my partner had it on our computer and he knew the program, so I could defer to him if I needed in-person support along the way.
Accomplishment:I’ve settled on the digital editing application that is right for me (at this moment).
Which led me to ….
Week 2.5 – Tech Support
Learning the basics of GIMP. I watched several videos, which got me started but none of the videos I watched was giving enough detail for my beginner level skill set.
My big learning for week 2 was that it can take more time searching for learning videos that will offer you what you need to know, than it takes to actually do the learning itself.
I had to call in my in-house tech support for a half hour consult, which helped explain some of the problems I was facing and fill the gaps that the videos had skimmed over.
Accomplishment: I’ve finally got some very basic skills that will allow me to work on my first goal of collaging separate digital images together.
BONUS
During this same week, we were asked to try out a new-to-me application. I chose videoscribe. This app was a great confidence boost for my learning project because it offered a very accessible way to create digital whiteboard animations. It still took time to walk through the how-tos, but it felt much easier than what I’d been trying to do with my learning project. I animated a whiteboard video and felt I could fall back on this in the future if I needed to slot it into my learning project process.
I finally got to begin creating a digital image. Again, I mostly relied on video tutorials so I could walk through the process step by step alongside the videos.
I found that I’d watch some videos several times for just one action, as I jumped back and forth between the video and the task I was trying to learn. This was really useful.
Along the way I’d use other sites or google to help build my vocabulary around the digital tools within the application.
Accomplishment: I finally was able to upload my scanned drawings and add text and collaged images into them. It looked like a small step, but considering all the time that had gone into getting me here – it felt HUGE!
Week 4 – Animation
After watching a few videos, it looked like creating a GIF was the right option for the application I was using. This wasn’t too hard, but included both video tutorials and some personal trial and error. But I was able to create a simple GIF. I just used text to keep the process simple and focused on the skill, not the creative component (which can become more time consuming).
Accomplishment:A short GIF! (which I couldn’t make work when I downloaded it…but that came next week).
Week 5 – Animation onward
This week required another call in to my personal tech support, which helped explain how to activate the GIF I’d downloaded by bringing it into my browser.
I then moved on to watching videos on onionskinning and created a very simple animation of rain. At this point I’ve become aware of just how much time the smallest, shortest animations take me…but also how involved the process can be.
I also FINALLY found a really good video tutorial for GIMP that was so thorough I wished I’d found it earlier.
Accomplishment:Creating a simple animation that is the correct resolution for sharing through projection!
Riffel High School, That’s Possible (credit: Amaya Ander, 2025)
Additionally, I then went on to create a powerpoint of images and a couple GIFs that were used for a theatre project with Riffel Highschool’s Integrated Theatre Program.
Week 6 – Moving On
I wanted to know what else I could do outside of the limits of GIMP. So this week I sought out other ‘quick’ animation tools based on recommendations from ChatGPT.
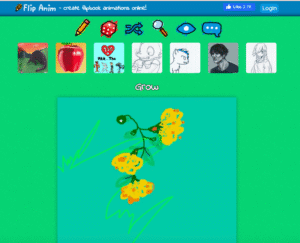
Screenshot, Flipanim, 2025
I used FlipAnim , which was an accessible, easy web-based tool for creating simple animations. I loved it! And it was the first tool I’d found that students could easily use within the classroom.
Accomplishment: Another tool in my toolbox!
Week 7 – AI
One thing I didn’t get to in my learning journey was using an application that did ‘tweening’. But this week I was introduced to using AI to generate videos by trying out Sora.
I’m really curious to explore what I could do with AI to generate stories and videos. I tried out Animated Drawings with my kids and quickly dabbled with Sora’s Vidfly.
Videos like this one offer as a guide to creating full animated videos step by step: through story generation, image generation, animation from images, and voice over tools. I’m keen to dig deeper into exploring this potential.
So where did I get? Well, maybe I haven’t created a more complex animation over this short project, but I feel I have a grasp of some foundational knowledge that has me curious to learn more.
Accomplishment: Most importantly, after these past 7 weeks of learning I have developed the comfort to expand on my learning in this area. And really, that is the beginning…
Can AI be used in the classroom to motivate, engage, and inspire creativity?
There’s lot of conversation around how AI can help teachers in building lesson plans, generating creative approaches to learning, and assisting with differentiation.
I’m keen to dig into these bigger topics and better understand how they’ll impact my own role as a teacher and how I can use AI in support of teaching and learning.
But after our class on AI and the presentation by Alec Couros, I was particularly excited to consider the ways AI can support creative practices and generative learning models.
How can AI support creative potential and divergent thinking in young people?
First, I needed to try my hand at using AI tools…something new to me. I began to playfully experiment with Suno, getting a sense of how to create a song and edit/remix it. (making a little tribute song for my dance teacher)
It was so quick and I had four options to choose from.
Could Suno be used as a creative tool to support memory and learning? Music has numerous benefits for learning. Suno offers students or teachers the ability to integrate curriculum into songs. Songs could offer as a demonstration of learning, for example: writing lyrics about science or health outcomes, or creating first person narratives from the perspective of a novel character. To give this a shot, I dropped Gr 4 Science Outcome/Indicators into ChatGPT and asked it to write me a poem. From there I dropped the poem into Suno. A few tweaks in each application to adjust tone, and within under 10 minutes….I had a song. (Its not a great song granted, but if I’d put a little time into finessing the lyrics or getting AI to tighten it up ….maybe?)
…then pair the song with a video created using Sona?
Encourage Critical Thinking and Creativity:
The ability to quickly remix and edit within AI tools is where I believe the opportunity for creativity lies. Because results are generated so quickly, it offers kids a responsive generative space to push ideas and easily build off of their imaginations. This responsive zone is similar to where play happens with young children, a place of trial and error and invention.
It was fun and they were eager to experiment with it. I can imagine that this tool could be used in art or science to think about anatomy and creatively explore how form translates into movement.
But what I also loved about how my kids engaged with this tools is how quickly they moved from the ‘rules’ of engagement for making the animations work as expected, to messing around with the system to see what kind of results they’d get. I can imagine that the creative potential of this simple tool is one that could provide a playground for divergent thinking.
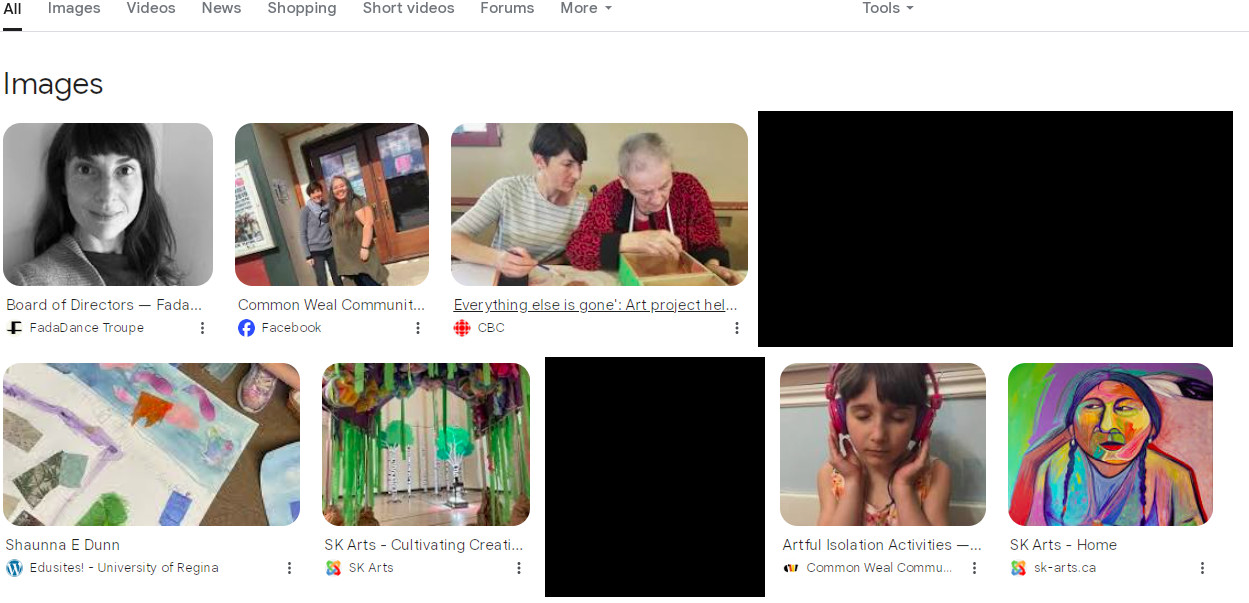
At the top of our class on Digital Identity, we were asked to quickly google ourselves and see if what we found aligned with what we want others to see or know about us.
s.dunn, screenshot google search, 2025
The idea that we all leave a digital footprint as we navigate the web (sharing, liking, and posting) is something I’d only slightly considered. I do not spend a lot of time putting things on social media for this particular reason.
pixabay, 2025
But what I’ve learned is that absence of a digital footprint can have a downside as well. An online presence is an opportunity to showcase your skills, engage in social justice, and have an active hand in building positive and generative online spaces/communities.
When it comes to digital identity, and how as educators we can support student’s awareness and online agency, there are a few key considerations I’m taking away with me about curating an online identity:
Students need to be aware of their digital footprint. Educators need to support them in understanding how the choices they make online are captured long-term. This includes education around how companies like Snapchat have ownership of the images they post, that every digital action is etched into the online archive, and that what one shares online can have larger personal implications. Resource (middleschool) : Digital Footprint: How to Build a Positive Online Identity
Offering students resources that promote both a critical and authentic approach to online engagement. Consider the spectrum of how social media use can impact one’s life. The range includes posting inappropriate content that can have significant repercussions on one’s non-digital life, to posting such an idealized version of your life that it causes dissonance within one’s actual lived experiences. The story of Madison Holleran demonstrates an example of how this idealized version of lives online are so dominant that they trump the actual message that friends or family share with us – distorting our perception of ourselves and of others. Stories like Madison’s are important to share with students, so that they can recognize these dangers from the outside.
By offering students tools and activities that engage them in building a positive online presence, we can help nurture healthy digital citizenship. This can be done by creating ePortfolios, being active in community and social justice work online, and creating new models for healthy online identity and community. Resource (K-Gr 3): MediaSmarts Lesson Plan: Representing Ourselves Online)
As I reflected on Digital Identity, my thoughts went to my own children and what would surface if I searched them online.
Neither has a social media account – but I became aware of my responsibility as a parent and the digital identity I’m creating for them without their input. Most of what came up when I searched them were new articles about events or projects they’ve been at or contributed to. My one daughter had a Gr 4 teacher that would get the students to submit critical comments to articles on CBC kids news (Good Stuff!). Everything I’ve found is pretty positive, healthy, and safe. But I keep thinking about the number of images I’ve posted of them when they were little. What online identity have I already established for them….
After reading Grace Kelln’s post about using AI as a tool to learn crochet, I realized that AI might be able to help me on my journey to creating animations. Here’s my journey into using AI to help me source a new option :
I first asked ChatGPT for suggestions on beginner friendly animation apps.
What I liked about using ChatGPT is that it didn’t just make suggestions, it offered details about what I could do with each without having to read through the websites or do more googling.
(Why didn’t I start with ChatGPT for my research in the first place?!)
I furthered my search by asking which ones were free, specifying that I was using a laptop with only a track pad, that I wanted an app that would tween for me, and that I wanted the option to import my own drawings. And the winner was: (Drum Roll)……CANVA
However….the definition of ‘animate’ on Canva was more about adding movement features (like flip, slide, and bounce), rather than drawing animations.
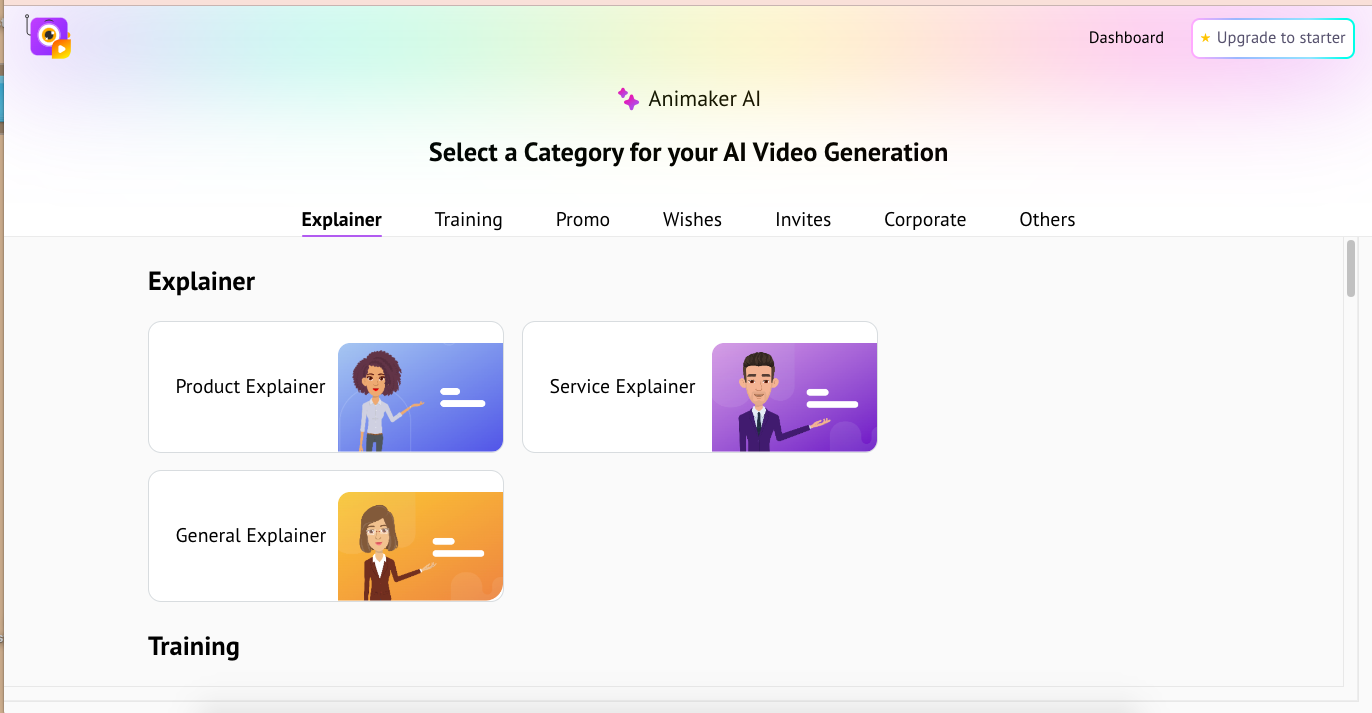
I tried Animaker out, and it wasn’t an animation program like I’d hoped. I tried it out by generating an “AI” a video birthday card using some text and an uploaded image. It was basically a slide show with a robot voice that read the text I’d put in.
FlipAnim is set up as a kid-friendly, simple, ‘flip book style’ animation tool.
It is not fancy, but it does give you the ability to create onion skin (frame-by-frame) animations. It wasn’t easy to do on my laptop with a trackpad..but I gave it a shot.
What I really liked about this tool is that it was self explanatory. I didn’t actually need to do any training, find an online video, or even read instructions. The layout of the tool was visually intuitive.
That said… I did end up watching this very short video that shared how to use the app and download your file to a GIF. (aannnnddd…ya, I probably wouldn’t have figured this out on my own). I loved how short the video was and how quickly a kid could learn how to use this animation app.
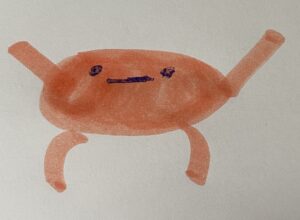
And here’s what I created:
The process of creating a short animation was by far the easiest I’ve encountered. Maybe I’m slightly more literate in using these tools since I began six weeks ago?
SO – does this count towards my learning how to do animation? At this point, I feel like the learning is sometimes in the process of finding the tool that offers you what you need. If I wasn’t going to create more professional or high resolution animations this tool might do the job.
And..I’m keen about this new app. It could be a great tool for the classroom. Kids could easily use this to generate a moving picture as a demonstration of learning.
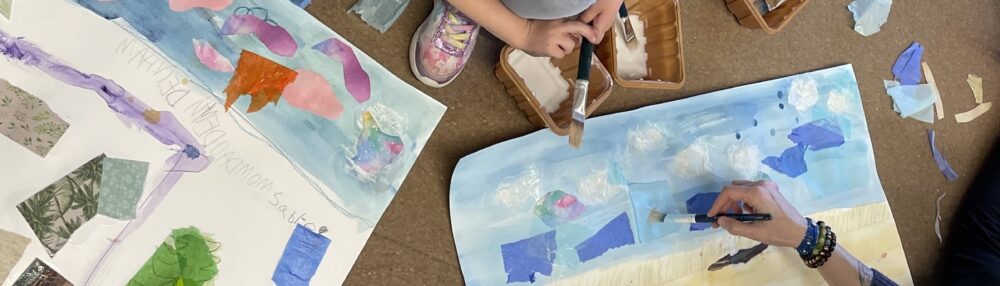
I’m behind on posting my progress because after Week Four I was deeply immersed in the Artist in Schools Project with Riffel HighSchool.
Working with this Integrated Theatre Program was part of my motivation for learning some basic animation skills, with the goal of incorporating some animated elements into the projection-based set design.
One of the key scenes I wanted to include animation in was set in a rainstorm. The aesthetic of the whole show is centred around a ‘hand drawn’ (middle-schooler) comic /doodle style.
(Here’s the GIF I create – see the end of the post for a final production shot)
After learning how to create a GIF in week four, I decided that a GIF was the easiest way to pull off the rainstorm animation. I learned the basics of frame-by-frame in my week four exercises, but for that I’d just used text to keep it really simple…and focus on the technical foundations of frame-by-frame.
This week I’d need to use an onion skinning technique to reproduce my drawn image and shift it slightly in each frame. The goal was to draw a rainstorm, then shift the same drawing slightly from frame to frame in order to make it appear to be moving.
I used this new video tutorial to further understand how to do this using the onion skin technique I’d see in the week four video.
This video was one of the best I’ve watched so far.
It went through every step, including ones I’d missed in past videos. She clarified questions I’d had about setting up a new document size, and she moved through each choice with a bit more context and detail than past videos I’d watched. She also gave very specific tools and techniques for more involved animation that I needed. But I’d definitely use this video over the others for future learning.
So, what makes a good video tutorial?
I asked myself why this video tutorial seemed better than others I’d watched? These are things I noticed:
She had a webcam embedded into her tutorial (does seeing her speak help understand the content…it felt like it did?)
She moved slowlywith her cursor when demonstrating how to use the tools in Gimp.
She gave context and reasons for all her choices (made no assumptions about prior knowledge).
She offered specificity within her process (each frame was labelled so I could grasp every change that was being made , she articulated the details of each tool as she used them, even if they were basic tools like colour fill).
I think in the end, it was the specificity that really helped.
This is something I’ll carry forward when I’m thinking about teaching and learning – and if I ever create my own videos for students.
But I’m still sitting with the idea that by seeing her face in the webcam somehow made her lesson easier to understand. I don’t know why? What are your thoughts about whether a webcam narration helps the learning process? I’m curious to know if others have had similar experiences during their online learning journey!
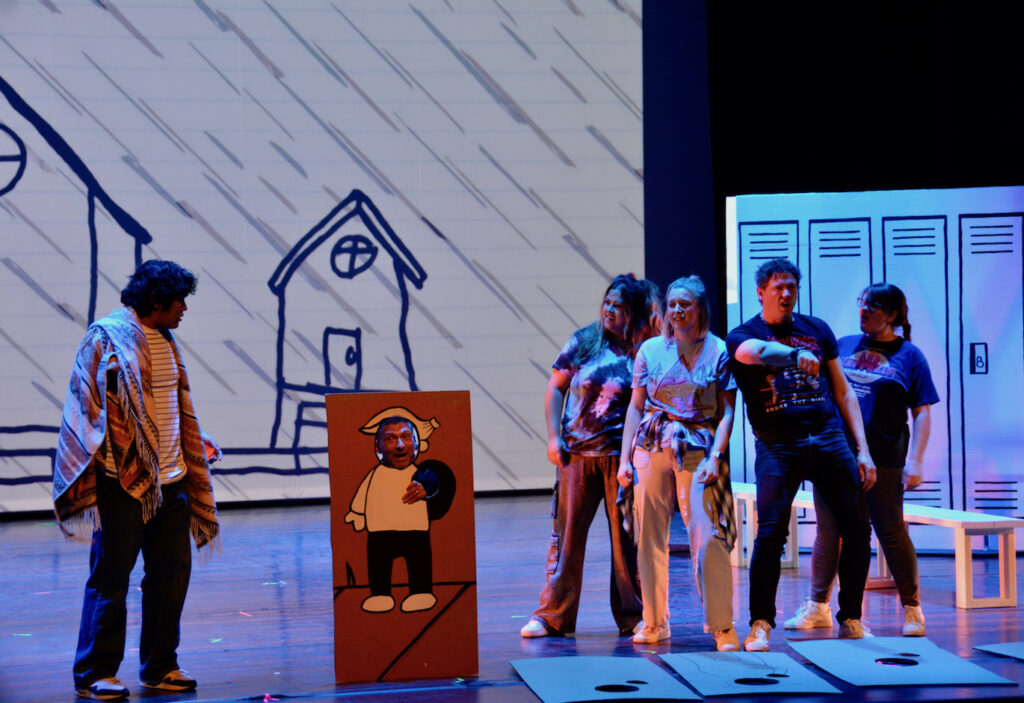
Here are some final images from the use of the rainstorm GIF within the That’s Possible production of Diary of a Wimpy Kid!
Riffel High School, That’s Possible (credit: Amaya Ander, 2025)
Riffel High School, That’s Possible (credit: Amaya Ander, 2025)
Coding isn’t something I’ve had much experience with.
My children have played on Scratch before, but I generally leave all set up and facilitation of apps and devices to my partner. And this is actually pretty frustrating, because I want to have an active hand in supporting my kids (and future students) in digital learning and creation.
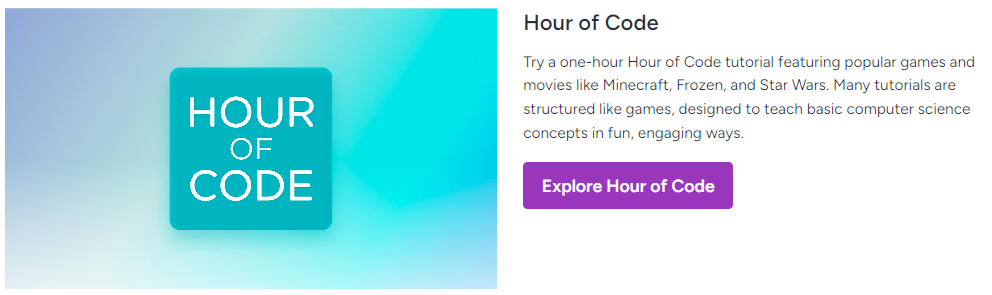
And it was GREAT! I loved this course and am excited to show it to my kiddo who loves music.
The course offers a lot of choice within the lesson. You can experiment with different sound/instrument options (but the tune is predetermined so your results sound good and you experience the success of the coding actions without getting caught up in trying to compose music.)
During the course, I learned how to build verses by compiling sounds blocks and coding the instructions for how and when they’d play or repeat, etc.
I think I’d need to do this same hour of code unit again so that the coding practice was more ingrained in my brain, but in terms of following step-by-step instructions I was comfortable throughout the learning process.
At the end of the session, there is opportunity to explore composition a bit – which was really interesting but at that point I felt I was missing some key information to make it successful. But I still liked the opportunity to see what was possible if I was to further pursue this learning.
I definitely would introduce this unit to my classroom. It offers kids an introduction into the language and approach to coding, while also teaching them a bit about music and getting them excited to be creative. I feel like a lot of kids would be keen to continue learning coding because of how the course sets you up to be successful.
And if I can do it….
then I’m sure kids would grasp the concepts quickly and be super invested in the creative potential of coding!
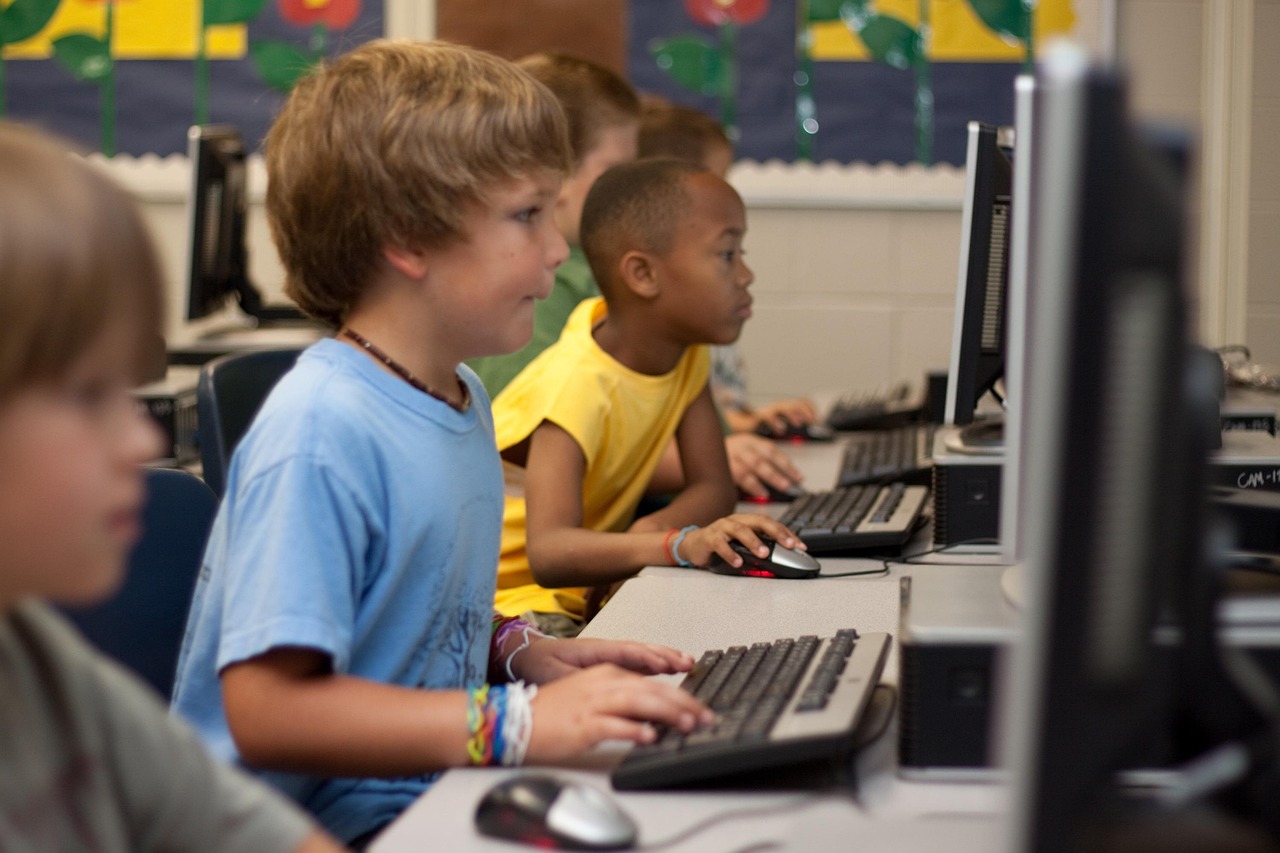
In even the youngest grade levels, students are using the internet to gather images and ideas for projects. If kids are going to be navigating online content as young as 6 or 7, it makes sense that as educators we’d be incorporating digital literacy into our lessons as soon as kids begin school.
In Finland, digital media literacy is taught across all subjects and begins at an early age. In the following video, they discuss how Finland’s government policy on media literacy grew out of Cold War distrust of neighbouring Soviet Union’s disinformation within the media. It became crucial to teach citizens from a young age how to gauge the accuracy of what they read in the news and online.
Fast forward to today, and we are experiencing a similar caution around misinformation and disinformation (coming from our Southern neighbour but also globally).
Media literacy, when embedded within all subject areas, can build students capacity for critical thinking and deeper engagement with the content they consume.
What does this look like? Educator Peter Pappas and his students offer examples of how we can teach critical thinking and online engagement through science, writing, and math lessons in this ebook Lessons In Critical Thinking. It also means explicitly teaching kids about bias in the news and giving them the tools to identify misinformation, AI generated content, and ‘fake news’. This Bias in the News worksheet identifies where to look for bias within the elements of mediated information.
As educators, we can teach students how to be active participantsin what content is being created online, and what content we choose to share and propagate.
We can teach students to mindfully engage with online information,
rather than be passive consumers of content.
We can offer them opportunities to think creatively and critically.
I am currently working on a Grade 8 Health Education Unit on body image, self esteem, and wellness. This is a great example of an opportunity to embed digital literacy within the curriculum.
Lessons offer students space to reflect on how media impacts their self perception. This includes bringing awareness to how social media algorithms can reduce our exposure to diverse and authentic images of beauty and health. Digital literacy offers an opportunity to engage in anti-bias education, by showing students how to expand their mediated lens.
We need to teach kids that online communities and social media can have a negative impact on their self-image, self-esteem, and mental health
OR
they can provide gender-affirming, body-positive, culturally and racially reflective spaces that celebrate individuality and personal identity.
….and that THEY have the power to choose.
That power comes with critical engagement and education.
This great short video series aimed at youth and media shares those messages in clear and inclusive ways:
Creating body-positive authentic spaces using social media
In a recent EDTC 300 class, Dr Katia Hildebrandt spoke about how we shape our digital narrative by stating the things that are important to us. This message, that we can actively curate our online presence, is an important one for young people. It directly connects to the outcomes in the grade 8 Health curriculum.
The National Council of Teachers of English suggests we can teach students how to be ‘active and successful participants in a global society’. As educators we can do this by offering students the skills to critically and respectfully engage with online content, generate content responsibly, and contribute to a global community with ethics and activism
Feeling more confident with GIMP, I decided to research whether this application could be used for the animations I want to make.
I’m working on a very simple concept, so I don’t need anything fancy here.
This video tutorial gave some brief but specific instructions on how I might use GIMP to create a simple animation:
I also watched this one, which offers some step by step creative instruction around building layers for the purpose of animation. (It was better than the first video). Key information about how to save a file as a GIF can be found at 9:26 (and he really identifies the specifics and detail in how to save this file and what to watch for).
What I found is that each video gave me a different set of tools, and ultimately would lead me to a different skill in creating an animation.
I decided to create a test animation.
One of the first things I found was I was having trouble with text editing. I’d used text before, but only as one text layer on my file. And for this purpose I am duplicating the layers and then adding to each layer (kind of like cells in traditional animation). But I was struggling with how I was editing the text in a few different ways, including ending up with multiple layers that I didn’t want.
It is much harder (for me) to READ about how to do something with screen shots and a written description, opposed to watching a video. I could barely focus and follow this written explanation.
It took a lot of problem solving and I rewatched a couple sections of videos up to 10 times, but I finally created the ‘foundation’ for a GIF.
However…. still lots of mistakes!
I couldn’t export it properly because of a few errors. Watched some more videos, did some troubleshooting – but eventually felt I’d hit a wall and will need to start over with a new project to see if I can avoid errors along the way (and learn a few more tools around combining backgrounds to layers).
So for this week – I’ve got a video of my animation (not a proper GIF yet)…but we are on our way.
The struggles I’m feeling with learning this tricky set of skills is really teaching me a lot about patience, perseverance, and reminding me what kids go through when learning things that don’t come easy. A very good reminder.
Next week…..Lets see if we can actually get a GIF!