Seven weeks ago I chose to begin exploring how to create digital animation. With almost no experience, I wanted to get a feel for what applications I might use and dip my toes into the ocean of digital design.
I achieved some solid goals that I’d made and I’ve started to get a sense of the applications and tools out there that one can use for digital drawing and animation. Most importantly though – I’ve pushed through that uncomfortable, awkward, and cumbersome process of penetrating the language barrier that had kept me separate from this creative form.
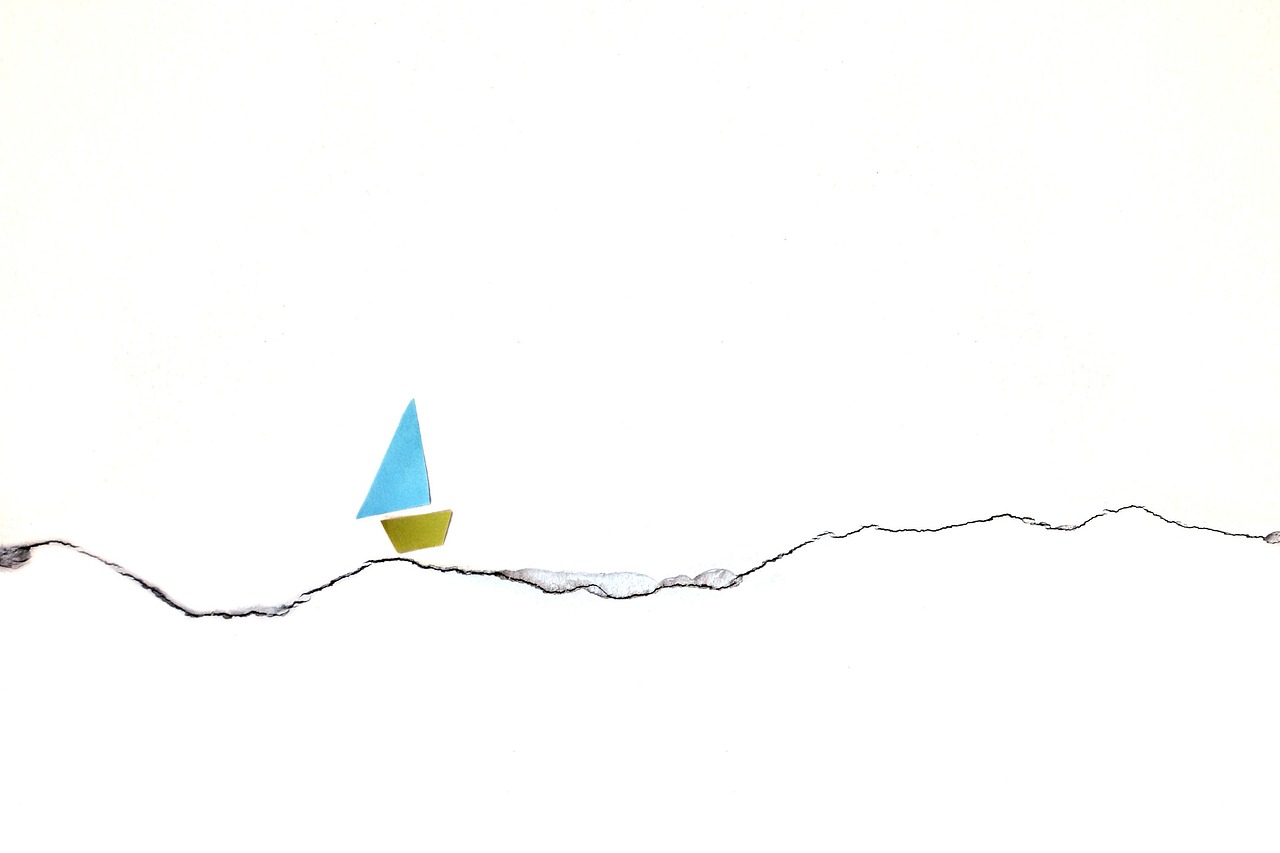
Photo by severyanka on Pixabay
What I’ve learned is that with each slow and challenging step towards understanding this digital terrain, it’s opened up a perspective on what the landscape of applications, tools, and creative possibilities exist.
The first few weeks were HARD. Everything I did felt like it took forever and I spent a lot of time in that frustrating place where you don’t know what to do so you keep doing the same thing (and continue to fail and feel frustrated). There is a re-wiring of the brain that has to happen when you learn to work within a new form like this (and my aging brain is clearly not as agile as it once was).

But through the uphill of the learning curve, I eventually built either some skills or maybe it was just endurance, and by the end of this seven weeks I was feeling more at ease.
Here’s a breakdown of what these past seven weeks have looked like:
Week 1 – Where to Start?
Photo by Mohamed_hassan on Pixabay
I began by researching what applications could provide me with the design and animation abilities that I was looking to accomplish. I asked these questions:
- What beginner-friendly programs exist.
- What do they offer?
- Will it align with the technology I currently have access to?
- What is the cost involved?
I used video reviews to introduce me to tools like Adobe Animate which led me to doing further research into how these applications work and which would be most accessible to me.
Accomplishment: Getting the lay of the land.
Week 2 – Talking the Talk
I set some goals around what I wanted to be able to create in order to help direct which application I would choose. These goals were:
- Collage separate digital images into one image
- Draw and save a digital drawing at a resolution to be used for projection.
- Learn how to use basic ‘tweening’ to animate from a few drawings (if I get time).
As I tried to do research about the applications from the first week, I quickly realized that part of my learning involved building language skills before building any digital studio skills. (What is a vector file vs a raster file? How many ppi do I need for the job I’m doing?)
Long hours trying to get my bearings, watching videos and doing a lot of googling of terms, and I just wanted to get learning. I felt stuck because of my own ignorance around the topic. So I decided to choose a GIMP because my partner had it on our computer and he knew the program, so I could defer to him if I needed in-person support along the way.
Accomplishment: I’ve settled on the digital editing application that is right for me (at this moment).
Which led me to ….
Week 2.5 – Tech Support
Learning the basics of GIMP. I watched several videos, which got me started but none of the videos I watched was giving enough detail for my beginner level skill set.
My big learning for week 2 was that it can take more time searching for learning videos that will offer you what you need to know, than it takes to actually do the learning itself.
I had to call in my in-house tech support for a half hour consult, which helped explain some of the problems I was facing and fill the gaps that the videos had skimmed over.
Accomplishment: I’ve finally got some very basic skills that will allow me to work on my first goal of collaging separate digital images together.
BONUS
During this same week, we were asked to try out a new-to-me application. I chose videoscribe. This app was a great confidence boost for my learning project because it offered a very accessible way to create digital whiteboard animations. It still took time to walk through the how-tos, but it felt much easier than what I’d been trying to do with my learning project. I animated a whiteboard video and felt I could fall back on this in the future if I needed to slot it into my learning project process.
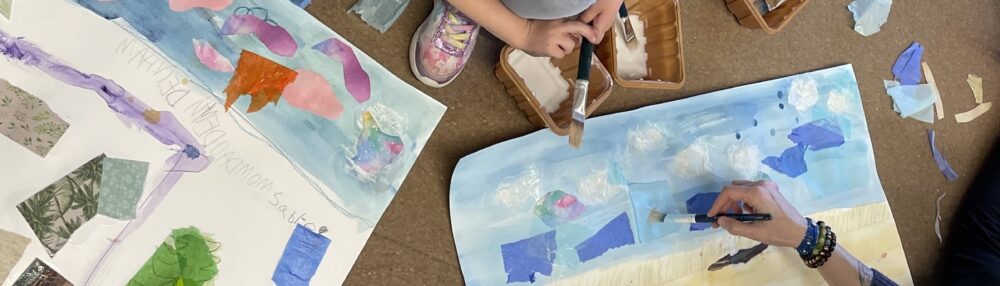
Week 3 – Digital Image Collage
Photo by JoshuaWoroniecki on Pixabay
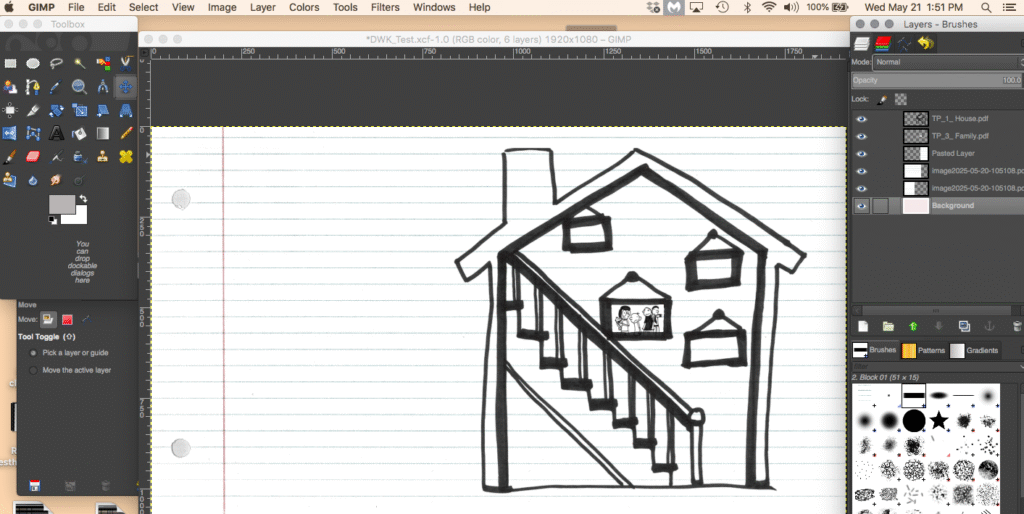
I finally got to begin creating a digital image. Again, I mostly relied on video tutorials so I could walk through the process step by step alongside the videos.
I found that I’d watch some videos several times for just one action, as I jumped back and forth between the video and the task I was trying to learn. This was really useful.
Along the way I’d use other sites or google to help build my vocabulary around the digital tools within the application.
Accomplishment: I finally was able to upload my scanned drawings and add text and collaged images into them. It looked like a small step, but considering all the time that had gone into getting me here – it felt HUGE!
Week 4 – Animation
After watching a few videos, it looked like creating a GIF was the right option for the application I was using. This wasn’t too hard, but included both video tutorials and some personal trial and error. But I was able to create a simple GIF. I just used text to keep the process simple and focused on the skill, not the creative component (which can become more time consuming).
Accomplishment: A short GIF! (which I couldn’t make work when I downloaded it…but that came next week).
Week 5 – Animation onward
This week required another call in to my personal tech support, which helped explain how to activate the GIF I’d downloaded by bringing it into my browser.
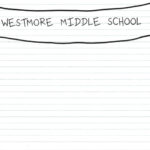
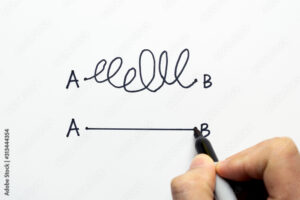
I then moved on to watching videos on onionskinning and created a very simple animation of rain. At this point I’ve become aware of just how much time the smallest, shortest animations take me…but also how involved the process can be. 
I also FINALLY found a really good video tutorial for GIMP that was so thorough I wished I’d found it earlier.
Accomplishment: Creating a simple animation that is the correct resolution for sharing through projection!

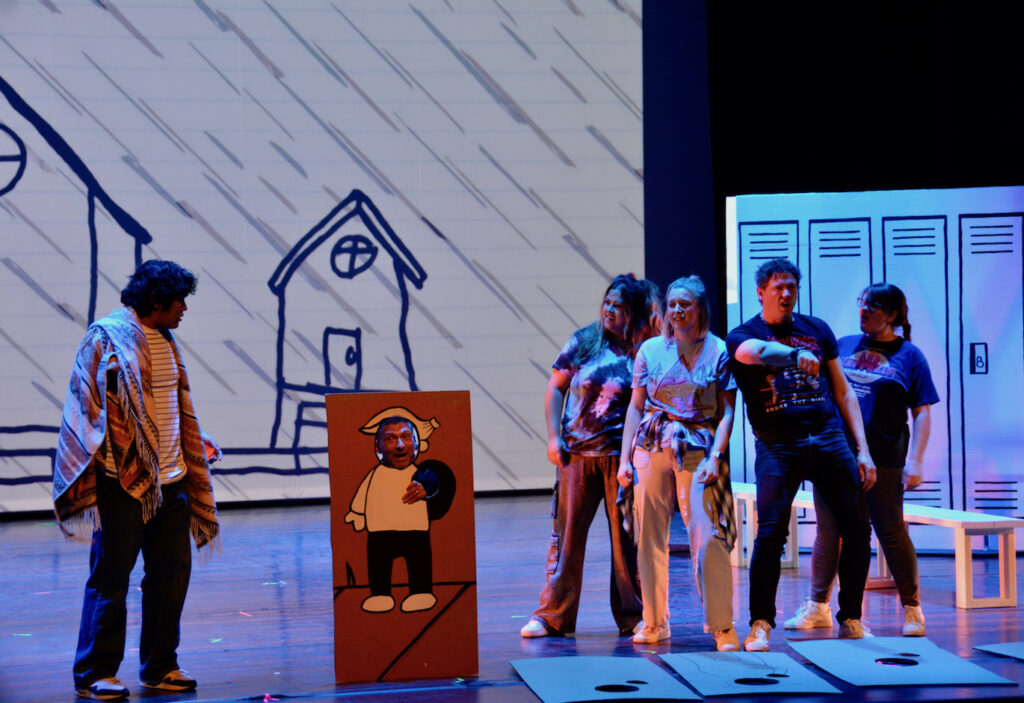
Riffel High School, That’s Possible (credit: Amaya Ander, 2025)
Additionally, I then went on to create a powerpoint of images and a couple GIFs that were used for a theatre project with Riffel Highschool’s Integrated Theatre Program.
Week 6 – Moving On
I wanted to know what else I could do outside of the limits of GIMP. So this week I sought out other ‘quick’ animation tools based on recommendations from ChatGPT.
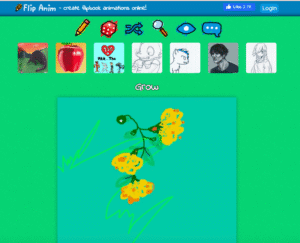
Screenshot, Flipanim, 2025
I used FlipAnim , which was an accessible, easy web-based tool for creating simple animations. I loved it! And it was the first tool I’d found that students could easily use within the classroom.
Accomplishment: Another tool in my toolbox!
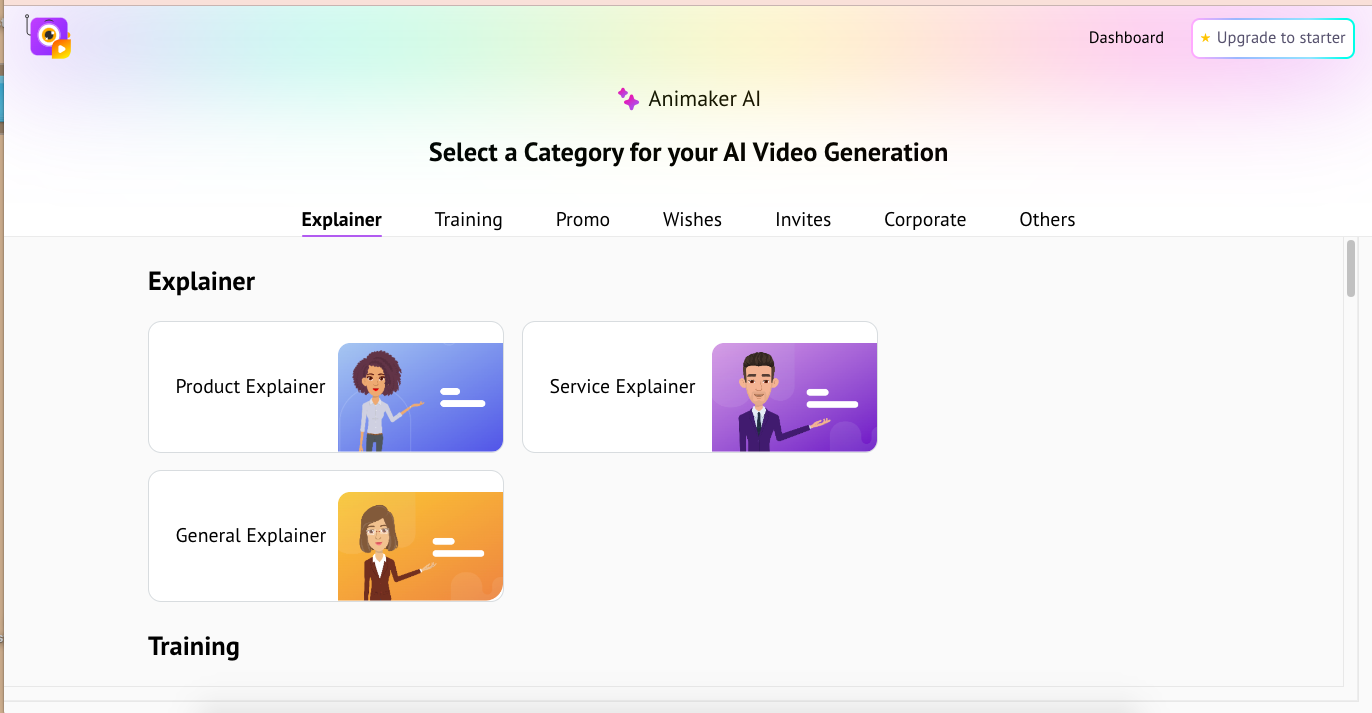
Week 7 – AI
One thing I didn’t get to in my learning journey was using an application that did ‘tweening’. But this week I was introduced to using AI to generate videos by trying out Sora.
I’m really curious to explore what I could do with AI to generate stories and videos. I tried out Animated Drawings with my kids and quickly dabbled with Sora’s Vidfly.
Videos like this one offer as a guide to creating full animated videos step by step: through story generation, image generation, animation from images, and voice over tools. I’m keen to dig deeper into exploring this potential.
So where did I get? Well, maybe I haven’t created a more complex animation over this short project, but I feel I have a grasp of some foundational knowledge that has me curious to learn more.
Accomplishment: Most importantly, after these past 7 weeks of learning I have developed the comfort to expand on my learning in this area. And really, that is the beginning…


 But that also reminded me how much we learn through repetition…and when I had to redo everything I’d just been taught – I realized there were a lot of things I’d already forgotten. Another good take away as an educator! Learning by doing….and then doing AGAIN!