
This week my goal was to create a basic character model and attach an armature skeleton to create the ability to manipulate the character model into various poses. Like last week, I decided to use YouTube as my learning resource. As a beginner, I find that YouTube is an excellent platform for delivering information on the many different tools and features required to set up a character model for animation. I chose to follow a two-part tutorial created by the YouTube channel Ryan King Art. The reasons I chose this channel are the following:
- The tutorial series included both creating the character model as well as rigging the model for animation.
- The videos were longer than other beginner tutorials on this subject which suggested there was more information provided.
- The videos were uploaded 2 months ago and used a more recent version of Blender.
- The video description included a link to free reference images which could be added into blender to help model the character.
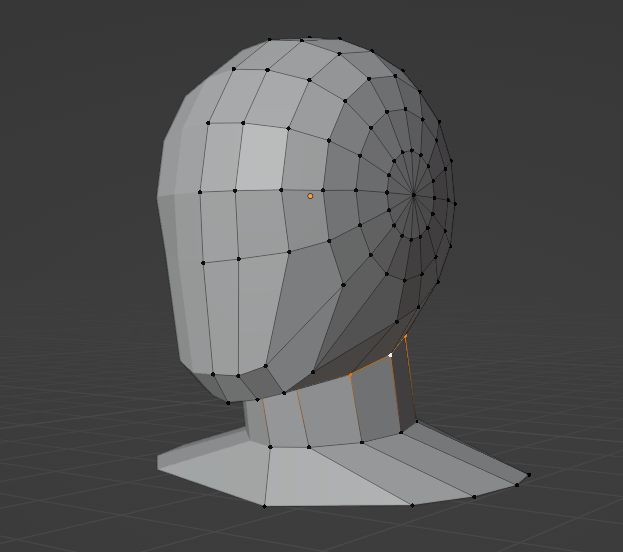
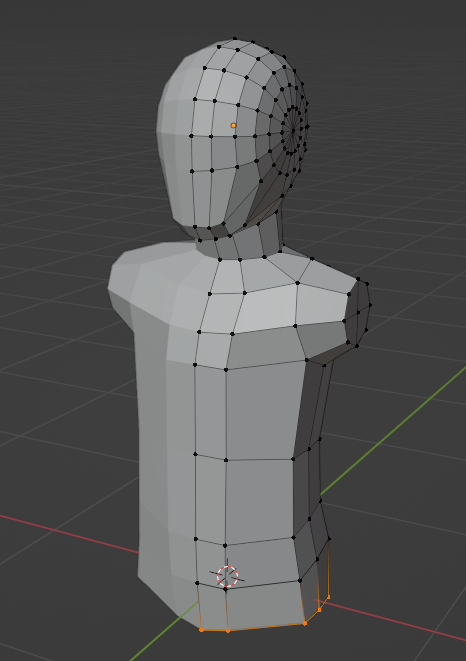
The first tutorial video I watched can be found here. In this video Ryan King Art creates a simple humanoid character model in real time showing every step required. By following along with the video and copying each step as best as I could I was able to create a simple character which could then be rigged for animation. The images below show my progression as I created the character.

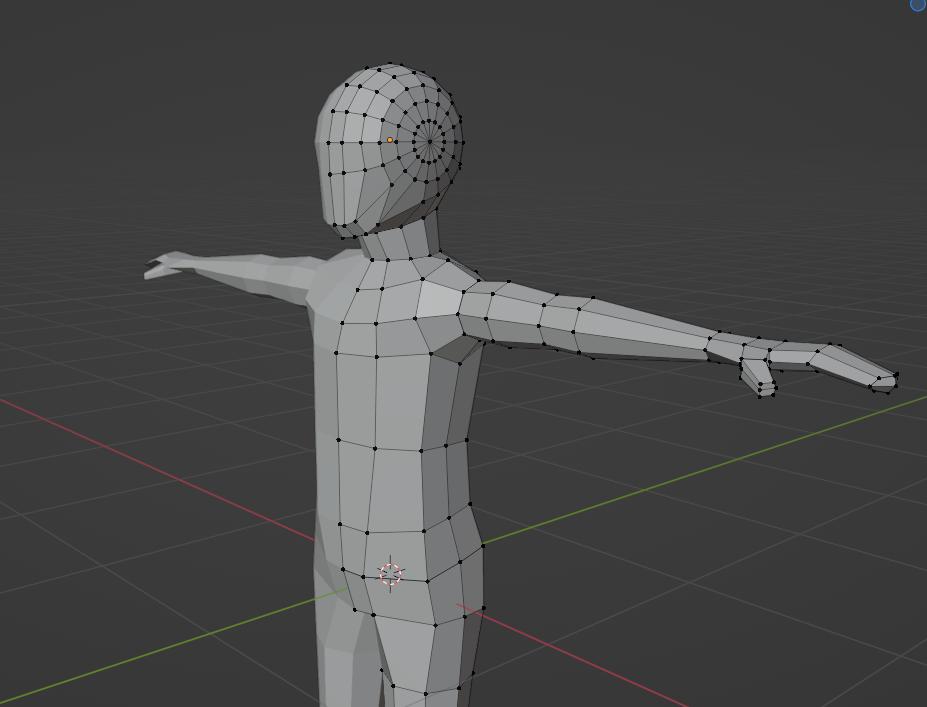
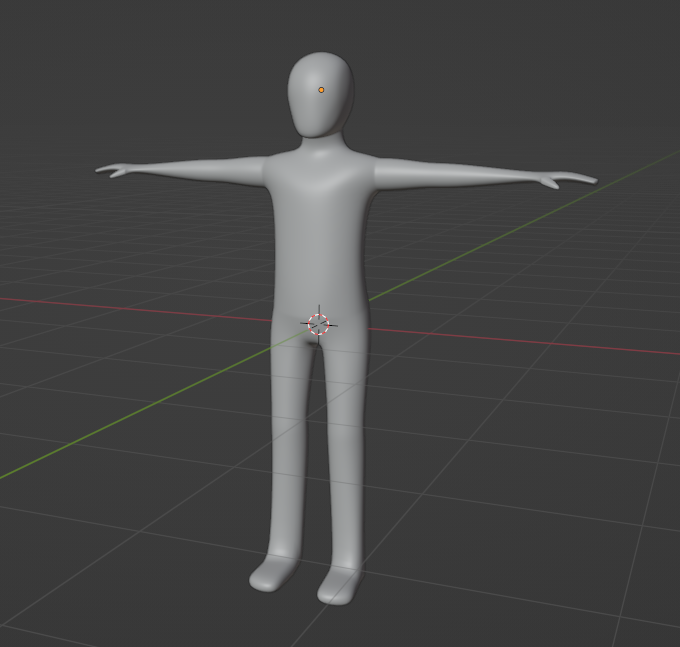
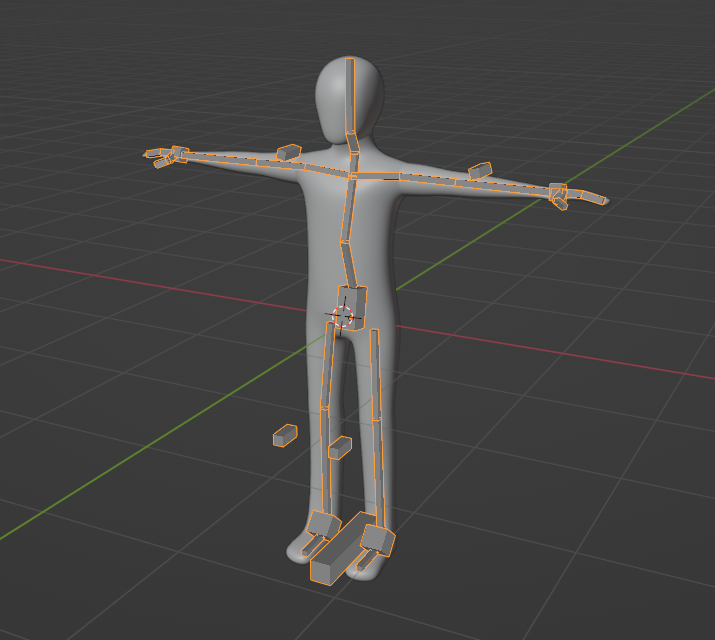
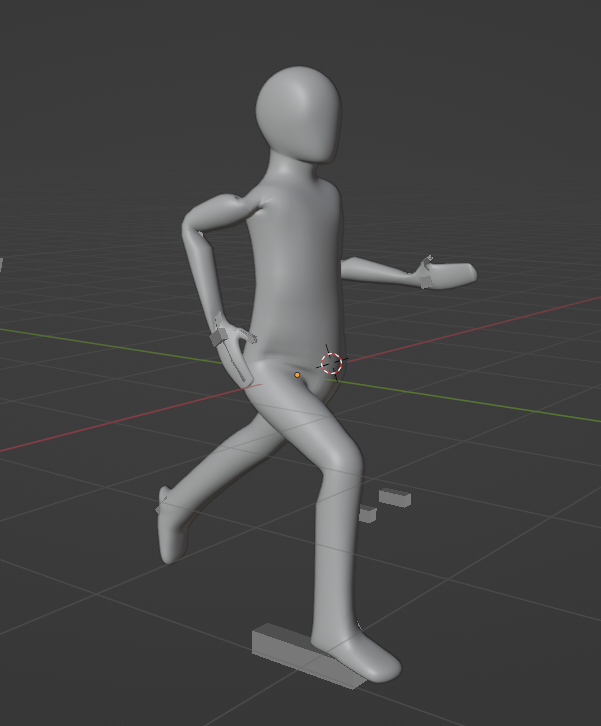
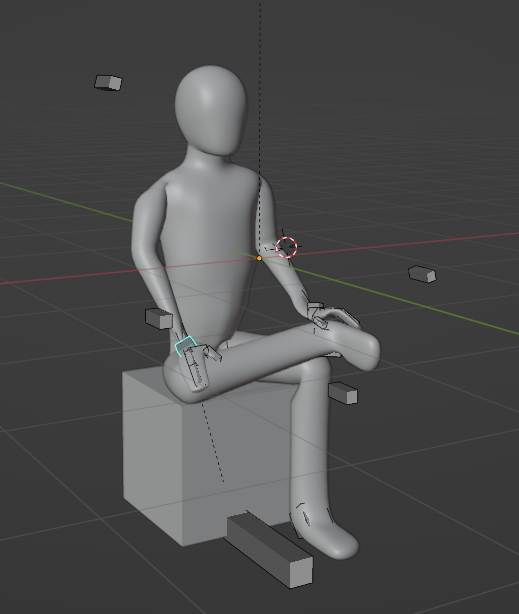
The second tutorial video can be found here. This tutorial begins with the character model created in the previous part and, using Blenders Armature tool, shows how to create a skeleton that can be rigged to the character model. Using this armature skeleton, the character can be manipulated into various poses. After finishing the tutorial, I attempted to move my character model into some simple poses. The images below show the skeleton as well as the poses I chose.
Self Reflection:
As a first attempt, I was pretty happy with the quality of my character model and skeleton. Given more time and attempts at character modeling, I believe I could fix some of the problems I am currently finding with my model. When looking at the images above of the running and sitting pose, you can see that there are issues with the joints when limbs are manipulated, most notably in the shoulders, hips, and elbows. Looking at the character model now, I can see that I made a mistake with the positioning of the elbow joints in the armature skeleton and I believe this would be a simple fix. The shoulders and hips issues are less obvious to me and I would have to experiment more to try to improve the model in those areas.
Resources Evaluation:
As a tutorial series, I appreciated that Ryan King Art showed the entire process of creating the character model and armature skeleton as I was able to follow along and see every step required. The two tutorial videos have a combined watch time of approximately 1.5 hours. Believe it or not, I actually found that the videos felt too fast. While the instructor did reliably say what he was doing and what buttons he was pressing, I found that he still did not provide sufficient explanation regarding what the buttons were actually for, or why he made the choices he did.
Having completed Blender Guru’s donut tutorial series, I found that I was able to follow along with this tutorial fairly well. However, I believe that someone who was brand new to Blender would struggle to understand what was going on throughout the video.
Plan for Next Week:
Now that I have a simple character model with the ability to manipulate it into poses, my goal for next week is to learn how to create animations with it.
My goal will be to create a walking animation loop with the character model I created this week.
Finally, if I have time, I may try to recreate the character model and improve some of the issues I discussed above.