Last week I created a basic character model and learned how to rig it using an armature skeleton in order to manipulate the model into various poses. My goal for this week was to use that character model and learn how to animate a walking cycle. As I mentioned in my previous post, the character model I created had some issues with joints deforming when I would bend them. I was still pretty happy with what I had made, but I decided I would try creating a new character model, this time using a different approach.
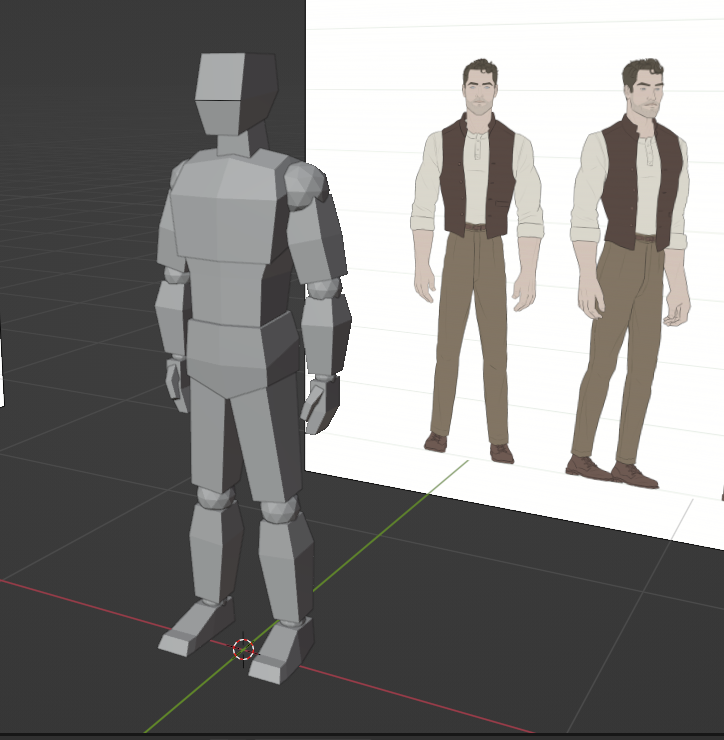
The model I created last week was a single object. This meant that when I moved the armature skeleton inside it, the model had to stretch and deform a little in order to fit the shape of the rig. This week, I got inspiration from Grant Abbitt on YouTube, who created a tutorial on creating a low-poly character model which can be found here. With this model, I made each piece of the model its own object, which could then be attached to the individual armature bones I wanted to control them!
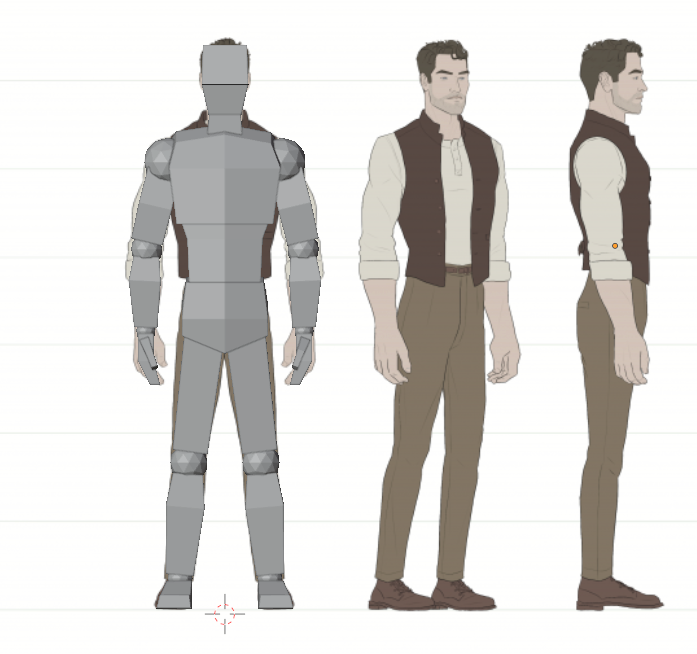
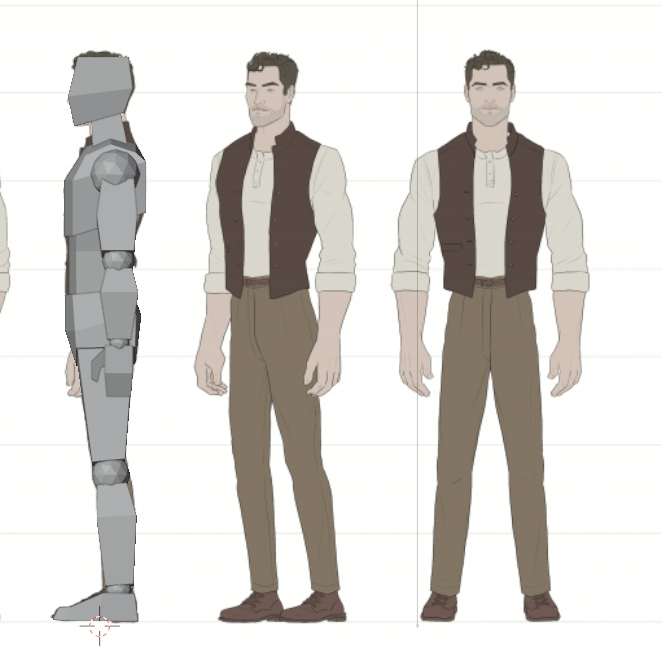
I downloaded a character turnaround I found on google in order to use it as a reference for the size and general shape of my character model. However, rather than attempt to copy more details, I created my model with the intention of making it look almost like a crash-test dummy. The reference image can be found here.
The images below show my new character model with the reference images in the background.
Now on to animating! I followed the same tutorial I used last week in order to create the armature skeleton to control the model. While looking into what actually goes into creating a walking cycle, I came across a website for Rusty Animator. This site has tutorials, blog posts, and even a podcast! One of the tutorials available is for creating a walking cycle. A walking cycle has four key poses: The Contact pose, Down pose, Passing pose, and Up pose. After completing these four poses they are repeated, this time mirrored, in order to create the second step.
When it came to creating my walking cycle in Blender, I only needed to create these four poses for my character model and inserting them at key frames in my animation. I could then mirror the poses for the second half of the walking cycle. Once done, Blender actually moves the armature rig in the frames between the poses I created to switch from poses to pose. Therefore, I only had to manually create 4 out of 32 frames in the walking cycle animation!
The first video below demonstrate the process I used when creating the walking animation and the second shows a clip of the final animation from various angles.
Self Reflection:
I ended up creating a new character model this week and even though it is more blocky and less detailed I am much happier with it than my previous model. There are some areas which I would like to improve on the model, such as allowing movement of the toes and fingers.
I am very pleased with how the walking animation turned out in the end. One detail I did notice after finishing the render is that the knees turn outwards slightly during the animation and this was something I missed because I was primarily working in the side view perspective.
One thing I found this week while exploring tutorials is that there are countless methods for setting up the armature skeleton. I would like to explore different ways to set up my model rig to see what feels best and see if I can improve some of the areas I mentioned above.
Resources Evaluation:
This week I found another YouTube channel (Grant Abbitt) which I used for guidance when creating my new character model. From what I saw exploring their channel, their videos are tailored towards specific tasks rather than general tutorials. A lot of the videos I saw were much shorter than other tutorials I’ve explored. I think their channel is a good resource for me to use at this point in my learning journey, however if I came across them in my first week, I would not have been able to follow along very well.
Moving on to my actual goal for this week, creating the walking loop, I was very excited to find a non-YouTube resource! The Rusty Animator website was a fantastic place to learn about creating walking cycles. The creator is clearly very knowledgeable and does a great job of explaining the process and theory that goes into animating. Their tutorials show you the steps to achieving the animation you want while diving deeper into explaining the thought process which allows you to learn how to make an animation of your own rather than a copy of exactly what you are shown. I will definitely be exploring this resource further in the upcoming weeks!
Plans for Next Week:
- Make improvements to character model to allow more detailed animation. Maybe think of a name for it – Any name suggestions are very welcome!
- Explore with animating more complicated movements – maybe look into simple dances.
- Continue looking for resources more specific to whatever it is I choose to animate.
Hi Vincent,
I thoroughly enjoyed reading your blog post and am amazed at how in-depth you go with not only your research but with your final product as well. Animating might have been one of the more complicated skills to learn, but you have taken it in stride. One thing I also like is how you integrate your YouTube channel into the blog which adds an extra layer where we actually get to see you working on the animation, plus a written review of how you believe the process went. I am curious how difficult you think this would be to teach to young students, considering how much time and effort you put into this. I cannot wait to read next weeks blog!
Thank you so much for the kind words! I am hoping to integrate more videos showing the animation process in the remaining weeks. Making the videos has also been a learning experience and I will continue to try different ways of showcasing the process!
I think you could teach this to high school and even middle years students if you were able to dedicate enough time for them to learn and practice. If the goal was to teach students about animation one thing that could help would be to provide them with pre-built character models then teaching about things like the four walking poses I covered this week. I have found creating and editing the models to be the most time consuming part thus far! Also, younger students might find it easier to animate in a two-dimensional workspace instead of three dimensions.