Strike a Pose: Character Model and Rigging

This week my goal was to create a basic character model and attach an armature skeleton to create the ability to manipulate the character model into various poses. Like last week, I decided to use YouTube as my learning resource. As a beginner, I find that YouTube is an excellent platform for delivering information on the many different tools and features required to set up a character model for animation. I chose to follow a two-part tutorial created by the YouTube channel Ryan King Art. The reasons I chose this channel are the following:

  • The tutorial series included both creating the character model as well as rigging the model for animation.
  • The videos were longer than other beginner tutorials on this subject which suggested there was more information provided.
  • The videos were uploaded 2 months ago and used a more recent version of Blender.
  • The video description included a link to free reference images which could be added into blender to help model the character.

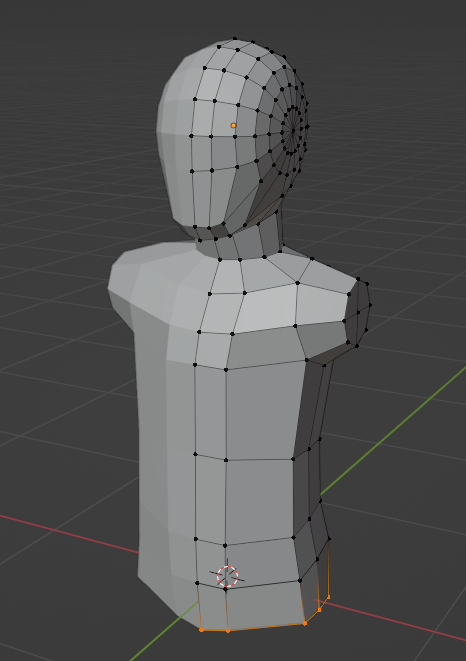
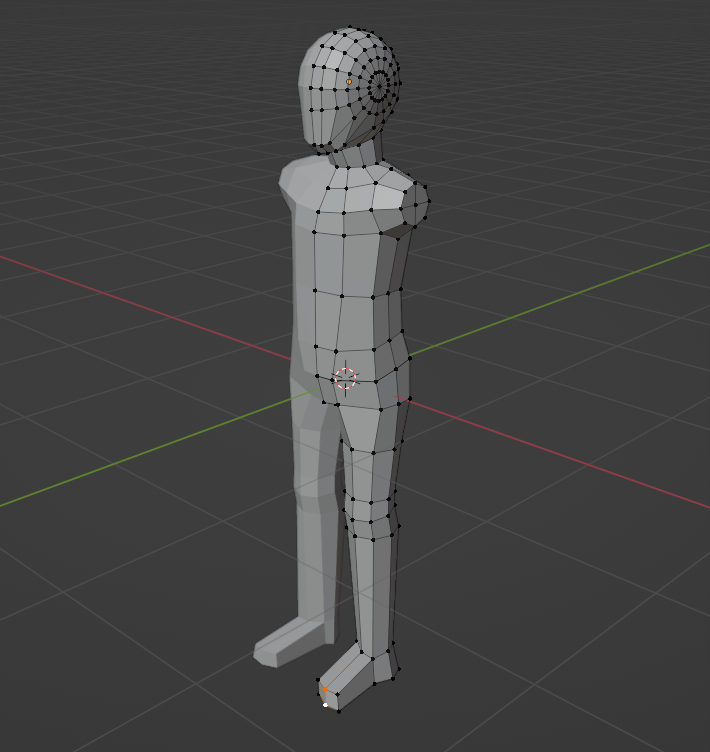
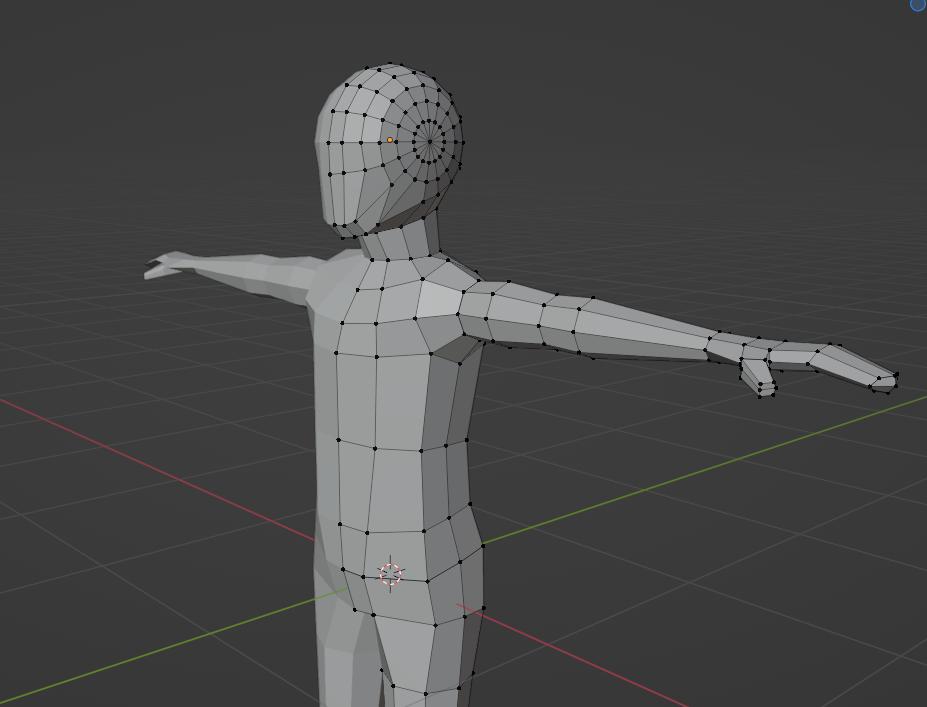
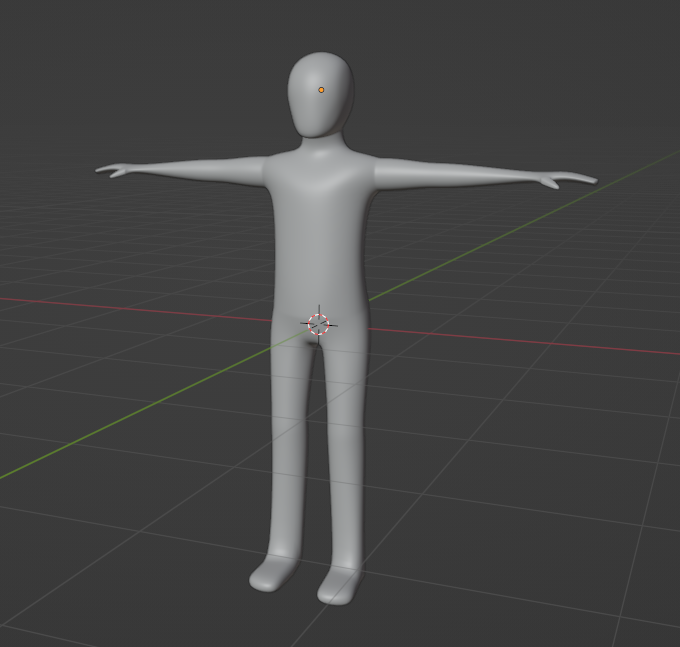
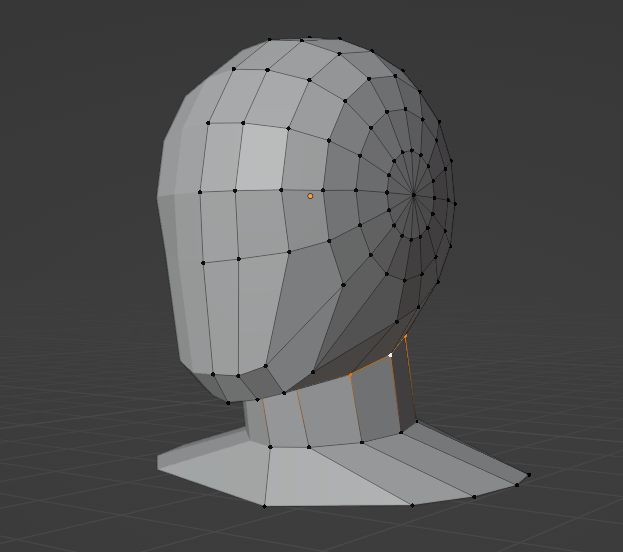
The first tutorial video I watched can be found here. In this video Ryan King Art creates a simple humanoid character model in real time showing every step required. By following along with the video and copying each step as best as I could I was able to create a simple character which could then be rigged for animation. The images below show my progression as I created the character.

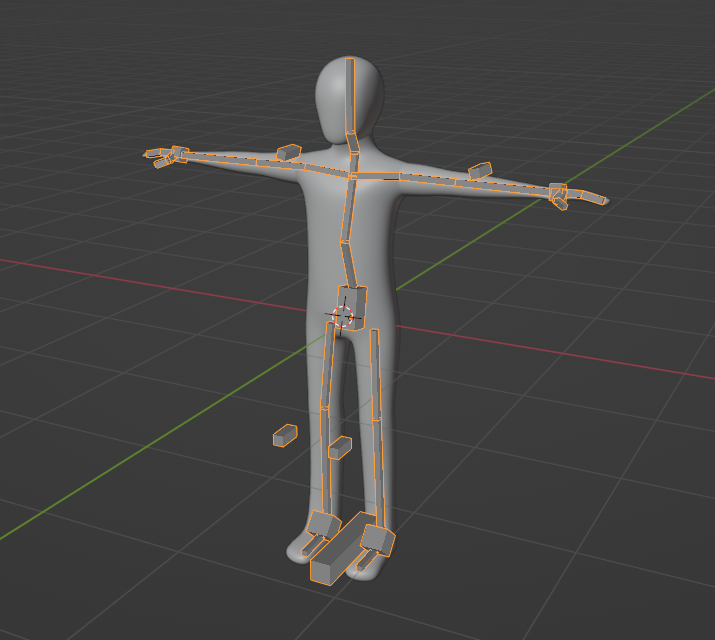
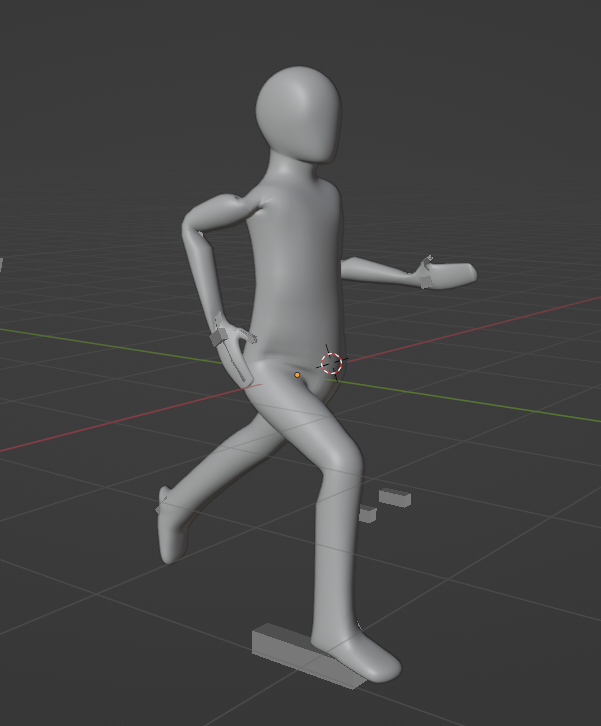
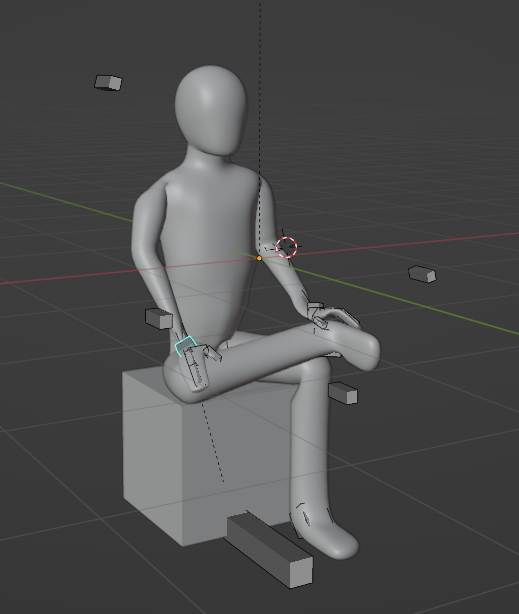
The second tutorial video can be found here. This tutorial begins with the character model created in the previous part and, using Blenders Armature tool, shows how to create a skeleton that can be rigged to the character model. Using this armature skeleton, the character can be manipulated into various poses. After finishing the tutorial, I attempted to move my character model into some simple poses. The images below show the skeleton as well as the poses I chose.

Self Reflection:

As a first attempt, I was pretty happy with the quality of my character model and skeleton. Given more time and attempts at character modeling, I believe I could fix some of the problems I am currently finding with my model. When looking at the images above of the running and sitting pose, you can see that there are issues with the joints when limbs are manipulated, most notably in the shoulders, hips, and elbows. Looking at the character model now, I can see that I made a mistake with the positioning of the elbow joints in the armature skeleton and I believe this would be a simple fix. The shoulders and hips issues are less obvious to me and I would have to experiment more to try to improve the model in those areas.

Resources Evaluation:

As a tutorial series, I appreciated that Ryan King Art showed the entire process of creating the character model and armature skeleton as I was able to follow along and see every step required. The two tutorial videos have a combined watch time of approximately 1.5 hours. Believe it or not, I actually found that the videos felt too fast. While the instructor did reliably say what he was doing and what buttons he was pressing, I found that he still did not provide sufficient explanation regarding what the buttons were actually for, or why he made the choices he did.

Having completed Blender Guru’s donut tutorial series, I found that I was able to follow along with this tutorial fairly well. However, I believe that someone who was brand new to Blender would struggle to understand what was going on throughout the video.

Plan for Next Week:

Now that I have a simple character model with the ability to manipulate it into poses, my goal for next week is to learn how to create animations with it.

My goal will be to create a walking animation loop with the character model I created this week.

Finally, if I have time, I may try to recreate the character model and improve some of the issues I discussed above.

Initial Impressions: Twitter

Last week I began using Twitter for the first time. As someone who almost never posts things on social media it has been a slow process getting comfortable with the platform. Naturally, I have been reading other people’s tweets far more than I have been posting myself. My first impression is that twitter is a platform that is effective at sharing resources, and marketing oneself.

A key feature of twitter is the limiting character limit allowed per tweet. This feature can be both a negative and a positive depending on how you look at it. I believe that the character limit is an advantage for sharing resources and news articles. When sharing something, you do not need to go super in depth when justifying why you posted it. Just a quick description and possibly what you thought about it is all that is expected.

Last week our class had the opportunity to participate in #SaskEdChat. This was an experience I greatly enjoyed. Initially, I was so focused on thinking of my own answers for each question and making sure they were written correctly before posting that I realized I was not paying enough attention to the tweets made by everyone else. While I understand the reasoning behind not allowing edits to tweets, the fact that the primary method of interaction is through text without the ability to edit does add some pressure to making sure my tweets are free of mistakes and reflect what I am trying to convey.

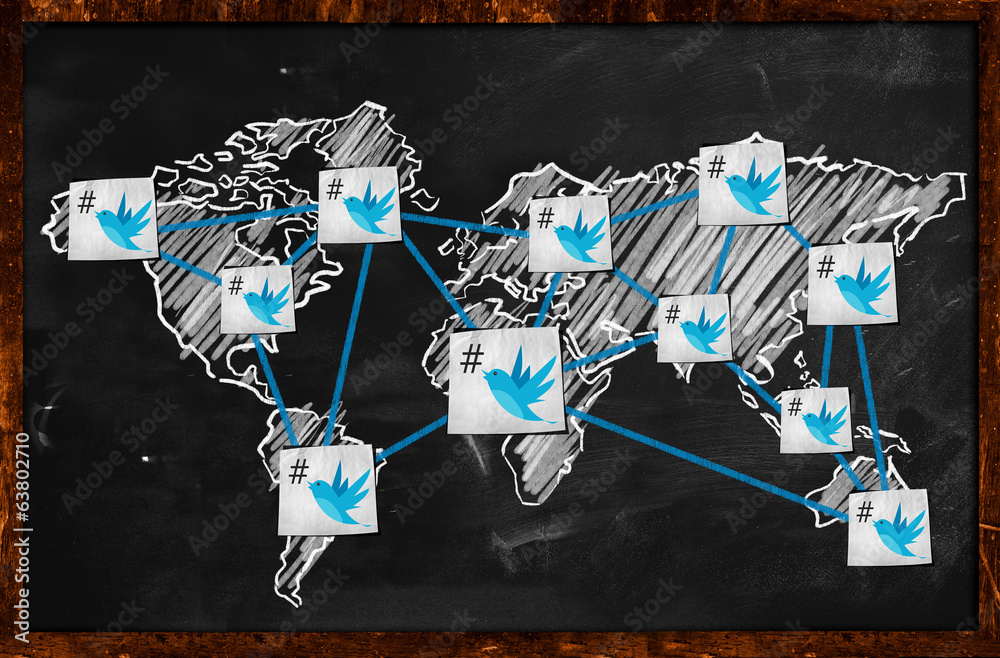
World twitter Connection on Blackboard

I ended up taking a break from tweeting during the last half of the #SaskEdChat in order to focus on reading other educators’ responses. Someone more experienced with Twitter might be able to handle posting and reading at the same time but I did feel overwhelmed by all the information. This is a feeling that I have had throughout the last week. I feel that if I do not check Twitter multiple times throughout the whole day, I will miss a lot of information. I expect it will get easier as I become more comfortable with the platform, but right now I find it difficult to keep up with just our EDTC300 List with 33 members, I can’t imagine keeping track of my feed if I was to follow multiple hundreds of users.

Despite my own challenges getting comfortable with Twitter, I absolutely see the potential in using it as a learning tool and even in the classroom. I feel like having a setup like we do in our EDTC300 course and allowing students to share information with their peers’ benefits everyone involved. I could see it being incorporated at the beginning of a unit and allowing students to share information they find outside of the classroom. This could encourage students to take responsibility for their learning and take initiative in seeking out knowledge. Also, by incorporating Twitter into the classroom, it opens the door to the possibility of teaching students about respectful interactions on social media, critical thinking and evaluating the origins of content they find online. Finally, Twitter can also be used to communicate with, and update, parents regarding what is going on inside their children’s classrooms.

Donut Judge the Process: Creating 3D Models

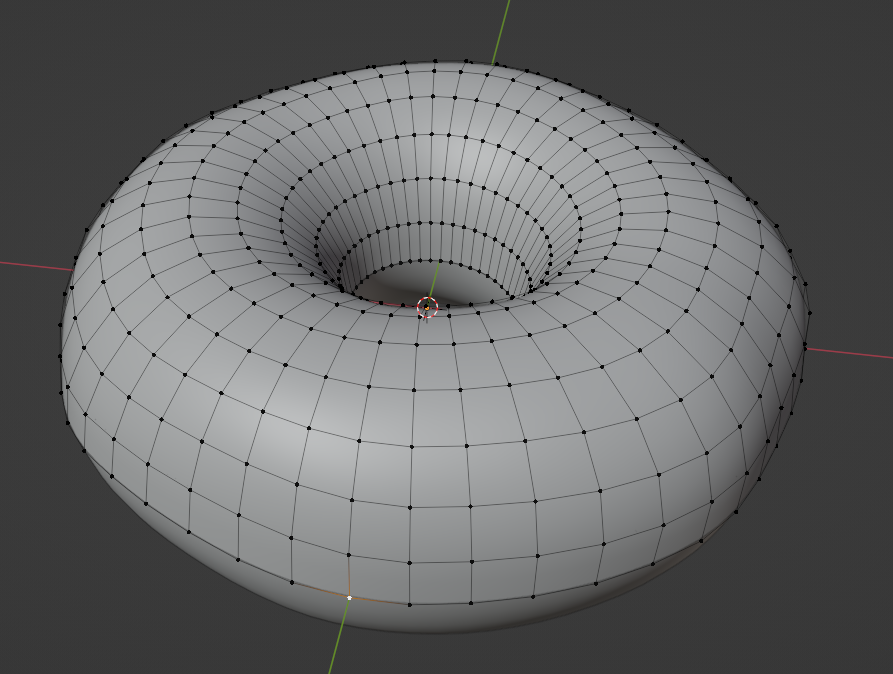
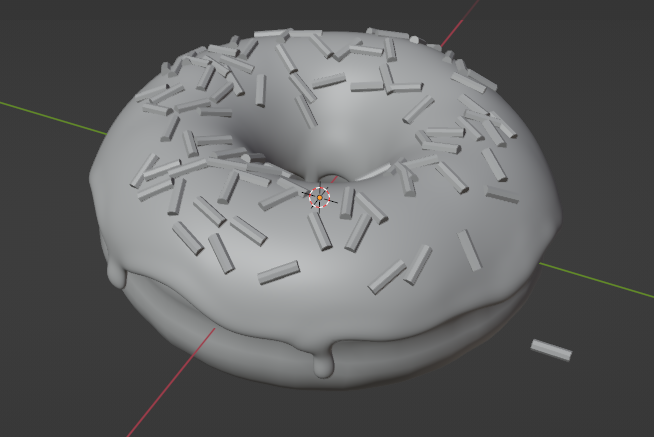
This week my aim was to familiarize myself with the Blender workspace by focusing on creating a 3D model. After searching around on YouTube I decided on using a beginner’s tutorial created by Blender Guru. The first part of this tutorial series can be found here. I felt this would be a perfect start to my learning as it goes through the entire process of modeling, shading, animating, and rendering a donut from start to finish with step-by-step instructions. My completed donut as well as a gallery showing some progression in my model can be seen below:

Donut Animation Loop

Making it all the way through the tutorial was a huge time commitment. And while I had expected the process to be time consuming it surpassed my expectations. The tutorial series I chose is comprised of 16 parts which, all together, have a watch time of just over 6 hours. That being said, it covered many aspects of 3d modeling I had not even considered such as lighting. Even though the tutorial went beyond the scope of what I had initially planned on learning in my first week, I decided to commit to completing it. The creator Blender Guru did such a fantastic job of showing every step and explaining things in beginner friendly terms. I also appreciated that while the tutorial was step-by-step, there was still freedom to add my own details and make design decisions.

Ultimately my Donut took around 8-9 hours to complete. I enjoyed the learning process so much I decided I wanted to test what I had learned by creating a new object without any guidance. I decided I would create an apple. It seemed appropriate as a future educator, and I felt it would allow me to apply what I had learned without getting too complicated. I also wanted to experiment with methods of documenting my progress. I decided to record my screen while working on my apple model in order to create a timelapse. The video below shows my timelapse, I should note that I did not record the entire process as I am still experimenting with the idea. There was also a lot of trial and error I did not want to include.

Apple Creation Time-lapse
Apple Animation Loop

In total modeling and animating the apple took around 6-7 hours. I was very pleased with how it turned out, especially the colouring.

Reflection

I believe YouTube is a perfect resource for learning this kind of skill. As a beginner I feel it would be totally overwhelming to hop into Blender without being shown where to find the various tools required and how to properly use them.

Key things I got to practice include:

  • Building 3D models using the mesh system as well as sculpting
  • Colouring, shading, and using textures
  • Lighting the object/scene
  • Simple animation (rotating the object)
  • Rendering settings
  • Compiling Renders into a full video

Thoughts moving forward:

  • This learning project is a huge time commitment. I may need to adjust my expectations of what I can actually achieve each week.
  • As I move forward with learning more complex animation, I will need to limit how much detail I put into my models. Both due to the time it would take to create but also render. (The 10 second donut clip took 1.5 hours to render)
  • In future weeks if I am focusing on learning how to animate, it may be in my best interest to find and use models created by others online.
  • I think it will be difficult to find resources in other locations besides YouTube. It will be something I will have to explore.

Plans for next week:

  • I plan on learning how to prepare a humanoid model for animation. I will try to create a model myself and set of the rigging so I can move individual limbs.
  • I will most likely use more tutorials from YouTube but see if I can find other sources.

Reanimating Old Dreams: Learning Project Introduction

For my learning project I have decided to challenge myself with learning how to create 3D animations. When I was in high school, I created a 2D animation of a children’s story book as a project for one of the classes I took. Unfortunately, I do not have a copy of this project. That being said, it has been so long since then (I don’t even remember what program I used to create it) and with my focus being on 3D animation, I believe it is fair to say I am approaching this learning project with essentially zero prior experience.

My interest in animation first started when I was around fifteen years old. I was a fan of a web series Red vs. Blue which was created by recording characters in the video game Halo in order to create each scene. This method of production utilizes the video game engine in order to animate the characters and environment rather than doing it oneself, saving time and resources. In the later seasons of the show, the company creating it hired an animator named Monty Oum in order to animate scenes that went beyond the limitations of the video game engine.

I became a huge fan of Monty Oum’s work and was blown away by his ability to take these characters out of the video games I knew them from, and create scenes I would have never thought possible. Monty became a bit of a hero to me during this time and watching the content he animated gave me the desire to learn how to animate myself. Sadly however, in 2015, Monty passed away and the motivation I had to learn how to animate faded.

Now, over seven years later, this course has given me the opportunity to dust off this childhood dream of mine and commit to making an honest effort to learning this skill for at least two months. And while I do worry that I may have been too ambitious in my choice, I am beyond excited to finally try! After doing some research on potential animation software available for use, I have decided to use the program called Blender. This program is available for free and there are many learning resources available online including countless tutorials on YouTube.

Screen capture of Blender workspace from tutorial video found here.

In all honesty I have no idea where I can hope to be in terms of my learning by the end of this course, I might be lucky to simply get a basic walking animation done, though I am hoping to be able try more complicated projects. I am planning on spending my first week or two learning how to create 3D models within Blender. I feel this will be the best way to get comfortable working with the program before I move on to actual animation. I plan on starting by simply animating someone walking. After that, there really are infinite possibilities on how I could progress. Some ideas I had would be to animate a well-known scene from a movie or trying to animate viral dances found on social media.

Introducing Myself

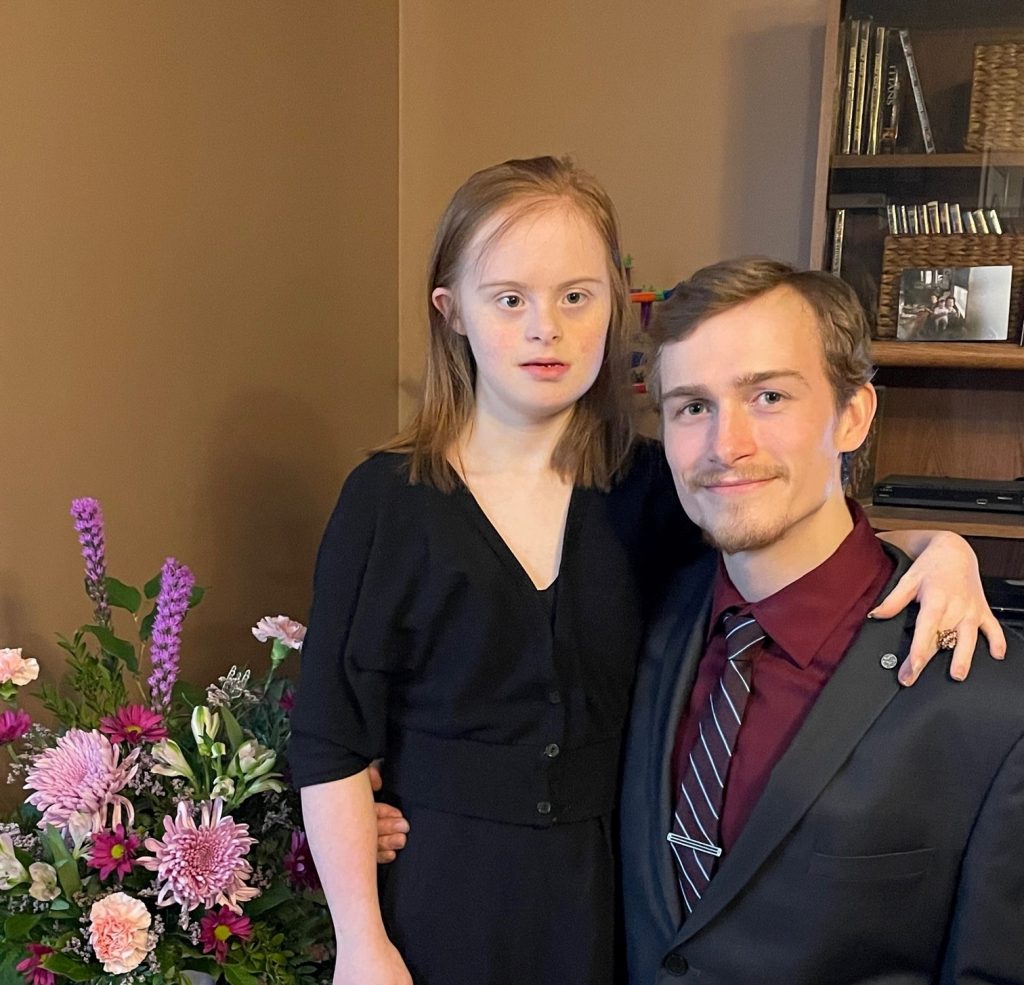
Hello! And welcome to my very first experience with blogging. My name is Vincent Grabowski and I grew up in the town of Hamiota, Manitoba located on Treaty 2 territory. I come from a family of six, my mother, father, two older brothers, and little sister. My little sister was born with Down syndrome and has always been an incredibly important part of my life. Growing up with her blessed me with many opportunities to learn, and allowed me to see how the education system adapted to allow her to achieve success through IEP planning, social interaction with classmates, and extra-curriculars.

I moved to Regina in 2016 in order to complete my Bachelor of Applied Science in Electronic Systems Engineering.  My experience in engineering was incredibly rewarding and enjoyable, but ultimately, I decided that it was not a career I wanted to pursue and that the difference I wanted to make in the world was as a teacher. After graduating from engineering in the summer of 2021, I enrolled in the Bachelor of Education After Degree (BEAD) program at the University of Regina.

Growing up I was no stranger to utilizing technology in order to learn. Google or YouTube are often the first places I look in order to find tips, tutorials, or inspiration when it comes to solving problems, or the hobbies I enjoy. That being said, social media is an area where I am incredibly lacking in experience. I have very little online presence and, if I am honest, the idea of posting or sharing my own thoughts online makes me nervous. So, a course like EDTC 300 where I will be blogging and tweeting regularly is certainly outside my comfort zone. That being said, I intend to put in a genuine effort and am hopeful that this experience will help me become more comfortable in these areas.

The Twitter account I created for this course can be found here.

Thank you for taking the time to read my blog,

-Vincent