It’s Gonna Cost Ya
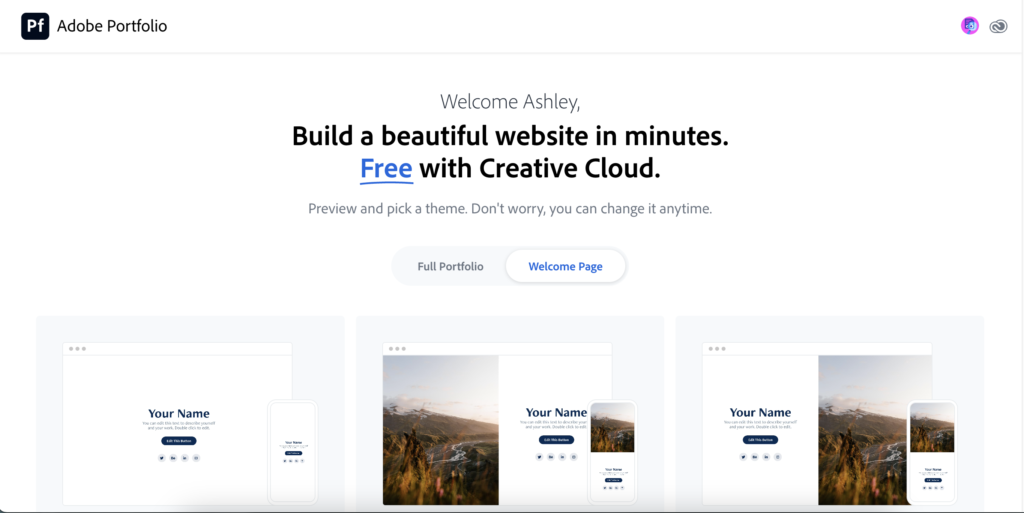
We’re nearing the end of the learning project assignment, so I wanted to create a way to display my favourite photographs I have taken. As I was searching for a website to create a portfolio, Adobe Portfolio popped up in the search. Adobe Portfolio is a user-friendly, aesthetically pleasing platform where you can create an online portfolio to showcase your work.
I should have read some reviews because after spending a lot of time creating my portfolio, I realized that I needed to pay a subscription fee to publish my website. It was free to access all the functions used in creating a portfolio. I was ready to rave about Adobe Portfolio being a great tool to use in a classroom, but unless your school and/or division chooses to pay for Adobe, it will cost you a lot as a teacher to have your students use it in the classroom. If your school has access to it, I recommend having your students use it to showcase their art or learnings.
Even though I am choosing not to pay the subscription fee, I’m still going to go through what I did to create a portfolio because I really did enjoy using the website.
- I created an account by logging into my Google account.
- It asked me to pick a theme.
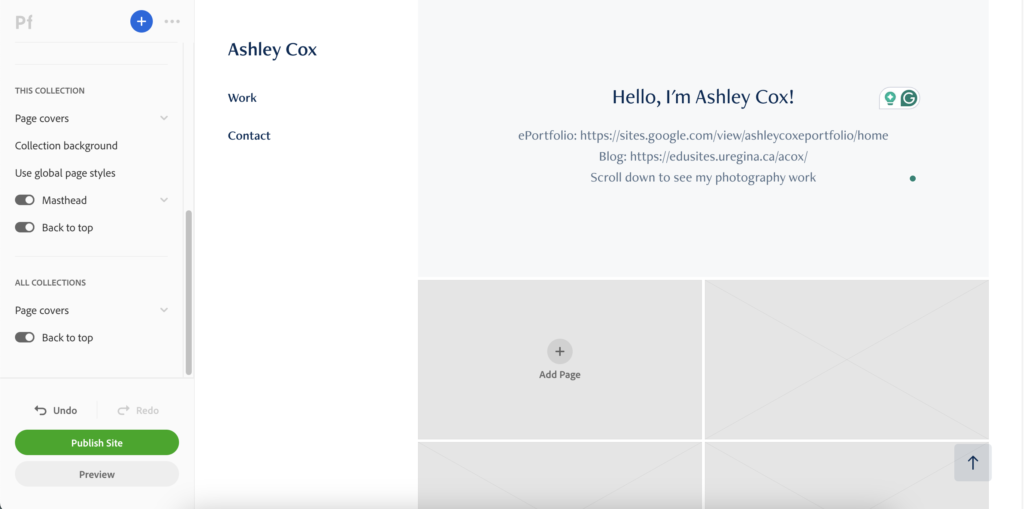
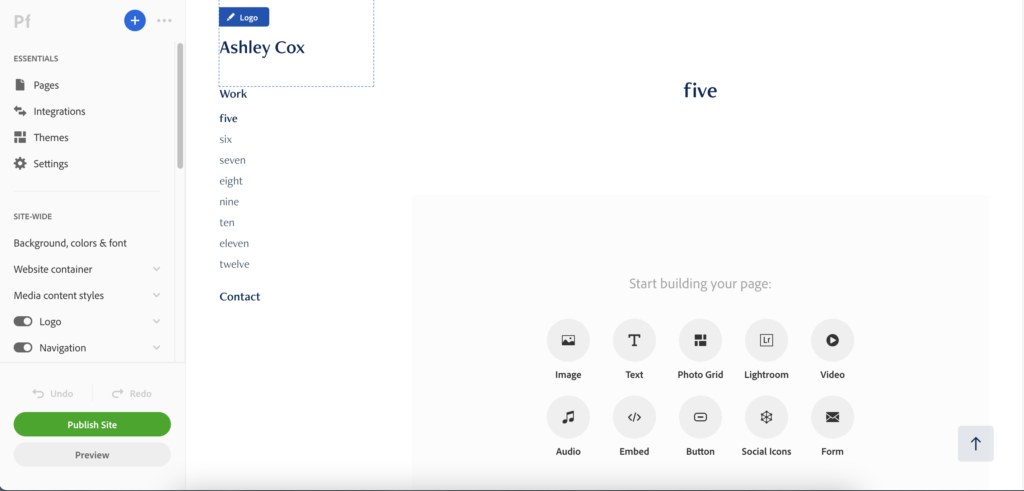
- On the left-hand side, there is a menu and editing functions.
- I clicked on the add page to get started and named the page. I kept it simple with lowercase numbers.
- I clicked on the image icon and attached the image I wanted to use.
- I repeated this process a total of 12 times.
- Then, I updated the Masthead (top banner), adding two buttons, one linked to my ePortfolio and the other to my blogs


It was that simple! And it created a beautiful portfolio (see below).