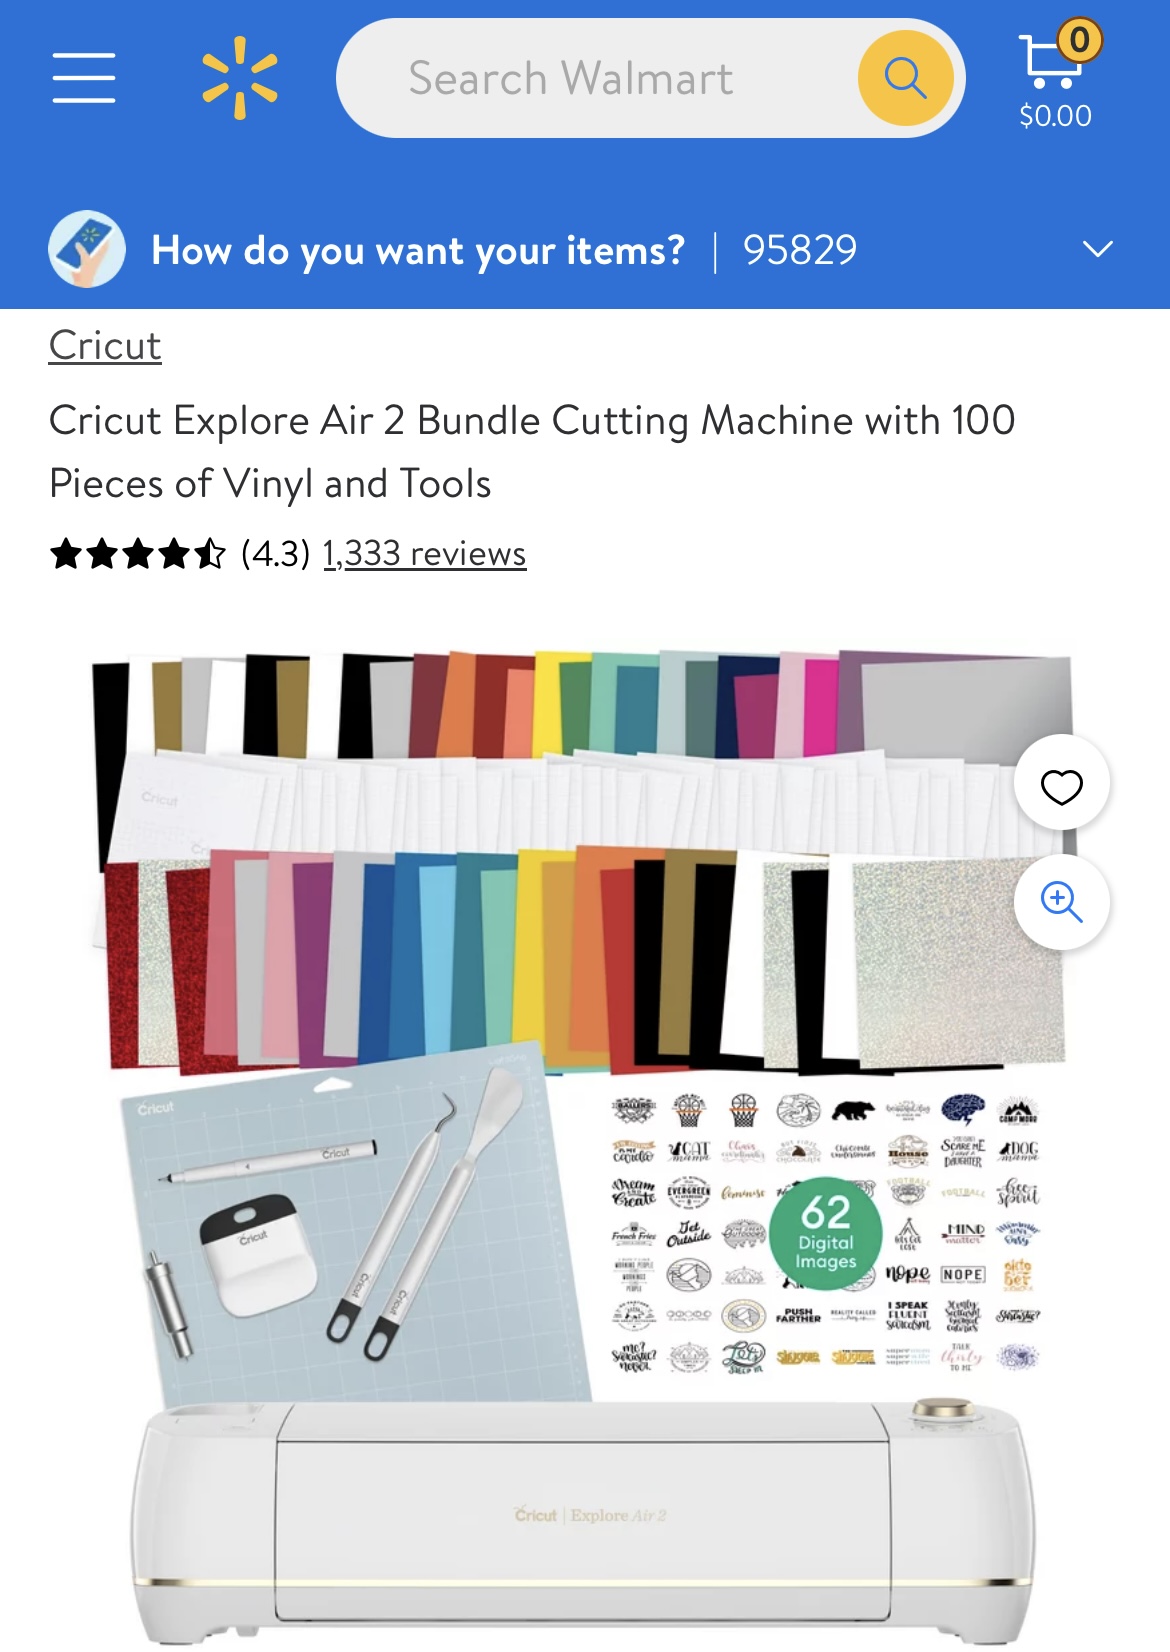
The initial phase of this learning endeavor involves unboxing the Cricut Explore Air 2 machine and acquainting oneself with its various components. My purchase (shown below) came with a bundle pack, which included all the necessary supplies and tools to commence numerous projects.
After viewing the welcome booklet, it became apparent that it lacked step-by-step guidance for operating the machine. Consequently, I sought assistance on YouTube and discovered a video titled “Unbox a Cricut Explore Air 2” which provided an in-depth explanation and setup assistance for the machine.
From this video, I learned that to use the machine, I needed to go to cricut.com and create an account (it’s free). Next, I had to download the Cricut Design Space App. Once loaded, the program prompted me through a setup where I was to plug in the machine, turn it on, and let the machine connect to my computer. Everything seemed to be going great until it could not complete the final step. The final step in the setup was to cut a piece of cardstock paper. However, nothing happened past this point, and I got a notification that it could not connect to the cutting tool. In the video below, you will see the machine trying to work but is missing the connection for some reason.
I searched Google for troubleshooting methods and came across an article titled “How to Fix Your Cricut Explore Air 2 in Minutes With a Simple Reset.” The article described a “soft reset” as the initial step in troubleshooting the Cricut. I rebooted my computer and followed these instructions:
A soft reset allows you to restart your Explore Air 2 without erasing any saved profiles or custom settings. It’s the first method to try:
1. Press the power button to turn off your Cricut Explore Air 2.
2. Disconnect the power cord from the outlet.
3. Wait for 10-15 seconds, then reconnect the power.
4. Press the power button to turn on your Cricut again.
This quick power cycle can clear the system memory and reboot your machine for improved performance.
After restarting, I tried the cut once more and also replaced my cardstock paper in case it was contributing to the issue. To my delight, the machine began cutting! I’m so relieved that the solution was straightforward. Below is a video of my first successful cut with the Cricut.
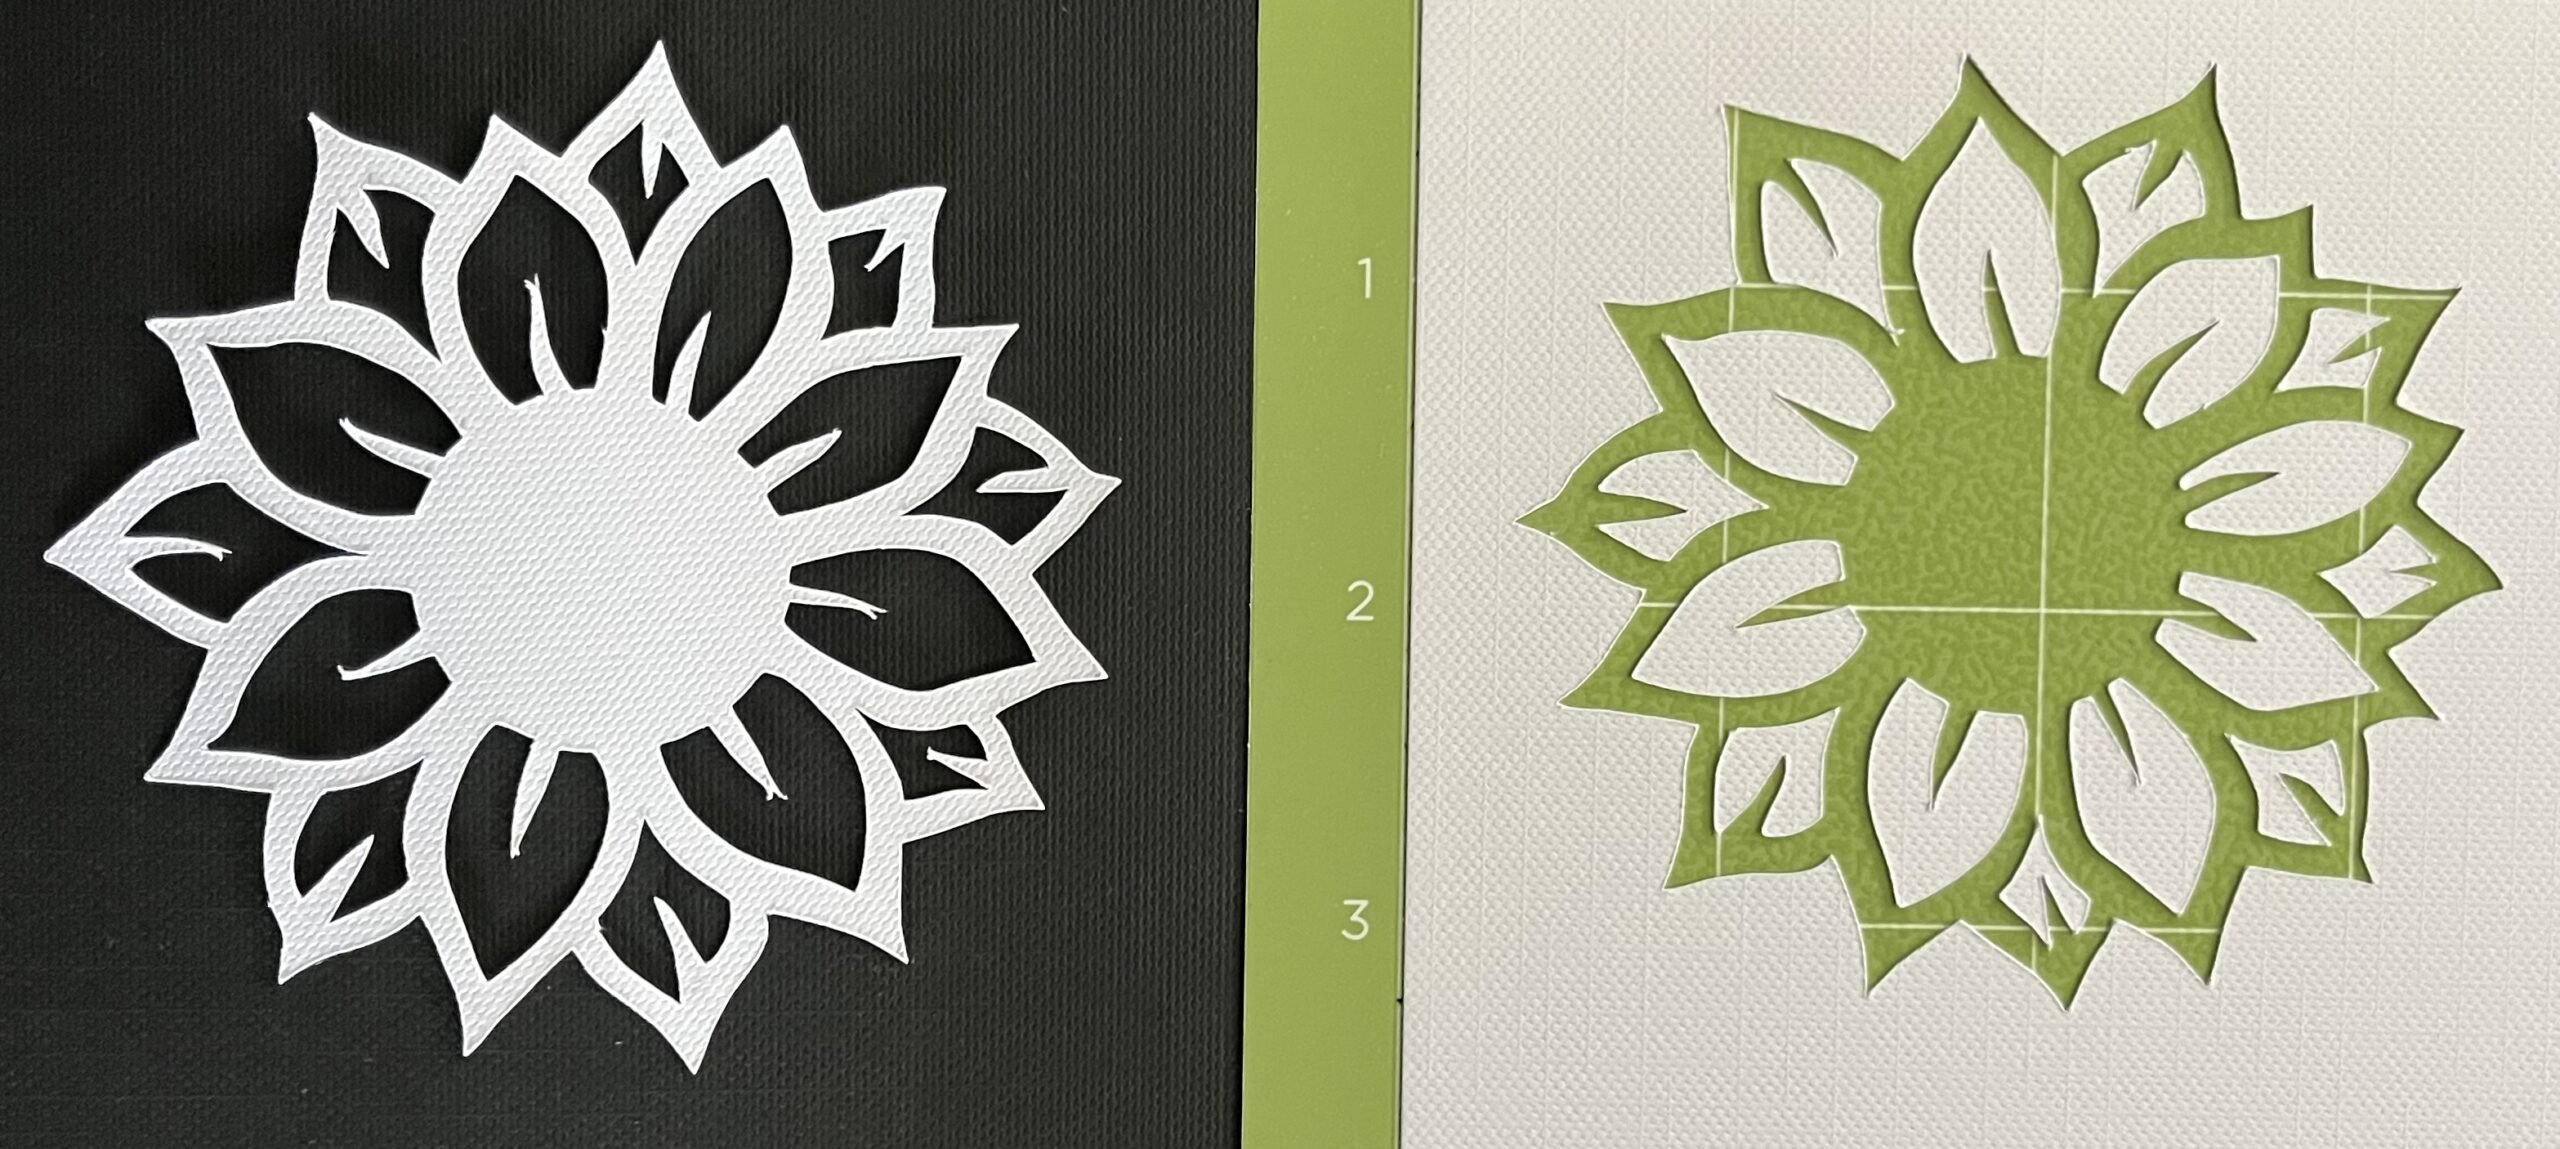
Once the cutting process was complete, the Cricut Design software prompted me to unload the mat (the large green square mat displayed in the video). Afterward, I removed my design from the mat by following the advice given in the ‘Unbox a Cricut Explore Air 2’ video at 14:25. The image below captures my initial experience with the Cricut, where I mastered the use of the machine and executed a cardstock paper cutout.
I’m excited to enhance my creative abilities using the Cricut—more projects coming soon!
Leave a Reply