Tell me and I forget, Teach me and I remember, Involve me and I learn ~ Benjamin Franklin

Author: Brittany Silzer (Page 1 of 2)

Summary of Learning: Key Takeaways

In the video below, you will find my video summarizing some of my key takeaways.

The Script

Introduction- EDTC 300 Takeaways

Hello I am Brittany and this is my summary of learning where I will explain some of my key takeaways from the EDTC 300 course.

Key Takeaways

From the very first class, I was intrigued by the content and couldn’t wait to learn more. Some of my key takeaways from this class were on these topics, Blogging, Key Extensions, The Learning Project, Coding, digital literacy, and citizenship. In the next slides I will go into more detail on what I learned in each area.

Blogging

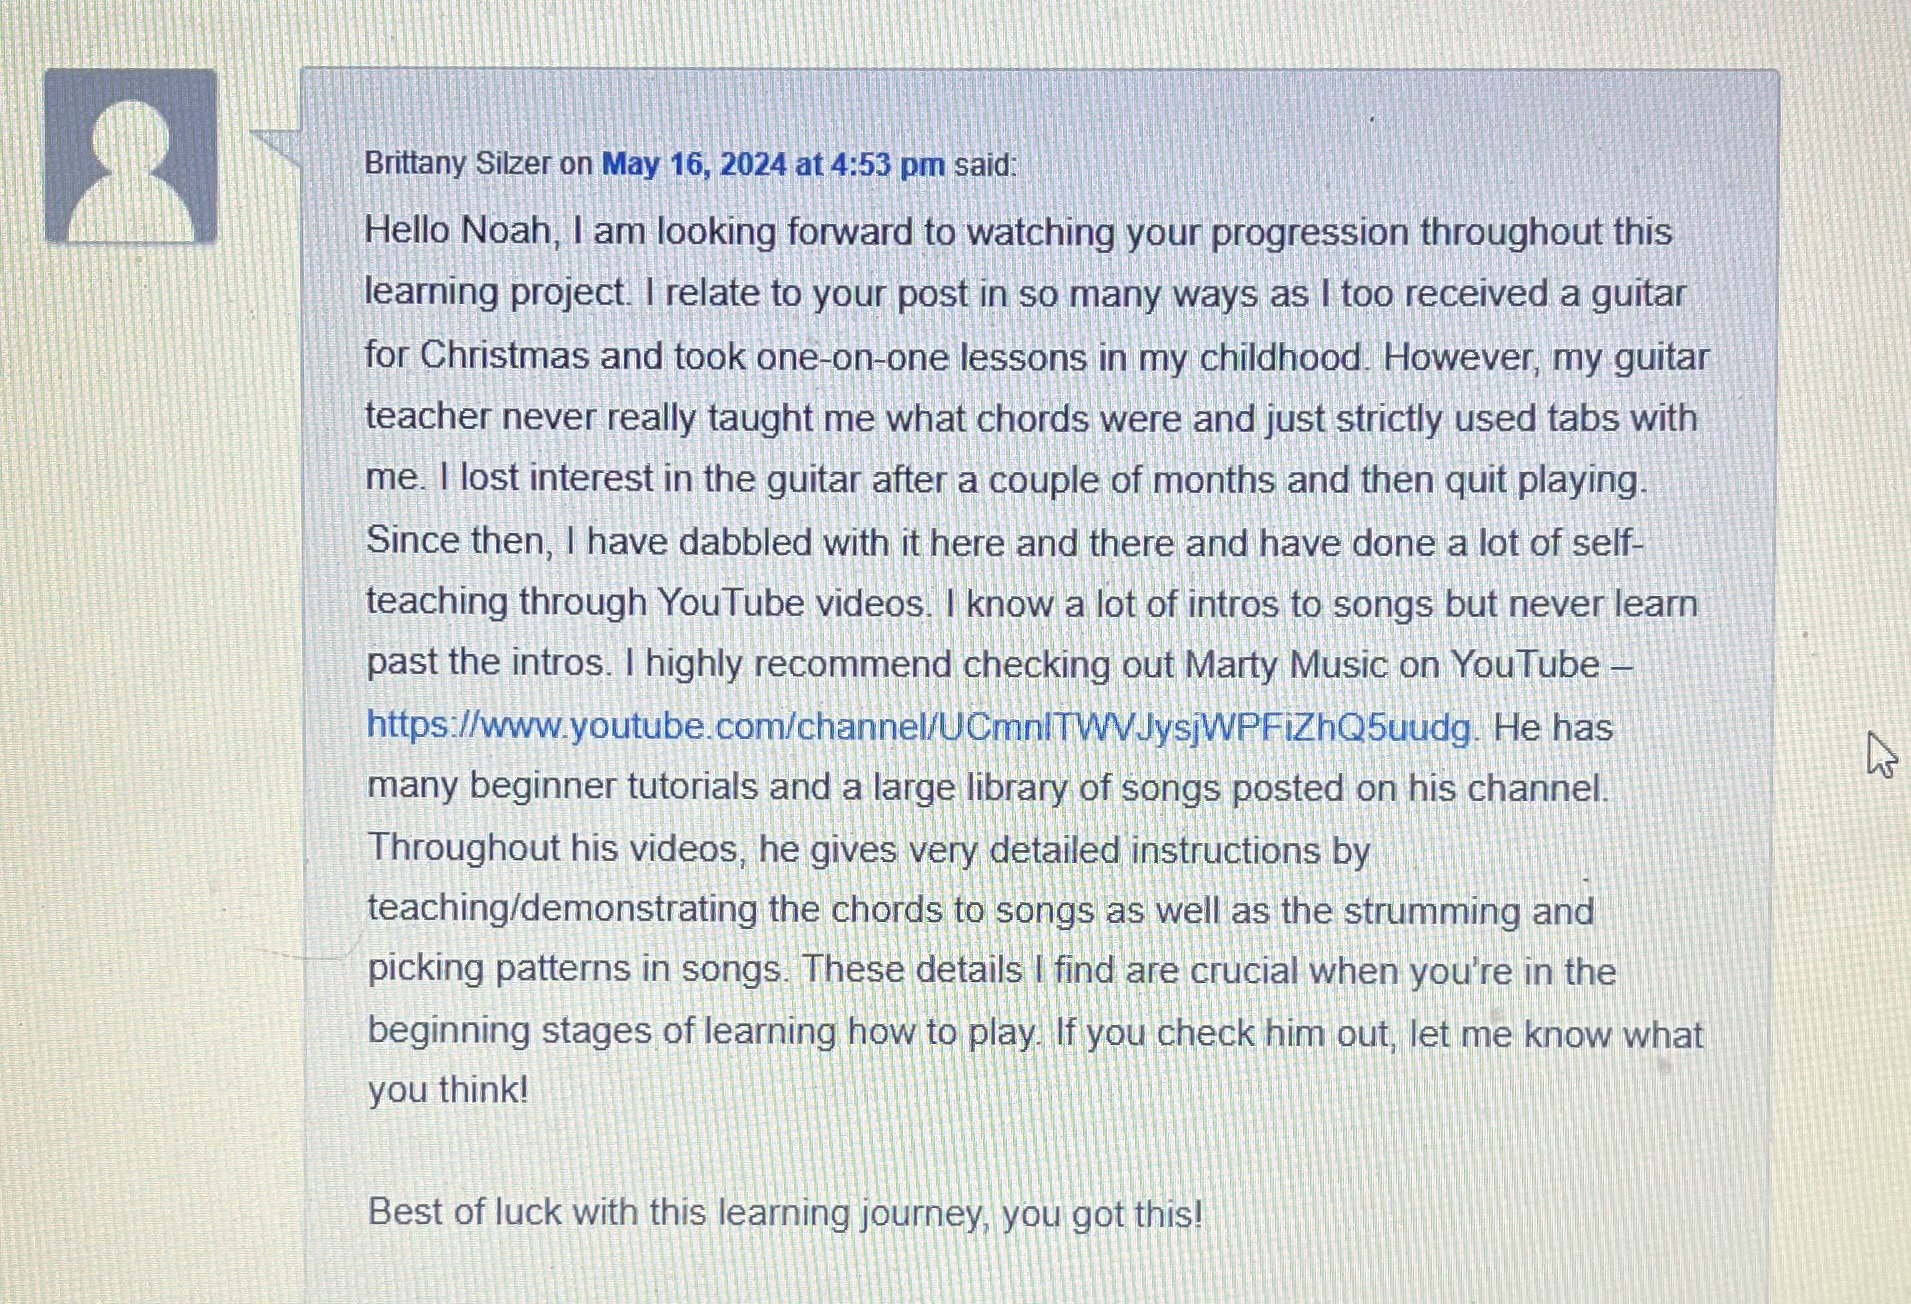
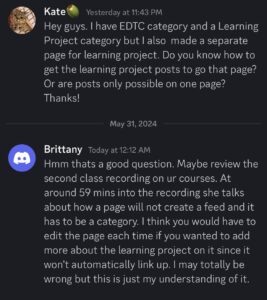
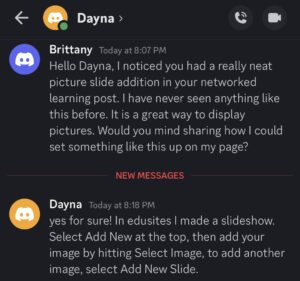
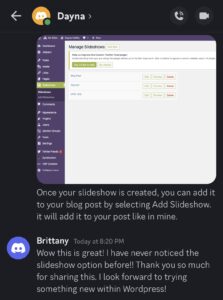
When I first heard I would be blogging in this class, I had a slight panic and wasn’t sure if I was ready for this step into the digital world. I try to stay clear of online platforms so when it came to blogging, I had to foster a growth mindset. Knowing how to blog and participating in blogging is something I am likely going to have to use at some point in my career, so I knew I better take this opportunity to learn. I already had an edusite set up so the next step was to learn how to create categories and understand the difference between a page and a category. Writing a post came next and then taking the leap to publish it. This was nerve racking as I really didn’t want people to read my thoughts and opinions. However, I got some great comments and replies to my posts and this in turn made me feel comfortable enough to write my next one. I enjoyed sprucing up my posts my adding photos and hyperlinks. One thing I found interesting is that I could not add a photo directly from google, but if I took a screenshot, I could upload that into edusites as that photo now became my property. This was an interesting loophole.

Key Extensions

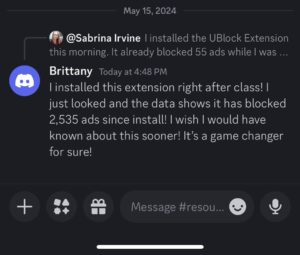
My next Takeaways were learning about the key extensions. The first one I was excited to use and downloaded before class was finished that day, was Ublock Origin. This extension filters content and blocks ads. Since May 13 when I installed this extension to now, it has blocked 117,622 ads! That’s an incredible amount in just 45 days and to think I could have been exposed to this many had I not had the Ublock extension installed. Another extension was called Read aloud. This extension converts text to speech and essentially will read documents, websites, textbooks, articles etc. out loud to you. The nice thing about this extension is that you can choose from a few different voice options, the speed you want it read to you, and pause when you need to. I have tried read aloud apps before and have found the voice to be robotic. However, when I tried this extension, I found the voice to read more fluid and smoothly. Another neat extension is the YouTube Summary Chat GPT. This is easy to use as you just copy and paste the link of the You tube video and the generator will create a summary of what the you tube video is all about. I tried this out for one of my assignments and it summarized the video by hitting all of the key points within the video. It did not take long at all for this extension to create a summary. Lastly, I learned about One Tab. I have always been known to have 5,10, 15 tabs open on my computer so learning about this extensions abilities to clean this up into a neat list was a relief. I feel like my life has been decluttered. It is comforting to know that I still have everything I may need but it is not overwhlemingly lingering at the top of my page.

The Learning Project

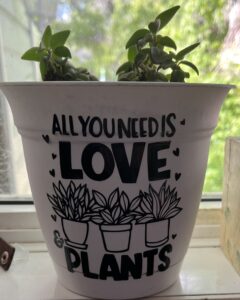
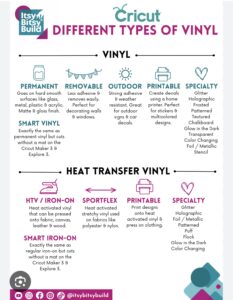
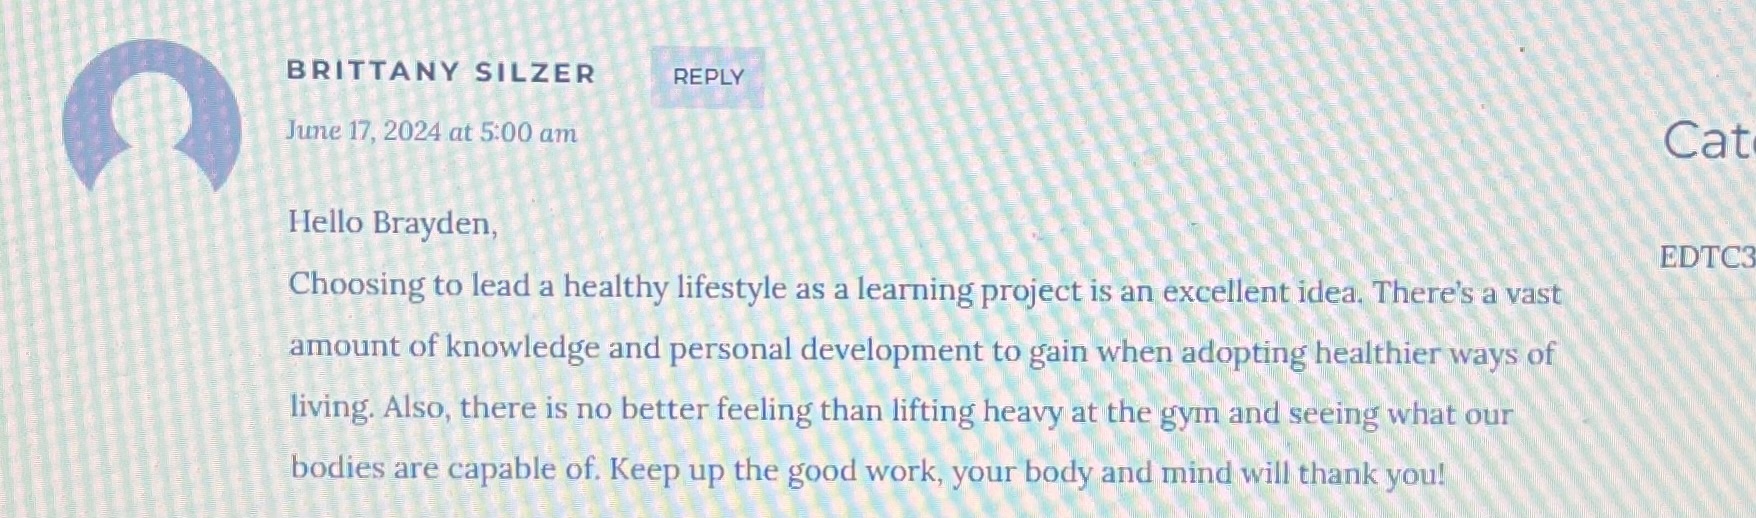
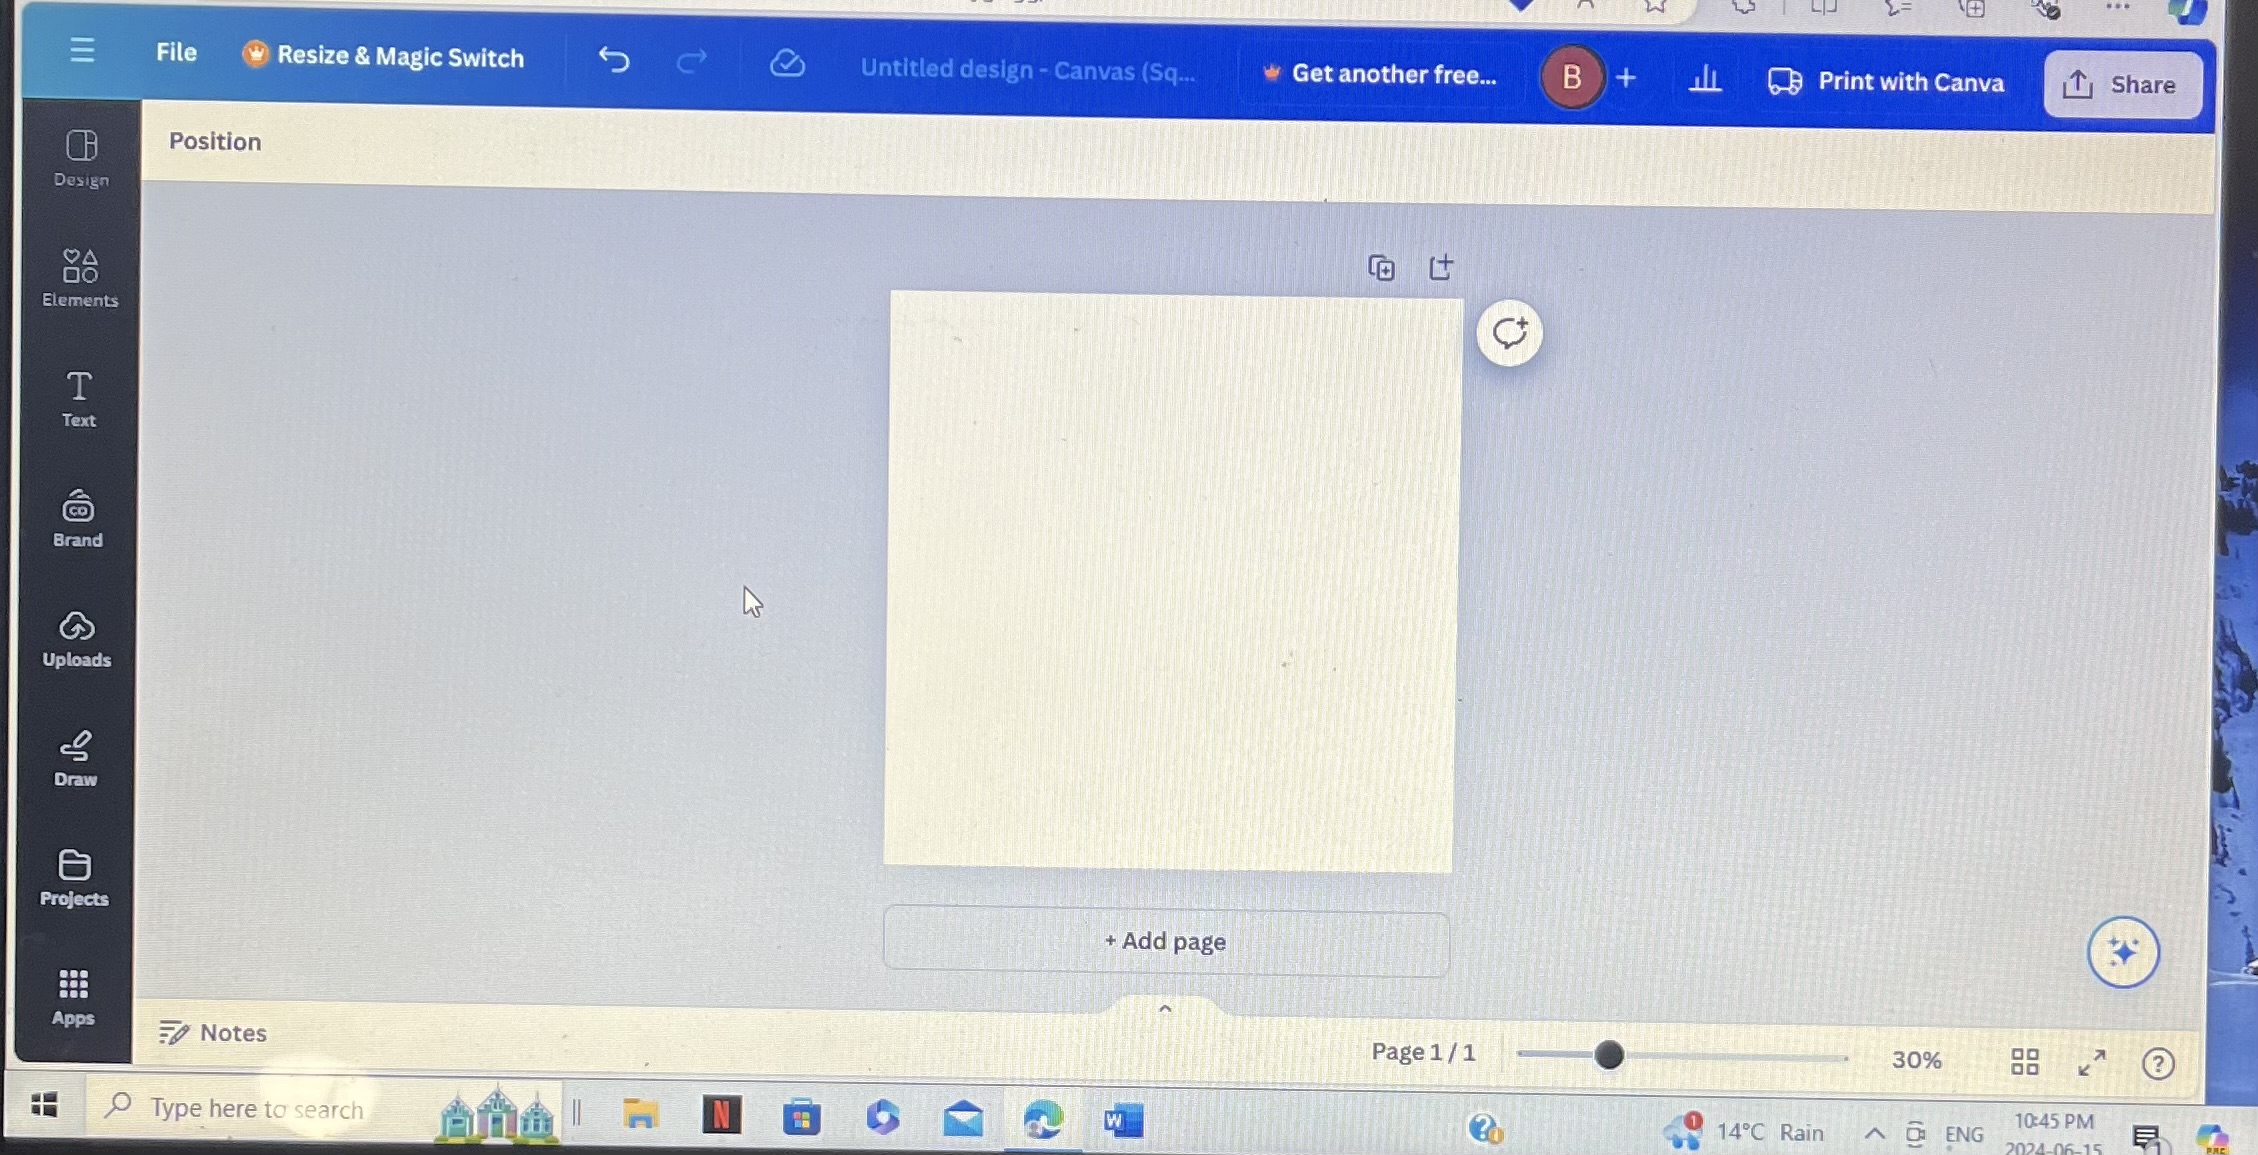
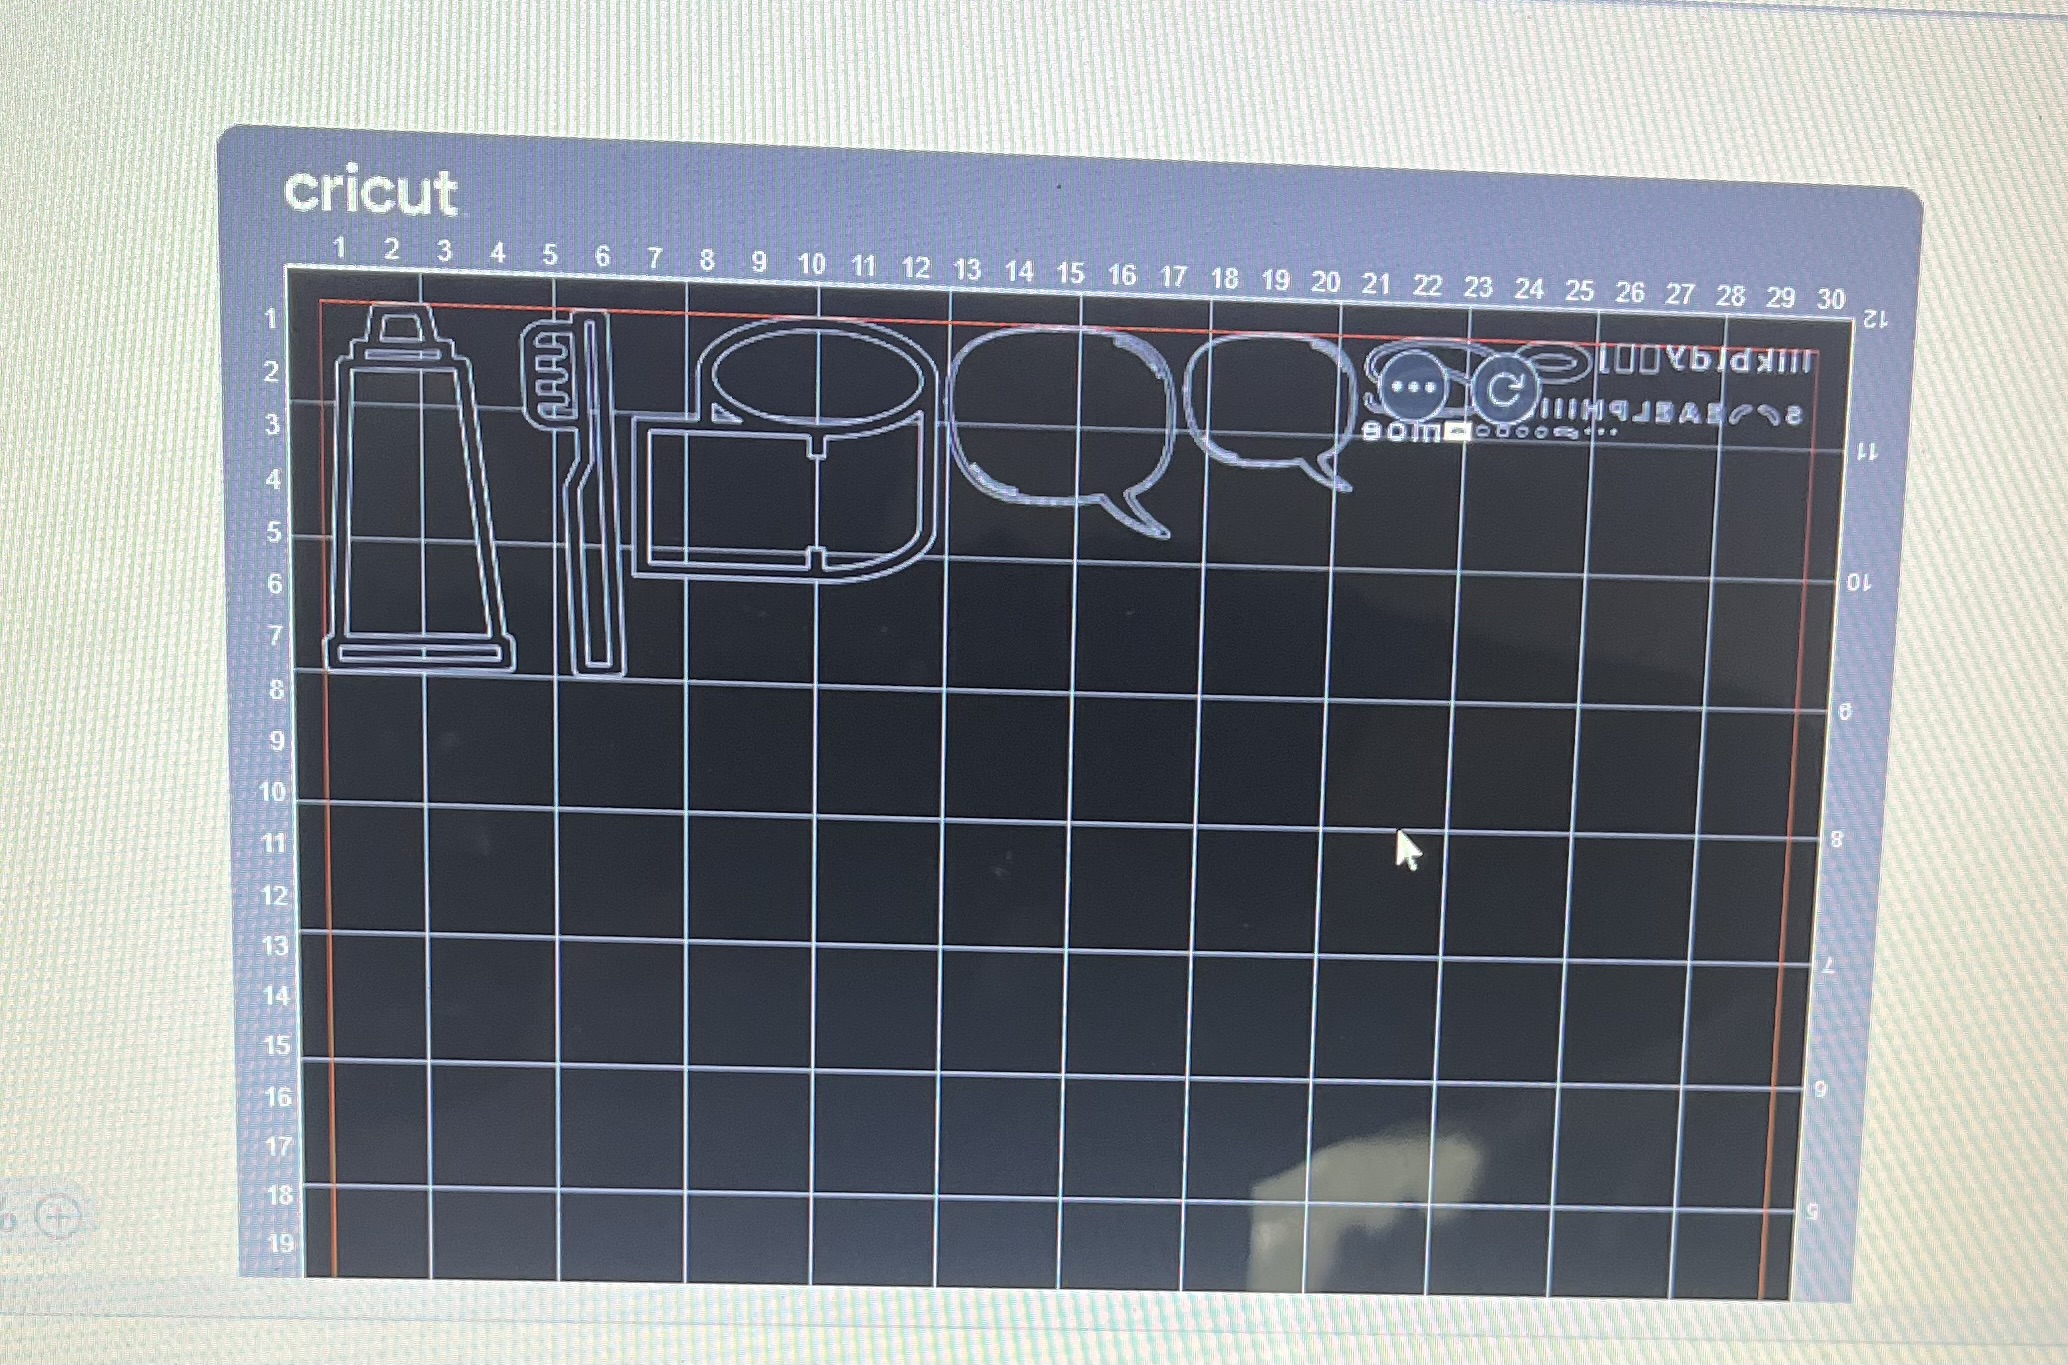
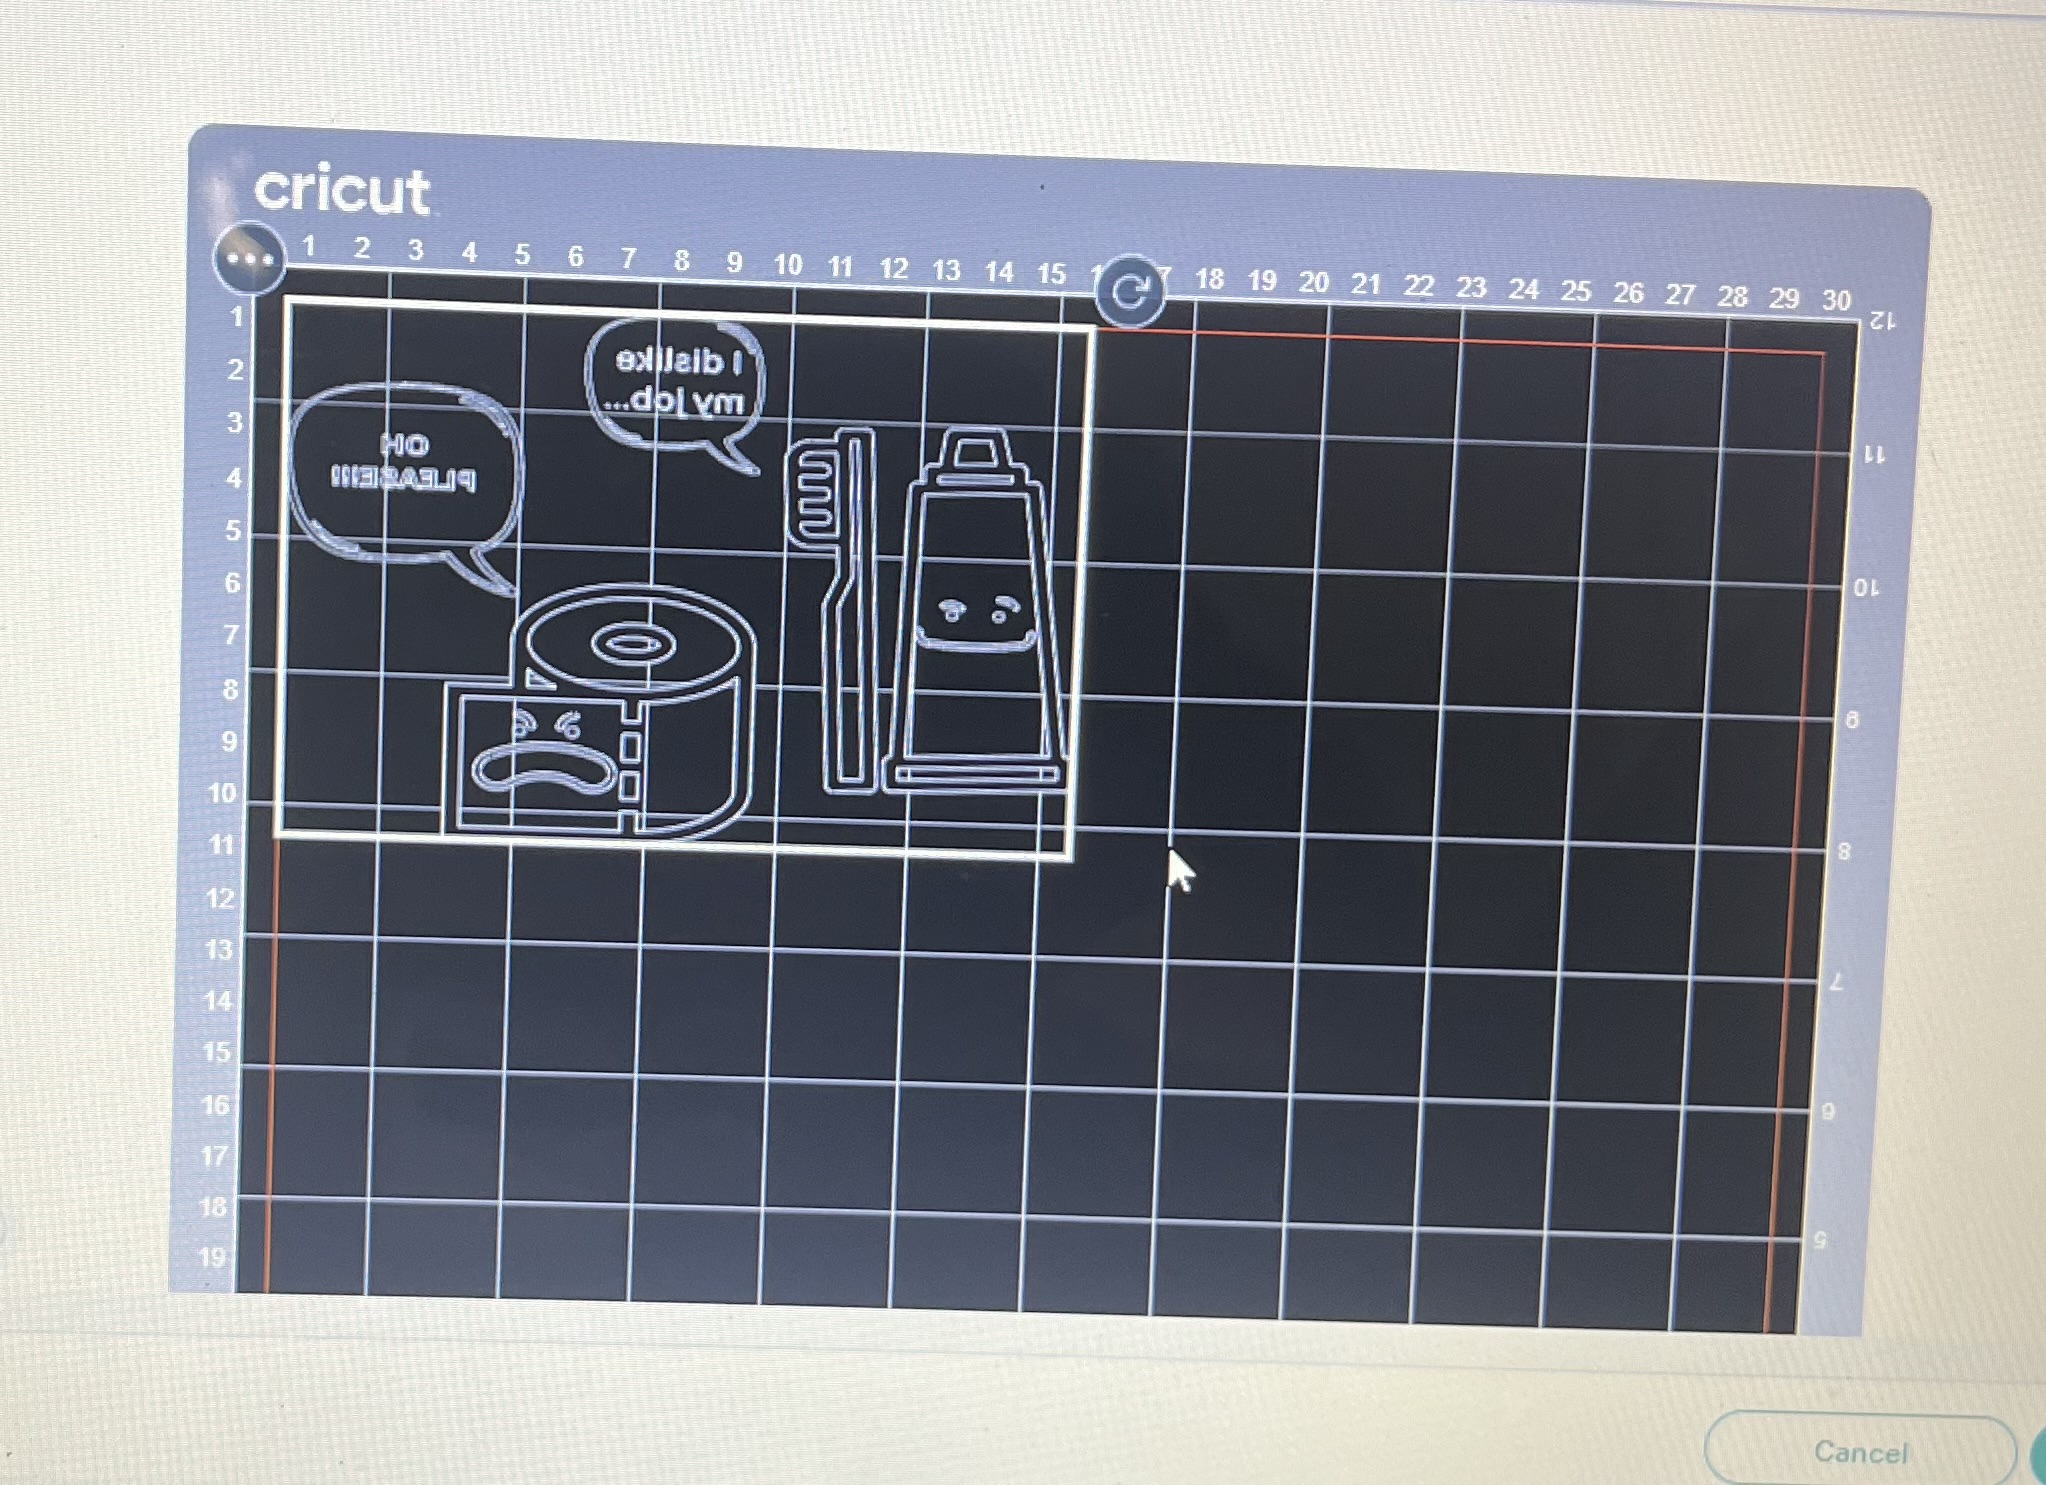
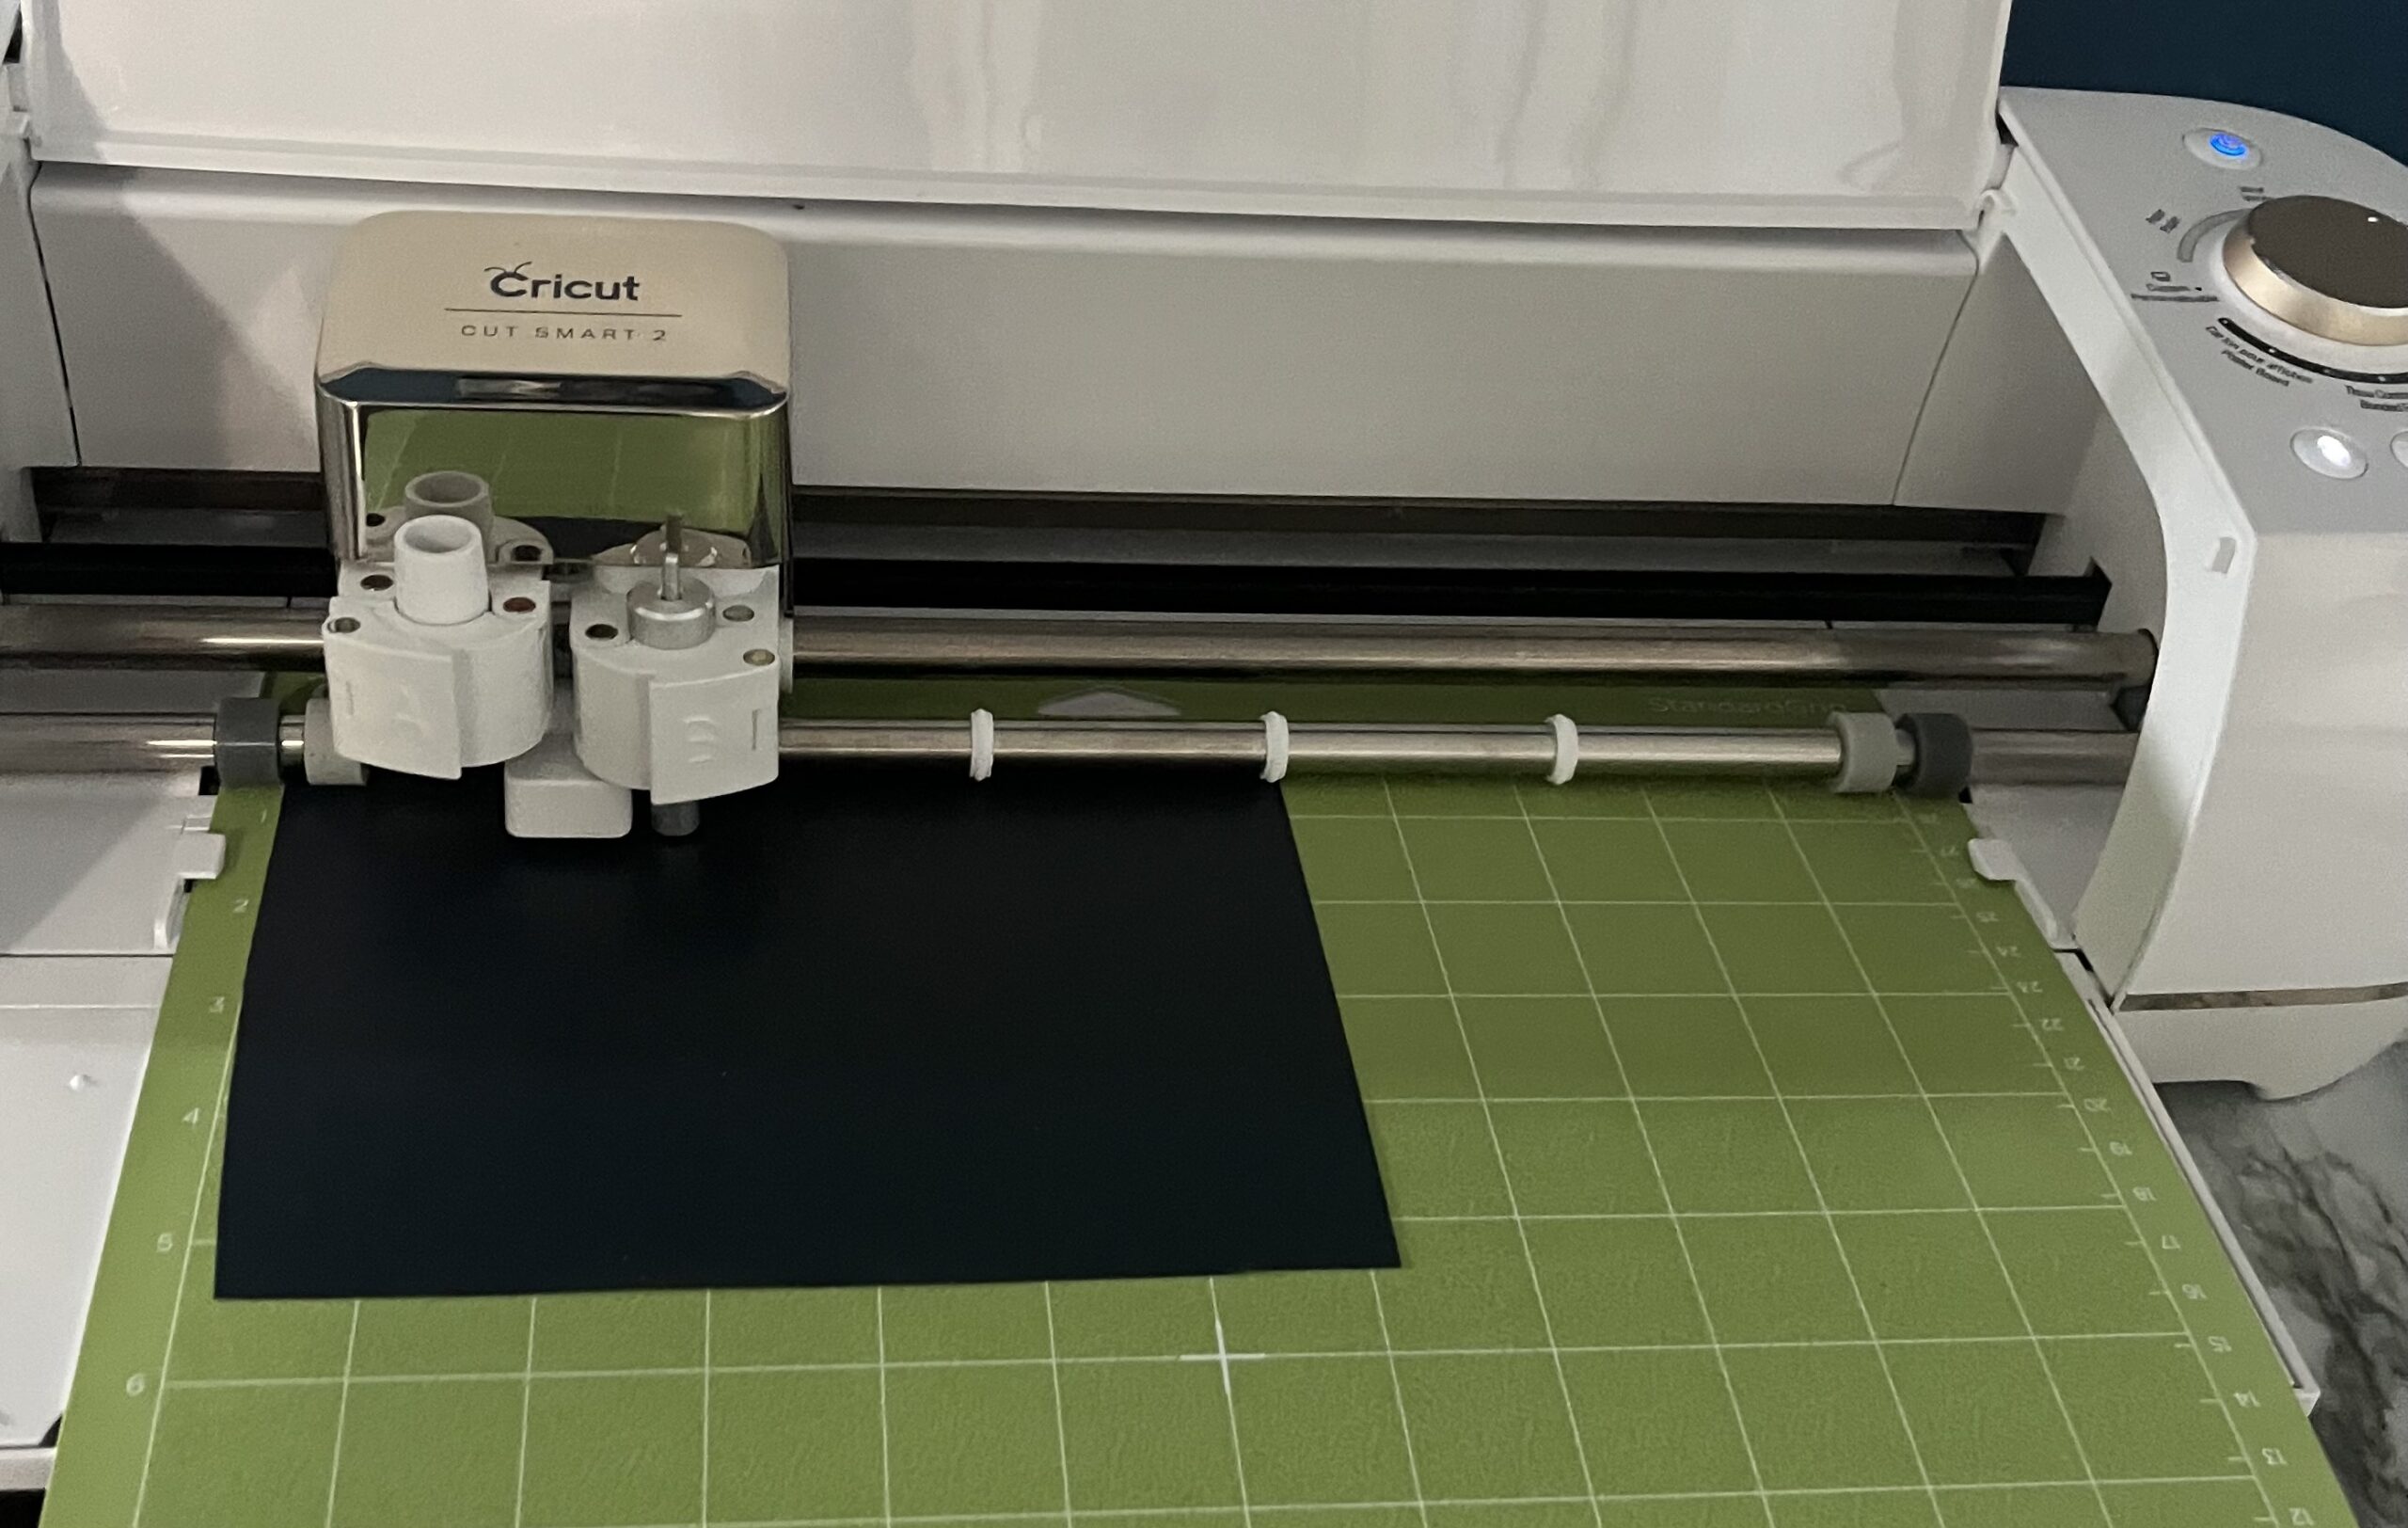
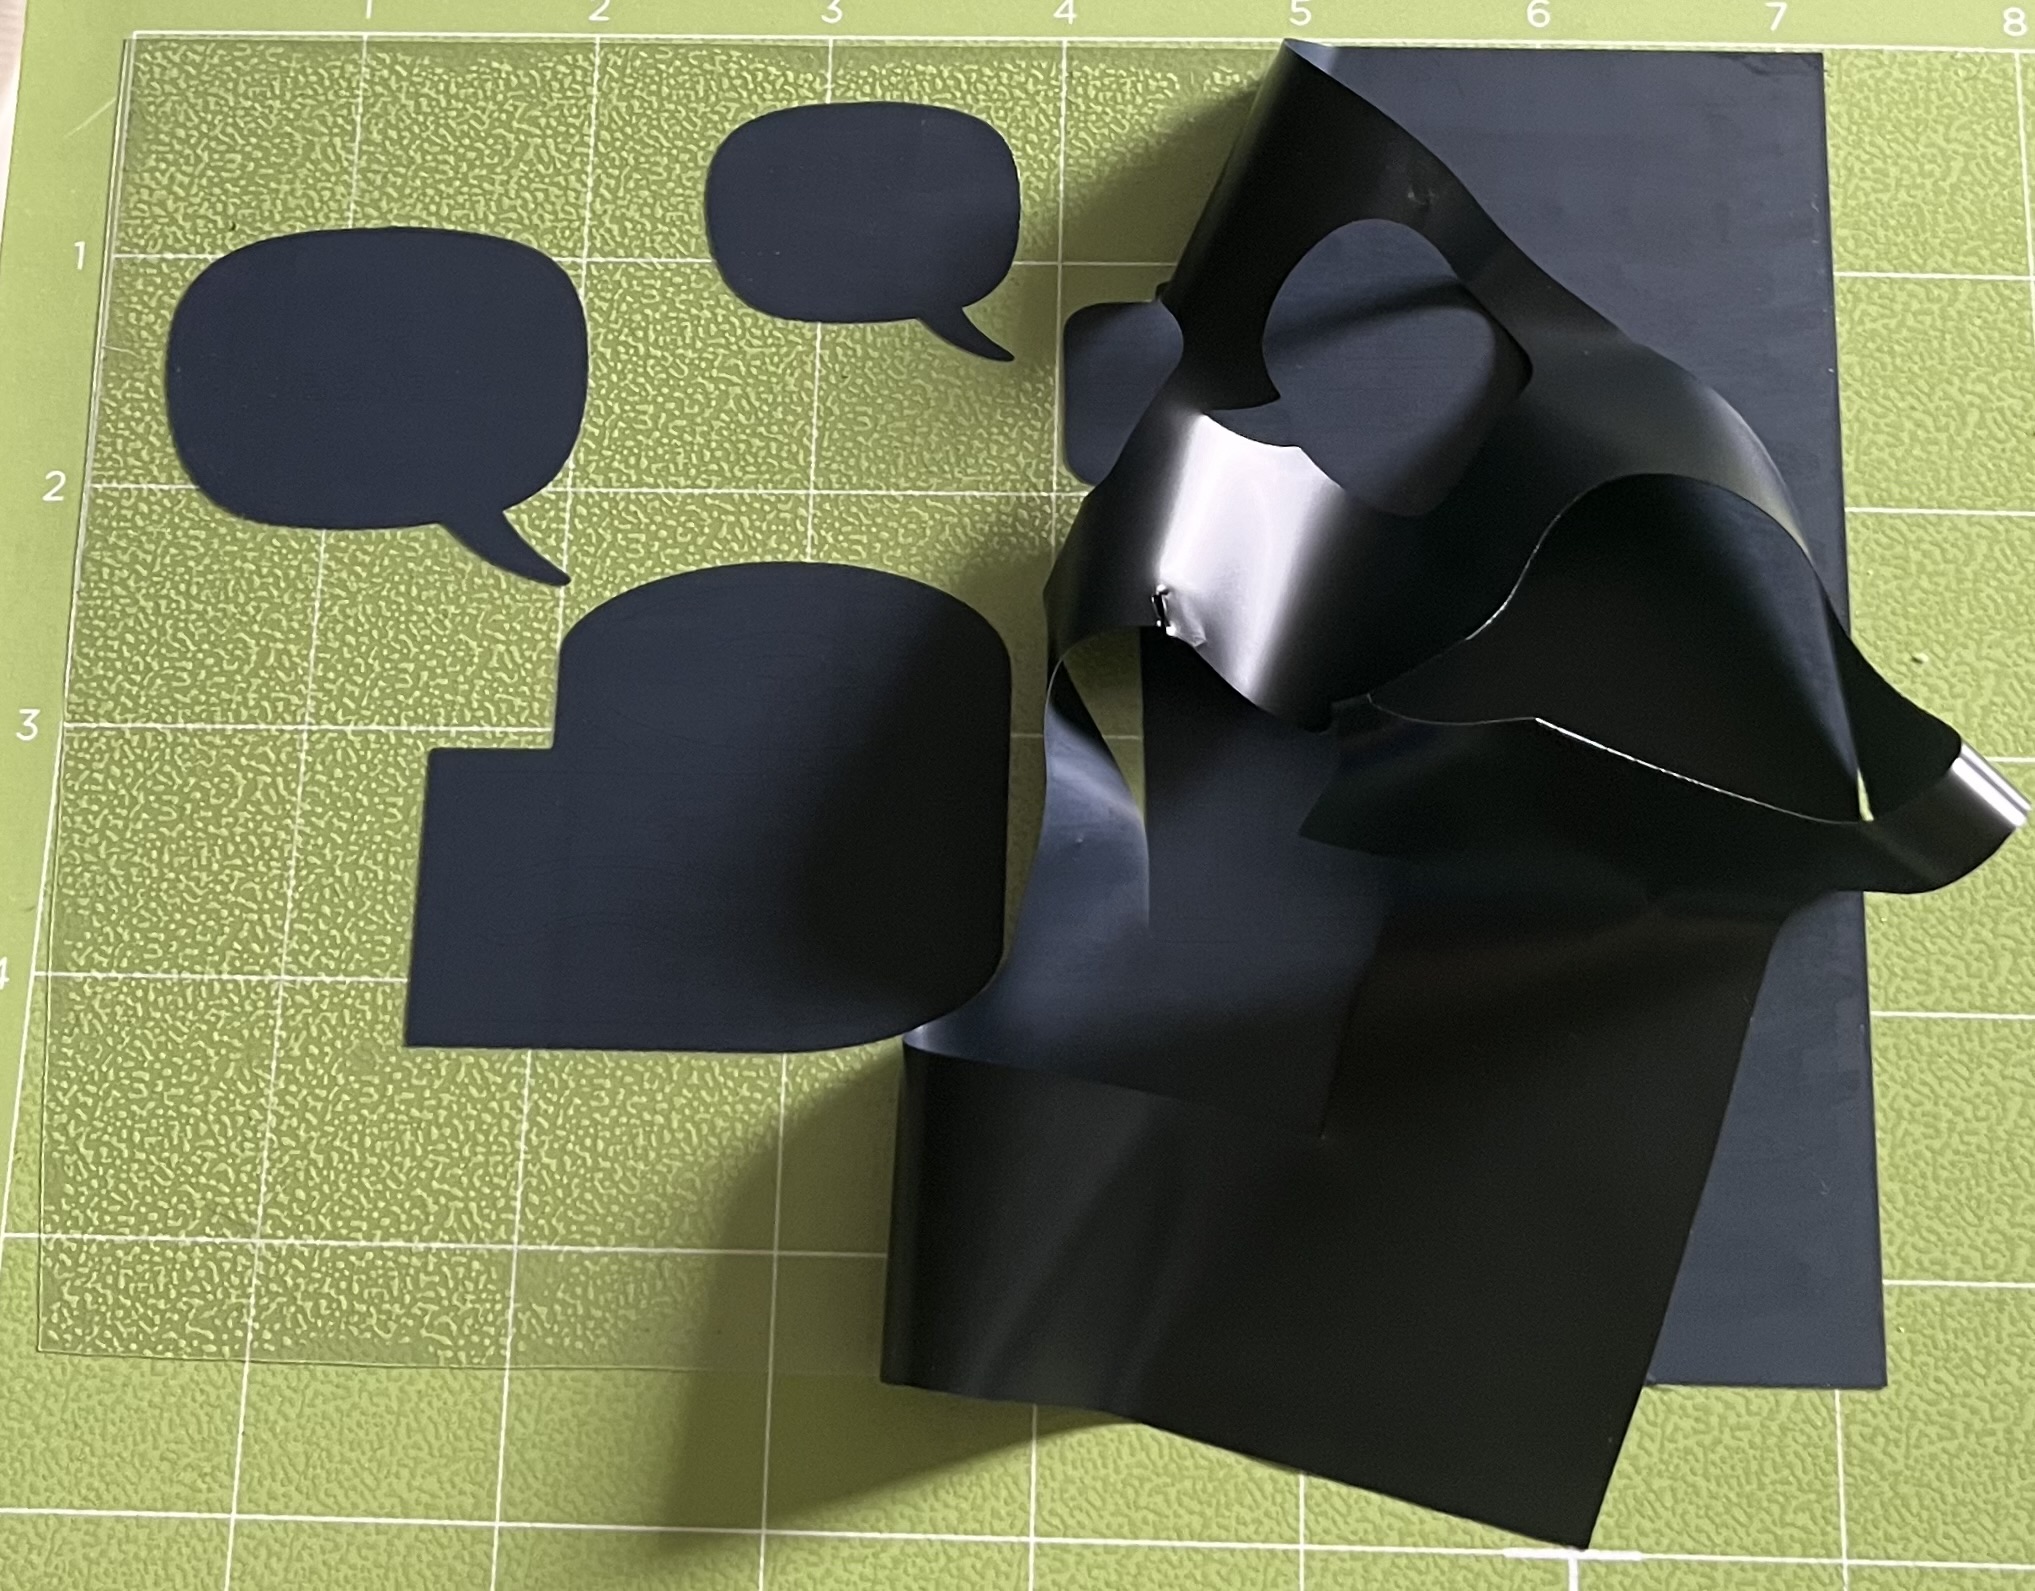
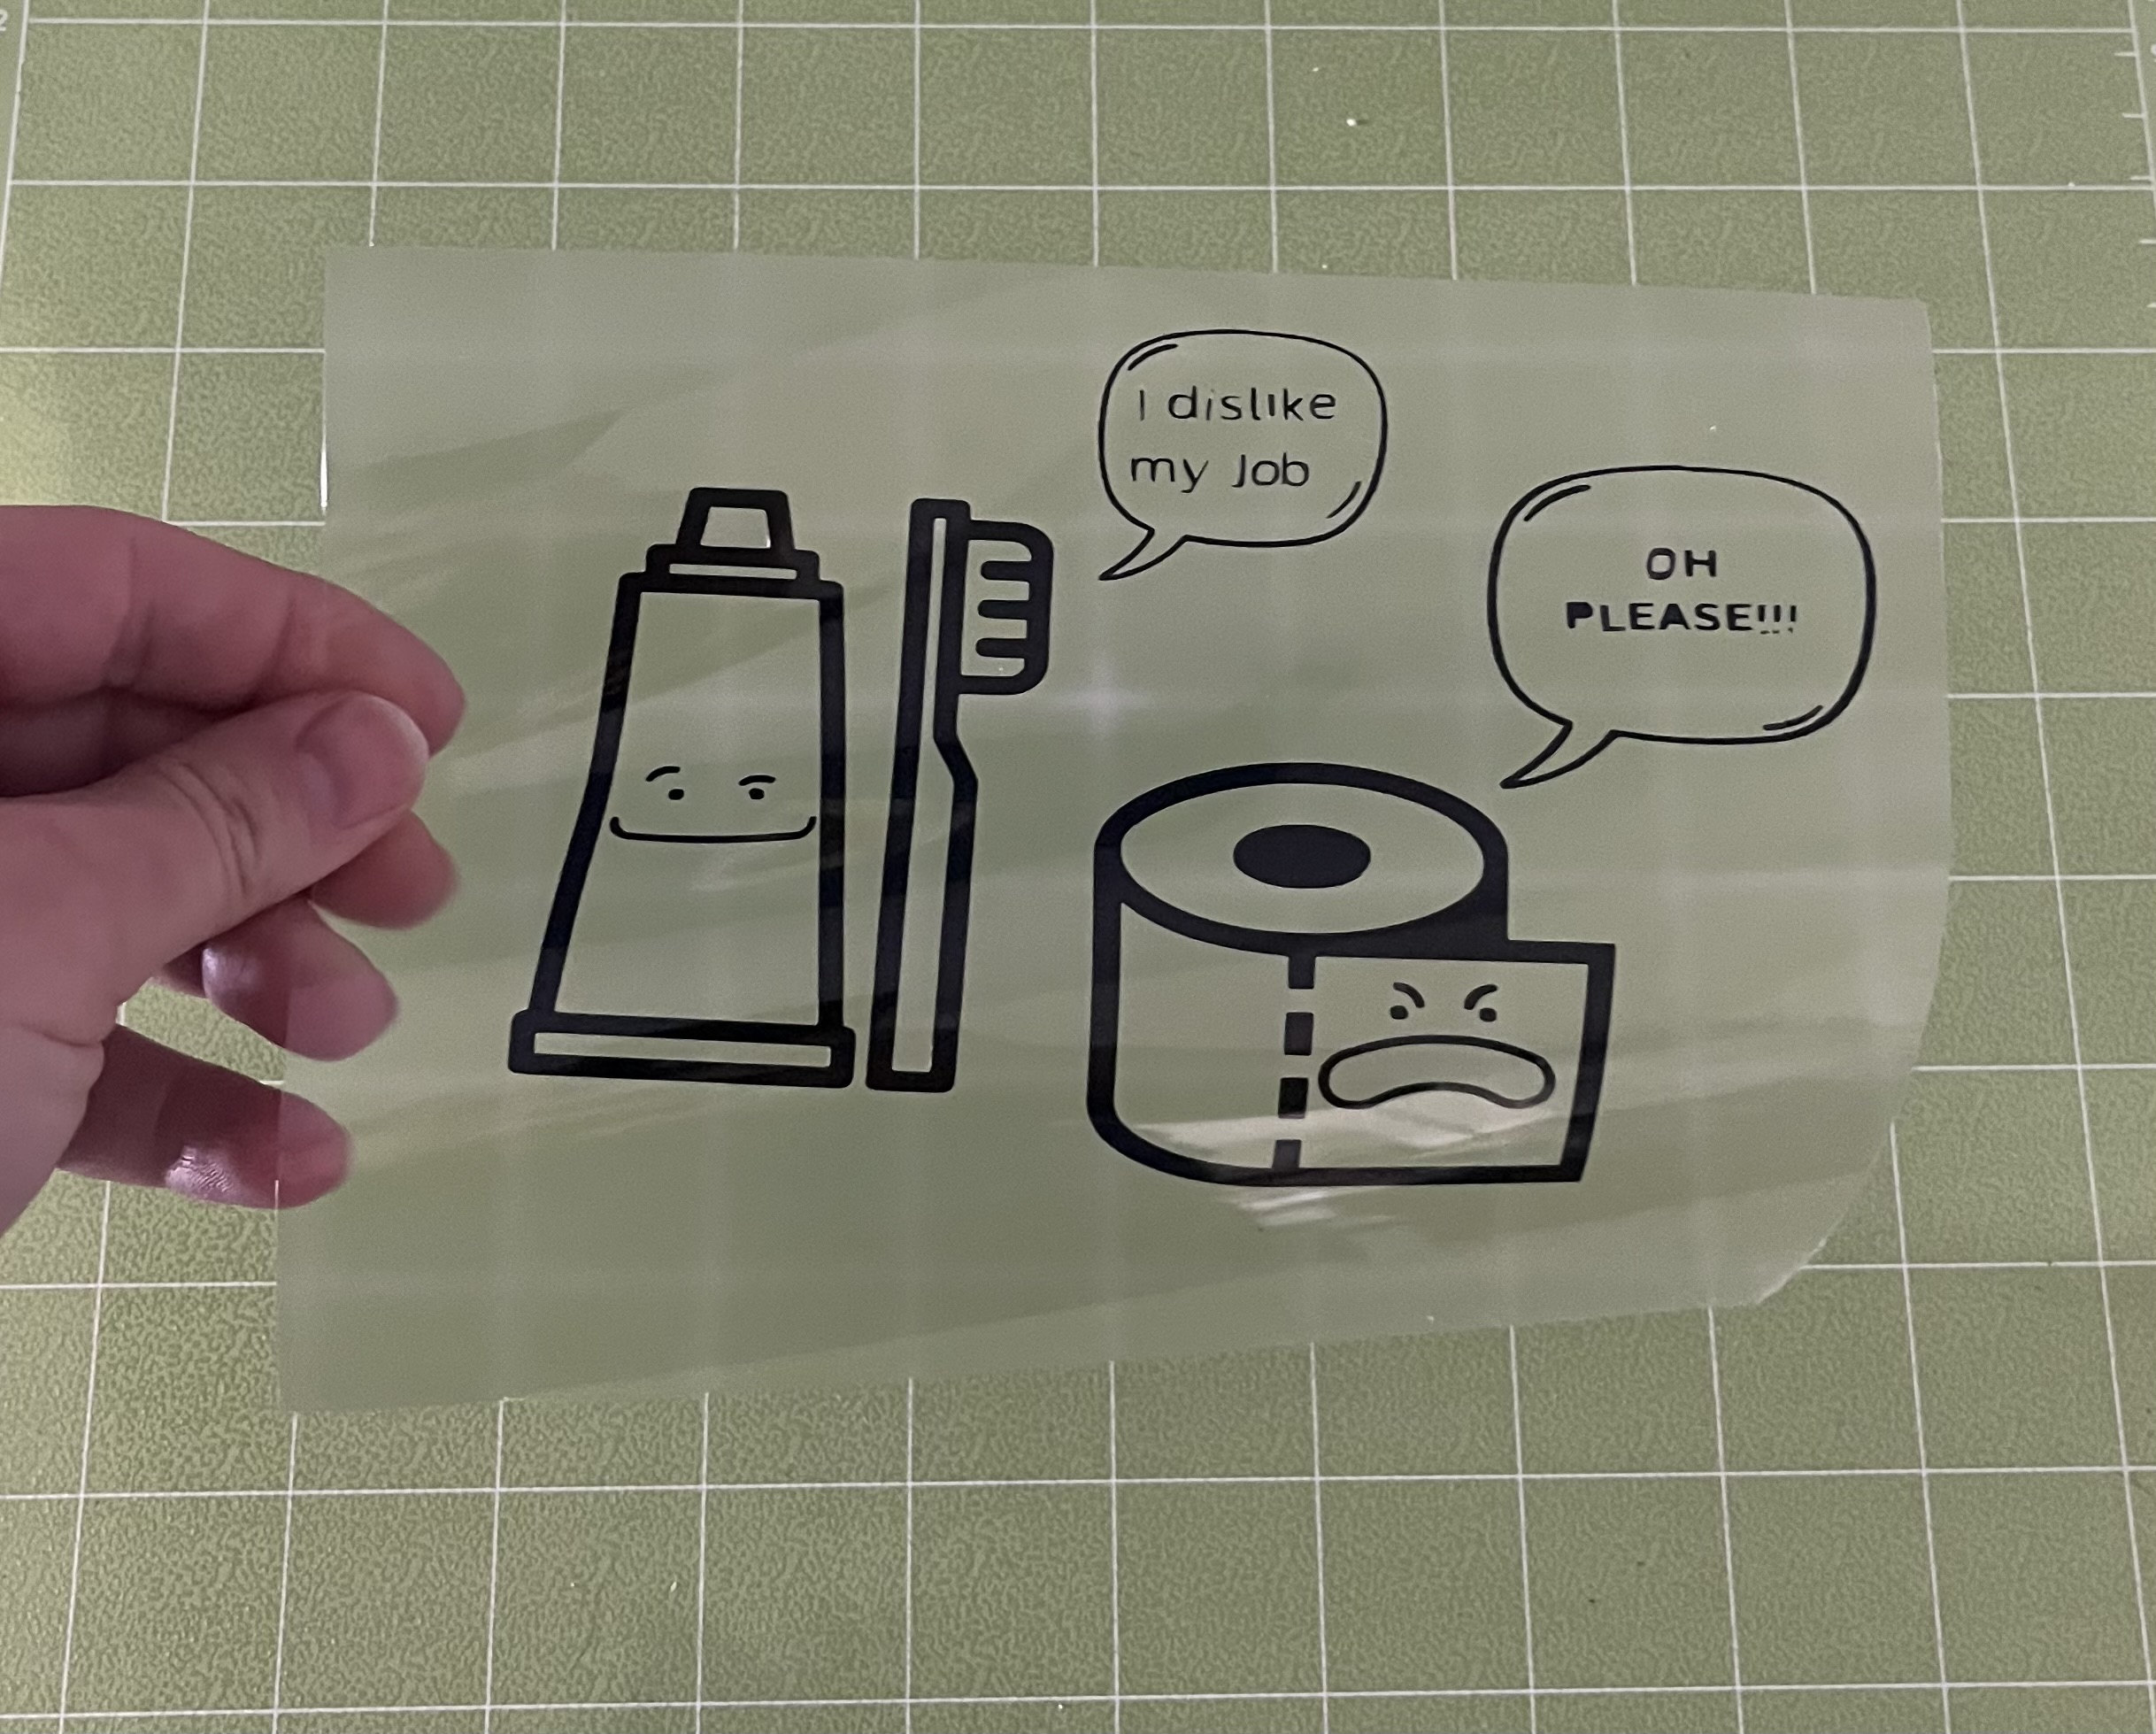
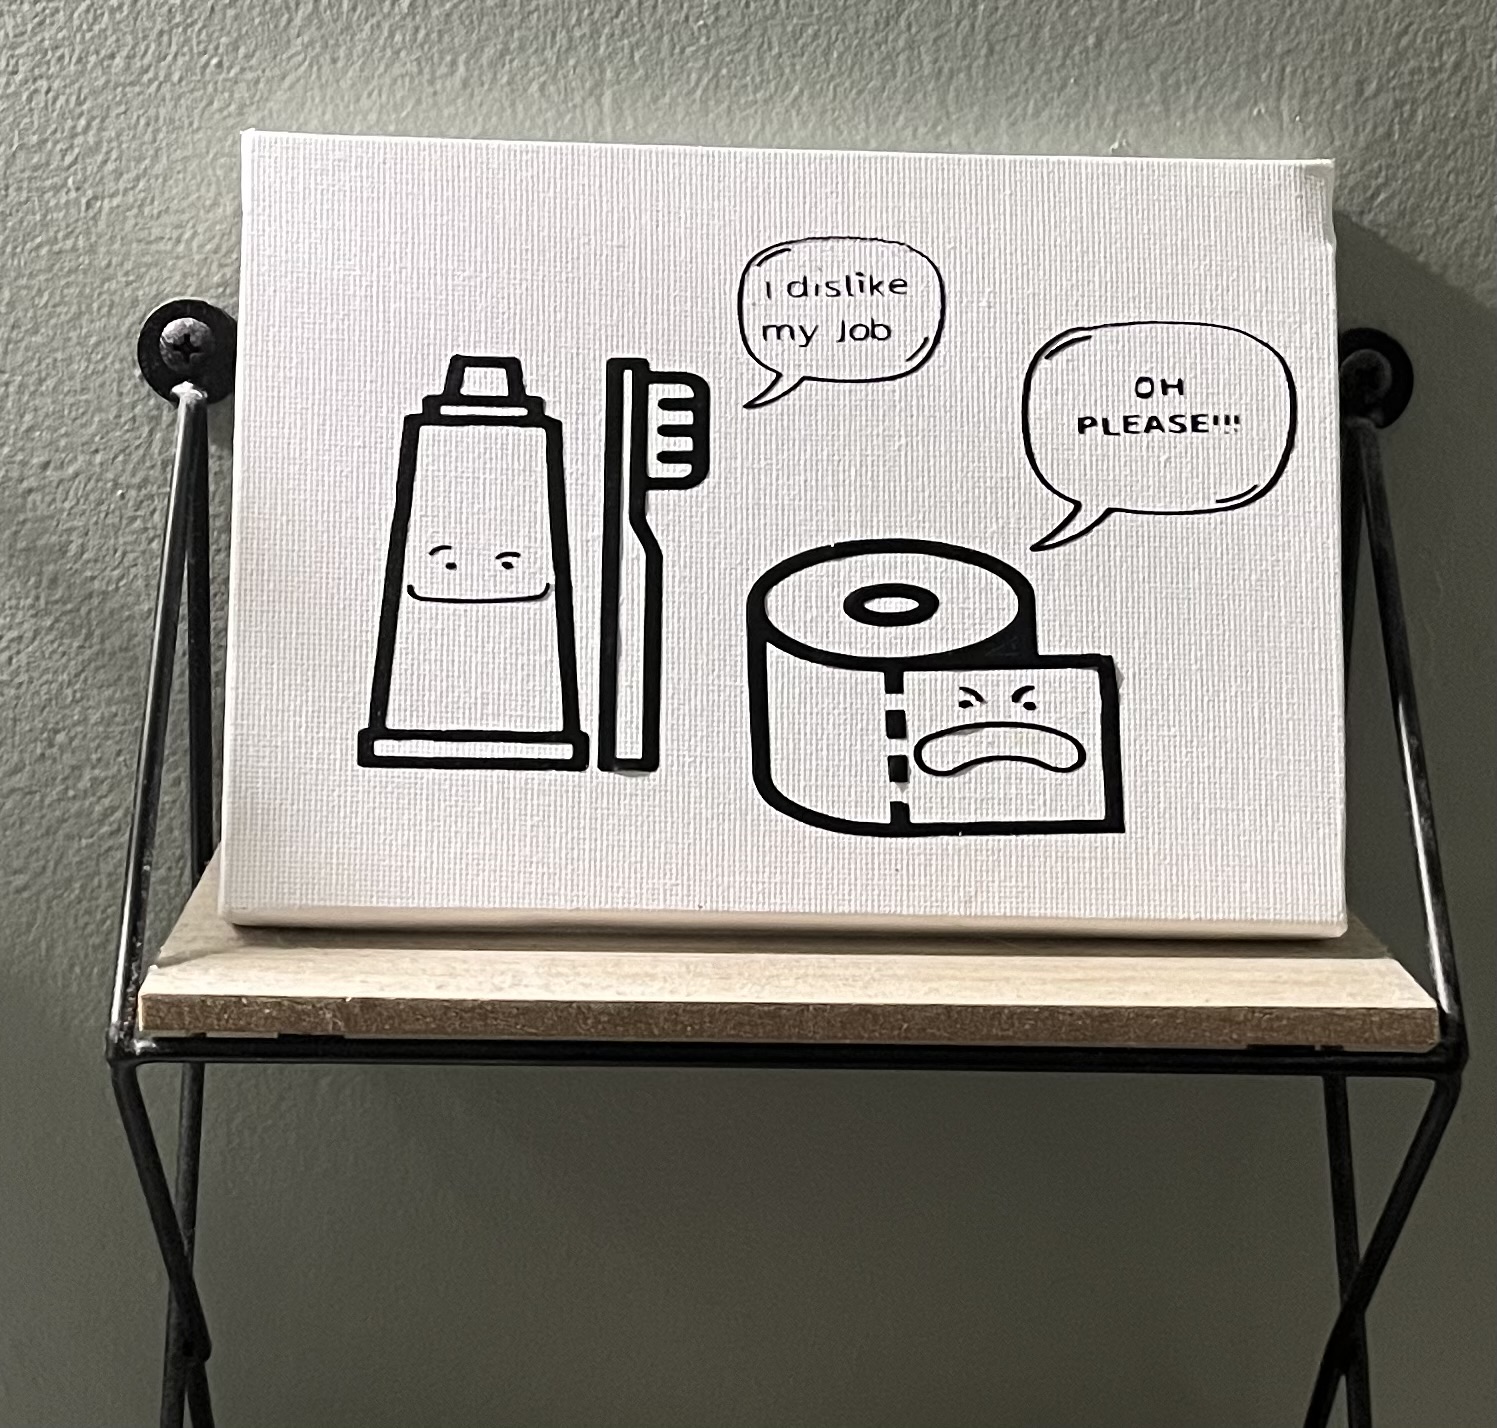
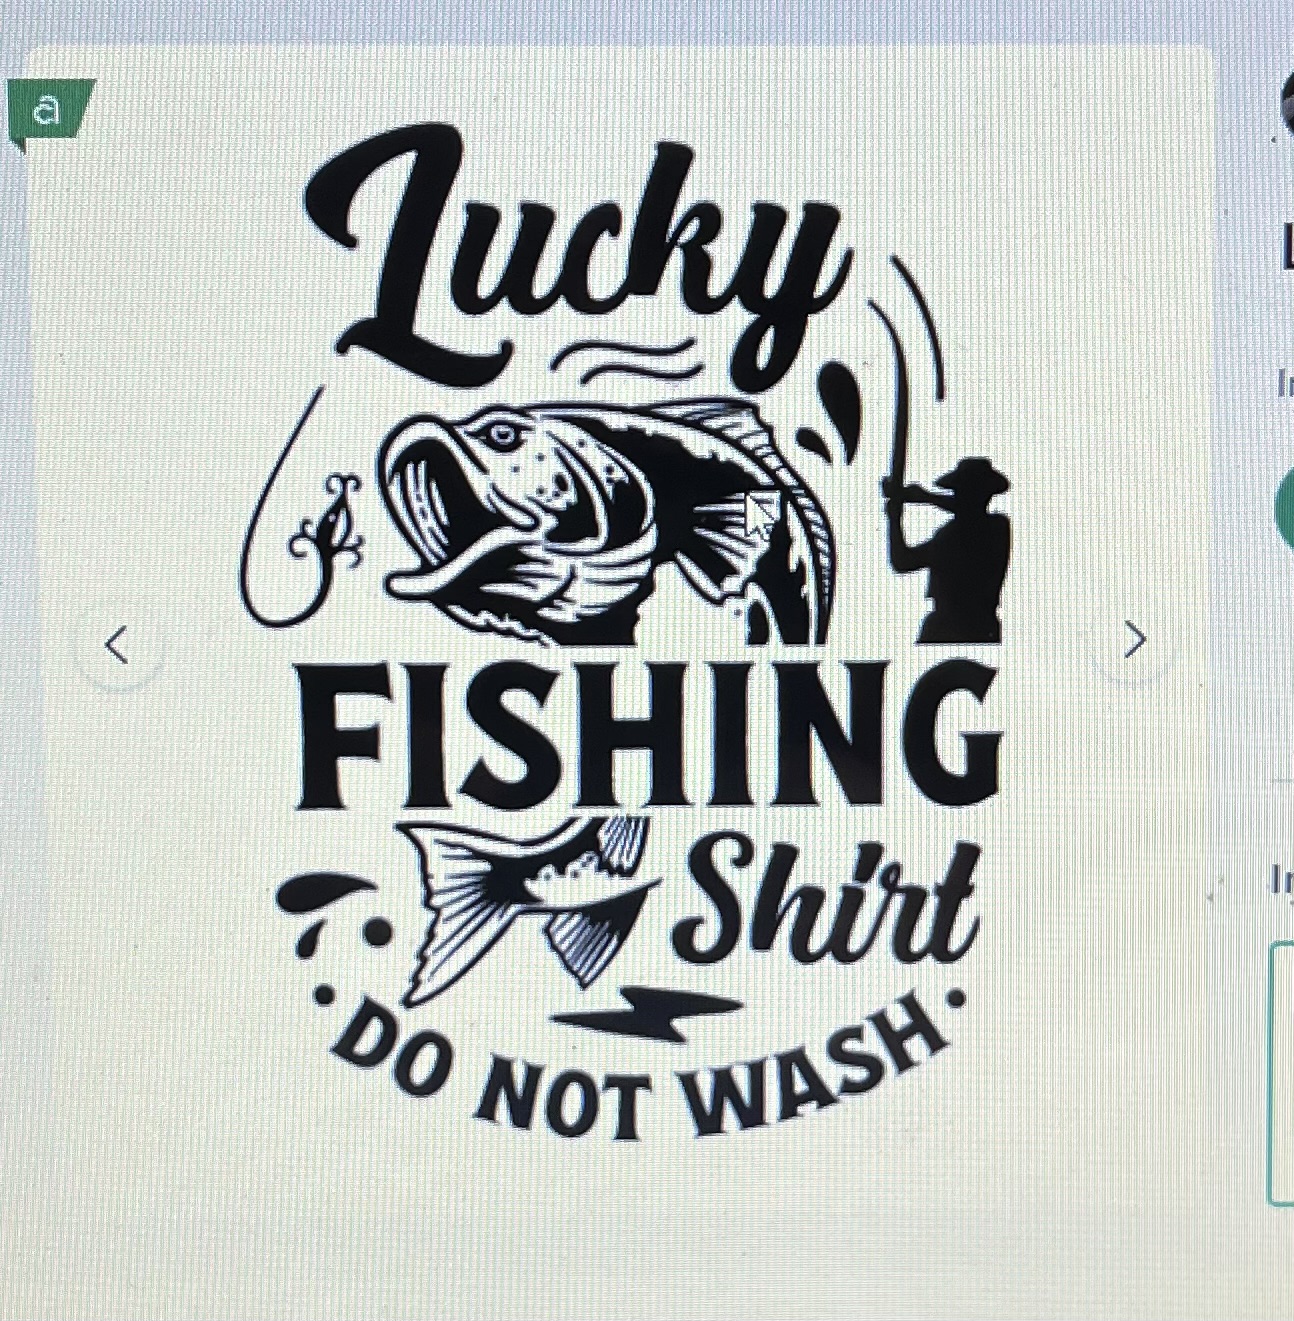
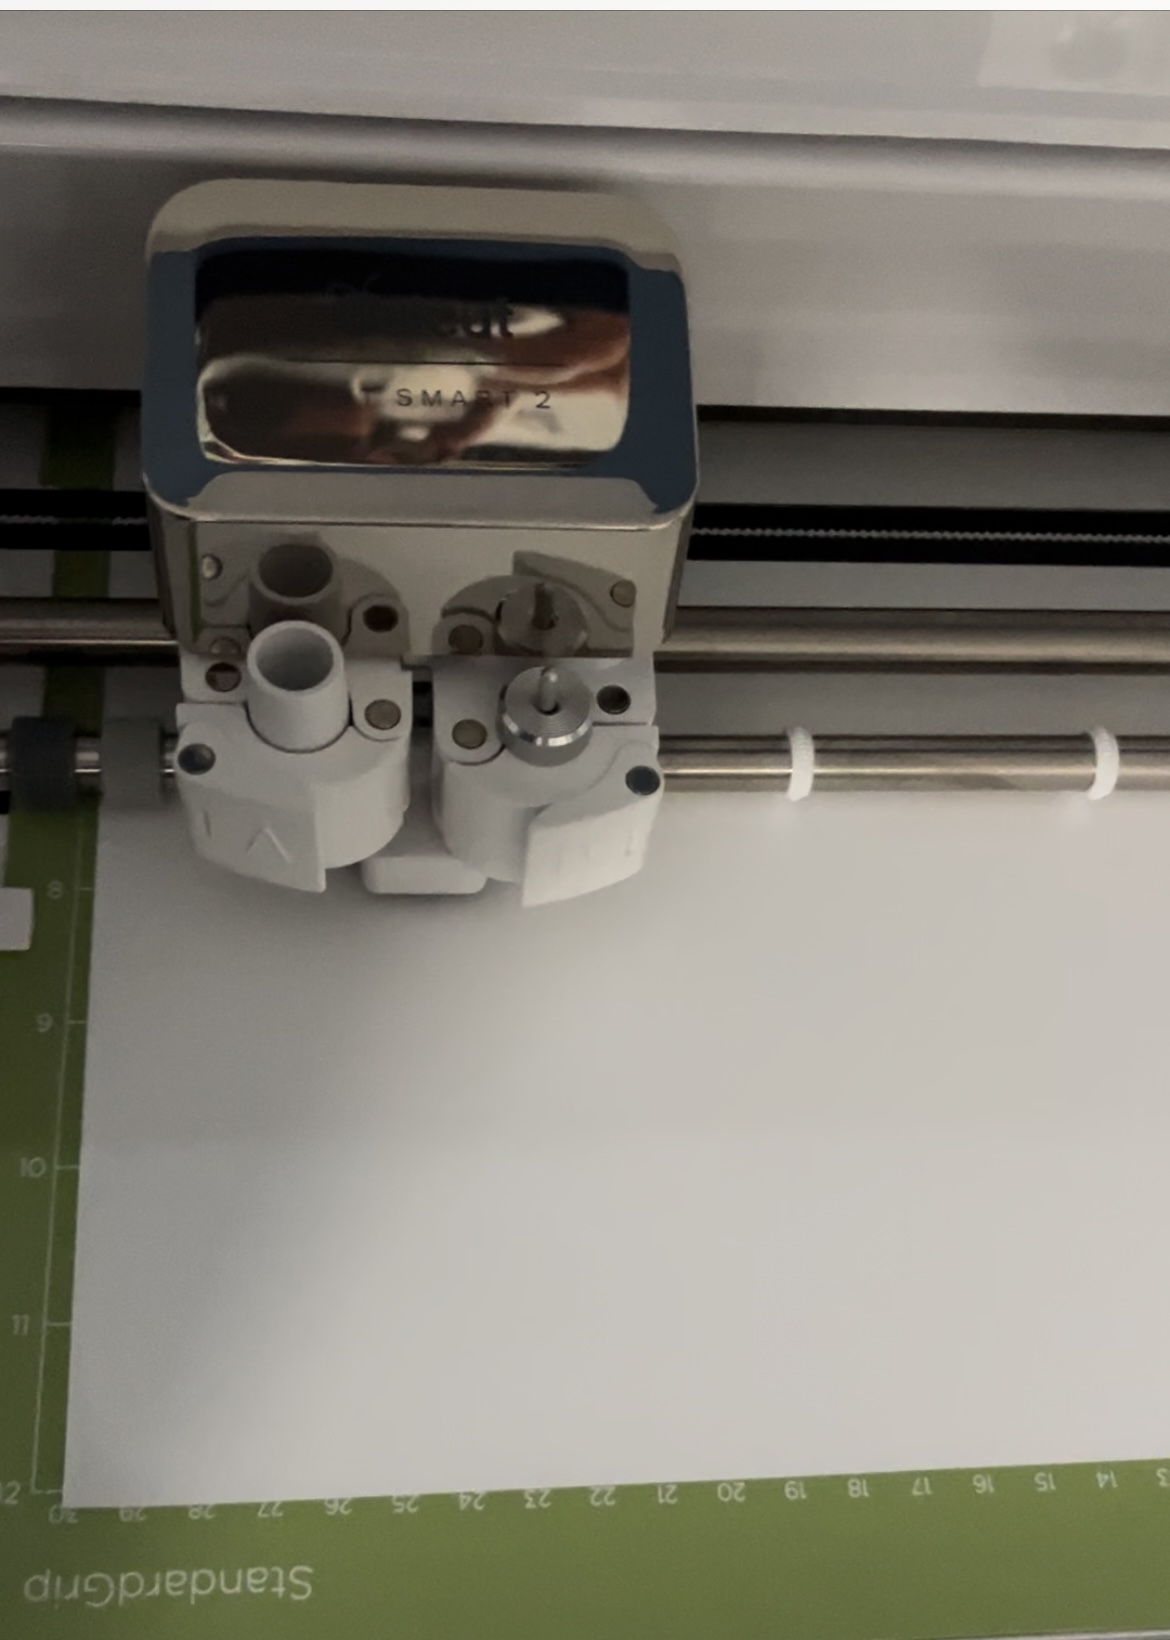
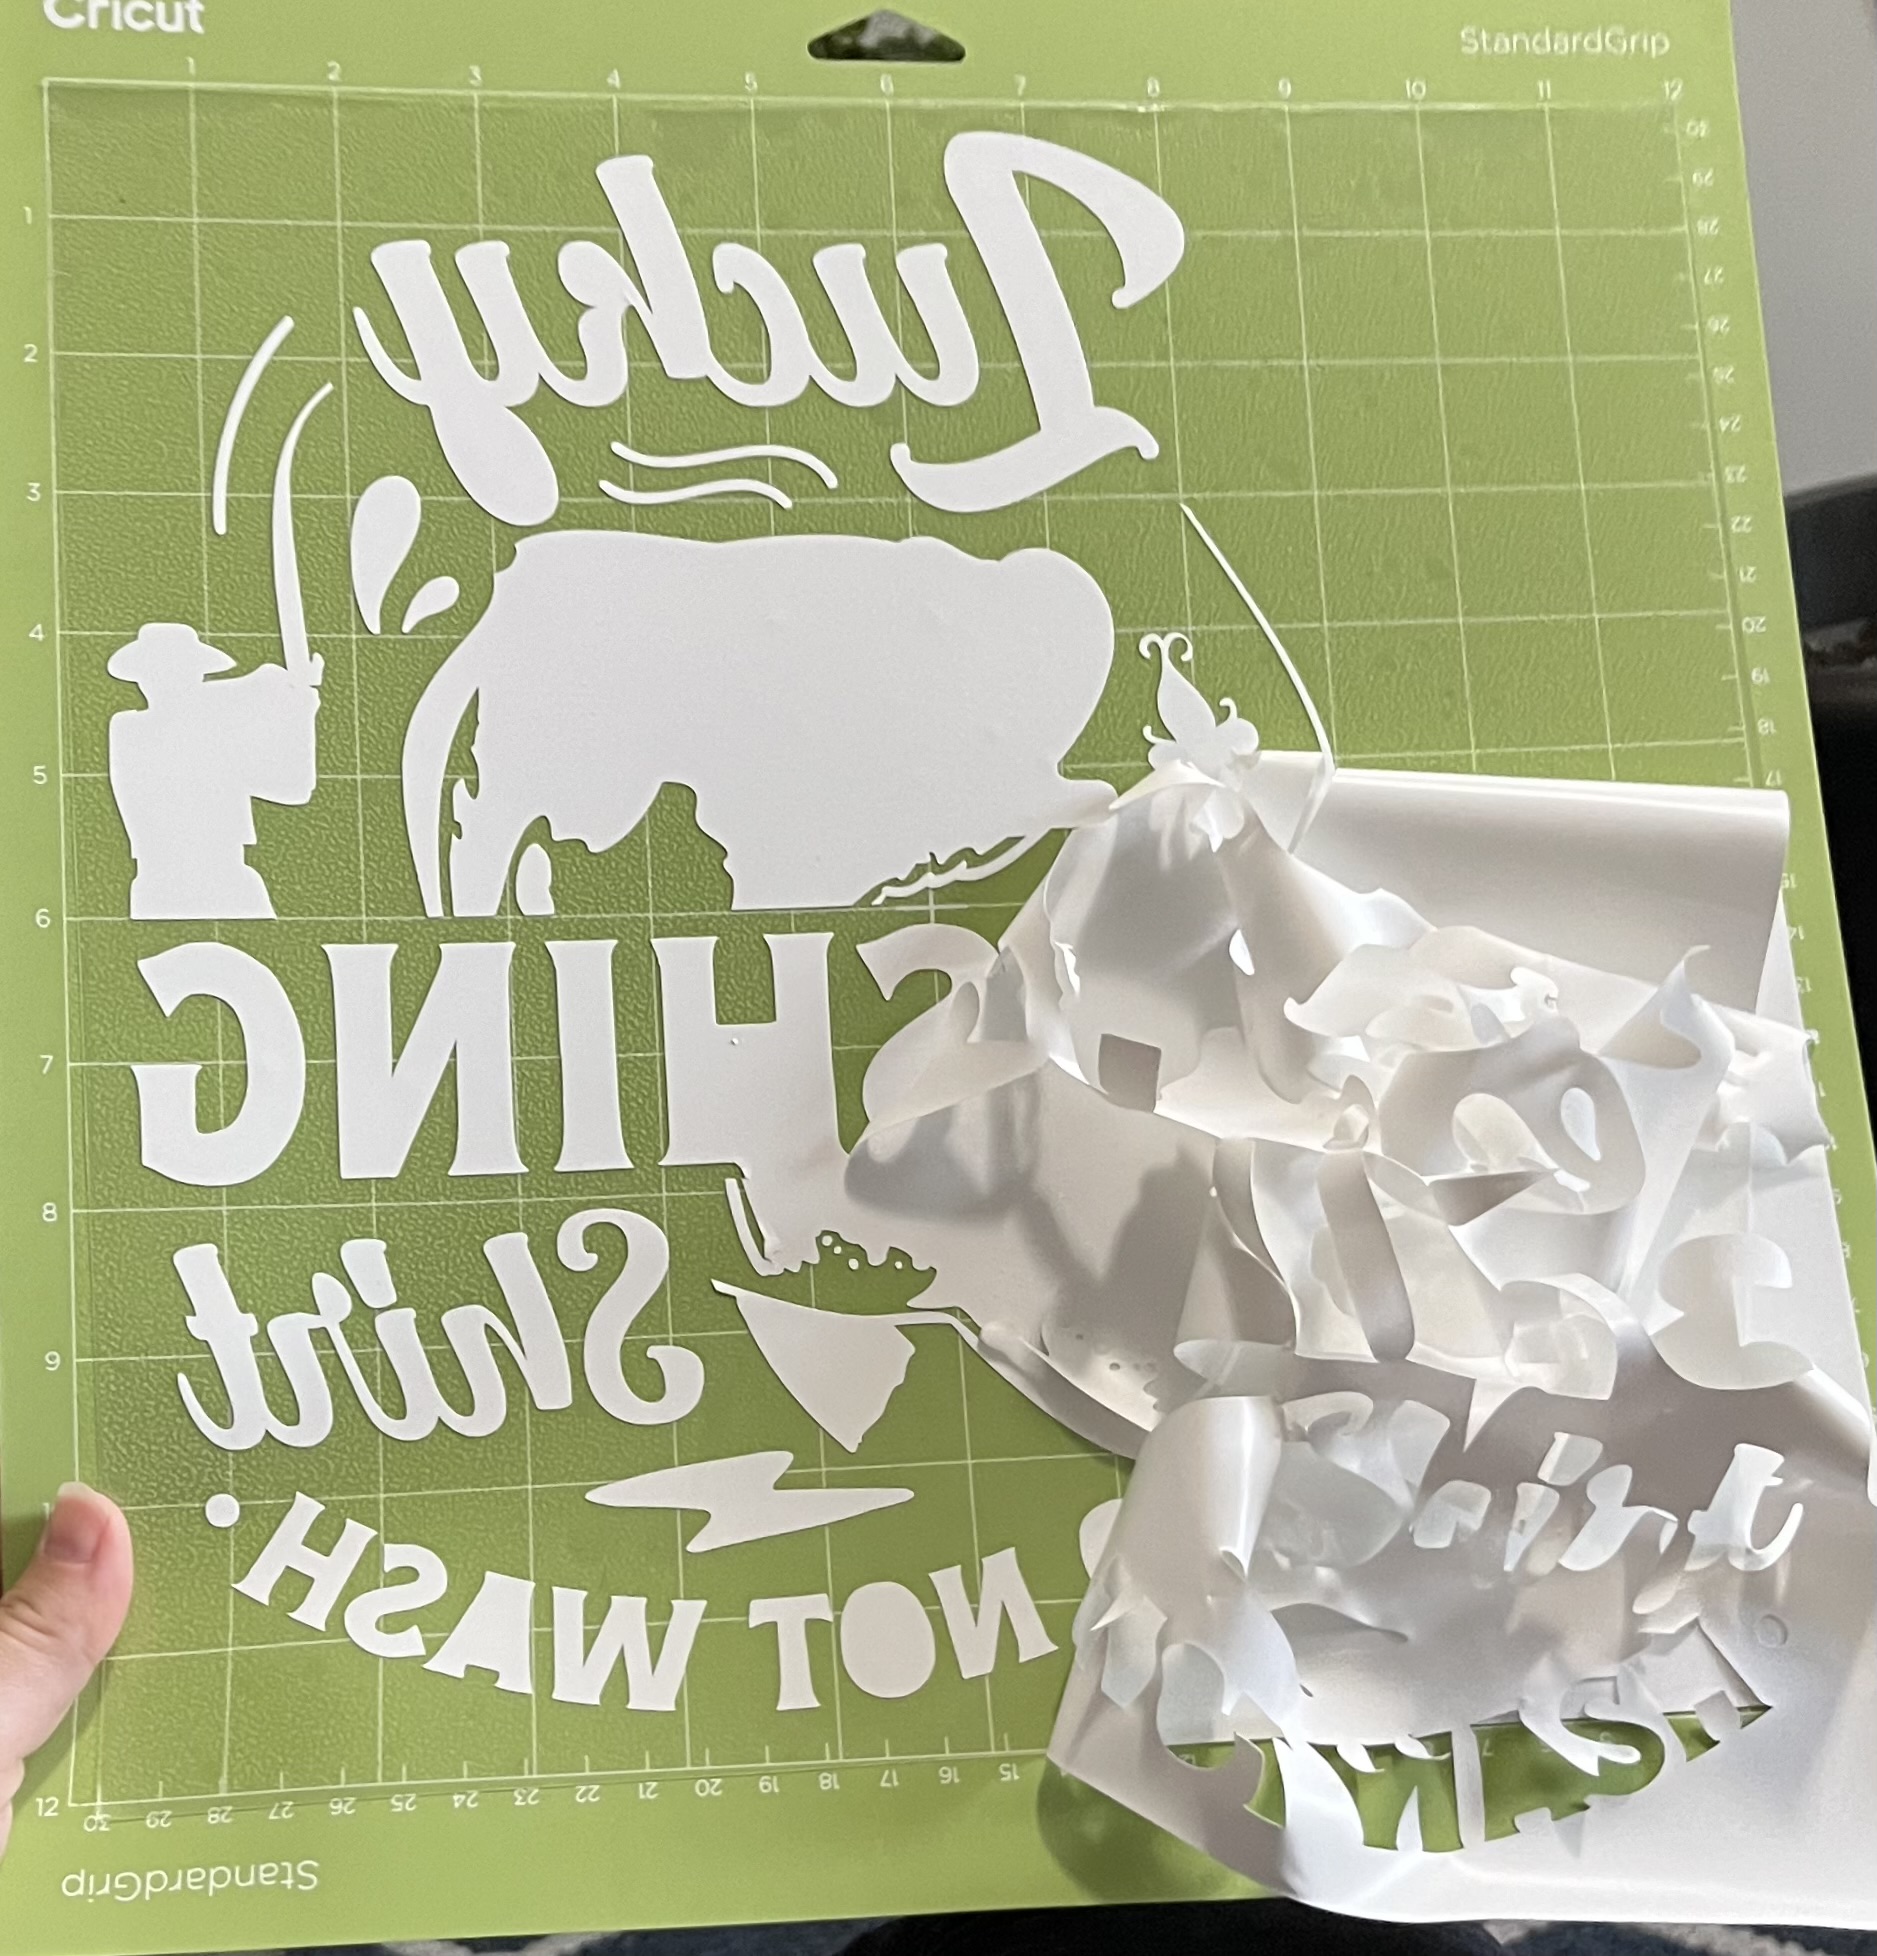
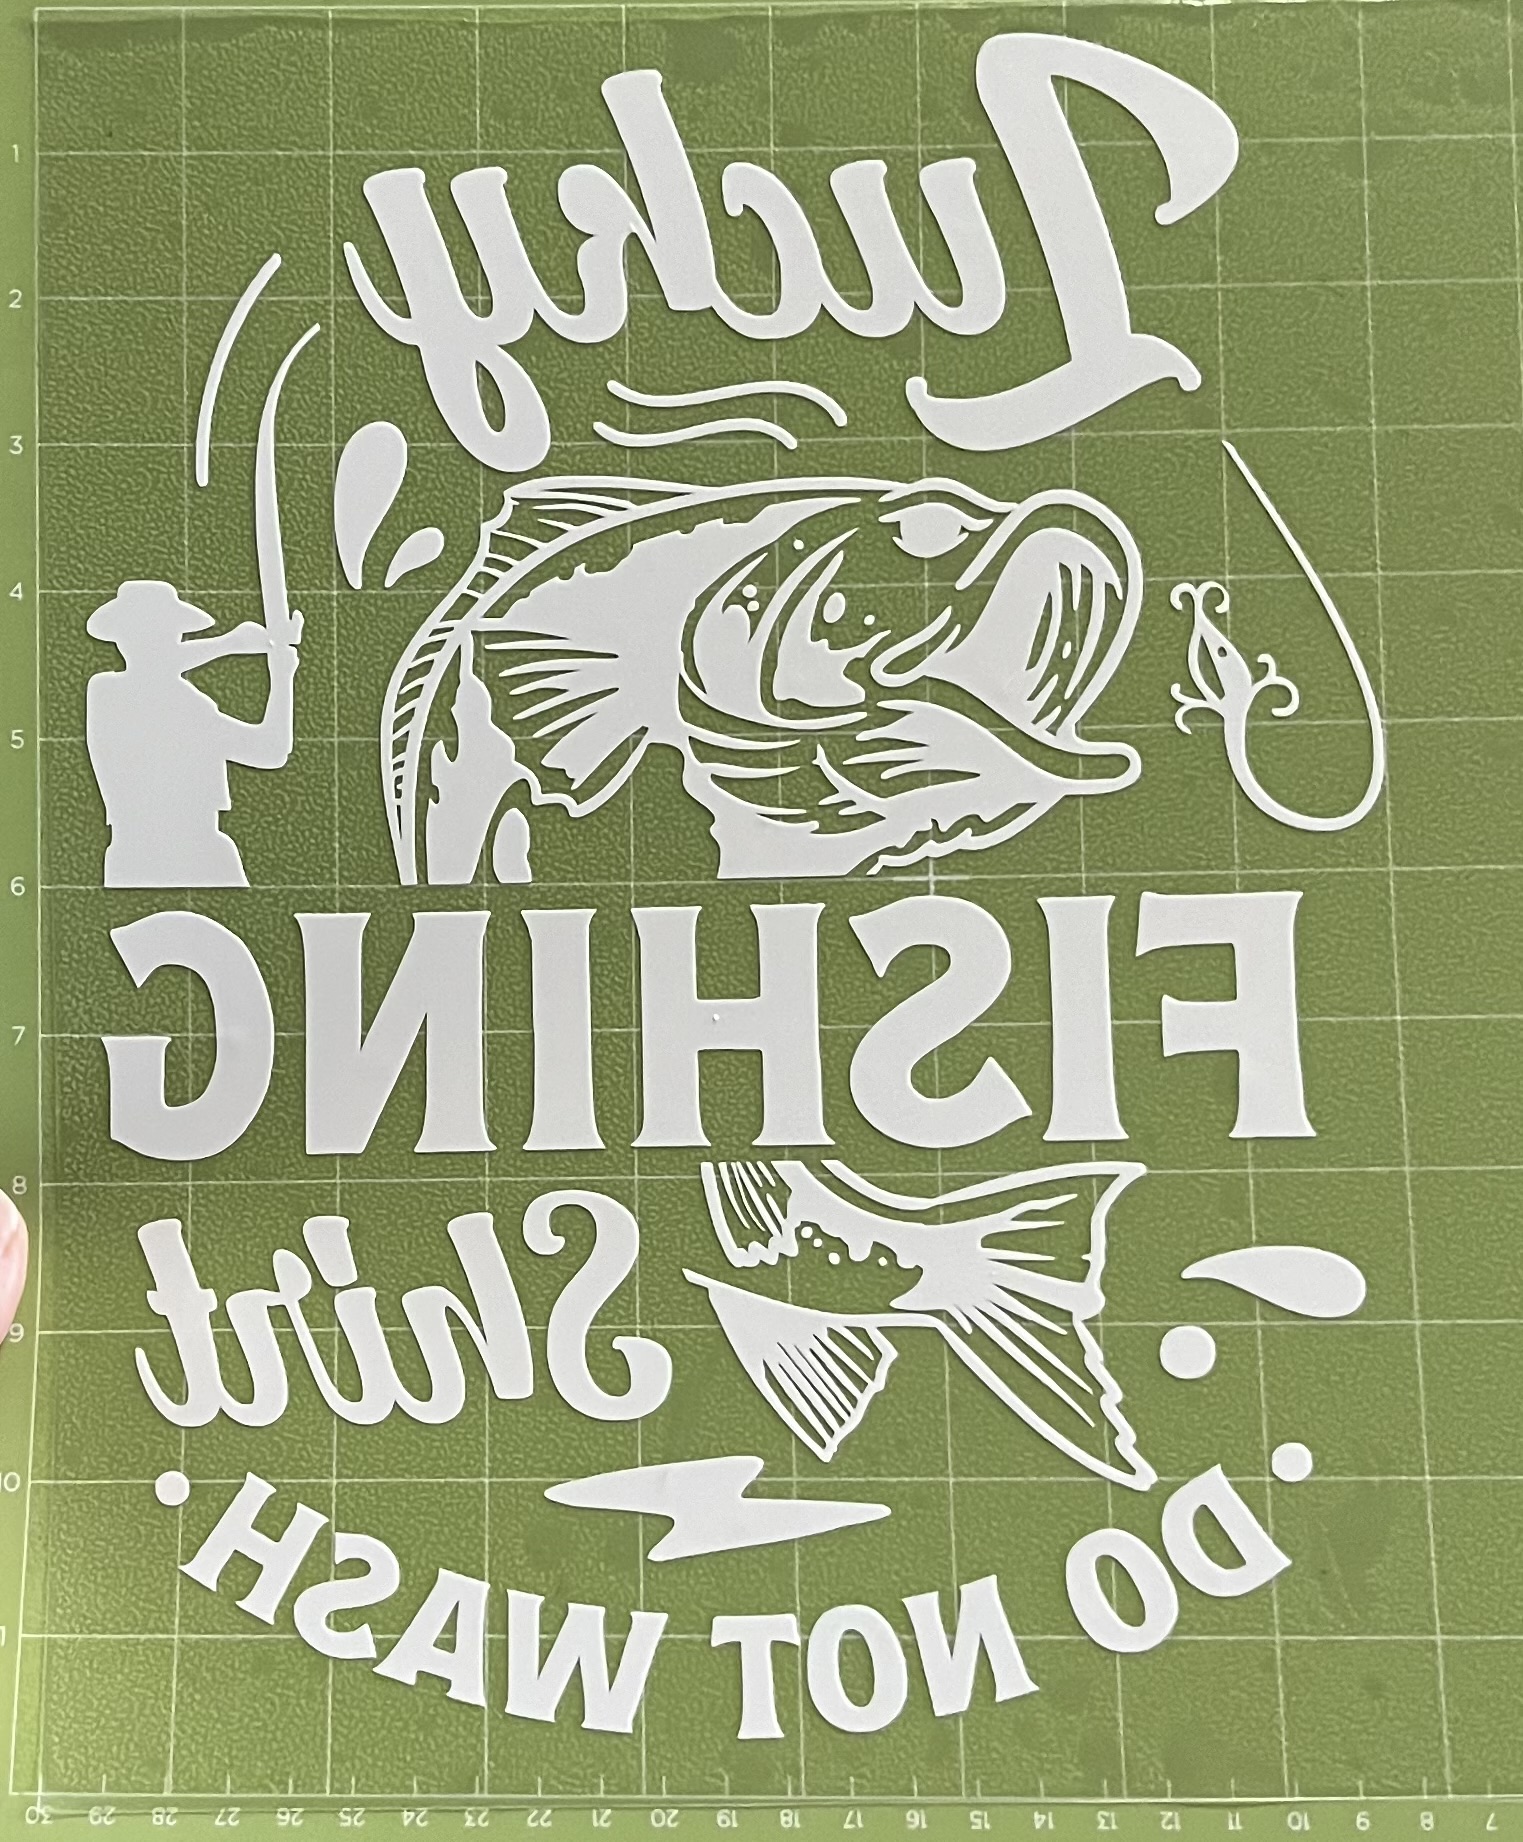
Next, we will look at the learning project, this was an excellent way to learn something new while using online formats to do so. Some of the online and digital sources I had explored within my Cricut projects were, YouTube, TikTok, Canva, ChatGPT, Various Blogs, and Copilot. These are just a few online platforms that I had accessed during my explorations of learning. You will have to check out my full journey to find out what others ones I used to guide my learning. Not only did this project allow me to see the importance of our connections to online tools, but I was able to recognize the health benefits of taking time to do something you enjoy. This learning project definitely filled my cup this semester.

Coding

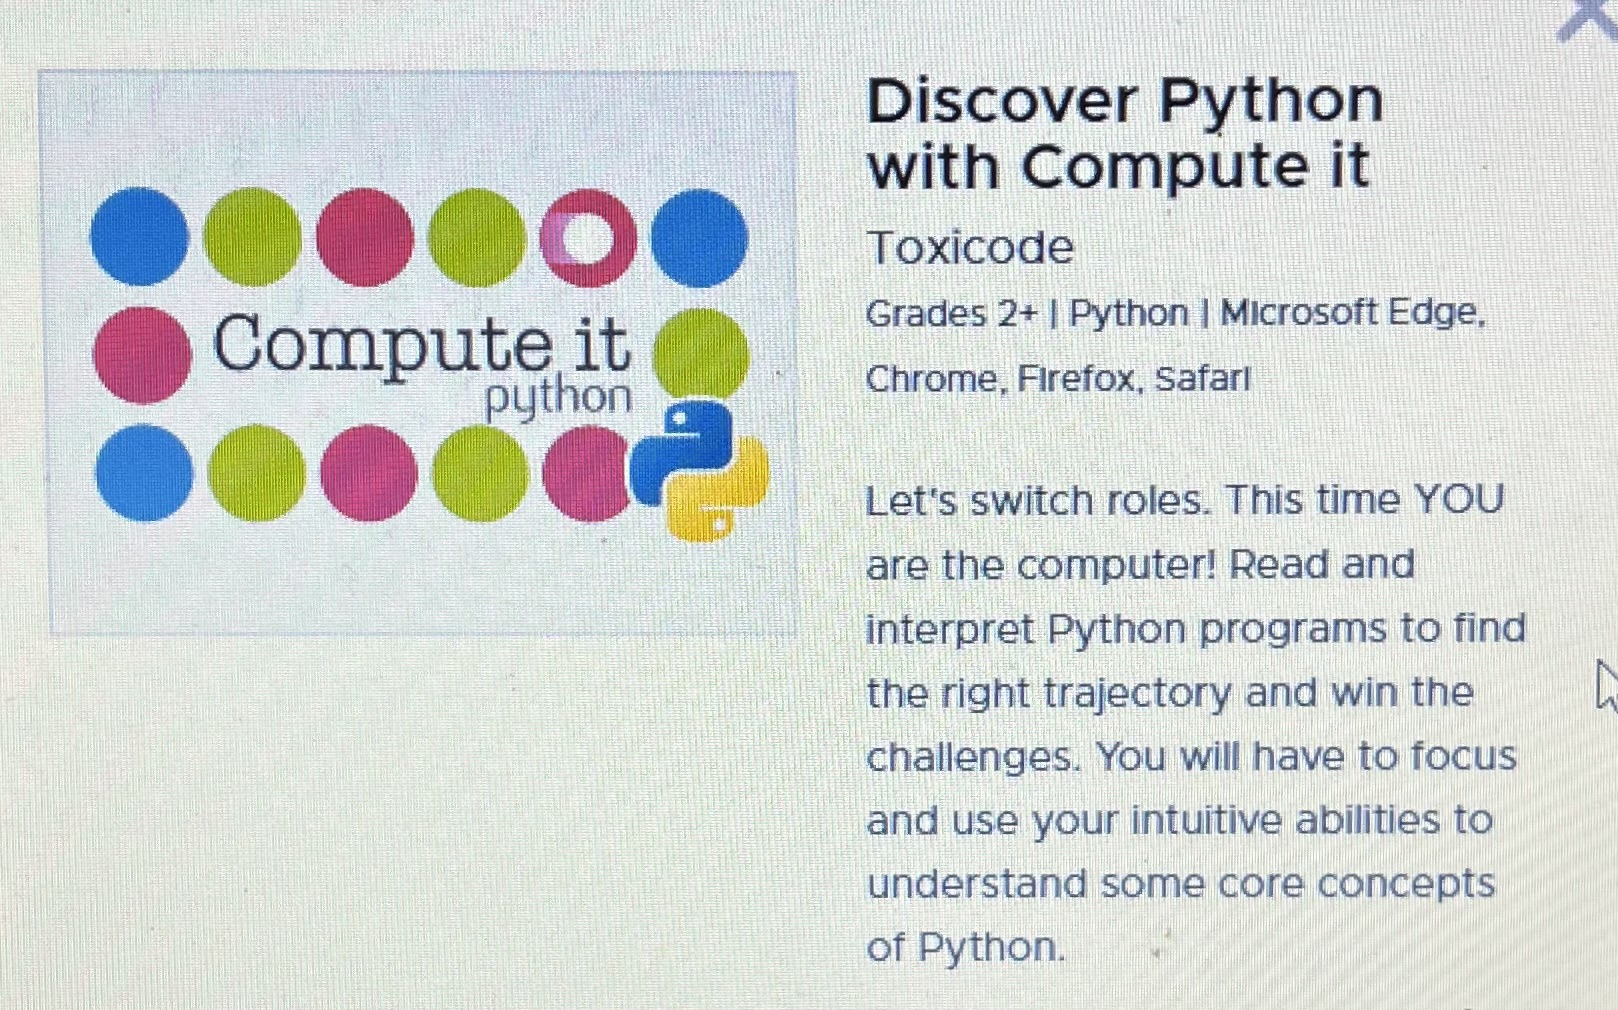
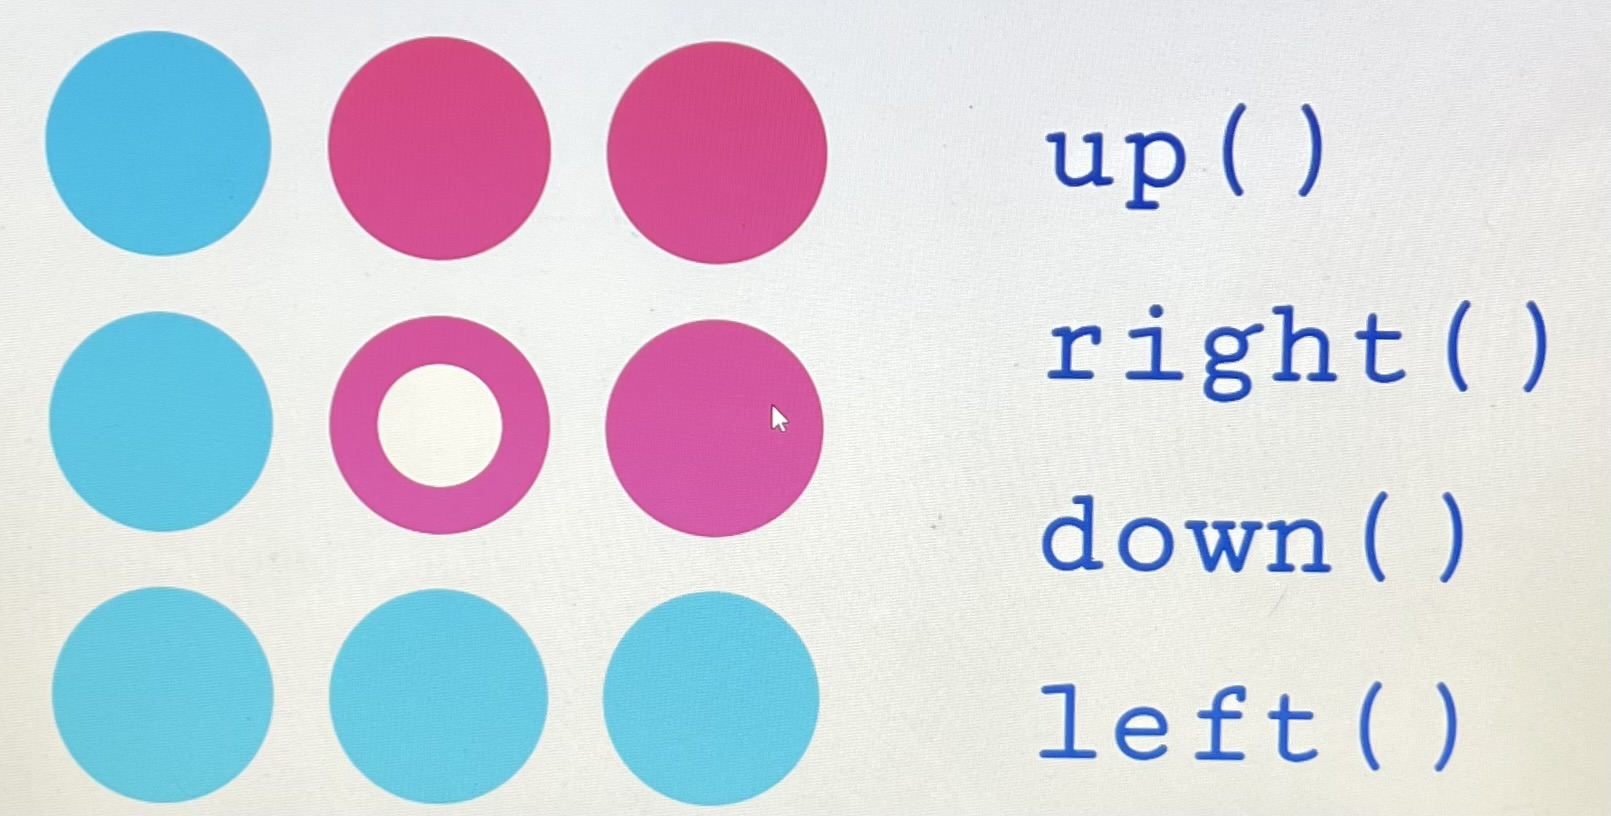
Another takeaway was learning about coding. I have always heard this term but never had any experience in knowing what it was. After exploring the hour of code program, participating in scratch coding and exploring some of the other resources like makey makey, Bee Bot, and Robot Mouse. I have a firm understanding of coding and I look forward to using some of these technologies in the classrooms. The emphasis on coding has grown significantly, and in our increasingly digital world, it’s crucial for students to grasp these concepts. With the abundance of well-paying jobs in the coding field, educating students from an early age and establishing a strong foundation could pave the way for a prosperous future.

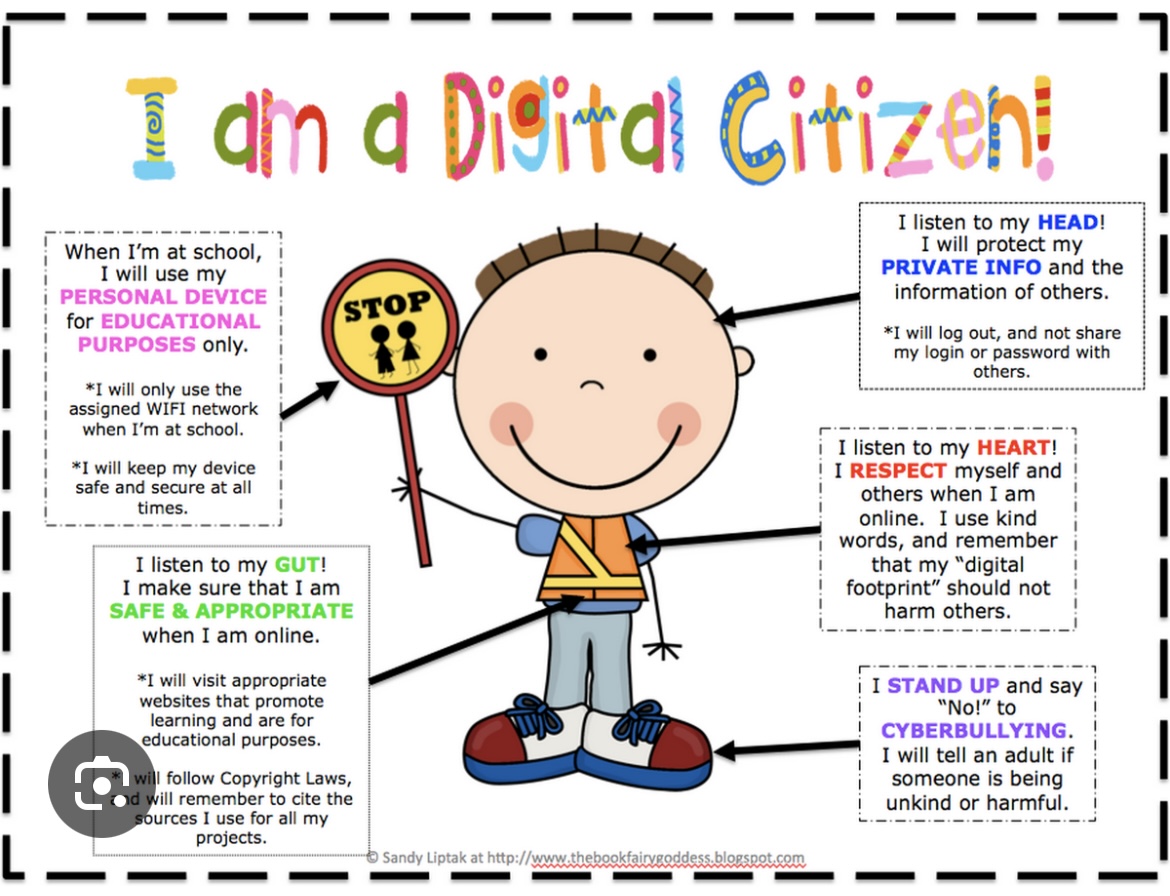
Digital Literacy and Citizenship

One thing that I didn’t consider when becoming an educator is having to teach Digital literacy and citizenship. I suppose I just figured this was something a parent would talk to their child about when they receive a device. After learning about the nine elements of digital citizenship, I realize the importance of ongoing discussions regarding these themes. This is not a one and done conversation, but needs to be a continued reminder to students in order to maintain their safety while utilizing online resources.

Conclusion

At the beginning of this course, I did not have much knowledge on technology use in the classrooms. With my lack of education in this subject area, I knew I needed to learn more and so signing up for this class was crucial for my educational journey.  By the end of this class however, I have accrued a fair bit of knowledge and I am confident that what I am taking away from this class will give me a solid foundation moving forward. Thank you for watching my summary of learning.

Final Learning Project Post: It’s Not The End… It’s Just The Beginning of an Artistic Journey

While this learning project has concluded, the truth is that my education continues, with many more projects to delve into. This feels like the start to an incredible artistic journey. I appreciate the opportunity to engage in a learning project of my choice. If not for this class, my Cricut machine would still be unused in its box. I’m excited that I’ve finally started using it and been able to tap into my creative potential. As most of my free time is spent making memories with my children, I often feel like there is not enough time in a day to do something for myself. Hence why the machine remained boxed up. But now that the initial setup and learning phase is complete and I have a fundamental grasp of its functions, I’m ready to dedicate time to new creative endeavors. This is something that I  can also include my children with and together we can create projects.

Below is a summary of my learning journey, during which I explored various online formats that provided inspiration and useful tips for navigating this experience.

Learning Project Recap

Post 1Crafting With The Cricut Machine: Introduction To My Learning Project

I have eyed the machines for a long time but never took the plunge to buy one…until last year when I finally purchased one, the Cricut Explore Air 2. Not knowing how to use it, I placed it to the side and said, “I will need to find time to explore it and figure out how to work it”. Well, there is no better time than now to finally crack open the box and explore what I can create through this learning project.

Online Sources

Post 2- Understanding The Cricut Machine

The initial phase of this learning endeavor involves unboxing the Cricut Explore Air 2 machine and acquainting oneself with its various components. This blog post captures my initial experience with the Cricut, where I navigated through the setup, mastered the use of the machine, and executed a cardstock paper cutout.

Online Sources

Post 3- All You Need Is Love & Plants

In this weeks post, I opted for the 30-day free trial of Cricut Access. As I explored the vast image library on Cricut Access, a particular design caught my eye—a decal for a plant pot! In this project, I had the opportunity to work with vinyl, including weeding, applying transfer tape, and using a scraper tool to eliminate air bubbles.

Online Sources

Post 4How Many Cricut Vinyl Products Are There?

According to the cricut website, there are 213 results for vinyl materials! It seemed I would need to conduct some additional research to understand the differences. This post uncovers what I have learned about the various vinyl products with a realization that purchasing vinyl off of Amazon.ca is the cheaper option. Keep an eye out for my upcoming post where I’ll delve into making my first shirt with the vinyl I have ordered this week.

Online Sources

Post 5A T-Shirt for Father’s Day

The HTV vinyl ordered last week has arrived, and now I needed to decide on a project to create with it. With Father’s Day coming up, I decided to create a t-shirt for my spouse as a gift. With this project, I learned a new step by using a heat press to fasten the design onto a t-shirt. I also discovered that when using a heat press, the time and temperature differ for each project depending on the type of material you are using. Creating my first t-shirt with a Cricut machine, HTV vinyl, and a heat press was a journey filled with numerous learning experiences.

Online Sources

Post 6Say What? I Can Make Canvas Signs Using a Cricut!

After stumbling across a video for a canvas sign, I knew I wanted this to be my next project. Within this project I learned how to use Canva for creating images that could later be transferred to Cricut Desgin Space. This was a valuable part of this experience, and the step-by-step instructions from ChatGPT was beneficial as well. This project again sent me down many avenues where I had to do some online research to uncover and troubleshoot some challenges along the way. This project, along with the previous ones, proved to be a valuable learning experience.

Online Sources

Final Thoughts

Some key takeaways from this project is that I realized how important it is to take time to do something you enjoy. This article provides insight into the benefits of prioritizing time for the things you love.  Why You Need to Do Something You Love Every Single Day – Day Designer  I had so much joy and fullfillment from this learning journey that it left me feeling inspired to make the time to be creative. I will no longer say I dont have time for things as it is up to me to ‘make’ time for them.

One regret that I do have is that I did not unbox this machine when I first got it.  My lack of knowledge on how to use it left me feeling intimidated, which in turn hindered my ability to utilize it. However, what I did not realize at that time, is how easy it was to access the help I would need through online platforms. During this journey, I encountered numerous challenges that required additional research to troubleshoot the problem or situation.  Fortunately, I could  readily find solutions by utilizing online sources like YouTube, ChatGPT, Copilot, and various blogs. This class has taught me the value in having connections to the online world. I find comfort in knowing that I will always have the answers at my fingertips if I run into any future project difficulties.

Networked Learning Reflection

When I reflect on these past 6 weeks, I am surprised by how much I have learned in so little time. Some of my learning can be attributed to my connections with others in the class. As I posted, read, and engaged with the many blog posts throughout the course, I always found I learned something new! Within my comments, I tried to provide positive feedback, sometimes relating to the post, as well, providing advice or links to resources. Below are some examples of the comments I had left on my classmates’ blogs. To see all of my comments, you can click here.


This course also had a discord chat. I did not engage with that chat as much as I would have liked to but I found that other people were quicker to respond than I was. Thus, missing opportunities to connect. I suppose I could have still replied but there would have been no point in giving the same answer as several other classmates. You will see a few of my communication screenshots posted below from when I was able to respond before someone else. As far as reaching out and asking questions in this space, it wasnt until the very end when I was making this post that I reached out for support. I had observed another classmates post and noticed they had an added slideshow within it. Having not seen this before, I reached out to ask how they did it as it added a really neat feature to their post and I had to try it out for myself. They were quick to respond, and gave descriptive details on how to do it. If you are curious yourself, check out the conversation below in the slideshow I had created. Besides this, I did not come across any challenges that I needed answers for. Nevertheless, by reviewing the questions and responses of my peers in the discord chat, I gained insights from their comments and the articles and links they shared.

loading slideshow...

TeachAid: An AI-Powered Lesson Planning Tool

I am familiar with the more popular AI tools such as, ChatGPT, Magic School AI, and Copilot. So I wanted to explore an AI tool that was new to me. When searching for an AI tool to use, I came across this article that highlights 30 AI tools and gives a detailed description of each one.  Between this resource, and Dr. Alec Couros presentation, I realize that there are an abundance of AI tools available. The AI tool I decided to explore is called TeachAid.

After signing up for a free account, I recieved a welcome pop up that explains the TeachAid AI platform and what it has to offer. See picture below.

Once enrolled in the program, I had the choice to create either a unit or a lesson plan. To fully explore the AI tool’s capabilities, I opted for a unit plan so I could observe a variety of different lessons. The program was quite detailed, inquiring about the number of lessons I wanted, the duration of each lesson, and the specific dates they would be taught. The unit that I requested to be generated was for the grade 1 mathematics outcome, N1.1.

To my surprise, the program generated an in depth unit plan that included the 10 lessons I had asked for, resources, as well as, handouts/worksheets for the students. Shown below is an overview for the unit it had created. I love that it has included Learning Goals, I Can Statements, and Keywords.

Unit Description

In this Grade 1 Mathematics unit, students will develop fundamental counting skills through a comprehensive series of lessons. They will begin by learning to count forward and backward by 1s between 0 and 100, ensuring precision in their number sequences. The unit will include lessons on symbolic numeral representation and reading numerals presented symbolically, enhancing their ability to connect spoken numbers with written forms. Students will also practice skip counting by 2s up to 20, and by 5s and 10s up to 100, identifying patterns and rules. Additionally, students will learn to identify and correct errors in number sequences, further solidifying their understanding. The unit will culminate in a comprehensive review of all counting skills, preparing students for a portfolio assessment that encompasses their numerical proficiency.

Learning Goals

1. Students will recite forward by 1s the number sequence between two whole numbers from 0 to 100 accurately, so that they can build a solid foundation for numeric understanding. (Specific expectations: Recite forward by 1s the number sequence between two whole numbers (0 to 100).)

2. Students will recite backward by 1s the number sequence between two whole numbers from 100 to 0 accurately, so that they can strengthen their comprehension of counting sequences in reverse. (Specific expectations: Recite backward by 1s the number sequence between two whole numbers.)

3. Students will record and read numerals (0 to 100) symbolically when they are presented orally and in written form, so that they can connect spoken numbers with their written counterparts accurately. (Specific expectations: Record a numeral (0 to 100) symbolically when it is presented orally., Read a numeral (0 to 100) when it is presented symbolically.)

4. Students will skip count by 2s to 20, by 5s to 100, and by 10s to 100 starting from 0, so that they can recognize and apply counting patterns and rules. (Specific expectations: Skip count by 2s to 20 starting at 0., Skip count by 5s to 100 starting at 0., Skip count forward by 10s to 100 starting at 0.)

5. Students will identify and correct errors and omissions in number sequences, so that they can ensure accuracy and develop critical problem-solving skills. (Specific expectations: Identify and correct errors and omissions in a number sequence.)

Success Criteria

  •  I can count forward by 1s from any number between 0 and 100, so that I know my numbers in order.
  •  I can count backward by 1s from any number between 100 and 0, so that I can understand counting in reverse.
  • I can read and write numbers from 0 to 100 when I hear them or see them, so that I can match spoken numbers with their written forms.
  • I can skip count by 2s, 5s, and 10s, so that I can see and use number patterns.
  • I can find and fix mistakes in number sequences, so that I can keep my counting correct.

Keywords

  • Counting
  • Numerals
  • Sequence
  • Forward
  • Backward
  • Skip
  • Patterns
  • Errors
  • Symbolic
  • Omission

Teachaid could be utilized to improve teaching by generating quality lesson plans for educators to present to their students. The tool not only crafts the lessons but also offers various resources for both formative and summative assessments. It allows for the customization of generated lessons, enabling the addition or omission of content as needed. This flexibility is beneficial as it allows the tailoring of lessons to meet the specific needs of learners in the classroom.

When speaking of personalized learning, I discovered the option to differentiate a generated worksheet quite useful. In noticing one of the worksheets was a bit too advanced to use with grade 1’s at the beginning of the year, I simply clicked on the ‘differentiate’ tab and typed in “lower the learning level”. This action created an additional worksheet suitable for beginners, focusing on basic number counting, while also retaining the original worksheet for any advanced students.

Upon reviewing all the lessons, it is clear that the variety offered would maintain student engagement.For example, one lesson invites students to pair up and come up with a way to represent the number 20, whether through song, locating classroom objects, dance, or dramatization. Students are encouraged to think creatively in how they can express or represent the number 20. Meanwhile, another lesson sets them on a scavenger hunt for numbers. These are more active approaches while other resources in the unit plan had the students doing more independant activities such as handouts. The variety of instructional strategies used throughout the unit is supportive of various learning styles.

One thing I noticed is that the program ‘times out’ so if you were working on something and walked away, it logs you out and you have to log back in making it an inconvenient process. However, when you do log back in, the work you have done in the program is saved. Another issue, as highlighted in Dr. Alec Couros’s presentation, is the significant problem of AI exhibiting a western bias and seemingly reflecting racist and sexist viewpoints. Here is an article to supplement this notion, The Invisible Hand: Revealing Bias in AI Systems (ieee.org) It’s crucial to consider this when utilizing AI tools for creating lesson or unit plans. Although it may seem convenient to have someone else write the lesson, we need to be able to critcally check the lessons over and decide what needs to be changed or added so that it is inclusive, does not include bias viewpoints, and meets the curriculum standards.

I believe that AI tools will serve as an excellent supplementary resource in the classroom for both teachers and students. However, I do not think they should be used exclusively to create student assignments, as I am uncertain about the extent of learning when one’s own thoughts and knowledge are not integrated into the work. While we can learn from AI tools, they should not completely replace our own capabilities. I also wonder if a dependency on AI tools for answers could diminish our ability to think independently. Observing the evolution of AI in the classroom and gauging the extent of its integration will certainly be fascinating.

Digital Footprints

Educating students about their digital footprint is crucial. When younger generations receive devices, the necessary discussions about their proper use are often overlooked. Children live in the present and may not consider the future implications of their actions. However, what they do now can impact their future, a fact often ignored when impulsively sharing photos or videos online. The immediate attention these posts give can be addictive, leading to a cycle where the thrill of posting “the next big thing” overshadows the consideration of how these posts might affect their future.

A good example of this is when Nathan Thoen was in the running to get the job for the position of Saskatchewanderer, until someone dug up a video from his past. This video was of him swearing at a Riders football game. After this went public, he was disqualified from being in the positon of having the summer job of the saskatchewander. Even though this video was made when he was minor (under 18) it had impacted his ability to gain employment as an adult. You can read more about what he had to say about his online footprint here P.A. wanderer disqualified from competition | paNOW.

Nathan Thoen’s experience serves as a reminder of how seemingly innocent photos and videos can impact our future selves. It raises the question of whether we should be forgiving of minors’ digital footprints. I believe everyone deserves a chance to address their past actions. If individuals are denied future opportunities based on past decisions, then we will never be able to foster spaces and places for growth and change. Yet, this presents its own challenges. Should students believe that their current actions will be forgiven, they might not take their online presence seriously, potentially resulting in an overabundance of problematic digital footprints. Hence, by highlighting the importance of our online posts, we may encourage students to be more considerate and careful about their digital footprint, potentially reducing the number of uncomfortable conversations needed to explain past actions.

Understanding one’s digital footprint is beneficial not just for younger students, but for anyone who uses a device. It’s important at any age to be aware of the potential consequences of one’s online posts and shares. The video below addresses the subject of educating students on their digital footprint and digital citizenship. It serves as an excellent resource on important matters concerning proper digital use and presence.


Challenged by Coding

Not knowing anything about coding, I was excited to try out the Hour of Code program! It was mentioned in our class that you could code for a game that was similar to the first cell phone game called Snake . Sign me up, I loved the challenge of playing the snake game! I searched through the numerous coding options to finally find what was called “Compute it Python”(Shown below). Thinking this must be the game, I decided to go for it!

The first 8 or 9 levels were pretty easy to follow the directions. It was either move right, left, up, or down. Then it began to get a little trickier where it asked you to do certain moves depending on what color dot you were on. This got a little more complicated as the instructions were pretty vague. The levels began introducing coding instructions that said, while, range, if, elif, and else. However, there was no explanation of what these words meant. Not knowing these terms, I had a hard time understanding what it was asking for. I had to do some trial and error to try and figure out what it wanted me to do. Some of the combinations of words like right, left, up, and down were either stacked on top of eachother or placed staggered which also indicated a different coding process. Shown below are screenshots of the first couple of levels.


Shown below I have taken a video of myself attempting one of the beginner complicated levels. As you can see in the video, the codes on the right hand side were a bit different from the easier directions shown above. At the end of this video I was a bit confused as I made the move of up, down, up, down, which does not appear to be a code. However, since the words up and down are written in the same column, maybe that is why it was programmed to do that?

By level 40, I realized I was just guessing and then memorizing the correct moves so I could repeat them and try to decipher the coding pattern. By this time, I wasnt really learning as I really didnt understand the lingo it was asking me to code for. Before I knew it, an hour had passed! Even though I didn’t complete the levels, I still managed to obtain a certificate (pictured below) for the hour I dedicated to the program.

After claiming the certificate, I was feeling a little discouraged from my lack of understanding with the later levels. However, when I re-read the decription for the game it says, “you will have to use your intuitive abilities” so maybe I wasnt too far off with my trial and error approach! Anyway, I decided I would turn to YouTube to see if there was a video explaining some of these code combinations. This way I could see if I was close to understanding or if it was something simple that I wasnt picking up on. Below is the YouTube video I had found that explains all of the moves in an easy to understand way.

I am determined to try and get through all of the levels and see this out to the end. Having watched the video above, I have a better understanding of the coding instructions, which may simplify the process for me. However, I do wonder if students using this coding program would feel the same way as me, discouraged, or if they would grasp it better.  It could be that my limited experience with coding has presented a bit of a challenge for me. Overall, I’ve realized that I need additional practice with coding, and the Python game I encountered wasn’t quite the snake game I had anticipated. When I went back to the hour of code home page, I discovered a search bar. So, I typed,  “snake” into the search bar and the snake game that I used to play popped up. Although the python game I explored wasn’t the nostalgic experience I expected, it still presented a challenging and engaging task.

The emphasis on coding has grown significantly, and in our increasingly digital world, it’s crucial for students to grasp these concepts. With the abundance of well-paying jobs in the coding field, educating students from an early age and establishing a strong foundation could pave the way for a prosperous future.

How to Implement Digital Literacy

While researching digital literacy for younger students, I came across the video posted below. This video quickly addresses the concept that things we see or hear in the media can either be fact or fiction while emphasizing that it is our responsibility to verify and decide whether or not it is true or false. This video could be used as an introductory video or a ‘hook’ for further discussion on digital literacy.

When looking at The Saskatchewan Curriculum, it is evident that digital literacy is not specifically included in the outcomes. However, it could easily be intertwined within lessons taught in health and other subject areas. For example in grade 3 they learn about healthy decisions which includes examining sources of information and misinformation. A digital literacy lesson could easily be incorperated into this subject area. This is just one example, as digital literacy could be taught in all of the grades. It is never to early to teach that we should not believe everything we see in our community. It is important that our students understand what digital literacy and how to use it effectively.

A simple way to educate students on how to be fact checkers would be to introduce them to the four simple steps that are described in the Web Literacy for Student Fact Checkers book. In this book it emphasizes the four moves one should make when trying to get closer to the truth:

  1. Check for previous work: Look around to see if someone else has already fact-checked the claim or provided a synthesis of research.
  2. Go upstream to the source: Go “upstream” to the source of the claim. Most web content is not original. Get to the original source to understand the trustworthiness of the information.
  3. Read laterally: Read laterally. Once you get to the source of a claim, read what other people say about the source (publication, author, etc.). The truth is in the network.
  4. Circle back: If you get lost, hit dead ends, or find yourself going down an increasingly confusing rabbit hole, back up and start over knowing what you know now. You’re likely to take a more informed path with different search terms and better decisions.

Teaching older students a digital literacy lesson using the steps listed above will set them up with lifelong skills to be able to decifer whether or not an article is real or fake. Furthermore, here is a lesson plan that could be used in the classroom in which the four moves could also be incorperated.

The article, How do we teach students to identify fake news? provides further steps we as educators can use to teach students on how to be critical readers with all of the media that surround them. Interestingly, this article also lists some investigative techniques using online verification websites, Factscan, Org, Snopes, and Hoax Slayer (appears to be the same program as Factscan but uses a different name). Utilizing these sites, can speed up the investigative process and enable students to do a quicker fact or fiction check.

The NTCE Framework, has published goals to reach in order to be successful within a digital society. Some of the ways I can incorperate these are by:

  • Promoting critical thinking with online sources
  • Provide a wide variety of texts for students to engage with to develop diverse perspectives
  • Empower students to consume, curate, and create content
  • Provide equitable digital access to inclusive texts and tools
  • Supporting the students in collaboration and building cross cultural connections as well
  • Offer opportunities, as well as, strategies to use when addressing or interupting biases and privilege with effective communication
  • Teach the students about their rights, responsibilities, as well as, legal, and ethical implications of using online spaces

By using the NTCE Framework, I am able to implement strategies (listed above) within the classroom that will guide students to have a successful experience within the digital world.


Approaches to Digital Citizenship

When thinking about my future classroom, I believe that teaching lessons on digital citizenship will be a crucial component of the learning process. Students nowadays, have many interactions with online learning and technology each day. Teaching students the definition of digital citizenship will not be enough and there will need to be daily practice of learning appropriate and responsible online behaviour. After reading Ribble’s Nine Elements of Digital Citizenship, I feel inspired to incorperate these nine elements into my classroom lessons as they capture all angles of what it is to be a good digital citizen.

Listed below are the nine themes of digital citizenship as mentioned in the Ribble article and how I plan to use and incorperate them.

  1. Digital Access- This element is crucial as our world increasingly revolves around digital connectivity. As a future educator, I must take into account potential digital divides when designing lesson plans. Ensuring digital access for every learner in the classroom is crucial for closing the access gap. Achieving this involves granting equitable access by linking students with the necessary resources required for their success. One way to assist students with access is by utilizing government programs that offer funding for technology in schools. Additionally, implementing a lending program where students can borrow devices from the school could be beneficial. However, the benefit of having a device at home is limited without internet access. It would be necessary to compile a list of locations where students can access free Wi-Fi, or advocate for the school to expand its broadband so that some students can access the school’s internet from home. My involvement in assisting students with digital access will also serve to bridge the digital divide.
  2. Digital Commerce- This incolves teaching student about online banking, selling, and purchases. It is important to deliver lessons to students that will teach them how to recognize a scam, how to protect their personal financial information, and how to make online purchases in a safe manner. When it comes to online shopping, teaching students to research products and compare prices online empowers them to understand that better deals are often available for the same item. Demonstrating that they have access to this resource for price comparison is an invaluable tool for future buying decisions and offers potential savings.
  3. Digital Communication and Collaboration-  Teaching digital communication requires a focus on proper writing skills, such as in an email or other online communication platforms. Its important to educate students about appropriate written etiquette. However, communication should be focused on both written, and verbal communication, as in online video conferences. So, teaching students effective communication over a video platform is equally important.
  4. Digital Etiquette-Educating students on respectful online behavior is crucial for maintaining and protecting their digital reputation. This education can be facilitated through online classroom discussion forums, where students are provided with opportunities to engage in appropriate online discussions, posting and responding effectively to their peers. Having discussions on what is appropriate and innapropriate, as well as, the consequences of cyberbullying and how we can stand up for what is right are all key components to teaching digital etiquette. Establishing rules and norms regarding online behaviour is crucial to maintaining an appropriate digital footprint.
  5. Digital Fluency- Digital fluency is also linked with digital literacy. With digital literacy comes lessons on how to tell the difference between real and fake in regards to what we read or are exposed to. Teaching students what to look for and how to evaluate online sources is an important part to digital literacy. Digital literacy also incorperates a students ability to work with tech tools. So, providing opportunities to practice and learn how to navigate different digital platforms builds on a students technological skills and abilities.
  6. Digital Health and Welfare- Having discussion with students about balancing your time with technology and creating healthy relationships with our devices is a good conversation to have. Much of our time is spent on devices and many unhealthy hours are wasted on them. Teaching about healthy and unhealthy habits/ relationships we can have with technology is an important aspect to cover when considering ones health. Students need to understand the profound impacts technology can have on our mental and physical well being. Stressing the importance of finding ways to enjoy life both on and off the screen and balancing healthy screen time limits is an important skill for students to have and be able to recognize within their daily routines.Highlighting the significance of taking breaks from screens to engage in real-life activities can enhance a student’s health and well-being, provided they implement this balanced approach.
  7. Digital Law- Teaching students about digital law is an important part to digital citizenship. Students are often required to write papers or do online research and gather facts. Teaching students about plagiraism and copyright and then having students learn how properly cite where they got their ideas or work plays a large part in following digital laws.  Educators can provide students with templates on how to cite a resource and do in text citations. There are also many online citation generators as well that can be used by students. These resources make it easier for students to cite their work and take out the factor of having to memorize several citation formulas.
  8. Digital Rights and Responsibility-Knowing ones online rights and responsibilty will help students understand how to conduct themselves digitally. Some rights students should know of is their freedom to expression, and privacy. Some important responsibiltites to teach the students would be respecting others, being a good digital citizens, and citing any resources used. Within rights and responsibilties, it is important to teach students about how their actions online do have consequences in the real world. Furthermore, as an educator I will stress the importance of telling an adult of any innapropriate online activity that makes you or others feel uncomfortable.
  9. Digital Security and Privacy- Providing students with lessons on how to create secure passwords, avoiding scam email and ‘phishing’, as well as learning about privacy settings are all components of understanding our cyber security. Teaching cybersecurity empowers students to safeguard themselves during online activities.
In conclusion, these nine elements are not taught in a one and done senario. These elements need to be embedded, repeated, revisited, and referred upon throughout the school year in order for them to be effective for a students understanding of digital citizenship. Being a good digital citizen takes time, practice, and education. My goal is to educate my students on the elements of good digital citizenship and to enable them to take the necessary actions to achieve it.

Say What? I Can Make Canvas Signs Using a Cricut!

While working on my previous project, I stumbled across a YouTube video that inspired the idea for my next learning project! The video posted below showcases a lady making a sign for her bathroom. She explains that she uses  HTV vinyl for this project. I happen to have a roll of black vinyl that I have not had the chance to use yet! Additionally, I’ve just installed some shelves in my bathroom and have been contemplating what to display on them.  A small sign will look marvelous on the shelf. Off to Dollarama I go, to find a canvas that will fit the shelf.

Upon returning home from Dollarama, I considered checking out other quotes before settling on the one featured in the video. I broadened my search to Pinterest, where you can find ideas and inspiration for everything. As I was scrolling through, I came across several funny quotes, but the one that stood out to me the most was this one shown in the picture below.

Although I am not to fond of the word “hate” I still think the sign is pretty cute and I can see my children having a good laugh over this! I went back into design space to see if I could find the same template to use. However, I had no luck finding this. I did not want to settle for a different sign so I decided to try out a new route outside of design space. During this learning project, I came across a video that was explaining the use of Canva for Cricut projects. Not knowing the exact steps, I turned to ChatGPT and asked, “how do you create a design in canva for a cricut?”

These were the results:

Step 1: Set Up Your Canva Design
  1. Open Canva: Go to Canva and log in to your account.
  2. Create a New Design: Click on “Create a design” and select “Custom size”. Enter the dimensions based on the size of your Cricut mat or the size you need for your project. Common dimensions for Cricut designs are 12″x12″ or 8.5″x11″.
Step 2: Design Your Artwork
  1. Add Elements: Use Canva’s tools to create your design. You can add shapes, text, illustrations, or import your own images.
  2. Use Vector Elements: For best results with Cricut, use vector elements as they scale without losing quality. Canva has a variety of vector shapes and icons available.
  3. Simple and Clean Design: Ensure your design is simple and clean with distinct lines, as intricate details may be difficult for the Cricut to cut.
Step 3: Prepare for Export
  1. Make Elements Solid: Ensure that any shapes or text you want to cut are solid and not transparent. Cricut needs clear paths to follow for cutting.
  2. Flatten Your Design: If you have multiple layers or elements, consider flattening your design to ensure it exports as a single layer. This can help prevent issues when importing into Cricut Design Space.
Step 4: Export Your Design
  1. Download as SVG: Cricut Design Space works best with SVG (Scalable Vector Graphics) files for cutting designs. In Canva, click on the “Download” button, select “SVG” as the file type, and download your design.
  2. Alternative Formats: If you don’t have a Canva Pro account (which is required for SVG export), you can download your design as a PNG with a transparent background and convert it to SVG using an online converter like Online Convert.
Step 5: Import to Cricut Design Space
  1. Open Cricut Design Space: Log in to your Cricut Design Space account.
  2. Upload Your Design: Click on “Upload”, then “Upload Image”, and select your downloaded SVG file.
  3. Prepare for Cutting:
    • Clean Up the Image: If you uploaded a PNG, use the “Select & Erase” tool to remove any unwanted backgrounds or areas.
    • Save as Cut Image: Make sure to save your image as a “Cut” image.
Step 6: Cut Your Design
  1. Insert Design onto Canvas: Select your uploaded image and insert it onto the Cricut Design Space canvas.
  2. Resize if Needed: Adjust the size of your design to fit your project.
  3. Prepare Mat: Place your material (e.g., vinyl, paper) onto the Cricut cutting mat.
  4. Send to Cricut: Click “Make It” and follow the prompts to cut your design.

These 6 steps make this process sound easy. I will attempt these steps to create my design. Practicing this in Canva will be a great step for my learning journey. If I can figure out this step, I feel it will open the doors to more personalized creativity in the future. ‘

Step 1, is posted in the picture below where I have created a blank canvas design.

In step 2, I will try to find some images of a toothbrush, toothpaste, toilet paper roll, quote bubbles, and emoji faces. I only have the regular membership in Canva and not the premium one so I will be limited in what photos I can find for free. This step also talks about the use of “vector images” and I have no idea what that means so I will have to do a quick google search on how to find these images within Canva. Shown below is what I have created on Canva.


In step 3, it talks about “flattening” your design. My design looks ‘flat’ to me but I didnt really know what this step was asking for, so I turned to google and asked, “How do you flatten a video in Canva?” This video tutorial, gives step by instructions on how to flatten your video. To my surprise, my image was not yet flattened and I needed to combine all the seperate imgages into one. The video goes on to explain how to download the image as well.

Now that my image is grouped together, I’ve proceeded to step 4, where I have encountered another obstacle. This step requires me to download my image from Canva as an SVG, but this requires the Canva Pro membership. Alternativetly, Step 4 suggests downloading as a PNG with a transparent background. However this option is limited to Canva Pro as well. I have two options now, I either scrap the whole project, or I sign up for the free 30 day trial to Canva Pro so I can complete this process. Of course I am not going to quit when I am this far in, 30 day trial it is!

Next, I followed the instructions for step 5 by uploading the image and saving it as a cut file. Now I am ready for step 6, which is to cut and see if I can successfully cut an image from a Canva creation.  After mirroring the image, I pressed the ‘Make It’ button, and it separated my image, causing the words to overlap with the emoji faces. The pictures below show what happened.

Back to google I went to figure out if this was normal to seperate all the images or if I could do something about it. Sure enough I found a video explaining that you need to highlight the image in the order you want it and select a button on the bottom of the screen that says “attach” this kept all the images in the same place when it enters the cutting step. Shown below is the aligned parts after I have attached them altogther.

Here is the progress photos after the cut as well as the finsihed product!


The HTV vinyl did not adhere well to the canvas. Despite multiple attempts to press the vinyl in hopes of a better attachment, some areas still would not stick. Others have used a product called “mod podge,” essentially a glue painted over the top to assist the vinyl in sticking. However, since my project had only a few small areas that weren’t sticking, I decided it wasn’t necessary to use the mod podge and it would hold up just fine. Overall, I think I would do a project like this again. However, I would choose larger letters as working with those tiny letters was slightly challenging. Additionally, learning to use Canva was a valuable part of this experience, and the step-by-step instructions from ChatGPT was beneficial as well.


A T-Shirt for Father’s Day

The HTV vinyl has arrived, so it is crafting time! With Father’s Day being tomorrow, I decided to create a t-shirt for my spouse as a gift.  I browsed Cricut Design Space for a suitable template. I chose a design (shown below) that aligns with his interest of fishing, making this logo an ideal match for him. I followed this blog post to help guide my project, How To Use Heat Transfer Vinyl With A Cricut Machine: A Step By Step Guide – Practically Functional.


With this project, I will be learning a new step by using a heat press to fasten the design onto a t-shirt. Before I can do this, I needed to research the appropriate temperature and duration for pressing the vinyl onto the fabric. I found this video on Youtube to be helpful, How to use a Heat Press I also discovered that the time and temperature differ for each project depending on the type of material you are using. The Cricut website has a heat guide where you can input the type of vinyl and material you are using and it will tell you what time and temp is needed for the heat press.

Feeling confident that I can use the heat press now, I returned to design space to start the project. I loaded the image I chose and adjusted the measurement of the design to fit the t-shirt I had. Once I was satisfied with the size of the picture I moved on to the next step of cutting the right size of HTV vinyl and placed it onto the Cricut standard size cutting mat. With this project, I remembered that I would have to mirror the image so I clicked the little button on the side that said”mirror” in order to flip my design. I also recalled from last time that I forgot to change the cutting settings so this time, I made sure it was on the vinyl cut setting before I pressed “make it” in the design space. Shown in the pictures below is the process of cutting and weeding the design.


Next, it was time to prep the t-shirt. I lint rolled the shirt to get any extra fuzz and debris off. Then, I placed it into the preheated heat press and gave it a quick 4 second press to take out any moisture and wrinkles before putting on the logo. Once the shirt was de-wrinkled, I placed the vinyl logo and carrier sheet onto the shirt. I closed the press and locked the handle in place for 15 seconds allowing the vinyl time to transfer onto the shirt. When the time was up, I lifted the handle and VOILA I did it! I made my very first t-shirt using the Cricut machine, HTV vinyl, and the heat press. I am excited to gift my first t-shirt project to spouse.

Shown in the video below is the video of me pressing the shirt in the heat press.

Here is a picture of the final product.

Reflecting on my experience: I have learned from videos along the way, that when working with a HTV (heat transfer) vinyl it is either a cold peel or a hot peel. This means that after you are done pressing the logo, you either peel it right after you press and it is still hot or you wait for it to cool before you peel the sheet off. The HTV vinyl I recieved had no instructions on what type of peel it was or what temperature I should be pressing it at. When I tried to find answers online there was nothing to be found on this product. Therefore, I took a guess and decided I would cold peel it. When I attempted to peel the carrier sheet, it was stuck and was tricky to pull off. Next time I create a design, I will hot peel it and see if it makes any difference. The other troubleshooting for this could be that I either didnt press it for the appropriate amount of time.  Either way, I hope to troubleshoot this for next time to make it an easier process for myself.  Overall, I am thrilled with the end product!


« Older posts

© 2024 Brittany Silzer

Theme by Anders NorenUp ↑