A quick review of where we were once the landscaping fabric was laid.
I decided to try a new video editing tool called Clipchamp. It was awesome! Adding the music behind the speech and close captioning to the video is so easy. It’s also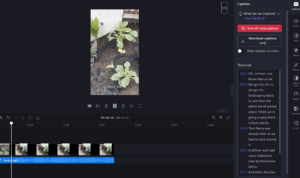 super handy that I can edit the closed captioning. I made a mistake while saying, “The landscaping mulch was in.” However, what I meant was the landscaping fabric was in. In the closed captioning, I edited the word mulch for fabric. After I was happy with the music, video and closed captioning, I saved it to my computer, or I could upload it to YouTube. LOVED IT!!!
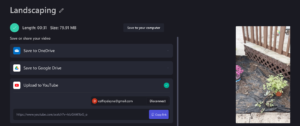
Alright, now that I had fun editing a video, back to the project! Next step: burning holes in the fabric. I searched YouTube to see how others burnt their fabric; I can’t be that hard, right? In the video, she talks about using a small torch (2:27), and then at 5:25, you get to watch her burn holes in the landscaping cloth. It worked really well.
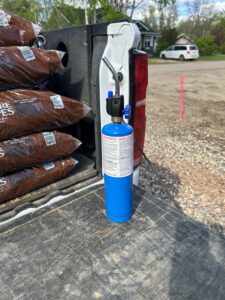 Al and got to work! We started off by using the torch in the picture to the left, since that’s what we owned. Apparently our
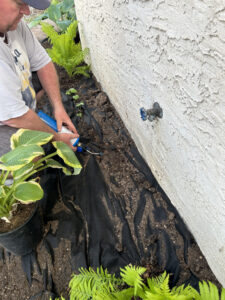 torch isn’t meant to be turned on its side or upside down. So it didn’t work very well. After a few attempts I decided to stick to basics, went and got the scissors and just cut holes of X’s in the fabric where I wanted each plant. Sometimes fancier isn’t better.
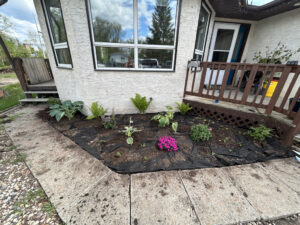
So close to being finished!!!!!
Hello Dayna,
Clipchamp sounds like a fantastic tool for video editing, I might have to try this out for my next learning project post! I wonder if you had the proper torch that could be turned upside down/side ways if the burning of the holes would have worked… or if the scissors would have still been the right decision.
I can’t wait to see the final results of your project, it is looking so great!
I wonder the same thing. The burning created a hole, but the X’s I could start small and work my way up in size, which I found pretty helpful. It gave more wiggle room.
Hello Dayna,
Thank you for sharing your experience with the fabric. Last year, I had placed this landscaping fabric down beside my house and put some wooden mulch on top of it. This year, I was thinking about planting some perennials in it. However, I was not sure how I was going to cut the fabric. The torch to burn holes looks easy to do, however, I only own a similar torch to yours and now that I know it will not work the best, I think I will skip trying it. I envisioned cutting circles in the fabric but when I read in your post that you cut X’s, I found this to be a brilliant idea! I feel equipped and inspired to finish my flower bed now. You have made great progress on yours. Keep up the good work!
Thanks! The nice thing about the Xs was that I could tuck the extra fabric under. If the hole was too small, I just snipped a bit more of the X. It worked really well!