This week, I began working on the base of my crochet pot by following a video tutorial, excited to see how it would take shape.
The tutorial first introduced the magic ring technique before moving on to the base. In This tutorial she used a stitch marker to keep track of rounds. Since I didn’t have an actual stitch marker, I initially used a piece of white-colored yarn to mark my stitches. 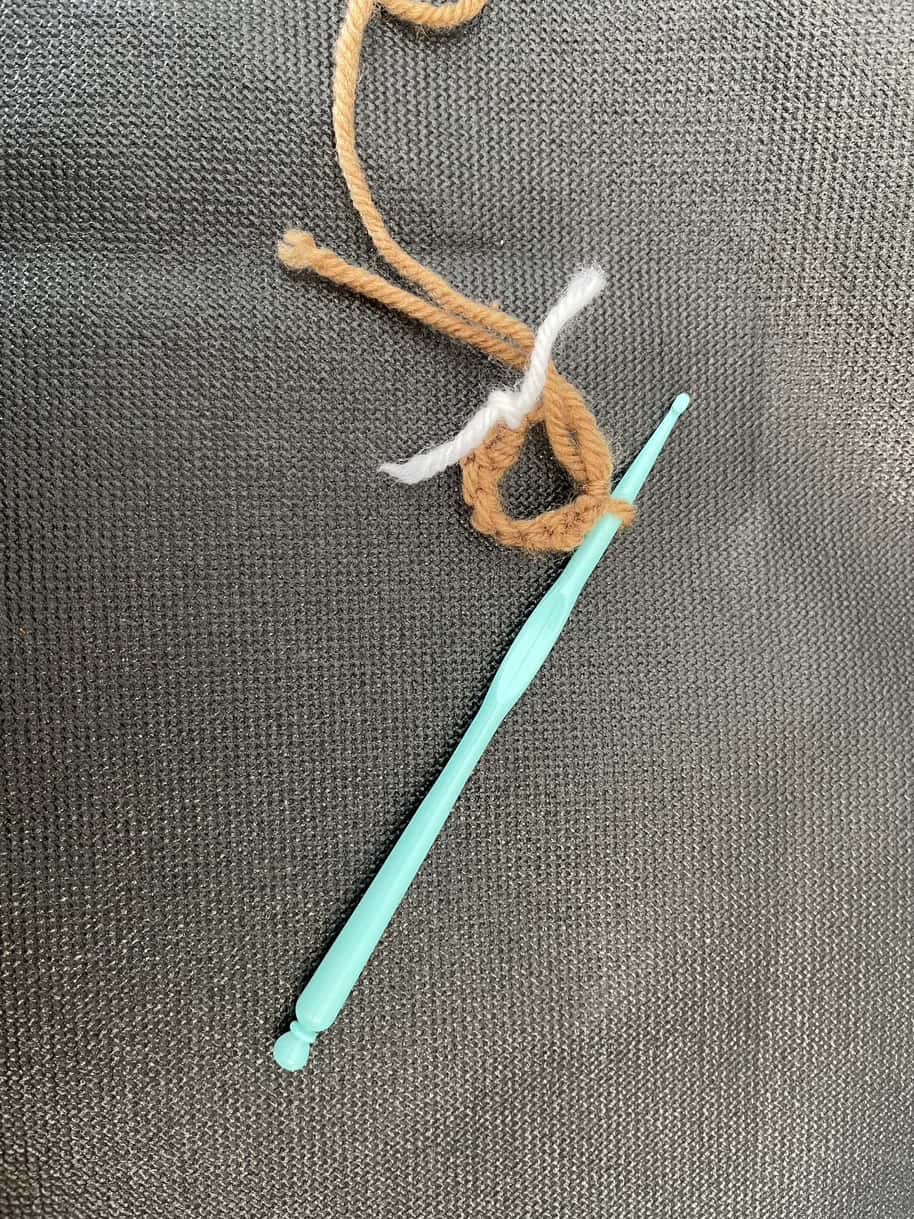
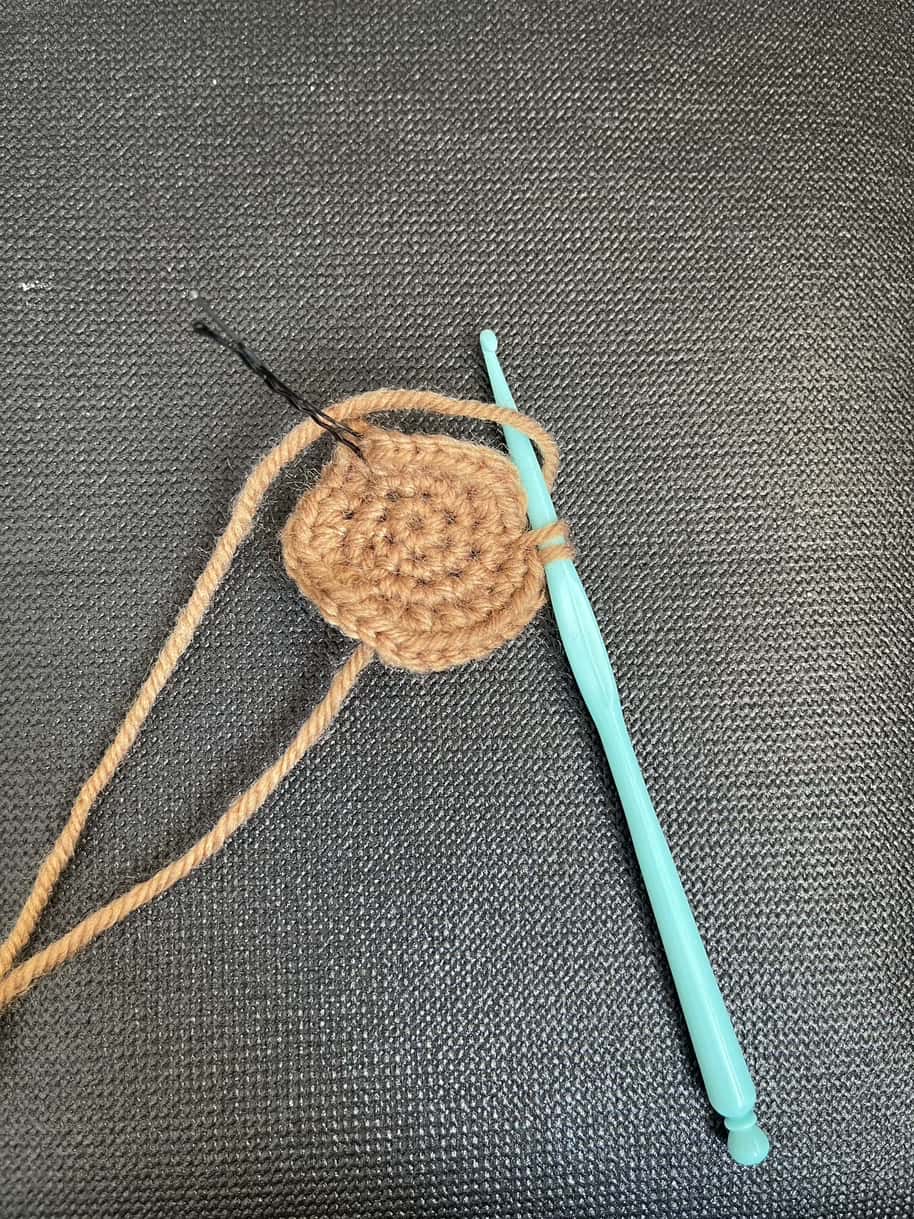
After completing two rounds, I noticed that my base was curling at the edges, but I continued to round three, hoping it would flatten out. However, the curling persisted, making me realize that something was wrong.
To troubleshoot, I searched for additional resources and remade the magic ring, continuing with the same tutorial. Unfortunately, after three rounds, the base still turned wavy and curled at the edges. I found another video on making a crochet pot, but it didn’t help me resolve my issue. Feeling frustrated, I revisited the blog I had used for making the leaves, but it did not have any information on creating a flat circular base. I also realized that I had to replace the white yarn marker frequently, which was quite tedious. After experimenting with alternatives, I found that using a bobby pin was a much easier and more effective solution. It stayed in place securely and was easy to move as I progressed through each round, making my crocheting process much smoother.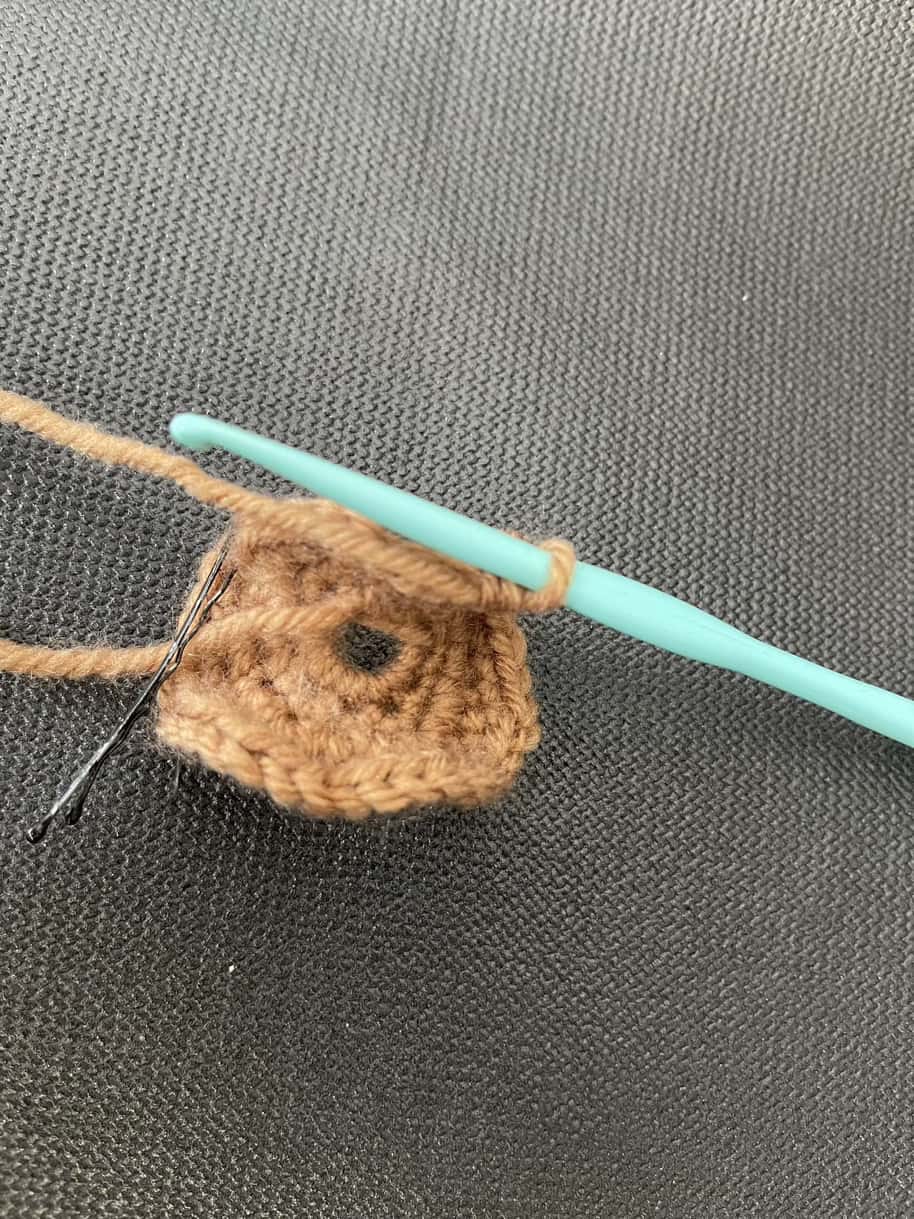
Determined to find a solution, I explored multiple videos, trying different approaches. Eventually, I found a tutorial that explained the technique in greater detail.
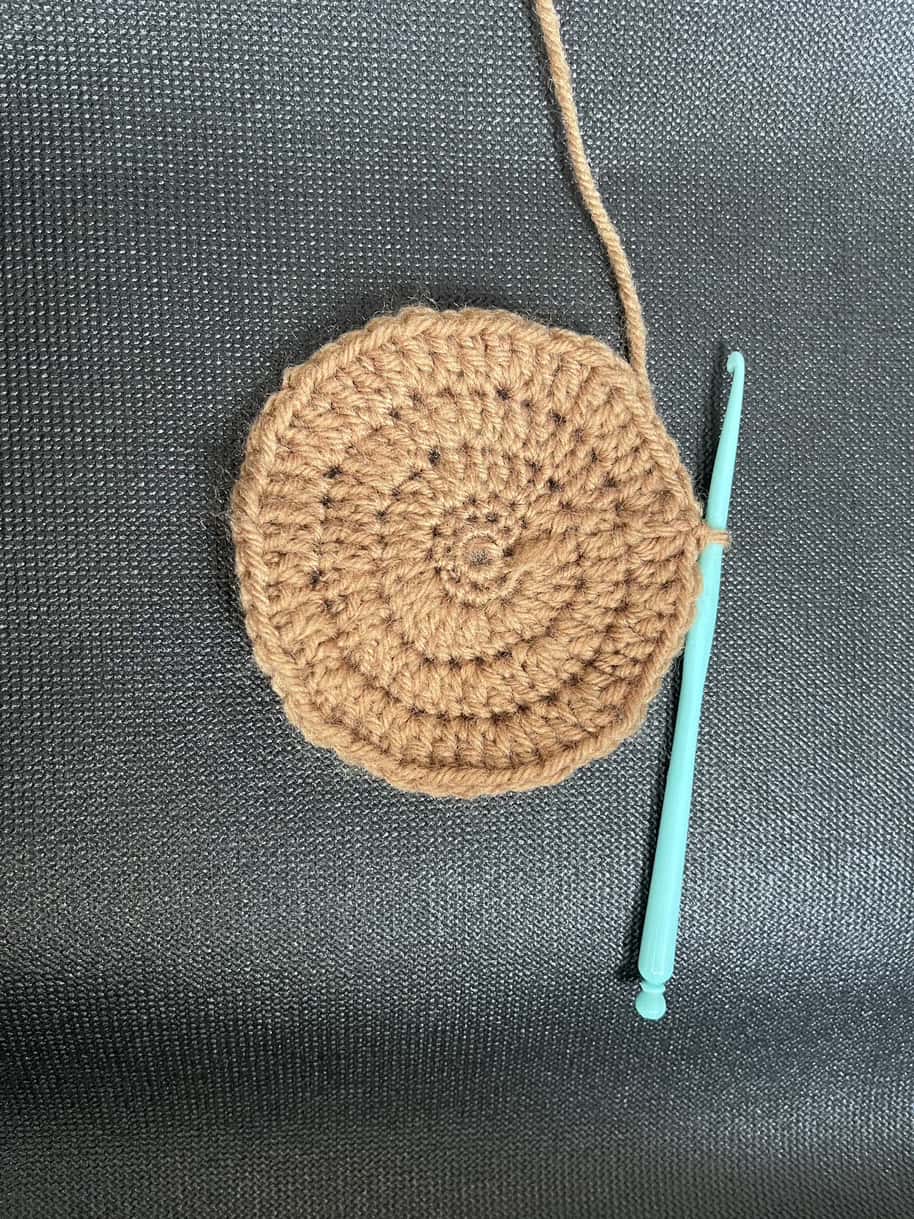
I realized that adjusting the stitch count could help keep the base flat. Instead of using six single crochets (SC) in the magic ring, I increased the count to eight stitches and switched from single crochet (SC) to double crochet (DC) for the rounds.
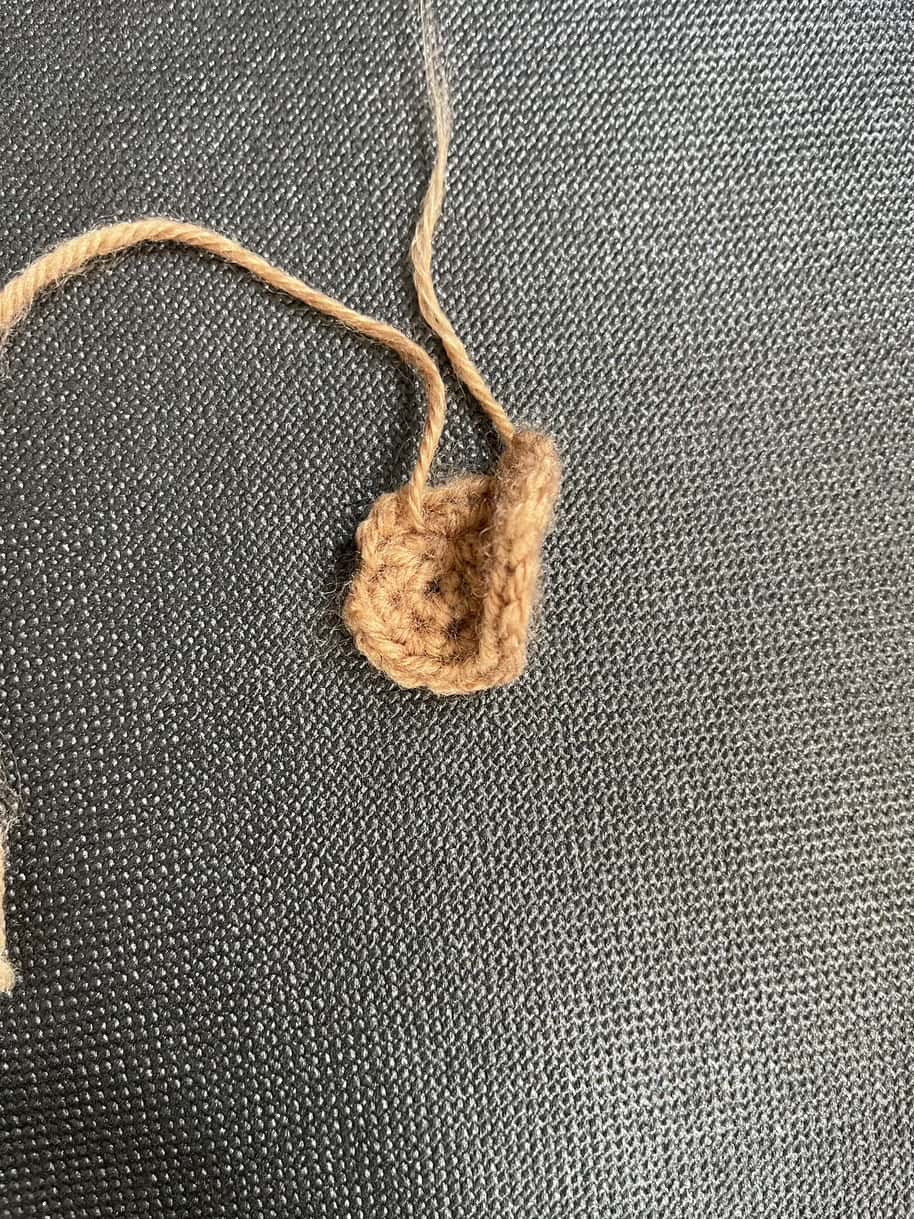
These modifications finally helped me create a flat and stable base after struggling through several attempts!
Reflection on My Learning Process
This experience taught me the importance of patience and problem-solving while learning a new skill. At first, I felt discouraged when my base kept curling despite following the tutorial. However, by exploring multiple resources, comparing techniques, and making adjustments, I was able to identify the problem and find a solution. Through trial and error, I learned that adjusting stitch count and stitch type can make a big difference in shaping a crochet piece. This process made me appreciate the flexibility of crochet—there’s often more than one way to achieve the same outcome!
Reflection on YouTube Tutorials
While working on the base of my crochet pot, I relied on multiple YouTube tutorials, each offering a different experience.
The first tutorial was helpful in demonstrating the steps visually, but it lacked a clear explanation of how to properly increase stitch count in the third row.
The second tutorial was too fast-paced, as the instructor quickly demonstrated a single stitch and then skipped ahead to show the final result. This made it hard to follow along, and I struggled to understand the exact technique she used.
Finally, the last tutorial provided the clearest instructions. The instructor explained each step in detail, demonstrated the process slowly, and even included written instructions within the video. This combination of visual and written guidance made it much easier to understand the pattern and correct my mistakes.
Hi Jasmine!
I like that you trusted your intuition and searched for a solution to your problem. It can be incredibly frustrating to encounter a problem, with seemingly no cause, when you are following instructions from someone else. You were determined and it paid off!
Great job with those modifications! Figuring out these problems as you go is great for crocheting fluency! Your final picture on the progress looks beautiful!