
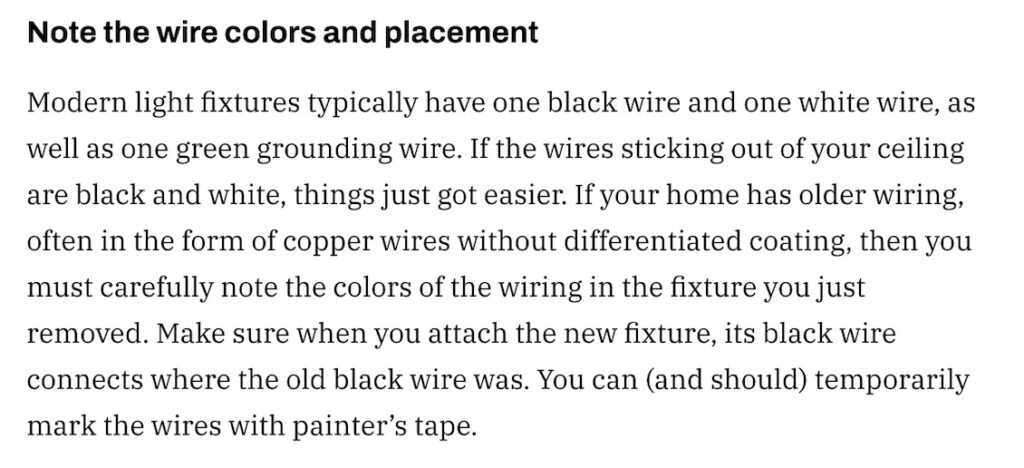
This bathroom task required a little more prior research for me instead of the as-I-go type of learning I have been doing: installing a light fixture. I feel like I understand the basics of electrical, but I am too freaked out by it after getting electrocuted in my 20s that I stall out before trying again. Do not recommend electrocution.
Interestingly enough, this Safety Culture website warns against DIY… #9 on the Rules List
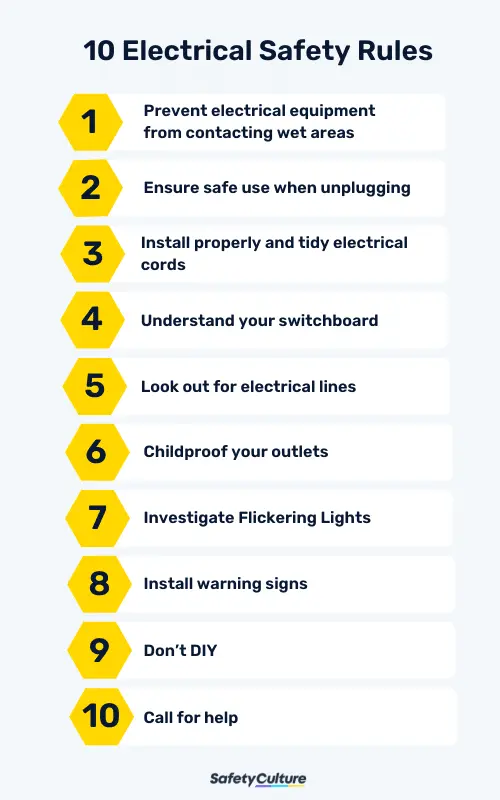
Image: Safety Culture. (2024, May 15). 10 Electrical Safety Rules. https://safetyculture.com/topics/electrical-hazards/10-electrical-safety-rules/
Unfortunately, I am too poor to defer to real-life experts and too stubborn to believe I can’t just figure it out.
When my brain tries to make me do something
byu/Bean_baggered inmemes
According to The Manual, this is a “simple household task” and need not be done by a professional so that was encouraging. The Manual’s guide is called, How to change a light fixture without getting shocked and that seemed like a perfect fit for me.
Here’s what I needed according to The Manual:
- Phillips screwdriver
- Flathead screwdriver
- Needle-nose pliers
- Wirecutter
- Wire stripper (used utility knife)
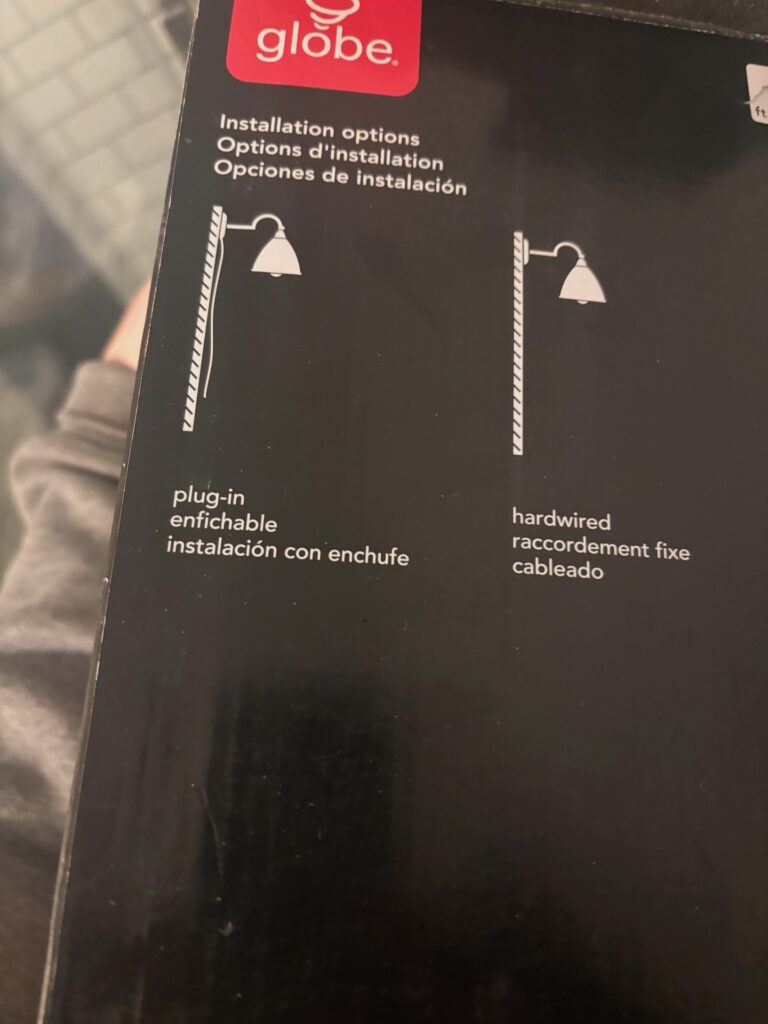
Here is the light fixture I chose. It can be wired or plugged in, which I thought at the time might be useful, but it wasn’t.

Here is what I did, following the guide (ish):
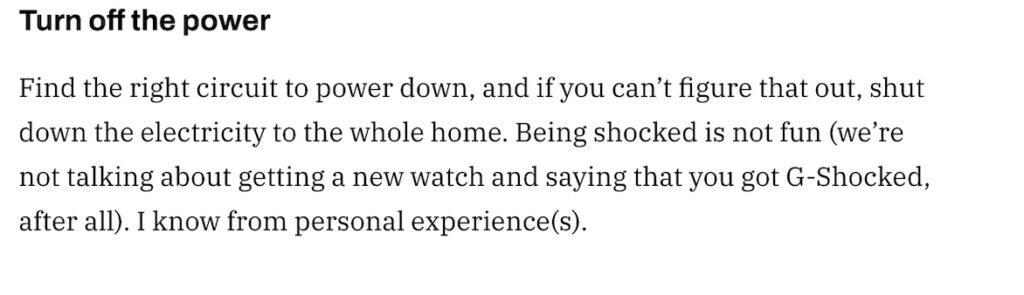
Find the breaker, flip it or hit the main if you cannot identify it. I have them half-assed labeled, but because I was working at night, I needed the hall light to see what I was doing which happened to be connected to the bathroom. I shut the light off at the switch. Double-checked with the internet on Quora if I would die and searched until I got an answer I liked, and they said, “all good just don’t stand in water while you change the light.” That is what I went with.
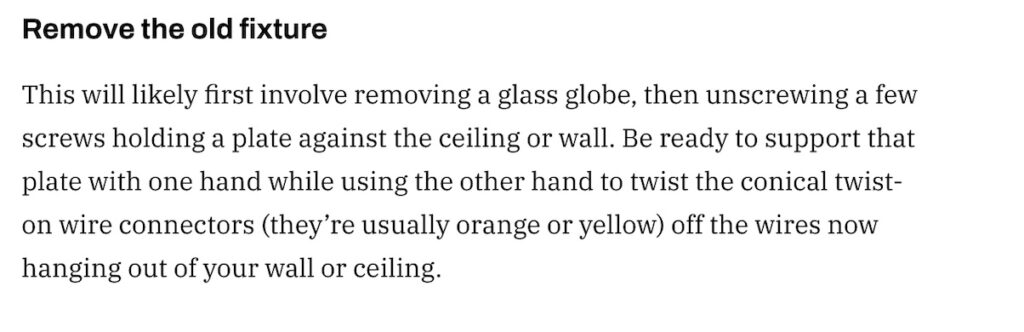 Easy. Couple screws. I removed one of the old bulbs to use in new light. Doesn’t look the best, but it will do for now.
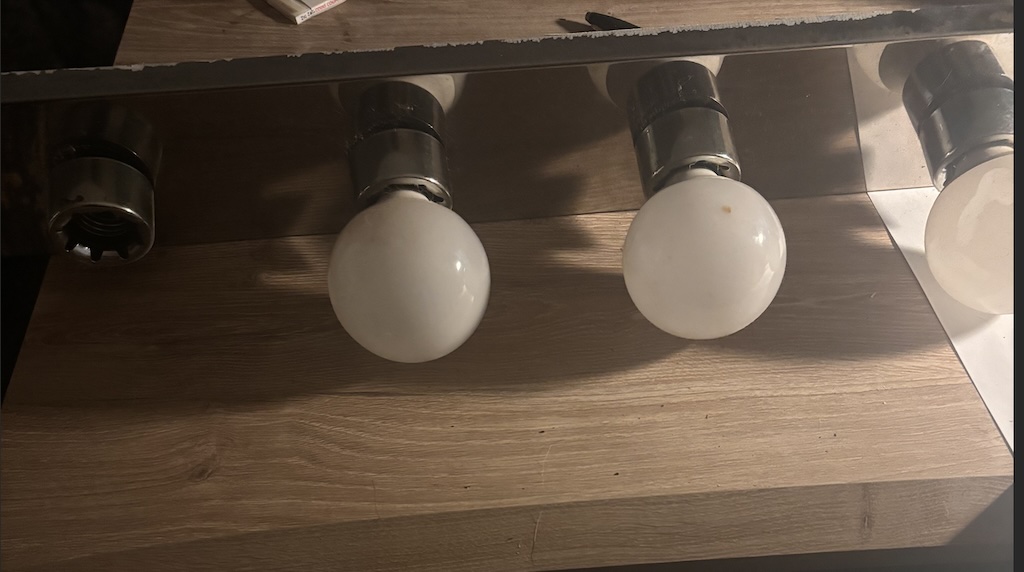
I forgot to take pictures of old wiring we have, but it looks like this:
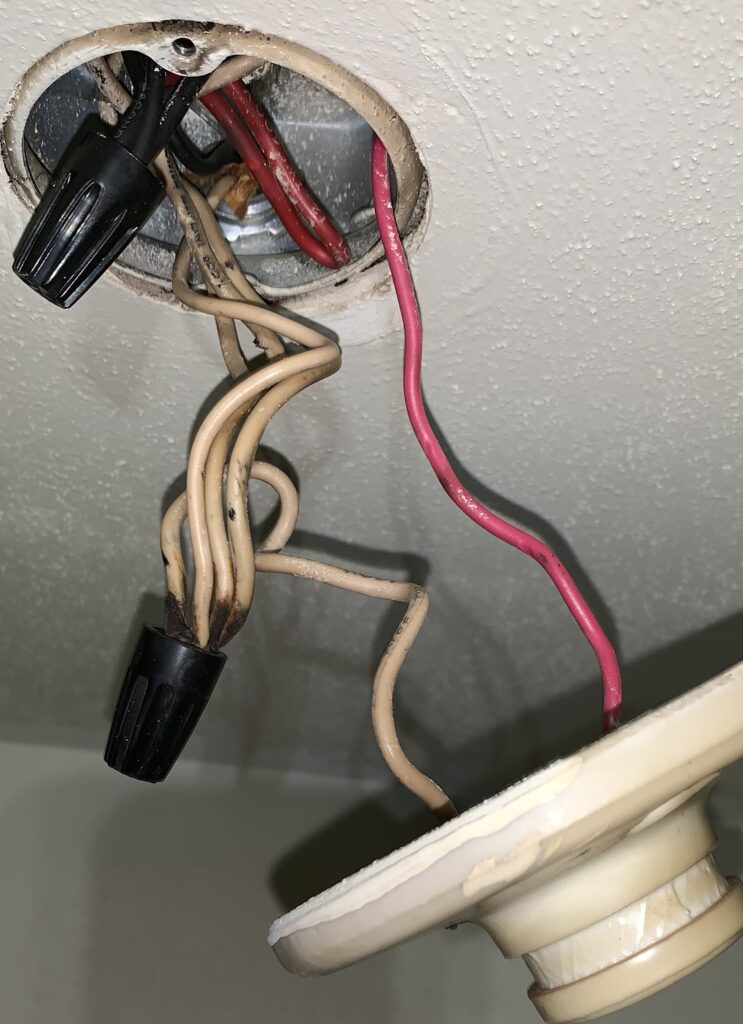 Image: Home Improvement (2019) Old house – hanging a new light fixture. https://i.sstatic.net/0W8QL.jpg
Note how the instructions from The Manual might cause some issues for the average old homeowner whose wires don’t match even remotely.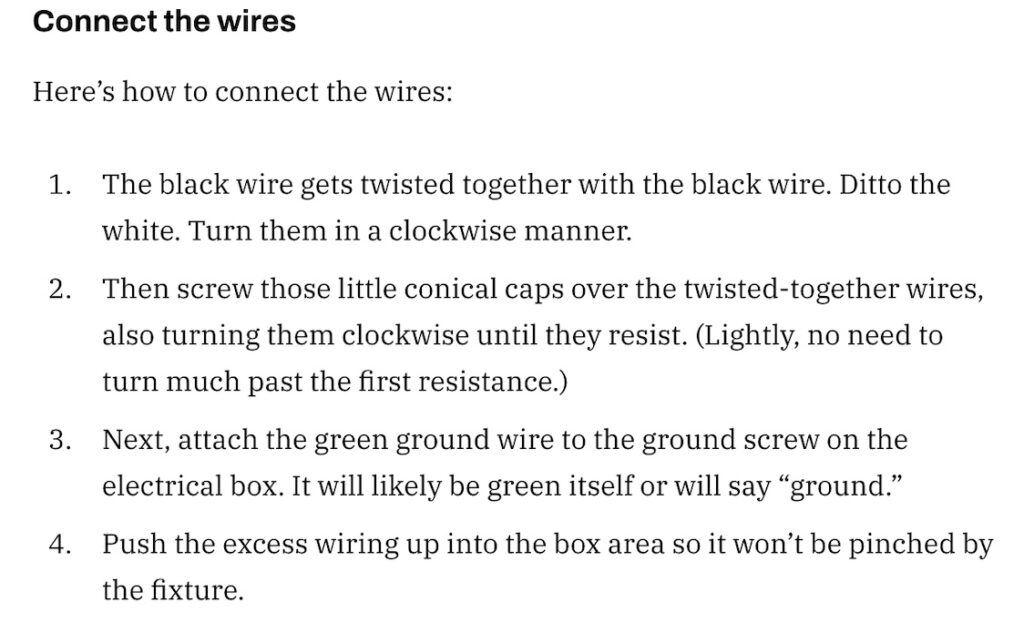 This Home Improvement forum was useful for identifying which colours went whereas the new ones didn’t match the old wires and I failed to do the above step, marking the wires.
White (new fixture) => white (ceiling)
Black (new fixture) => red (ceiling)
Bare ground (new fixture) => green/bare ground or metal box (ceiling)
Finally, connect the wiring, and then attach plate. This is the result: 
You can see the old paint around the previous light here. The before show that the portions for the old light and mirror are totally and I hope, paired with this mirror again, it will look more polished and thought out and not like I salvaged the light from a demo project….which is what I did….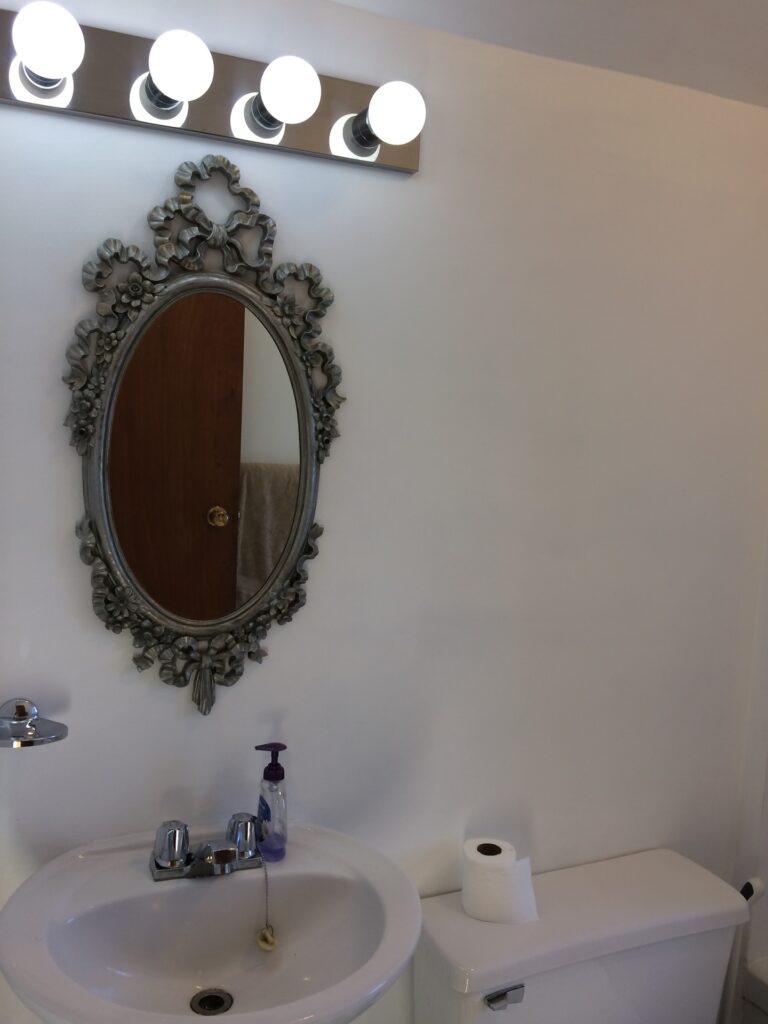
And this is the ultimate finished Pinterest (view my “Home” board if you want) inspiration for mirror/light/sink proportions:
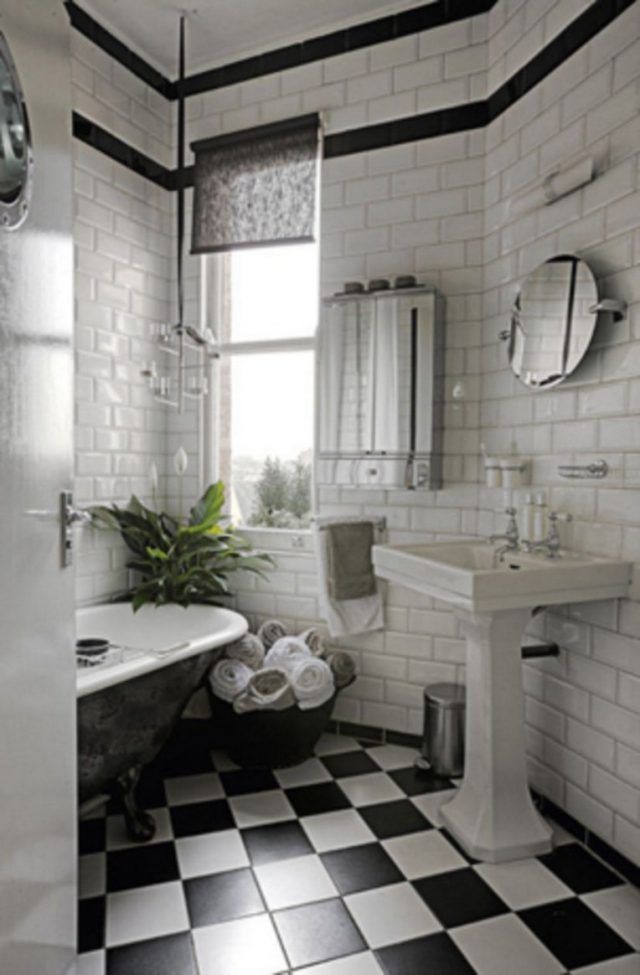
Image: Pinterest. https://pin.it/6FGFMyzdN

Image: Pinterest. Vintage Bath – 1850s East Village building, NYT. https://pin.it/ZVMurFIaM
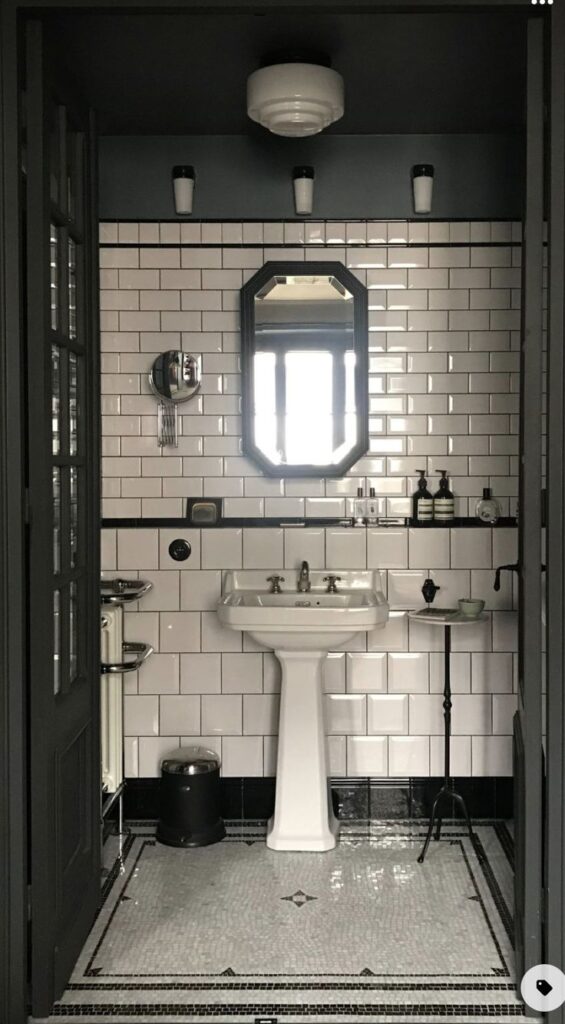
Image: Pinterest. https://pin.it/3aLDAeaJr
This was an interesting project and rather simple, but definitely required some prior research as well as supplementary research to complete safely. The learning-by-doing component of this assignment is what I love. It really would be impossible to complete without having access to ongoing and updated information. The “DIY” community online is so informative and willing to share errors and progress; it makes me feel like one of the team!