So, this is the last one, the final post of my crochet pattern-making journey. I am happy with how my learning project turned out, I pushed myself outside of my comfort zone to make adorable creations and it was absolutely worth it! I’ve learned some new techniques for crocheting, which opens a door of possibility for things to make. I had a lot of fun crocheting, it was nice to take a break from studying to crochet and even nicer that it was still for school.
Below is my outlined journey:
Week 1: Beginning of my Learning Project
- I laid out my plan for the semester as well as my goals
- Mentioned a few resources I would be using this semester
Week 2: A New Bloom
- Getting back into the basics and getting a refresher while also making something new
- learned how to make fluffy flower petals by making almost 5 stitches into 1
Week 3: A Big Yarn Sprout
- Challenged myself with a much larger Halloween project
- Made a few mistakes, I chose the pattern specifically for the bumps in the pumpkin without checking they weren’t sewed.
- Used a pdf pattern! Just went slow to make sure I was reading the abbreviations right
Week 4: Visme and the SAMR Model
- Used a new online tool: Visme, to document my process so far and set my goals for the future
- Also finished the pumpkin from last week
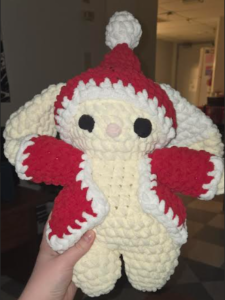
Week 5: A Little Bunny
- Decided to keep using pdf patterns, but increased the difficulty this time by making a full stuffy
- I used a new resource for patterns called Apron Basket
- Altered part of the pattern to see my beginning skills of pattern making
Week 6: Bunny Fashion
- Used the same bunny pattern and stuffy to try creating a pattern
- Made super cute little overalls for the little bunny and an awesome pattern!
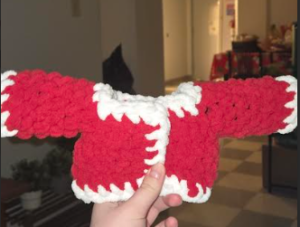
Week 7: Bunny Fashion Pt 2
- Free-styled a Christmas jacket for the same bunny
- Was busy this week so a small update post
Week 8: The Grinch’s Ugly Cousin?
- Used a new resource, Amigurumi Cat to find a pdf pattern
- Tried making a grinch stuffy, I didn’t end up finishing him because I messed up on a few stitches and made him look all wonky. We all make mistakes though so that’s okay!
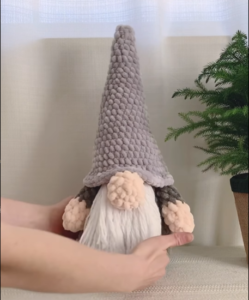
Week 9: Christmas Gnome
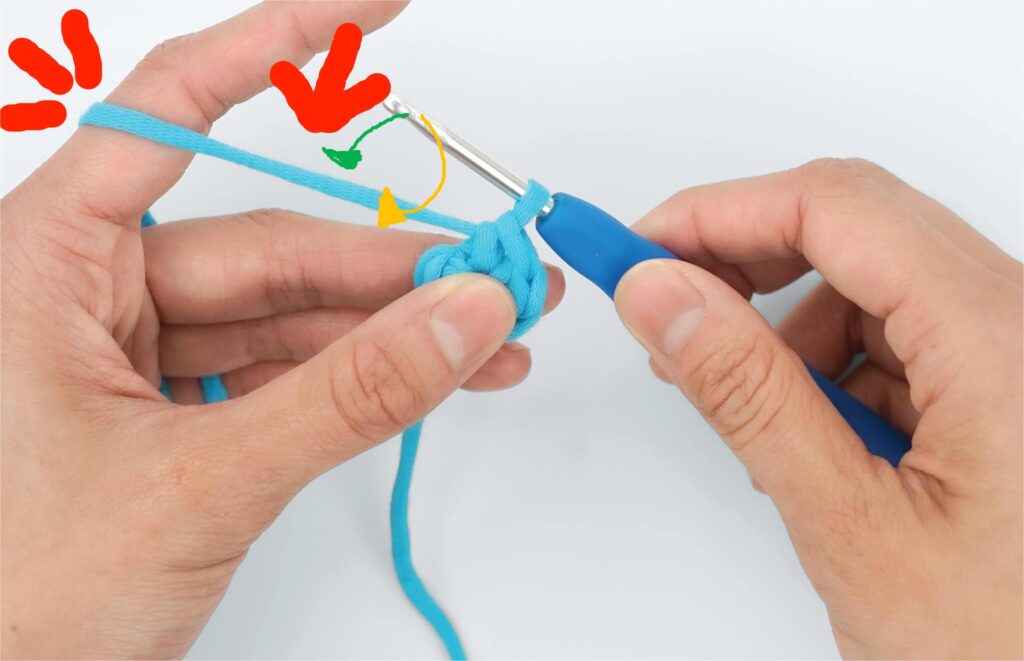
- Learnt a new way to start
- I used Instagram as a reference and made a pattern for a gnome that my mum requested
- The gnome looks good but I needed to focus on stitch size because there were holes
- Learned that I needed to fix my uneven increasing stitches on my patterns
Week 10: Christmas Gnome Part 2
- Found the perfect video to help with stitch size
- Learnt about tension and made a second gnome without looking at the pattern for the first gnome to look for improvement
- I improved dramatically, I focused on my tension and even spread out my increasing stitches to make the hat look nice and straight
That brings us to now! I am incredibly happy with how much my skills improved as well as my work. Even from week 9-10 there was a major difference once I started to focus on my tension. There was even a point where I was teaching my mum how to make a little glasses holder for my dad for Christmas, and I made her the beginning of the pattern to get her started!! So I even taught my mum how to crochet!
I hope you all enjoyed my crochet projects this semester, and thank you for all the compliments (My bunny Blizz was a huge hit!) and support through this class. I hope you all have an amazing Christmas and a Happy New Year!!!!!
Here are resources I used over the semester for my learning project
Ribblr
