Hello Hello Hello!
It’s crazy to think I’ve been tackling the art of macramé for 5 weeks now! I do have to say…
I LOVE IT 🙂
Why do I love it?
- Creative
- Calming
- Hands-on
- You can create your own style of macramé with the collection of knots and patterns
- Gift Making
- Rewarding
- Beautiful
And the list goes on…
What I Learned
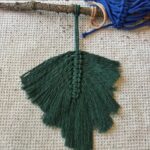
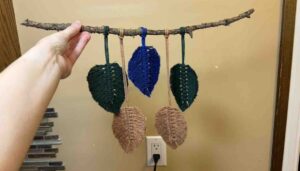
This week’s project was a success! I created a macramé leaf wall hanging. It may look easy-peasy lemon-squeaky, but it was time-consuming and required patience and a love for macramé. I chose to use the following YouTube video to tackle my project. Please take a peek if you’d like. I know if you put your mind to it you could accomplish the leaf wall hanging too 🙂
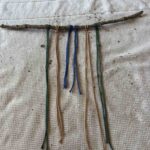
As you can see, I didn’t follow the exact pattern because I wanted to make it more of my own. I even found a twig in my yard to give it a natural touch.
The video did an excellent job explaining how to measure out my cord to begin and tie a larks head to the twig. I was then instructed to take 10 of my smaller pieces of cord and thread them through each other to form the knot making sure the first cord was underneath the longer cord. I did this step for all 5 leaves. The video continually explained many of these steps which I appreciated as a newbie!
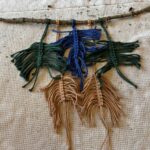
The next step!
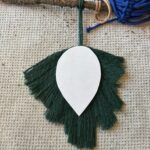
I had to brush out the cord to cut out the shape of my leaves. The video explained how it would be a great idea to twist the cord so it unravels. This was very helpful to know! If the video didn’t explain this I would have just tried brushing out the cord and that wouldn’t have worked very well at all.
Resource Reflection
Strengths
- Clear, Step-by-Step Instructions:
- Helpful Tips: explaining to twist the cord in order for it to unravel was a big help! I would have been struggling for hours brining it out slowly.
- Playback speed: I was able to pause, play and edit the speed of my video as well as move forward and backward to were I needed to potentially re-watch. Allowing me to move at my own pace.
- Audio and Visual learning: I was able to listening and look at the steps being completed all at the same time rather then just looking at an image and having no instructions.
Limitations
- NONE!! This video provided me with no limitations compared to previous resources.
With the use of the YouTube video, I was able to accomplish my very first wall hanging! I was very proud of this accomplishment and I wouldn’t have been able to do this without the resource I chose to follow this week. I loved how I was able to click play, pause, reduce the playback speed, easily move the video forward or backwards, and listen to the instructions from the author as I watched the video. This resource deserves a 10/10 I loved how easy it was to follow!
Future Plans
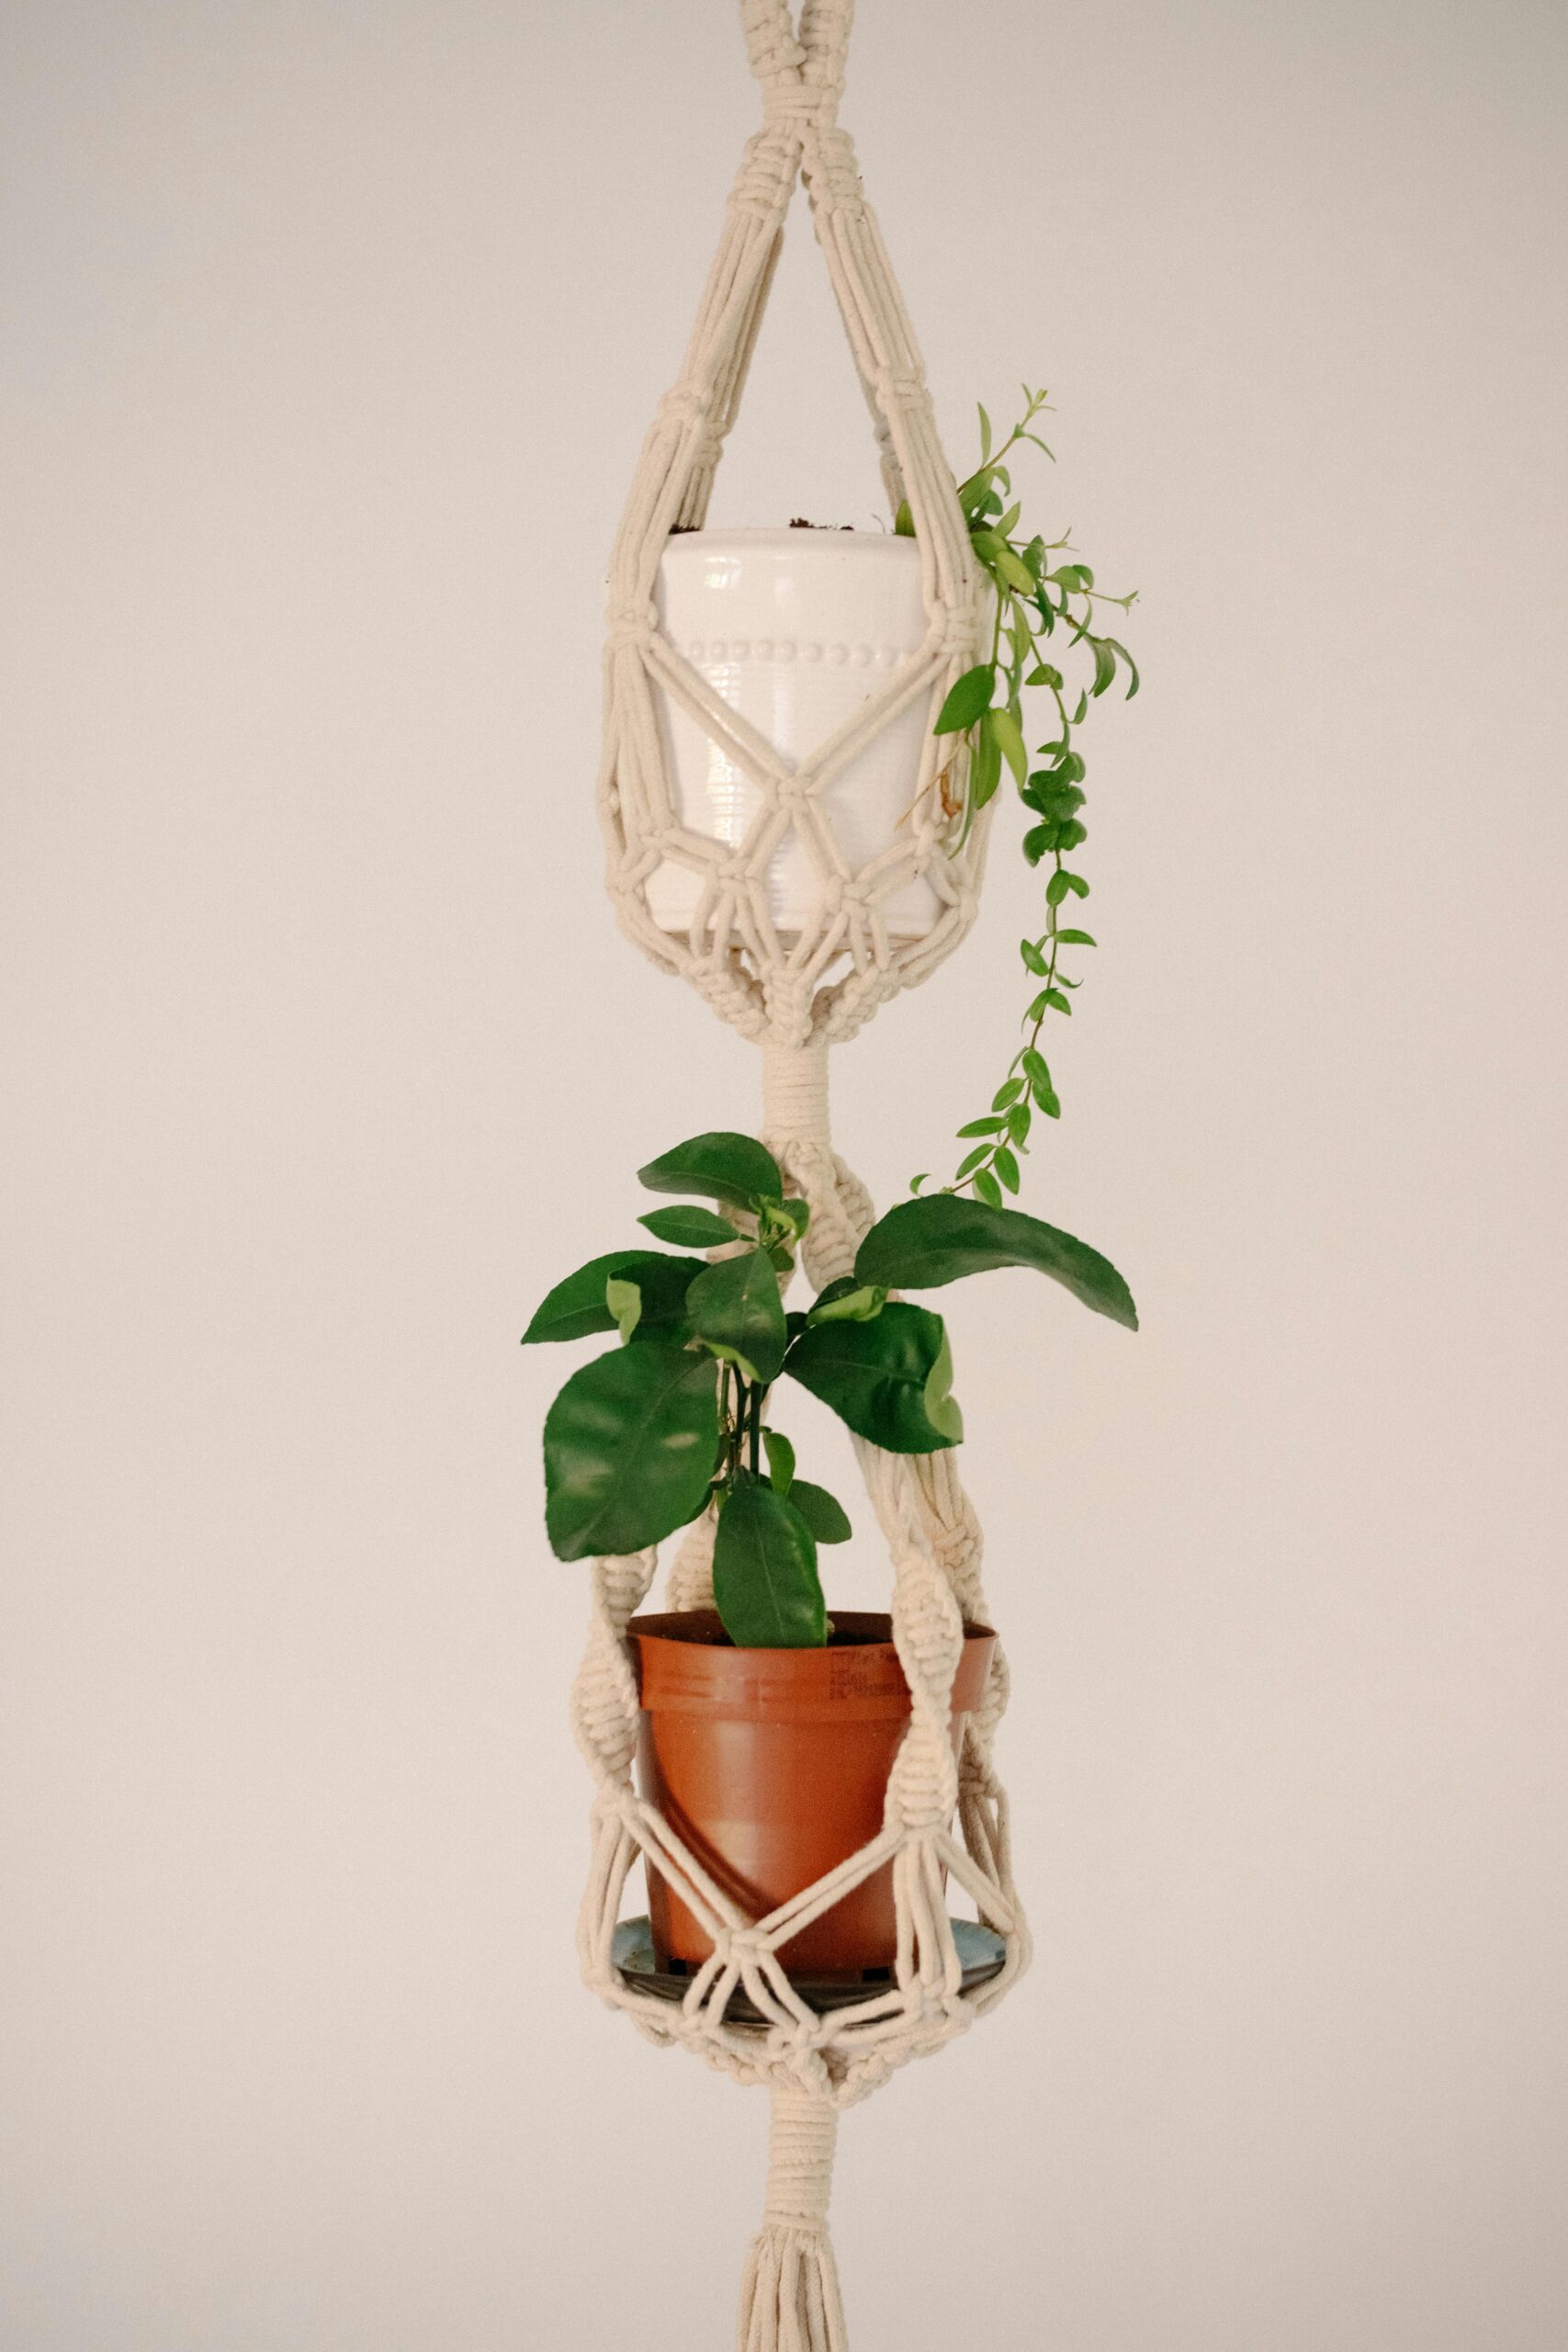
Come back next week, when I will learn how to make a plant hanger!
We have come this far, and you have been following along with my learning project. Have I peaked your interest in learning how to macramé? If so, why? Is there something in my “why do I love it” list that also resonates with you and your interest in learning?

Bye for now!
One Comment
Heidi Spetz
Hi Mackenzie!
Your macramé leaves turned out so cute; you literally make it look so easy! I love that you made them your own! I cannot wait to see your hanging plant holder!
Thanks so much for sharing!
Heidi