Just like Great-Grandmas Pierogies…Kinda
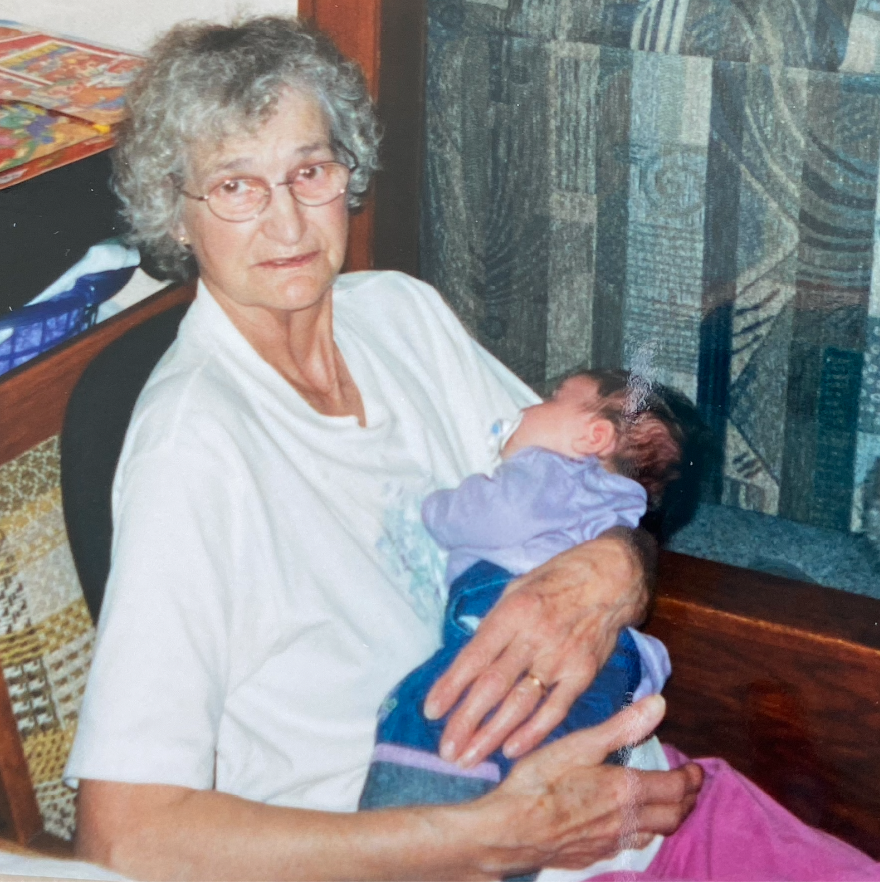
When I was younger one of the things that I can remember attempting to cook was homemade perogies with my great-grandma. We didn’t do it very often because we didn’t see her a ton, but when we did it was a big production of cooking all day. Once she was moved into the nursing home our attempts became fewer and somehow never seemed to work out, and as she passed on this pasted year our pierogi-making days came to an end. Therefore, for this week’s learning project I thought it was fitting to try to make my own gluten-free perogies, in an attempt to honour this memory.

After looking up a couple of different recipes I finally seated on this blog post recipe at Gluten-Free For All TV. I enjoyed this resource as it made it easy to follow all of the instructions and tips displayed neatly, as well as an instructional video provided to demonstrate the process. I like being able to watch videos as I can visually see the process and check the video to see if my process is looking similar to what it’s supposed to look like. For example, with the pierogi recipe, I rewatch the video a few times before starting to make sure I had everything all together, and would refer back to the video to see if my dough was of similar consistency.
Now let’s get to the pierogi process!
Dough for about 3 dozen:
- 2 cups Gluten-Free Flour Blend
- 1/4 Teaspoon Xanthan Gum (if your flour blend does not contain it)
- 1 Teaspoon Salt
- 1/2 Cup Cold Mashed Potatoes
- 3 Free Range Egg Yolks
- 1 Tablespoon Melted Lard, Cooled
- 1/2 Cup Cold Water
Filling:
- 2 Cups Mashed Potatoes (HOT)
- 1 cup (or more) Grated Strong Cheddar Cheese
- 1/4 Cup Finely Chopped Onion, cooked until soft
- Salt and Pepper to taste
To Make the Filling:
- mix all ingredients together until well blended and the cheese is melted. Taste for seasoning and adjust the amount of cheese based on your liking. Set aside and let cool.
To make pastry dough:
- In a large bowl, mix gluten-free flour, salt and mashed potatoes as you would pastry to blend in the potatoes. You can use a pastry cutter or your hands. Combine until you no longer have any obvious signs of potato lumps. Beat egg yolks and add to the mixture along with the melted lard and cold water.
- Mix with a fork and then with your hands. Add more water or gluten-free flour if needed. Your dough should be moist but not too overly sticky. If your dough is too dry, it may not perform well when building the perogies.
- Turn out dough onto the counter and knead as you would bread until smooth. Cover with your mixing bowl and let rest for at least half an hour. With a sharp knife cut in half and roll out onto a floured counter (or onto non-stick baking paper – this trick helps prevent the dough from sticking to the counter) to as thin as the pastry will hold. With a cookie cutter or glass, cut circles 2 1/2″ in diameter.
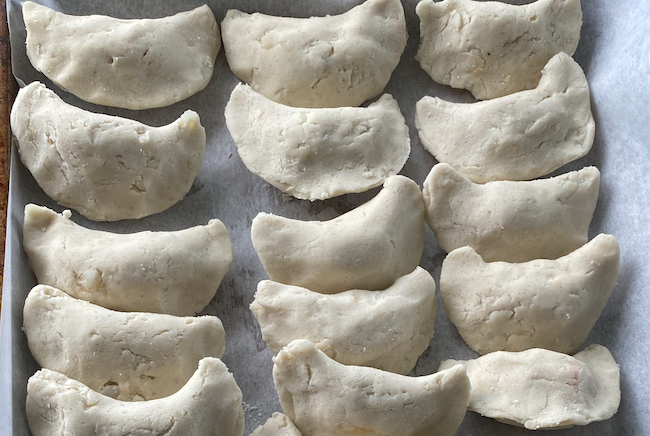
- Hold the dough between your index finger and thumb and add a teaspoon or so of your favourite filling. With the leftover egg white, moisten half the circle with the egg and fold over and pinch the two sides together to create a perfect ‘half moon’ shape. Place on a cookie rack or baking tray lined with parchment paper and continue until done.
- At this point, you can either freeze for future use (freeze on parchment/baking paper-lined tray first) and then transfer to bags, thus preventing the perogies from sticking together), or boil immediately.
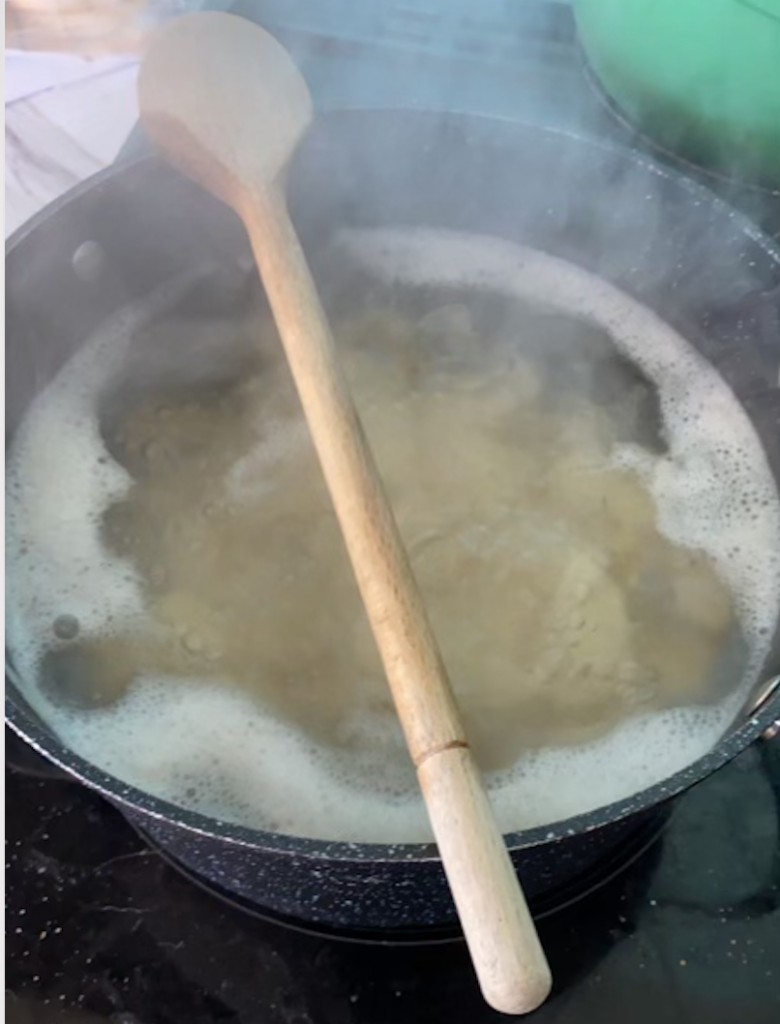
- Bring a large pot of salted water to a boil. Add 6 – 8 Perogies at a time and cook until they start to float. Let them float for 30 seconds or so. Repeat. Eat immediately or fry in butter until golden brown.
Note: Although I do have the video sped up through the IMovie app, I would like to find an app that allows me to spread the video up more do it is not so long.
This recipe was very easy to follow as everything was well detailed. While I had the potatoes boiling I had enough time to prepare the onions and cheese to be added to the filling. One thing I did differently from the recipe was use cheese wiz rather than grated cheese; this is because that is all we ever used when we made perogies with my great-grandma. Once I got the filling all made up that was when I started mixing together the dough. When mixing it together I did have to add some more water to it as it was dryer than it needed to be (which is what the recipe suggested). The dough need at least 30 minutes to rest before rolling it out so I used this time to clean up the mess I had made again. Oops! Once the dough had rested I began to roll out the dough and use a cup to cut out a circle. I then took a small amount of the filling placed it in the center of the circle and began pinching the pierogies closed. Due to the fact that I made the perogies ahead of time, I placed them on a cookie sheet and put them in the freezer until it was time to cook supper.
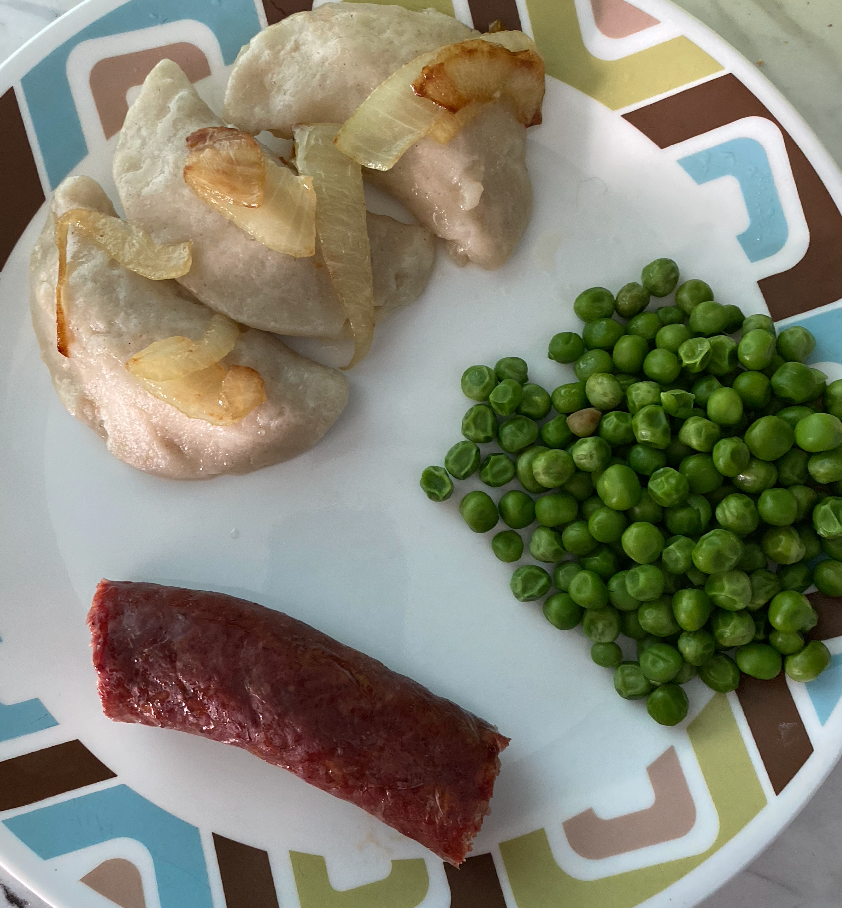
When it was supper time I took out the deer sausage we had and place it in the oven at 350 degrees for 30-40 minutes to go with the perogies. While the sausage was cooking I took the time to put on a pot of peas, and chop some more onions to fry up on top of the perogies. About halfway through the cooking time I flipped the sausage and put it on a pot of water to boil for the perogies. Once that was read I slide all the perogies into the water and waited for them to float indicating that they were ready. Once the pierogies were done I placed them in the pan with the butter and onions to prevent them from sticking together. I checked the temperature of the sausage and when it hit 145 degrees I knew it was ready. We were ready to eat and the perogies tasted really good!


Although the pierogies turned out really good there was still some room for improvement:
- The recipe says to use a ricer to get the potatoes nice and smooth, however, I do not have one and just smashed the potatoes as smoothly as I could. I would definitely like to find another way to get the potatoes nice and smooth; perhaps by using a mixer as this blog suggests.
- When rolling out my dough I found it was cracking more than I mould have liked so I would want to try adding a little more water than I did to try to get the dough a little moister.
- Being that the dough was a little on the drier side I wasn’t able to get the dough as thin as I would have liked it to, so the pierogies were a little too thick.
This recipe turned out fairly good for the first attempt at pierogies in a long time, and although they will never be able to compare to the ones my grandma used to make I would definitely attempt this recipe again.
Taydn,
These turned out really well! I like that you put your own spin on the recipe by adding cheese wiz as an alternative to grated cheese. I appreciate your video that you embedded within the post. One thing I noticed is that the YouTube video turned to a blank black screen at 6min 5sec mark. I am not sure if this is something that is happening on my end? Or if its the video itself. The visuals throughout your post look amazing. Thank you for sharing this recipe!
Danica
Hey Danica,
thank you for informing me of this! I know the video was working earlier, but now that you pointed it out I am noticing I am having the same issue; I will have to look into that.