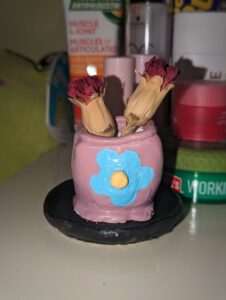
Before I started writing this final post, I sent a picture of my finished incense burner to my friend that I have been keeping updated through my learning project. We talked about how we both have tried so many different hobbies but never really stuck with them. Both of us have hobby graveyards in our closets. Mine is filled with knitting/crocheting stuff, painting supplies, those gem painting kits, and so many other things that I was once excited to use that have now lost their original flare. I don’t know if it is because I had to stick with it for this project, or just because I really enjoyed myself throughout the process,(probably a bit of both) but I think I’m going to stick with air dry clay!
Through this learning project I have learned many skills related to clay art, but many new skills related to technology as well. I can now say I am confident in finding online learning resources that are actually useful, and I now feel very comfortable editing videos, pictures, etc. (which will definitely come in handy in the future!) I loved keeping up with everyone else’s learning projects, it was great motivation to keep going on mine and everyone had so many great resources to share!
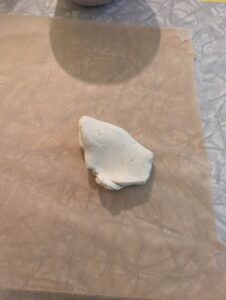
I have looked through my learning project posts and I feel that I can see the growth that I have made learning this skill. Before starting this project I had never worked with sort of clay (other than playdough) before, and I feel confident that the next project I make I won’t need a tutorial to complete it!
Here are some of my personal favourite highlights from my learning project:
Starting My “Pottery” Experience
Checklist of Skills/Techniques:
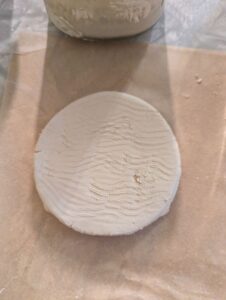
- basic shaping techniques
- proper kneading and handling
- joining pieces together
- smoothing
- adding details and texture
- proper drying/sealing
These are the skills that I set out to learn in my first post. I have covered all of them and feel quite confident in my abilities. I even added colouring the clay to my list! (I still need to perfect this)
I Made an Earring Tray! Second Learning Project Post
This was my first actual project, I chose this slide to highlight just to share a visual starting point to see how my skills have progressed. Looking back, I don’t think I started too shabby but I can definitely see my improvement!
Having an Egg-cellent Time With my Learning Project (3rd Post)
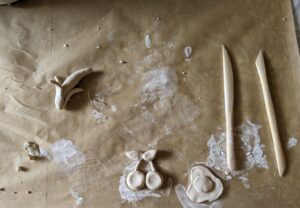
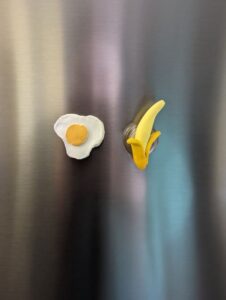
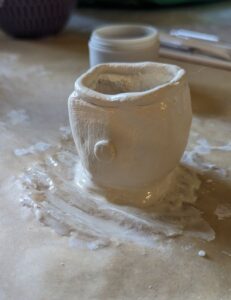
When I finished, I left the magnets to dry on my kitchen table for the night. The next morning when I checked on them, my cherries fell apart when I picked them up, so I think I need to continuing working on my combining pieces skills.
Since I had this issue with my cherries falling apart, I have practiced connecting smaller pieces together with my fish tank decoration, as well as my mini vase project. These pieces are still holding together, so I call that improvement!
Getting the Hang of This! (4th Post)
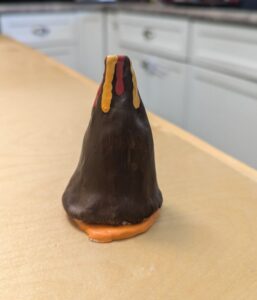
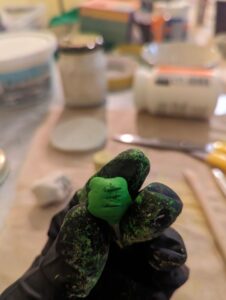
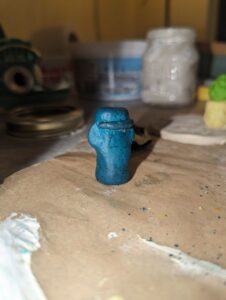
Because of how the food colouring was reacting with the clay I decided to just paint Patrick’s rock. I couldn’t leave Squidward’s house looking that crazy, so I decided to remake it without the food colouring.. and it looks a lot better!
This is my final dried product, I’m a lot happier with this version than the previous. Once it is fully dried I am going to paint and seal it, I’m quite excited to see it finished!
This was by far my favourite thing to create. I was proud of myself because I was able to correct my mistakes instead of just leaving it as is like I normally would with tasks like this. Also, I was able to recreate Squidward’s house rather quickly which surprised me. It ended up being more of a recreation rather than a replica, but I am still very happy with it!
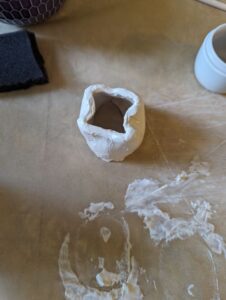
Possibly the Smallest Vase Ever? (5th Project)
I don’t have anything I want to specifically highlight from this post, but after completing my final clay project I do want to go back to this air dry clay tutorial to try and make a full size vase. I found a bottle in my garage that will work perfect for the project and I’m very excited to try it out again!
More Clay Updates! (6th post)
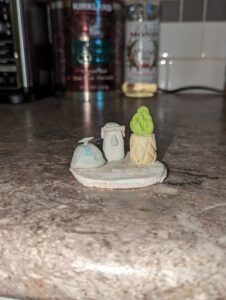
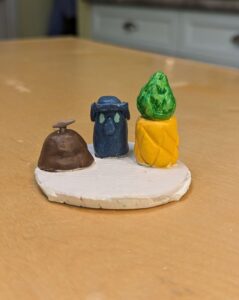
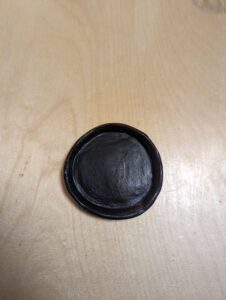
Here is my incense burner completed! I don’t really know what lead me to make a volcano, but it was the first idea that popped into my head after I read Chat GPT’s response to my prompt. If I was to use AI for a tutorial again, I think I would find a reference picture to either use as a prompt or describe in the prompt chat.
Overall, I feel accomplished in my achievements with this learning project. I probably wouldn’t have ever actually gotten around to trying air dry clay if it wouldn’t have been for this assignment, so I am quite thankful for the opportunity. Now that I have made some small accomplishments with clay I can’t wait to improve my skills. In the future I would love to try an actual pottery class now that I know how much I enjoy working with clay.
Thanks for reading and wishing you all a great summer!

 To conclude

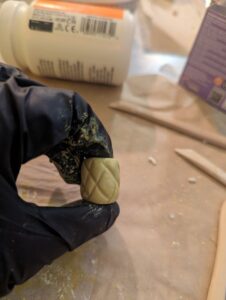
 I then started working on Squidward’s house.. I was proud of the colour I was able to get by mixing blue, red, and a tiny bit of green food colouring, but that was about it.
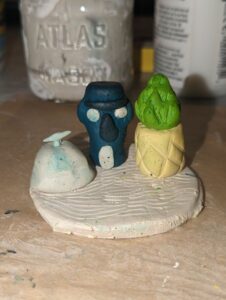

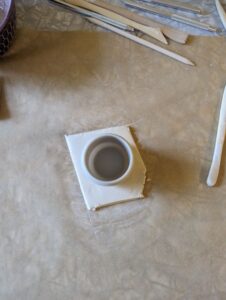
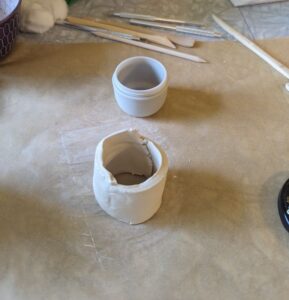
 Before I dive into my magnet creating adventure, I wanted to show my first 100% completed project. To finish my tray I first used acrylic paint, but I couldn’t get the paint to spread nicely on my dried clay. After doing some googling to troubleshoot, I realized that it is important to smooth out clay creations with a wet sponge afterwards to ensure a really smooth surface. As I could not go back and fix this, I used spray paint that I found in my garage. I then used
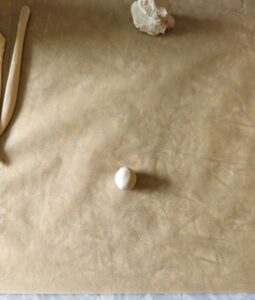
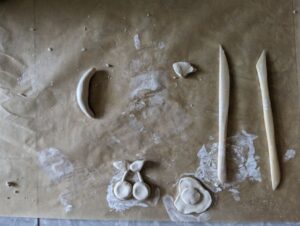
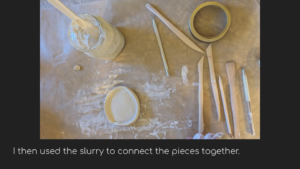
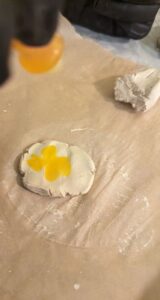
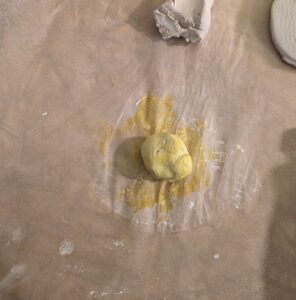
 A lot of the tutorials focused on food magnets so that is what I went with! I made some cherries, a banana, and an egg. I first made the cherries which was actually quite simple. First, I created small balls of clay and then pressed them down with my thumb, sort of like you would with cookies. I then used the trusty snake technique again to make the cherry stems. To create the leaves, I just took little pieces of clay and shaped them to somewhat resemble leaves.