Wrapping Up the Learning Project: Building a Backyard Rink
Well, here we are! We’ve all made it to the end of our learning projects. Mine has been a rewarding and educational journey, filled with both successes and challenges, especially with the unusually warm weather we had leading up to the end of November. Here’s a breakdown of how my backyard rink project unfolded over the months, along with some key lessons I learned along the way.
If I Fix My Gate, Does That Make Me the Secretary of Defence?
This was my first playful thought as I ventured into the world of backyard rink construction. With winter sports being such a big part of Canadian culture, the idea of building a rink felt both ambitious and quintessentially Canadian. But like any good defense plan, success starts with preparation.
Poor Planning Leads to Poor Execution
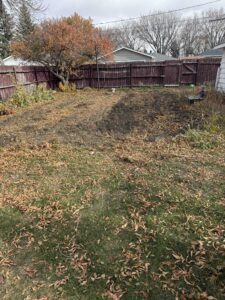
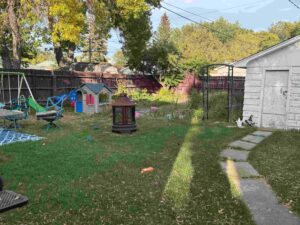
When it comes to building a backyard rink, planning is everything. I quickly realized that without a solid plan, things can go off the rails fast. From choosing the right location to understanding the drainage and leveling of your yard, even the smallest oversight can lead to a rink that’s more puddle than paradise.
Lesson learned: Take the time to measure, map out your area, and prepare your materials. It’s a lot easier to fix problems on paper than on ice!
Ringette: Radically Canadian & Intro to OBS
While waiting for the weather to cooperate, I decided to dive into the history of ringette, a sport that’s uniquely Canadian. I also explored the basics of OBS (Open Broadcaster Software) to capture and share my learning journey. Ringette’s focus on teamwork and skill inspired me to think about how my rink could serve as a place to bring people together. OBS, on the other hand, was a helpful tool for documenting the process and learning something new along the way.
Waiting on Weather: Let’s Talk Equipment
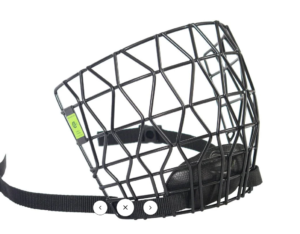
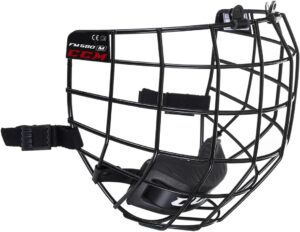
By this point, it was clear that the warm weather wasn’t going to give me a break. While waiting for colder temperatures, I shifted focus to the specialized equipment used in ringette, including the unique stick design . This detour gave me a greater appreciation for the sport and its players while I continued to bide my time for ice-making weather.
Old-Fashioned Backyard Rink: The Walter Gretzky Method
When the weather finally started to cool down, I embraced the tried-and-true Walter Gretzky Method for rink building. This approach is as simple as it gets: use a sprinkler to lay down thin layers of water until a rink takes shape. It felt old-fashioned, but it worked! The simplicity of this method reminded me that sometimes, you don’t need fancy gadgets—just patience and persistence.
Making My Own Zamboni Out of PVC Pipe and a Garden Hose
With the rink finally forming, I faced a new challenge: maintaining a smooth surface. Enter my homemade Zamboni! Using PVC pipe and a garden hose, I crafted a DIY resurfacer to give the rink a fresh skating surface. It was a fun and creative project that made me feel like a true ice maintenance pro. Plus, it was a great example of how resourcefulness can turn a good idea into reality.
The Weather Must Be Changing—My Knee Hurts
Finally, the weather took a turn. Cold temperatures settled in, and my aching knee confirmed it was time to flood the rink properly. This stage felt like the culmination of weeks of waiting and planning. There’s nothing quite like seeing your vision start to take shape after so much anticipation.
Okay, I Have the Weather, But When Do I Find the Time?
As the semester neared its end, time management became my biggest challenge. Between assignments, exams, and rink flooding, finding the time to keep everything on track was tough. This phase of the project taught me a lot about prioritizing tasks and making the most of the limited hours in a day.
Ever Wonder Why We Use Hot Water to Flood a Rink Instead of Cold?
For my final learning post, I explored the science behind using hot water for rink flooding. While it might seem counterintuitive, hot water creates a smoother, clearer, and more durable ice surface by melting imperfections and reducing air bubbles. This step was the finishing touch to my backyard rink and a fitting way to wrap up the project.
Reflecting on the Journey
This project was about more than just building a rink—it was about learning, adapting, and finding joy in the process. From understanding the history of ringette to overcoming unexpected challenges, each phase taught me something new. While I didn’t achieve perfection, the experience was immensely rewarding, and I’m proud of what I accomplished.
Whether it’s skating with family or simply admiring the frozen expanse in my backyard, this rink is a testament to the value of patience, creativity, and determination.
Thanks for following along on my journey. Here’s to embracing challenges and learning something new every day!


