Rolling my Way into a New Technique
A Change for the Good(?)
One thing about me is that I absolutely HATE change. Once I find something I like, I will stick with it forever, so this week making a change was a bit tricky. The past few weeks in the learning project, I have been practicing and working on new techniques, but all with buttercream icing for the decorating. This week I am changing it up and learning how to dress up my cakes with fondant! Fondant is the stuff that is usually used in baking shows like Cake Boss to decorate the really cool sculptures and fancy cakes. Unfortunately, I know my skill level and it definitely isn’t currently capable of making cakes like that, so I figured I would just start off with an attempt at a simple white fondant cake.

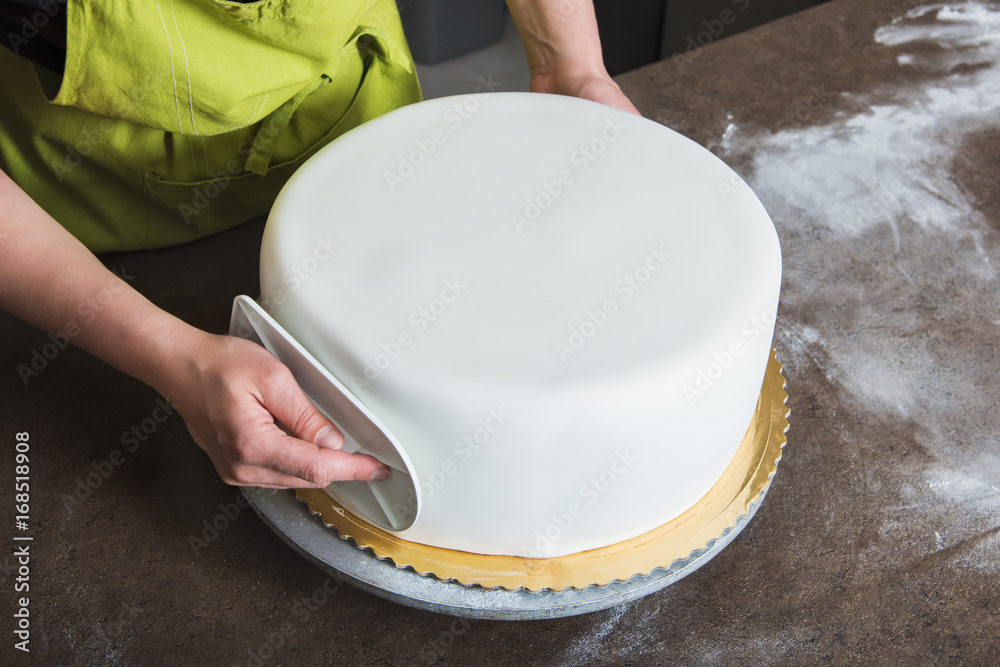
My inspiration for my cake this week!
Learning to Change
In last week’s blog I set a goal to learn from a new source, so I did! This week I scoured the world of Instagram hoping to come across some type of post describing how to put fondant on a cake. In all honesty, it took me a while to come across any type of tutorial for this. I found it hard to accurately search for what I wanted. Most of the time pictures of cake decorated with fondant would show up, but none had the process on how to get there! After searching for what seemed like hours (in reality it was only like 30 minutes), I finally found a video. This video by Shonda Cain (@cakemixllc) was actually super helpful! I really enjoyed that as she was going through the process of “sticking” the fondant to the cake, she explained each step. I really enjoy learning from videos because I get the visual of what I am supposed to be doing PLUS audio explaining what is going on. One thing that I wish would have been included in the video was the preparation steps before putting the fondant on the cake. I ended up just going off of what I have seen on baking shows before and put down some icing sugar, kneaded the fondant, then rolled it out!
What I Learned:
- I needed a fondant smoother (which I did not have!)
- I just needed to drape the fondant over the cake.
- To start the smoothing process on the top of the cake.
- It’s okay to get creases because they should come out!
- The fondant should be about ⅛ of an inch or a bit thicker.
Starting the Change!
The Cake
This week I decided to get a bit creative with what type of cake I was going to make, and I landed on making a chocolate chip cake! I used this cake recipe and I even tried out making some of the icing (to stick both cake layers together!). I love doing some internet searches to find new cakes to try baking – there are definitely some pretty creative ones out there. I baked up my cake, and put it into the fridge to cool down as quickly as possible!
The Fondant
I was feeling extra ambitious at the beginning of the week and thought I would attempt making fondant. I actually even found a recipe to try out! This ambition didn’t last long, and I decided that instead of probably increasing my chances of failure on my decorating this week, I would just buy some pre-made fondant that I know works. I consulted with my mom and asked her where she would buy fondant from, and she said that BulkBarn was always a great option! I always listen to my mom, so I went to BulkBarn and I bought some white fondant. I figured white was a great option because if I wanted to dye it a different colour, I could easily do that.
The Decorating
My cake was cold and I had a 4-pound tub of fondant, I felt like I was all ready to start decorating my cake! I had a slight bit of panic because I don’t have a fondant smoother, so I opened up trusty ol’ google and looked up “fondant smoother substitute”. Luck must have been on my side because the first result that showed up was a video on how to use extra fondant as a smoother! Although the video quality wasn’t the greatest, it was the PERFECT solution to my problem. She explained how to use the fondant for the top versus the sides of the cake absolutely perfectly. This gave me some confidence going into the decorating process.
If you’re like me and want to see a visual of the process, watch the video below! Here is an outline of what I experienced and learned:
- Fondant is super sticky, even when you think you have enough icing sugar on the kneading/rolling out surface, you probably don’t! I had to re-roll because it was sticking to the surface instead of lifting up.
- Figuring out how much fondant you will actually need is pretty tricky, I rolled out almost 2x as much as I needed. However, I think that this made the “sticking” to the cake process a bit easier.
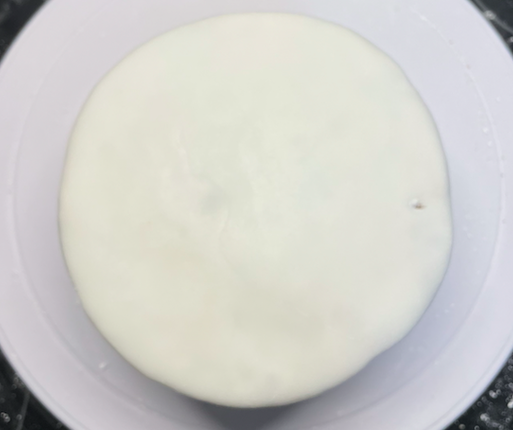
- I didn’t smooth out the top of the cake enough because I got an air bubble trapped on one side of the cake. Note to self moving forward: spend more time on the top of the cake.
- I must have had some inconsistencies in fondant thickness because I had a tear right on the top of my cake and one closer to the bottom.
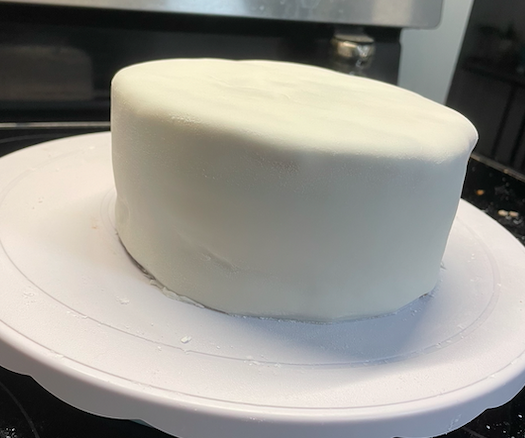
- Fondant REALLY shows off if your cake isn’t even or “bumpy”. If you look at the picture, you can see how it exemplifies the misshapenness of the cake.
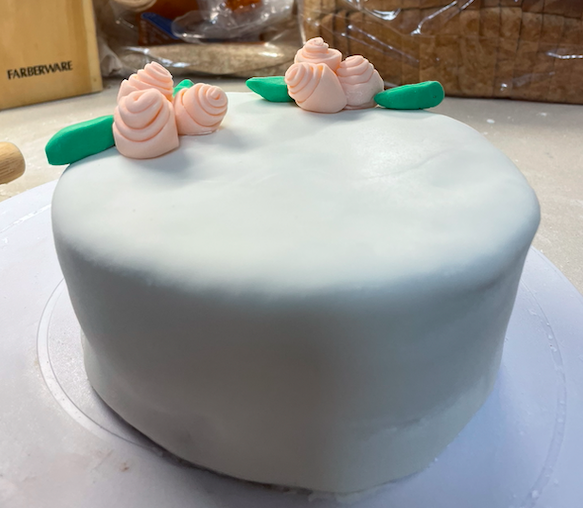
- Pinterest has some really easy and cute picture tutorials for making flowers! There are also some more complex ones, but I didn’t have the tools to do those ones.
So… Did I Like the Change?
I actually really enjoyed decorating my cake with fondant! It definitely isn’t perfect, and I need quite a bit more practice in order to get the fondant amount, thickness, and application right. I think when done with some more practice, it will look like it belongs on Cake Boss!
#Tech Resources I Used:
What did I Learn?:
- Fondant shows off the imperfections in cake size; it needs to be almost perfect!
- You can use fondant to smooth out fondant.
- I need to put more focus on smoothing the top of my cake first.
- Instagram may not be the best place to learn.
Now… What are Next Weeks Plans?:
- Learn how to level and torte my cake.
- Try out a mixture of fondant and buttercream decorating
- Show my progress in a new way (not just a Youtube video!)


Johanna, I really enjoy how you format and layout of your blog posts! The organization, use of bold, italics, lists, and links makes it really easy to consume! I also was a fan of baking shows like cake boss growing up, so it was very interesting to learn of the complexities of using fondant. Your cake turned out awesome! Keep up the great work!
Hi Johanna! This cake looks AMAZING. I definitely need something sweet now! I love how you organized your post. The fact that you shared tips from your learning experience is super helpful. I love how much you reflected on your process!