Getting on the Right Track and My Review of Fotor
Understanding tracking focus and continuous shooting
While I was snapping some photos of a turtle last week, I discovered that I can turn on tracking focus while in P mode (Program auto mode). As I previously discussed, tracking focus allows me to shoot objects that are moving while auto-adjusting the shutter speed and aperture. I had talked about possibly taking some photos of larger animals with this mode, but I began to wonder if that would show just how handy tracking focus can be. So I came up with a better idea. I asked a friend if they wouldn’t mind me taking some pictures of them while they hit some jumps on their bike. They agreed and so we set out to capture some gold. I should add that this is the same friend I have previously referenced who has helped me with my camera in the past.
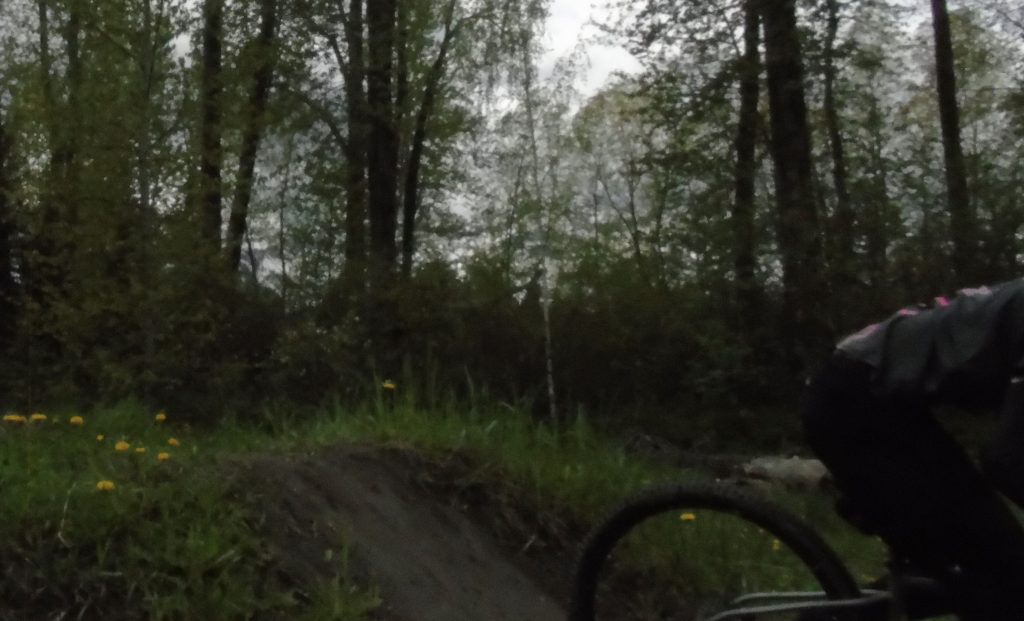
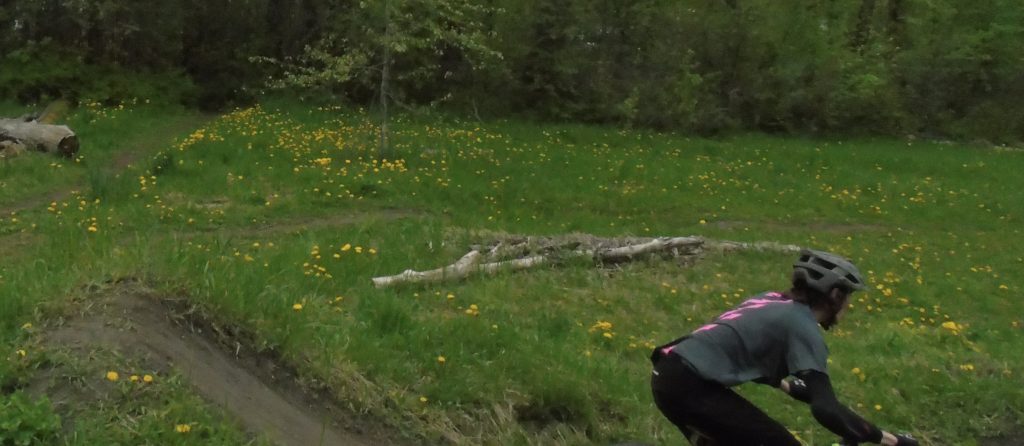
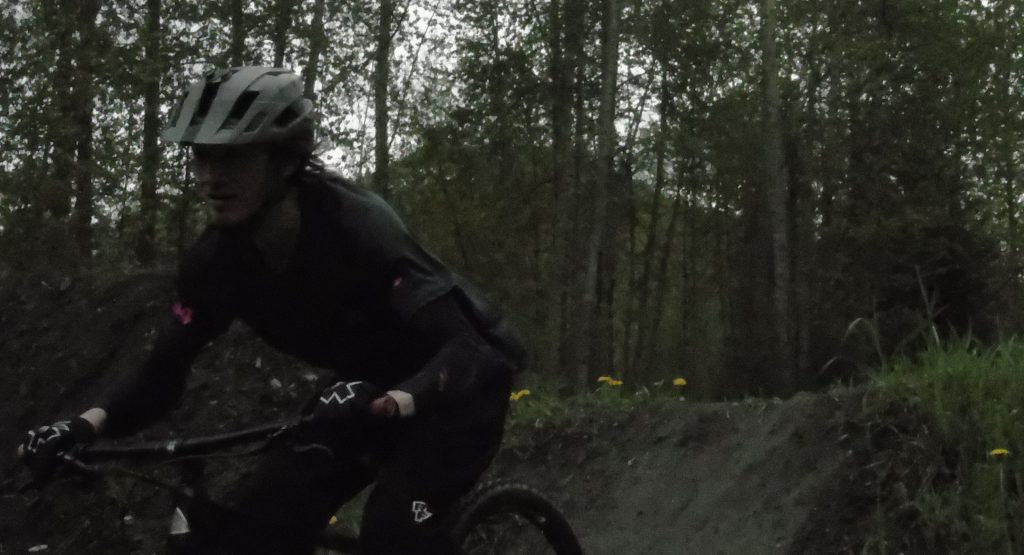
Unfortunately, things weren’t looking up for a while…
As more and more photos turned out like the ones above, I grew increasingly frustrated and anxious; especially when the battery symbol began to flash on my camera. My friend suggested to me to check and see if I have continuous shooting on my camera which would allow me to shoot in bursts, rather than having to time a single photo perfectly each time. The continuous shooting effect is what most people hear when watching awards-show red carpets. The constant shutter flickering resembles the sound of cards being shuffled, but you won’t hear that coming from my camera. After solving the issue with my black and white photos last week, I thought that yet again the answer to turning on continuous shooting would be in the menu, and it was. One of the options I can adjust can be changed from “Single Shooting” to “Continuous Shooting.” The only downside is that my camera is slightly older and so the shutter speed for continuous shooting is slower than most cameras. After a couple of failed attempts, I finally began to understand how to use this new mode. I simply hold down the shutter button just as he is approaching the lip of the jump and let go after he lands.
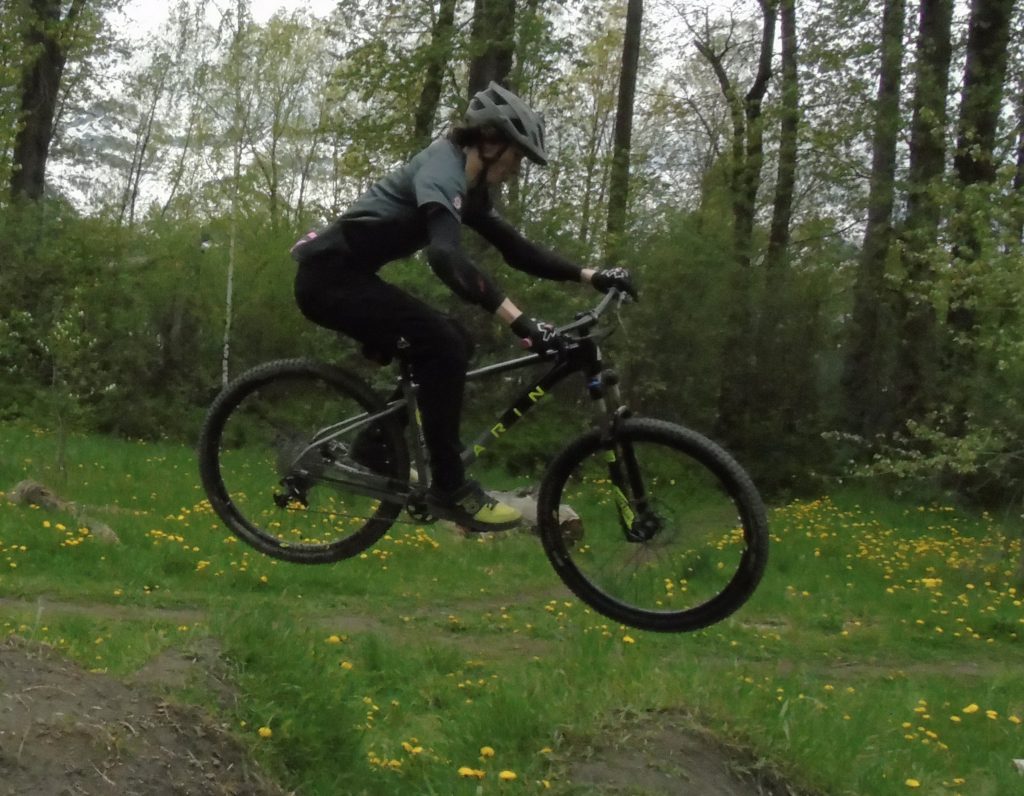
Once I captured the photo above, I grew a lot more confident in what I was doing and tried out some different angles. I again want to apologize for the quality of some of these photos as I have to heavily edit these photos down for Edusites to allow them.
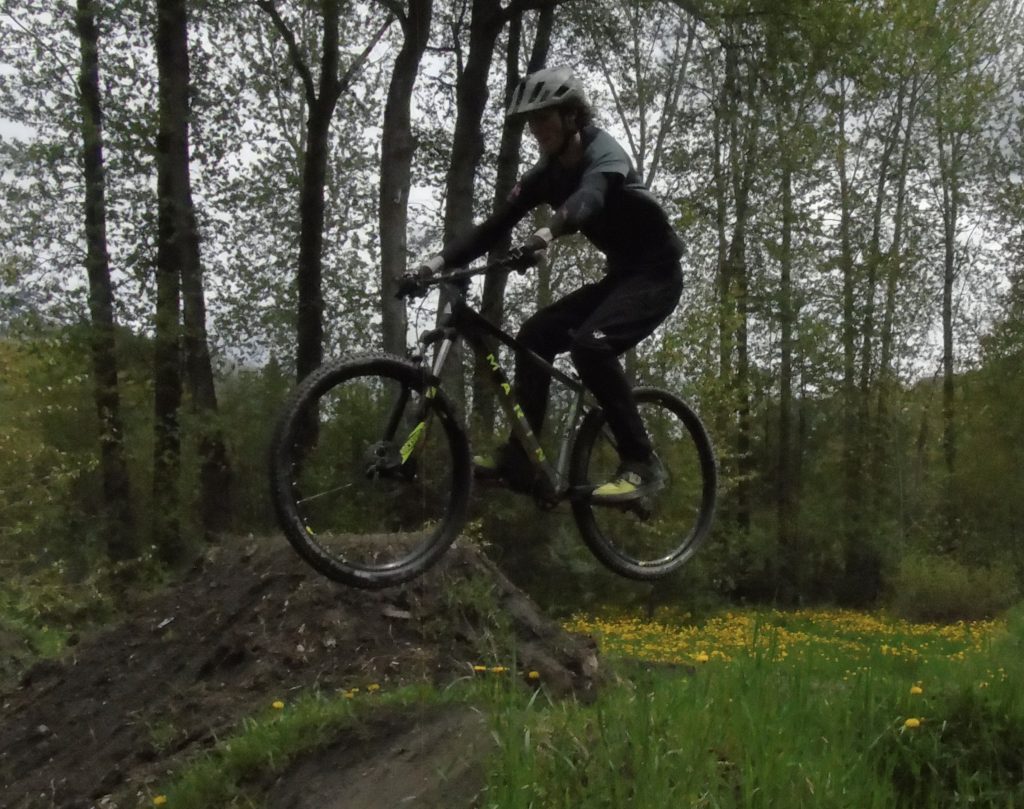
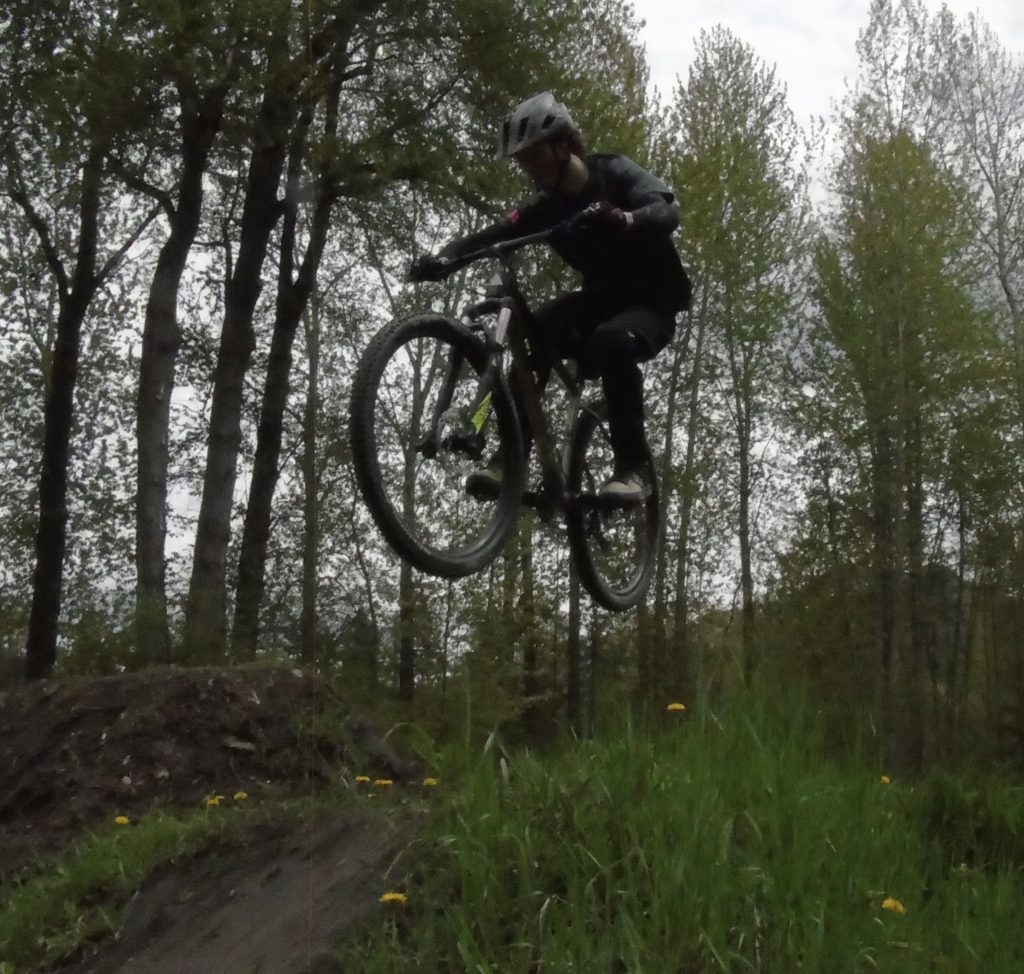
Now at first glance, these photos look pretty decent. But if you really look at them, they are pretty blurry considering I used tracking focus. I noticed this even while I was taking the photos and thought I should give the manual mode a try if the tracking focus wasn’t working right anyway. With manual mode, I could control the settings exactly how I wanted, but wouldn’t be able to use the tracking focus. You can see the differences below (SS: shutter speed, A: aperture).
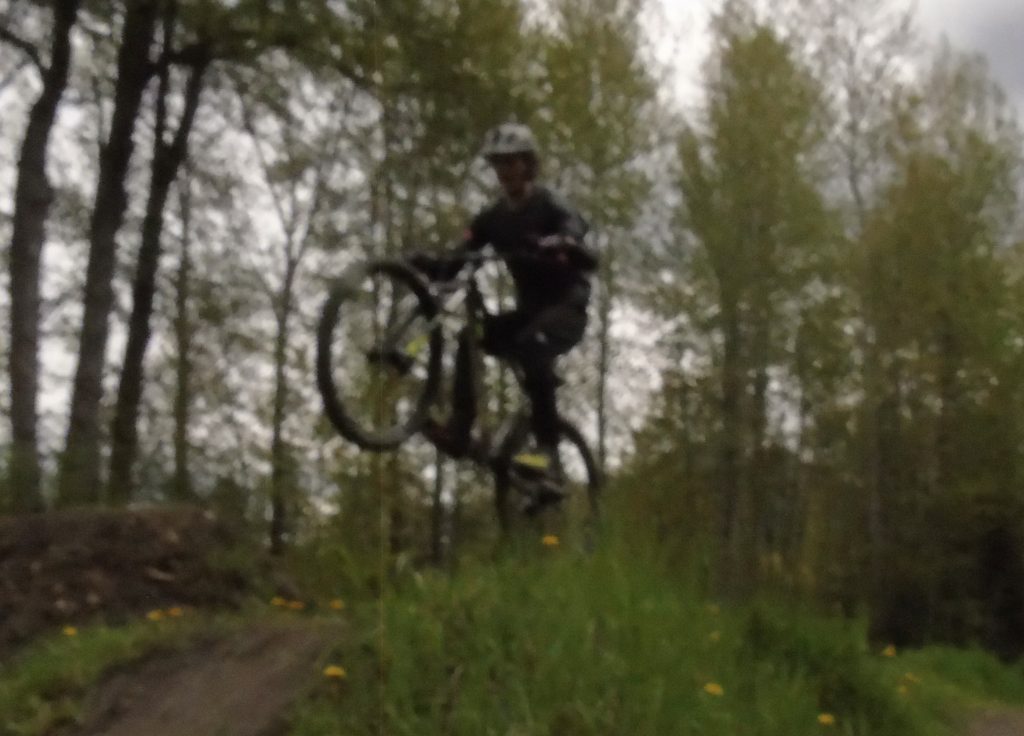
Manual mode – SS: 2000, A: F6.8 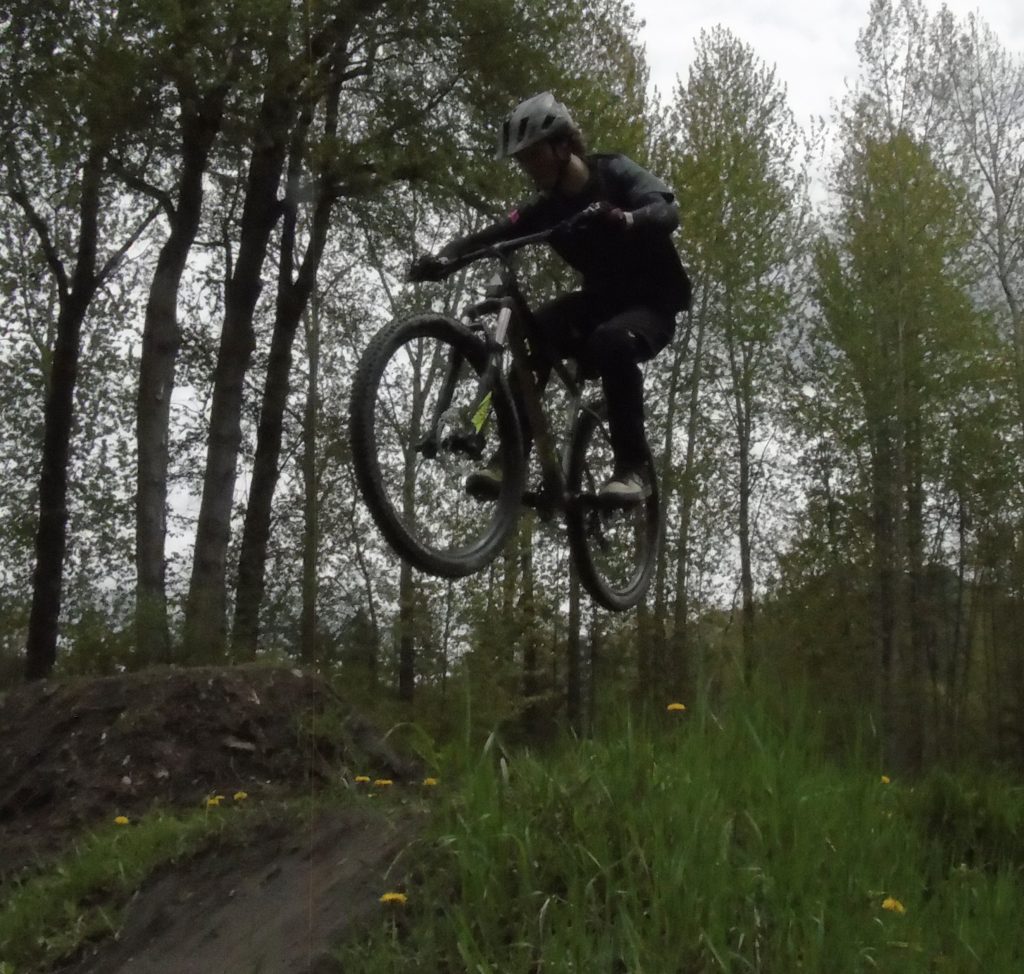
Program auto mode – SS: 1500, A: F6.1
As you can see, I was wrong. The tracking focus is doing its job and clearly helps a lot for these types of photos. Now that I understand the effectiveness of tracking focus and continuous shooting, I will be able to more effectively use my camera when the situation calls for it. Next week I hope to revisit more nature shots and hopefully find some large animals this time.
Editing my Photos/Review of Fotor
For this week’s blog post, I was tasked with finding an app or tool that would help document my progress in my learning project. Instantly I knew I wanted to try some sort of photo editor to touch up my photos in the areas my camera lacks. During a brief high school stint in Banff, Alberta, I fell in love with photoshop. I wasn’t great at it, but I had lots of fun and it was a very relaxing hobby. I could have used the photo editing software built into my laptop but wanted something that was accessible to everything reading this. I found a blog from Skylum that listed the best photo editing software that could be found on a Mac, which can be found here. The blog was great because it listed exactly what the author specifically likes and dislikes about the software and how each software compares to the other. However, I was only looking for software that could also be used on PC devices.
The one that caught my eye was Fotor because the blog explained that it was one of the easiest photo-editing software to use. I can attest to that as it took me no time at all to learn how to use the software. When you first open the website, you are presented with options for uploading your photos to be edited.

I wanted to edit a photo I had already taken, so I selected “Edit a photo.” Once I uploaded my photo by simply dragging my picture into the dropbox, I could instantly begin editing.
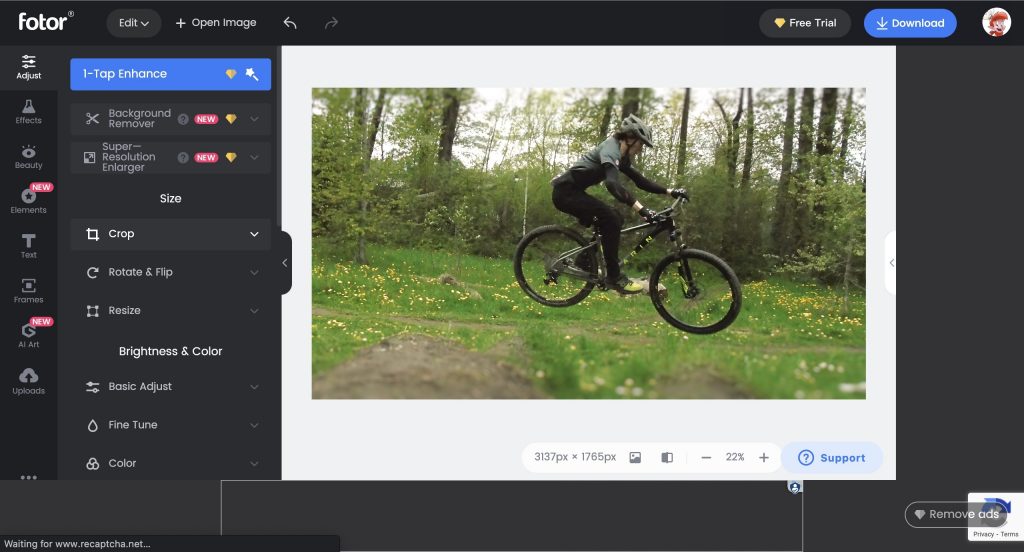
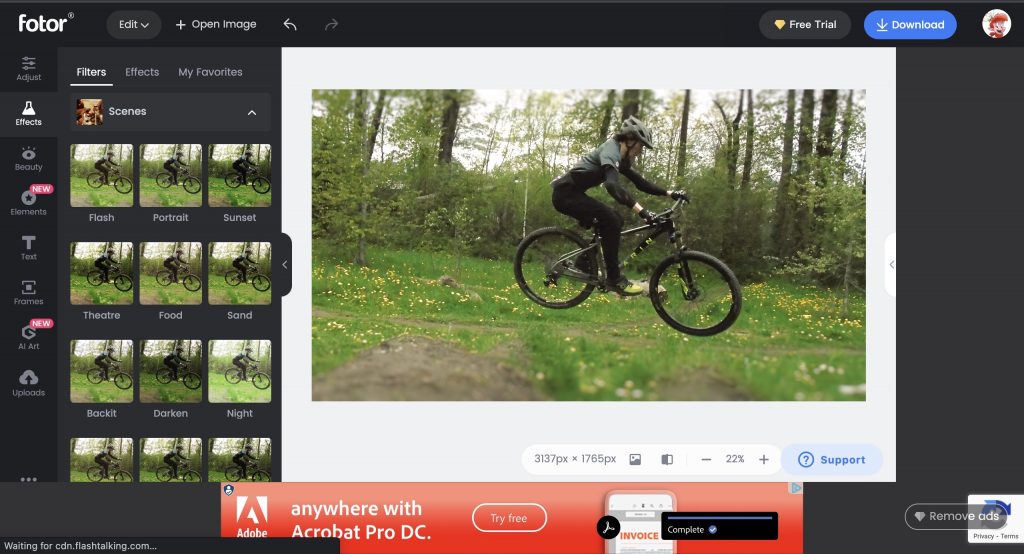
Fotor is free, but some editing options are only available with a premium version of the software which can be identified with a gold diamond. I was amazed at how much I was able to do with the free version of Fotor, there are only a couple of editing options that I could not do, but to be completely honest, I wasn’t even sure what they did or how to properly use them. For someone who is just learning photography, photo-editing, and simply how photos should look, Fotor worked perfectly. I was able to fine-tune some of the settings to increase brightness, contrast, and focus on my friend. I was also able to add ready-made filters and effects to completely alter the way the picture looks.
One of the more interesting things Fotor lets you do is different ways of cropping a photo. If I knew I was going to upload a specific photo to Instagram, Facebook, or even as a YouTube thumbnail, it has all of the dimensions already set up for you.
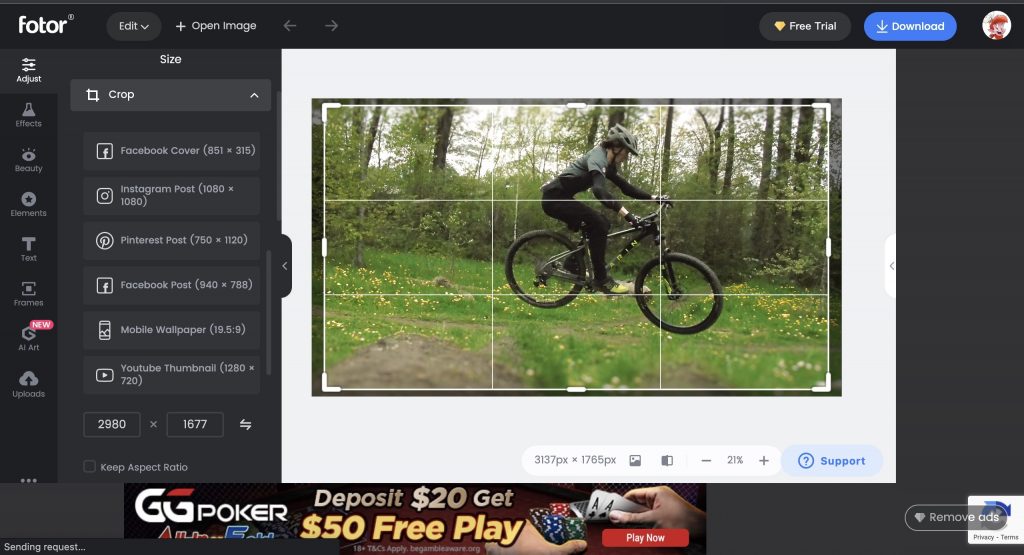
I only used a couple of the options that were available to me as I never quite got the hang of it even when it was a hobby of mine. Here is the final product that I created:
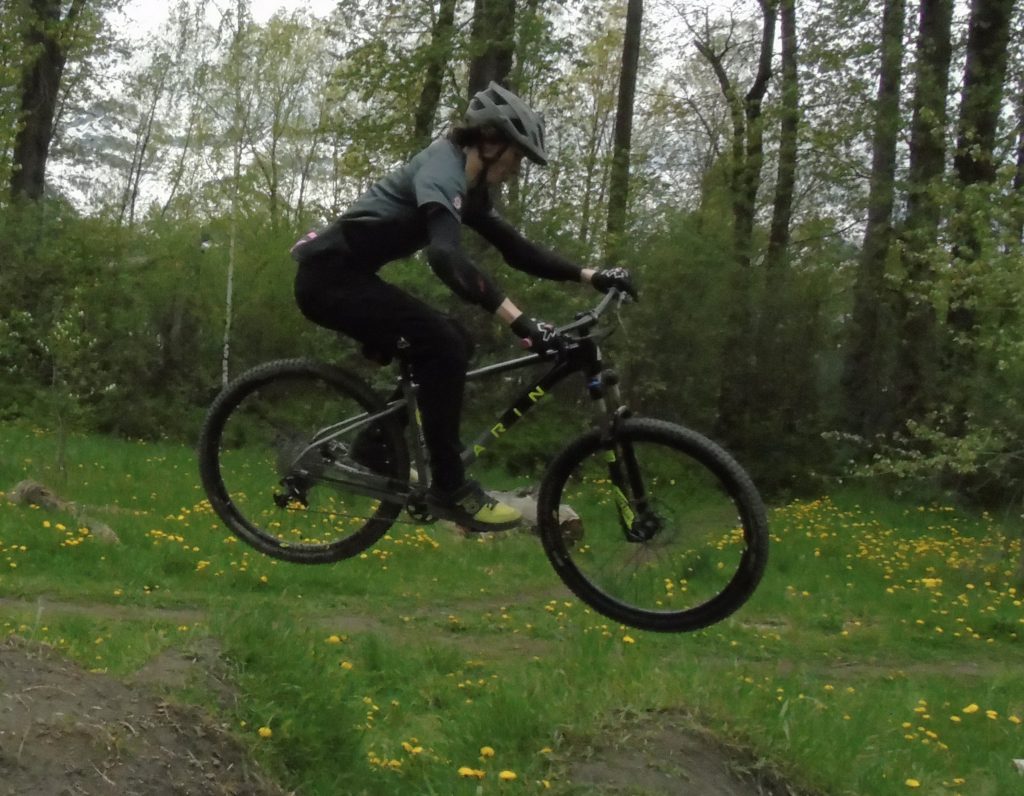
Before Fotor 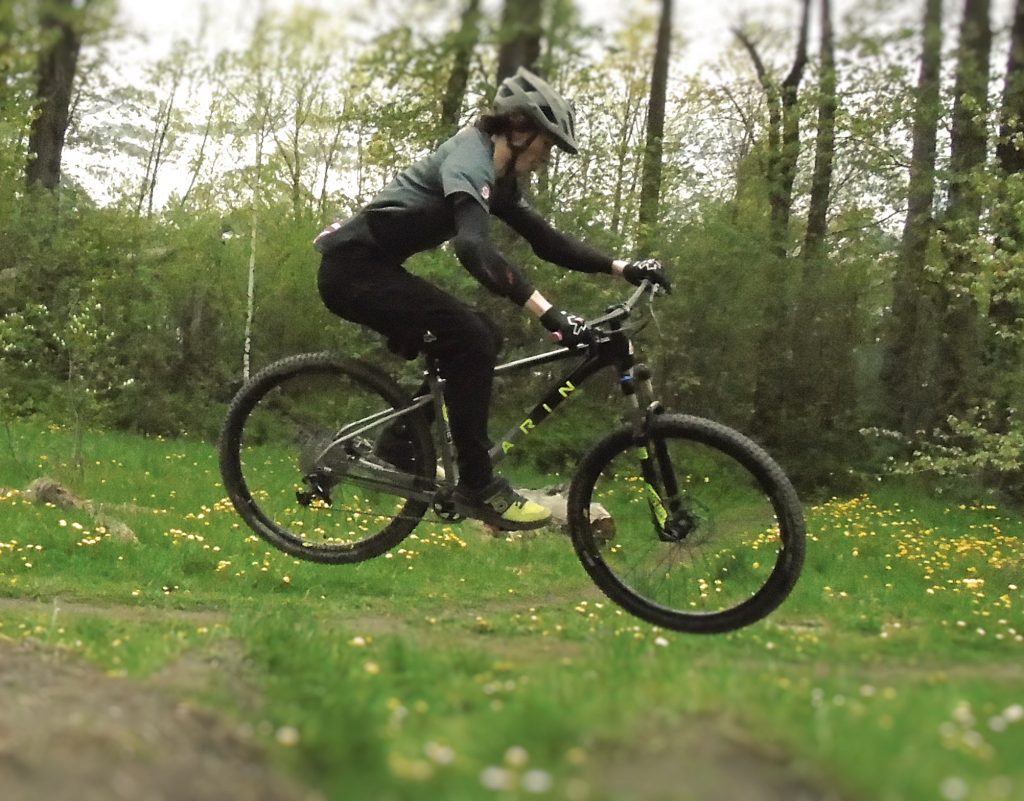
After Fotor
In the classroom, Fotor could be used for any project that calls for photo editing, designing a template, or even editing a photo onto a template. Students can use Fotor to add their own visual flair to pictures they may take or edit new things they want to add to a photo. Such as creating, designing, and organizing an informative poster. Going back to the ready-made dimensions for photo cropping, students can use Fotor as a way to perfectly construct their photos for the medium they want them to be published on. Overall, I believe Fotor would be perfect for the classroom as its features and customizability create endless possibilities for use.
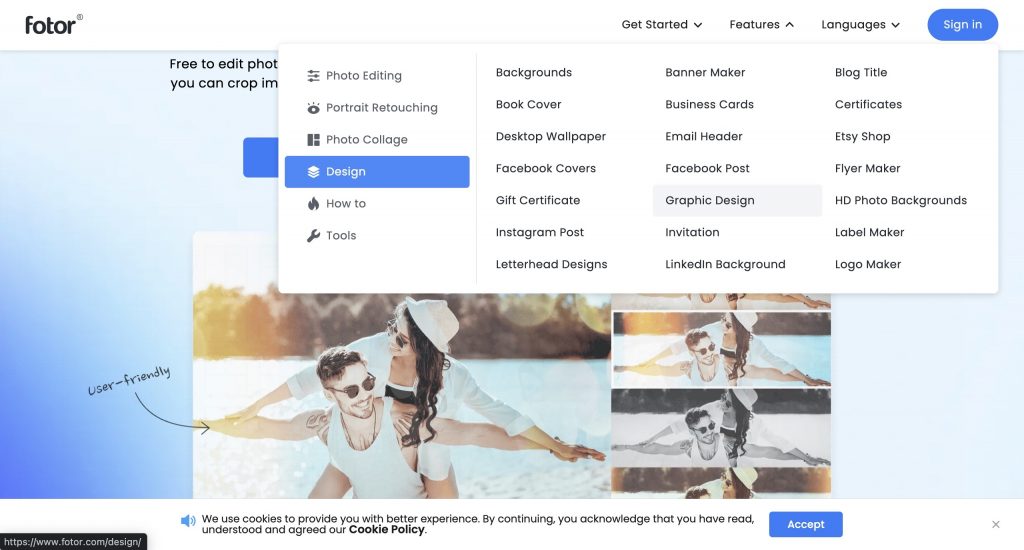
I believe that in the SAMR model, Fotor would fit as a substitution tool as it does not offer anything different than other photo-editing software. It can easily be interchanged with other softwares for people who understand photo editing better, but it is not made for professionals. The best thing about Fotor is how easy it is to use, so it is not trying to provide anything crazy or different, but rather what you would assume would be in photo-editing software and presents it to you in a very digestible way.
One thought on “Getting on the Right Track and My Review of Fotor”
Hi Chayce,
Wow! Your photos always amaze me! I apologize as I am not as techy with the camera to know all the terms you are talking about but I am glad you have such a passion for photography and it seems to be working really well for you! I have never heard of Fotor before! It seems similar to Canva and I love how there are so many options in editing systems we can choose from that can be used in the classroom! Thank you for taking us through your process of using Fotor. I can definitely see the difference between the photos before and after editing!
Noelle