In my previous post, I stated that I would be focusing on both lettering and intricate designs; however, I decided to slow things down a bit and take things one at a time. With that being said, this week, I focused on lettering. In addition, the tool I learned to use to document my learning project this week is a video editing/animation website called Animaker. (Fun fact, when I was in high school, one of my dream careers was to become an animator for Pixar… lol)
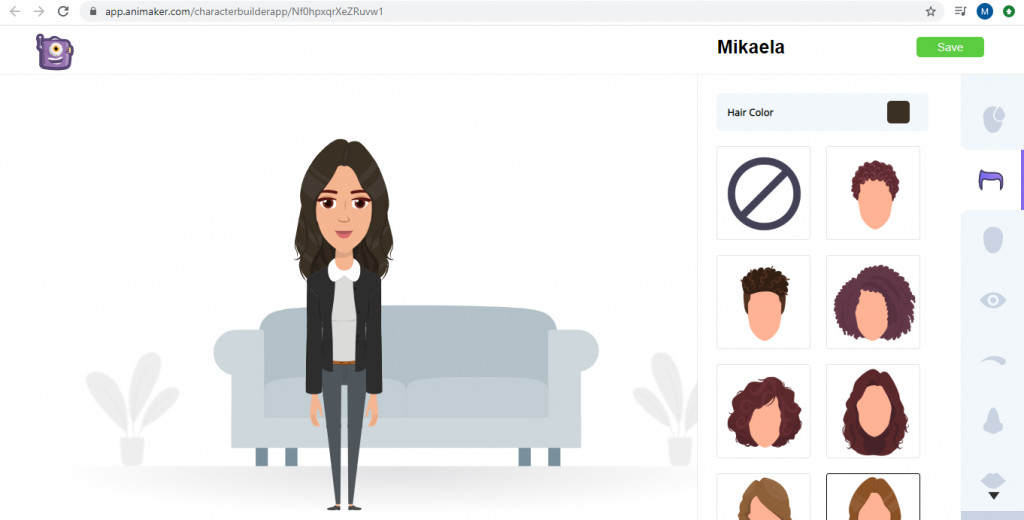
I started by creating a free account, then I began exploring the website (which was easy to navigate). I spent my first day on the site exploring its features, which include creating your own character and being able to add your own pictures, videos, text, and voiceover. I thought the features were pretty good, except for the fact that the character customization does not offer any different body types. However, these features may vary depending on the type of account you have (the paid ones may have more options). Below are screenshots I took of the character builder, some of the fonts, clipart, and pictures offered, and the audio recording option.
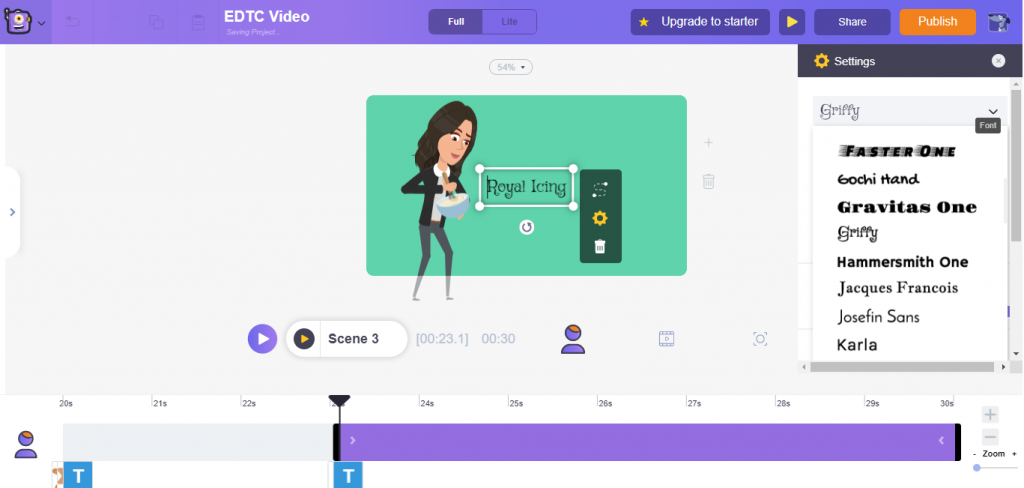
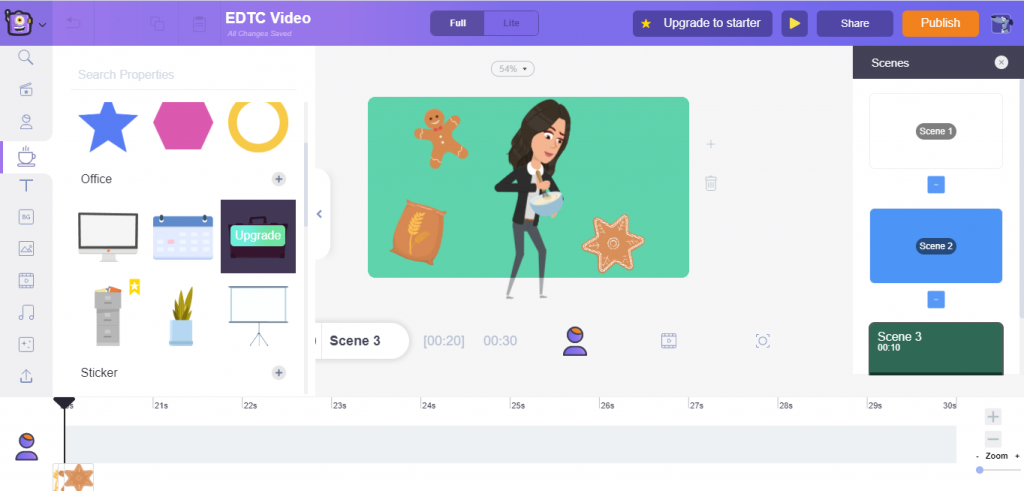
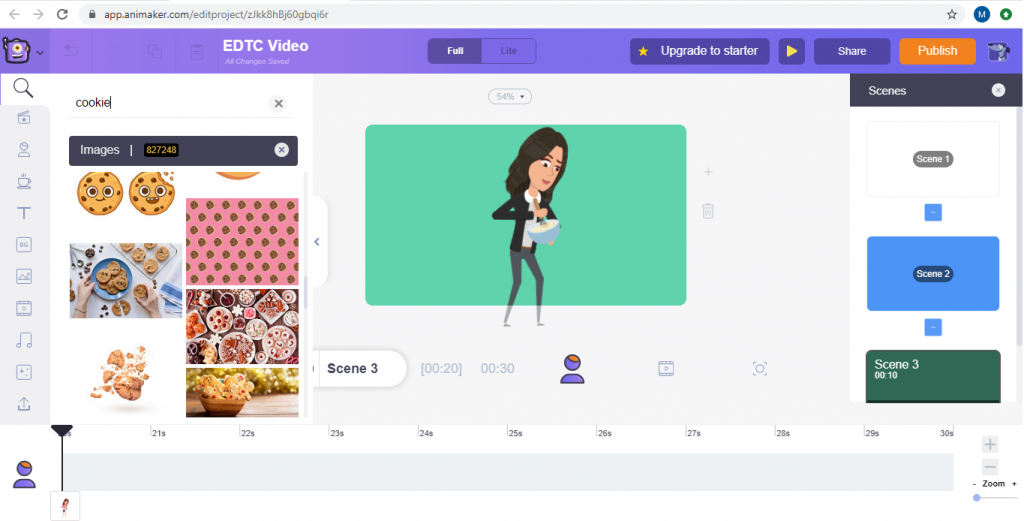
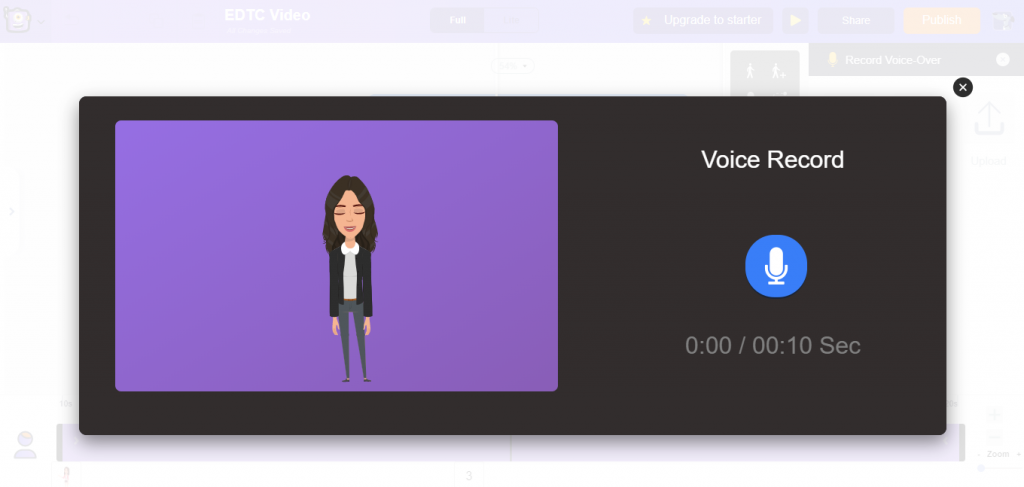
Although it was smooth sailing at the beginning, the reason why I am posting this blog post later than I usually do (I typically post my learning project entries on Saturday mornings) is because I was having issues with this website. Unfortunately, when I actually began my video editing, the website constantly froze or took ages to load. It continued to do this for hours, where it got to the point where I almost selected a new resource to learn. Below are some of the issues I encountered.
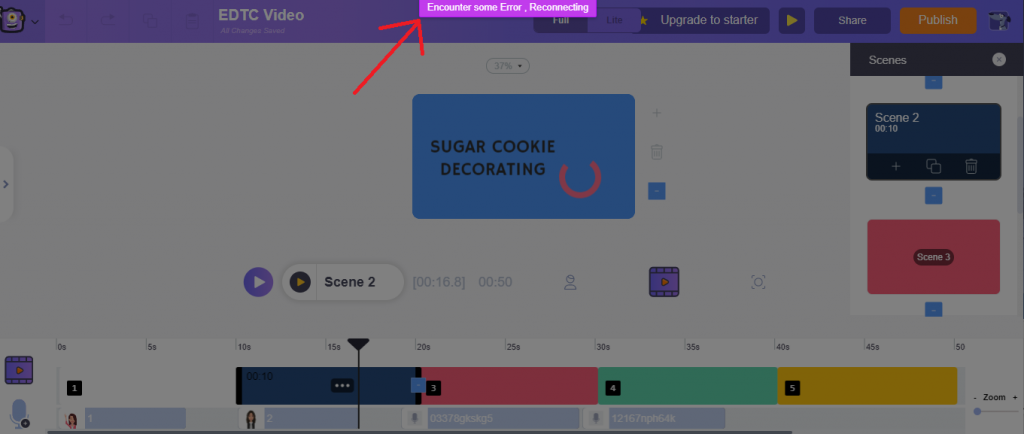
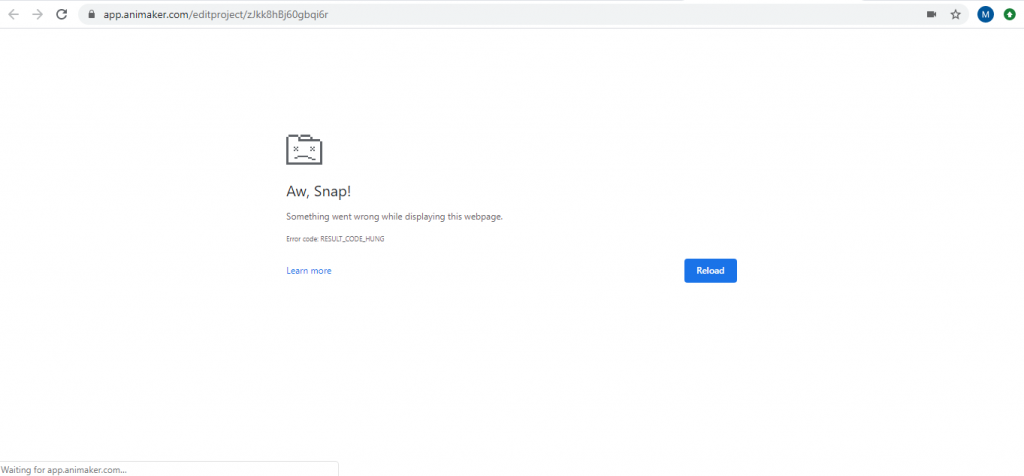
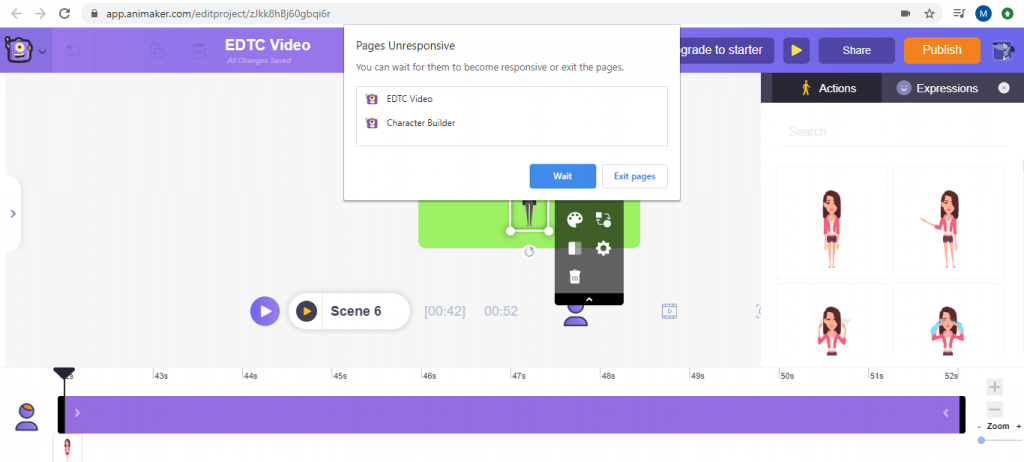
However, with some patience (and lots of refreshing), the website began to work more smoothly. I am not saying that this resource was horrible, as when it did start work, it was great!
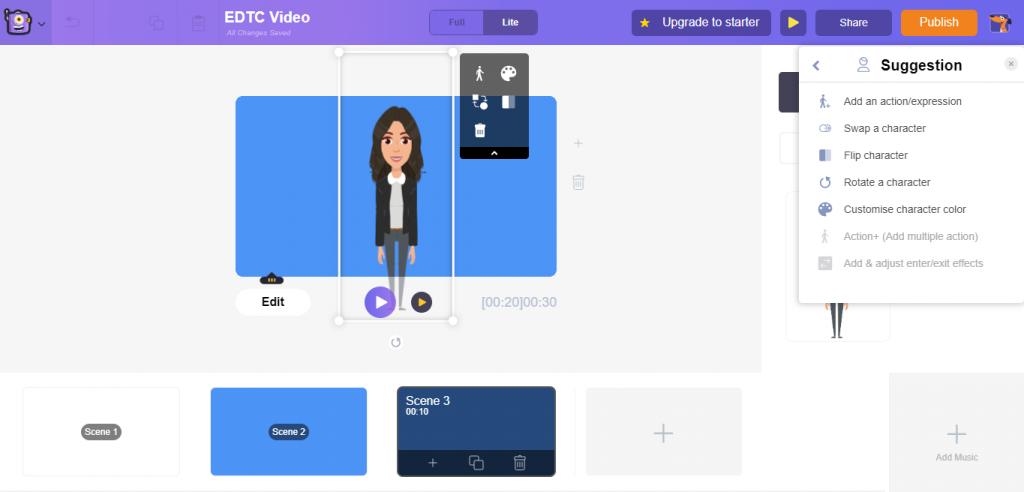
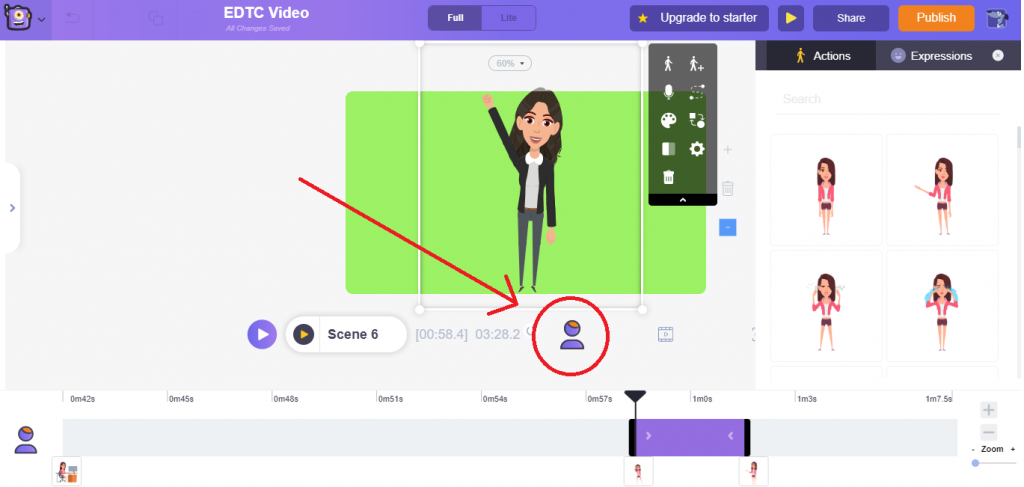
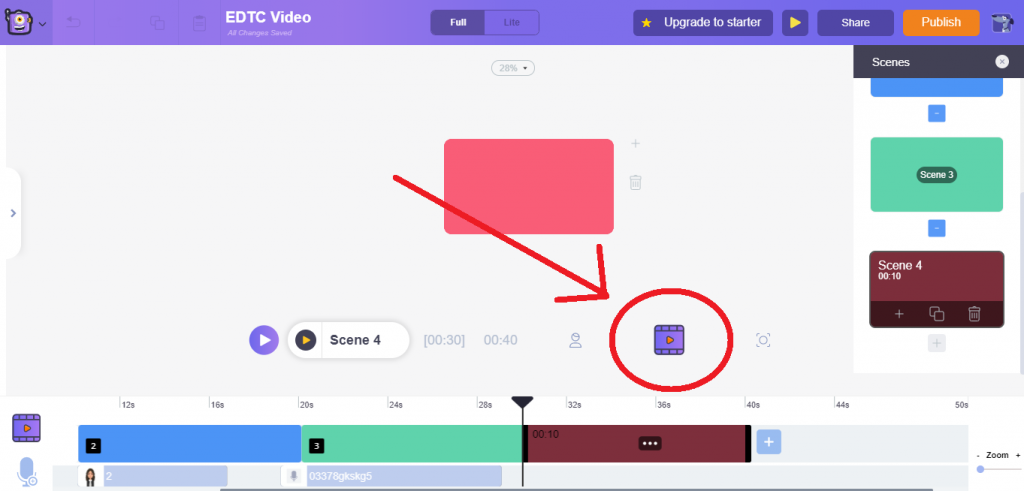
I find it a little difficult to fully explain how to use this tool, as it can be used in many different ways. With that, I believe that the best way to learn how to use it is to try exploring it yourself! Something helpful that this tool offers are suggestions, as well as instructions as you go – which can be very helpful. Although I can’t really explain HOW to use it, I can offer some tips/suggestions for using it! First, I feel that this tool is more suitable for shorter videos with few scenes. I found that it became confusing and more difficult to use the longer my video got. Also, when adding animations/clips, I recommend putting the view on “Animation Timeline”, but when adding audio, I recommend putting view on the “Video Timeline”. Doing so made it easier to see what clip is being clicked on/edited (below are screenshots of these views). Finally, this tool requires lots of patience and is quite time consuming. Even though this is the case, it was fun to use once I got the hang of it. I think even students (I believe it would be most suitably used in middle years-high school) could use it to create short videos of their own. I hope you take the time to explore it and try it out yourself!
Here is the final product that I created on Animaker. Underneath the video is the video script, as well as links to the resources I used in this week’s learning.
Welcome to week 4 of my EDTC 300 learning project!
If you’ve been following my blog, you would know that I’ve been learning sugar cookie decorating. I started off with finding the perfect sugar cookie recipe. Then, I learned how to make different consistencies of royal icing. During this time, I also learned some decorating techniques. This week, my learning focus was on lettering.
To start off this week’s learning, I used google to look up lettering techniques. From there, I found biscuiteers.com, which offered a post on how to write with royal icing. The post stated that writing with royal icing isn’t as tricky as it looks, so I felt pretty confident going into it. It also suggested to practice piping on parchment paper before writing on the cookie, so I did just that.
To pipe the icing, I used a piping bag with no piping tip. I simply cut a tiny bit off the tip of the bag to create a small hole. It was a little tricky and I felt that I had less control over where the icing was going. So, I searched Google for some tips, again. This time, I found a cookie community called the Cookie Connection. I signed up and communicated using the forum. I also looked through the forums and read that some people found it easier to use parchment triangles. I have heard of parchment triangles before, but I’ve never made or used them. So, I searched YouTube for a tutorial on how to make them. I ended up following Wilton’s easy to follow tutorial.
After making the triangles, I filled one with more royal icing and tried it out. When I piped the first letter, it was so much easier! It created finer and cleaner lines, and it felt like I had more control. However, the parchment triangles kept breaking open – even when I tried taping it shut. So, I decided to go back to using a piping bag, but this time I cut the hole a little smaller and I made sure the bag wasn’t over filled. Doing this allowed myself to have more control and finer lines. This is what I’m using in the clips used in this video.
After practicing my lettering on parchment paper, I finally tried piping on a cookie. I outlined and filled this cookie off camera with some white royal icing (using what I learned last week). Overall, I think my results were okay for a first-timer, but, as you can see, I still need some more practice – especially with centering my design.
When I finished, I checked my Cookie Connection forum post and saw that I already had some replies – which I wish I would’ve read before I started my lettering, as I received some helpful advice. I had some people make suggestions and gave me tips that I will for sure try implementing next week. Thanks for watching!
Resources used this week:

Your animation is so cute. Good for you, it looks awesome and it looks as though you spent sometime doing that!
Thanks, Jasmine!