╭────────────────────────────────»»❀❀❀««────────────────────────────────╮
“The role of the artist is to ask questions, not answer them.”
Anton Pavlovich Chekhov
╰────────────────────────────────»»❀❀❀««────────────────────────────────╯
Welcome everyone,
Today, I am going to create my very own PixilArt image. To start, I began by logging into my PixilArt account that I created in Part 1. From there, I clicked the “Start Drawing” link in the top right corner which took me to my very own workspace 🎉!
To be completely honest, it took me a long time to start feeling creative. I stared at the blank screen for 5 to 10 minutes before I even made an attempt to draw something… and then I changed my mind and wanted to start again. To put myself back on track, I decided to look up PixilArt video tutorials. After scrolling for some time, I found a tutorial that was both fun and achievable for me as a beginner… a perfect starting point!
My progress halfway through the video:

Here is my finished product:
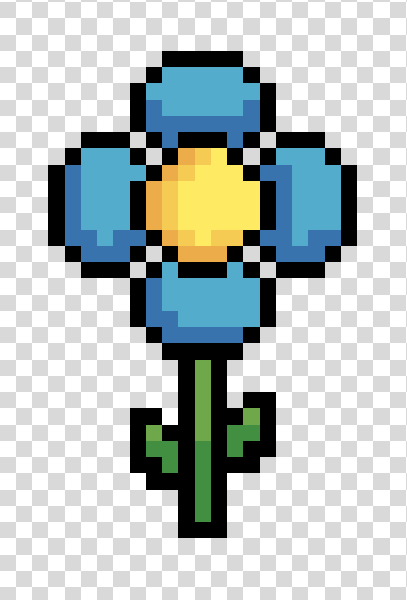
Overall, I am super happy with how this turned out! Although the author used a different pixel art platform called Adobe Illustrator, the tutorial was extremely easy to follow, and the content transferred to PixilArt extremely well. I am excited to see what is in store for next week.
Thank you for joining me along my learning journey!