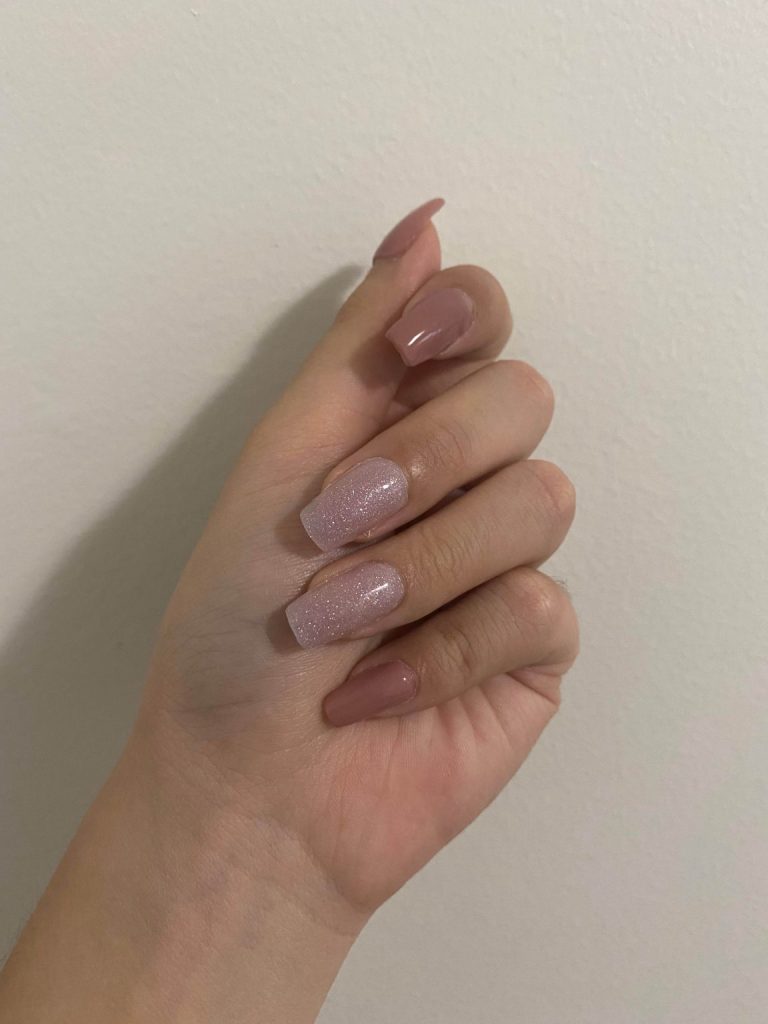
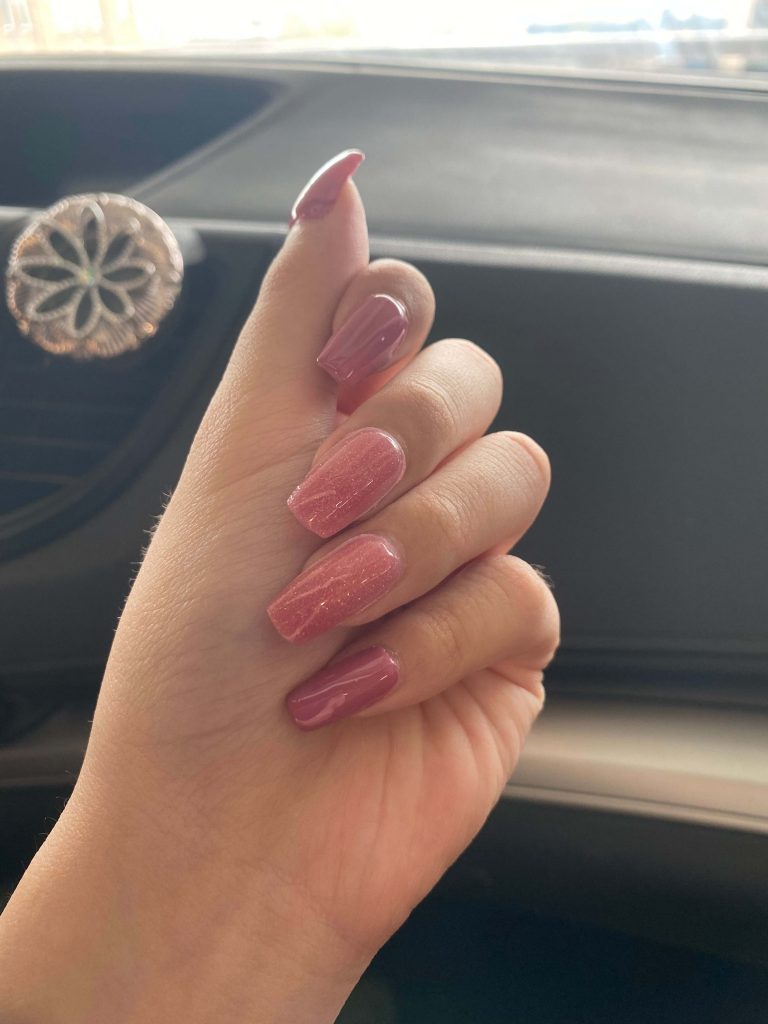
Welcome to Nail Day 5! If you’ve seen Nail Day 4, you know that I skipped on extensions for the sake of my nail’s well-being. Soon enough, I got very bored with how short and simple the nails were, so I decided it was time to change things up again! I couldn’t help but do the same set from Nail Day 3 because I just love how they turned out. But this time, I wanted to use a brighter colour to match the warm weather.
The only issue with this set is that the extensions that don’t have any nail polish on are fully exposed, so if I make a mistake, it will show. Not to say that they aren’t presentable because they’re really pretty, but I wanted to make sure that this set was perfect! So I watched a tutorial by Tina Yong — she is a beauty/fashion YouTuber that reviews various products. I’ve always been subscribed to her channel and watched her videos frequently.

The reason why I specifically chose her video is because first of all, I already know that I like her and the way her videos are edited. Because of this, I didn’t have to spend extra time looking for the tutorial that was “just right.” Second, her design seemed quiet similar to mine, if not more difficult because she’s using clear extensions which can be much harder to work with than pigmented gels. As expected, her video was very helpful and detailed. Although I’m not using the exact same products as her, I think that following a tutorial with a not-so-expensive and high quality product is more helpful, since my products aren’t high quality either.
Anyhow, I decided to use pink extensions and pink polish to suit the warm weather. I personally dislike pink— I have nothing against it but I just do not like having pink on myself (let me know in the comments if you feel the same way!), but I knew that I’ll get tired of them and end up doing another set in a week so I gave it a try.
The process was the same as Nail Day 3, but I took some tips from the tutorial video:
- take your time
- don’t use too much of the slip solution (alcohol to move the gel around).

I love how this set turned out— I love the glittery extensions and the pink gel polish goes so well with the extensions. Again, not a fan of pink, but I have to admit that they look pretty. I took a picture in natural sunlight so that you have an idea of what they look like in different light settings. I hope you enjoyed day 5 and let me know in the comments what you think!
Great progress Mingyeong! Like always you have a really nice layout east to follow with pictures. From what I can tell the nails look really nice, and this is the best color yet. I like how you managed to make it glittery/shiny too, looks really nice. Great Job!
I love reading/watching your nail process! Your nails always look so amazing! what a great skill to learn both aesthetically and financially! I personally used to hate pink so much, never really had a reason why but now I love it! I have a lot of pink accents within my life right now but still not super huge on wearing it because I feel it does not suit my skin tone. However, if it is the right pink I will wear it! anyways love your nails and your learning project! Keep up the amazing work! I can’t wait to see what you do to your nails next week!
I found you post very interesting and so cool. I love your nails as their so beautiful. Your tutorials and links helped me understand your process of how to get your nails perfect and I agree with Julie that your nails are amazing. I find that Pink is an alright color but personally for me, I am not a fan of the color pink or won’t wear anything pink which I don’t know why as its just my personality I guess. Overall the pink color really suit your nails and love reading your post. Thank you for sharing your process of your learning project and as well can’t wait to see what you do next!