Happy Wednesday Everyone!
My oh my, I can’t believe how fast this semester is flying by and I have a feeling our learning projects will be complete before I know it.
I was really looking forward to this week
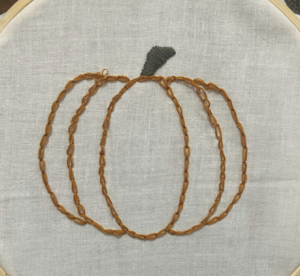
of my learning project, if you read last weeks you know I had made embroidered the outline of a pumpkin (see photo evidence) and my goal for this week was to spice it up a little bit. I am happy to announce that I did accomplish my goal – with the help of classmates, photo inspiration, and for finishing Gilmore Girls so I could finally quit procrastinating and get some work done!
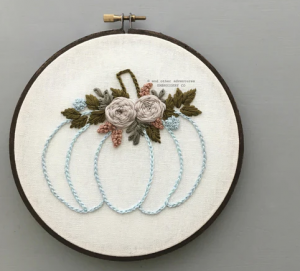
The end goal in mind was still from the inspiration that I had gotten from And Other Adventures’ DIY Fall Floral Pumpkin Hand Embroidery . The final product by And Other Adventures was definitely the goal, but my skills just aren’t quite there yet, and, not to make excuses BUT, I “YOLO’d” the roses and two leaves then used another leaf outline from a completely different pattern… so my final product is make shift.
So like I just said, this project was just a punch of different resources thrown together to create this small piece of fall decor:
- Inspiration from And Other Adventures (an embroidery company)
- Pumpkin outline from Google
- DMC – a website with MANY free embroidery patterns. This was actually recommended by one of my classmates, a true lifesaver as I was running out of resources to use!
- Past knowledge – I already knew how to create a wheelbarrow rose and a few leaves, so I free handed those!
Step-By-Step Pumpkin Decor
Step 1:
Found an idea pattern, unfortunately this pattern was not free. Knowing I still wanted to do something similar, I decided to piece this project together.
Step 2:
Find a pumpkin outline – Google was my friend on this one! More details on this step can be found in last weeks blog post which you can find, here.
Step 3:
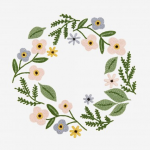
Check out more floral patterns, DMC helped with this one! I found a floral pattern I liked, which you can find linked here! Again, I knew I had to get creative, so I picked out the flower/leaf that I wanted. Printed this pattern off and copied it onto my project. The patterns from DMC are amazing, they have a full PDF tutorial for how to complete the project – I will definitely be returning to try out an entire project!
Step 4:
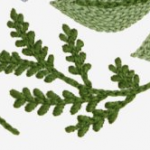
Putting my prior knowledge to use – I already knew how to do a rose as well as a leaf with a satin stitch… so I got busy!
Step 5:
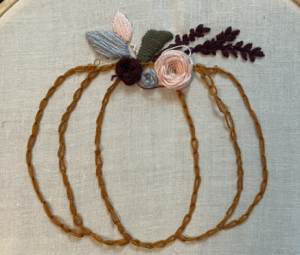
COMPLETE… Kinda.. I think I do want to add more detail to it later on as it seems a little empty in comparison to my inspo pic, but I am happy with it for now!
Thanks for reading about my mismatched project! I think this was my favourite part of the learning project so far – it allowed me to create my own piece by using the assistance from multiple online resources, even my prior knowledge had been built using the internet… pretty cool!

