Materials Needed:
- Paper
- Pencil
- Ruler
- Technology to play the video
Resource Information
I used Circle Line Art School again because they have some really nice artwork. I really liked the amount of talking that was done in the video along with the example. I found it very easy to follow along with. It was broken down in very manageable chunks. I like that he reminded us that certain lines needed to go off the vanishing point and which lines could be horizontally or vertically straight. It is also nice that when I was having issues with certain parts I could just rewind it and follow along a second time. The one thing that was missing was they could of done a little bit more explaining on how to draw the train and some of the shading techniques. The drawing part of the video was done exceptionally well.
Resource used for Documentation
As I did each step of the drawing I took pictures on my phone. After I was done than I had to send myself them through email and save it on my laptop in a folder. I did some research on apps and websites that could be used to make videos and time lapses. One of the free ones was called InVideo and it is the one that I decided to use. On the website you have to sign up but they do not ask for any banking information which is always a good sign. Once I signed up it gave a quick tutorial of how to use the software. I finally picked a theme from a wide variety of options. I picked one that was created for lesson promos. After that I had to do upload my pictures onto the website. It starts off with three scenes, so I had to add additional to make it the right length for me. On each slide I had to pick the right picture to upload and then add text to it. It was nice that you could add speech to it. In my opinion, from a time aspect I found it easier to make a final product on Animoto and Canva but that is just my opinion. I was think that those two also offer a wide variety of options. Let me know if anybody agrees, disagrees or has found something that they prefer over these three that I have used.
My product for the week:
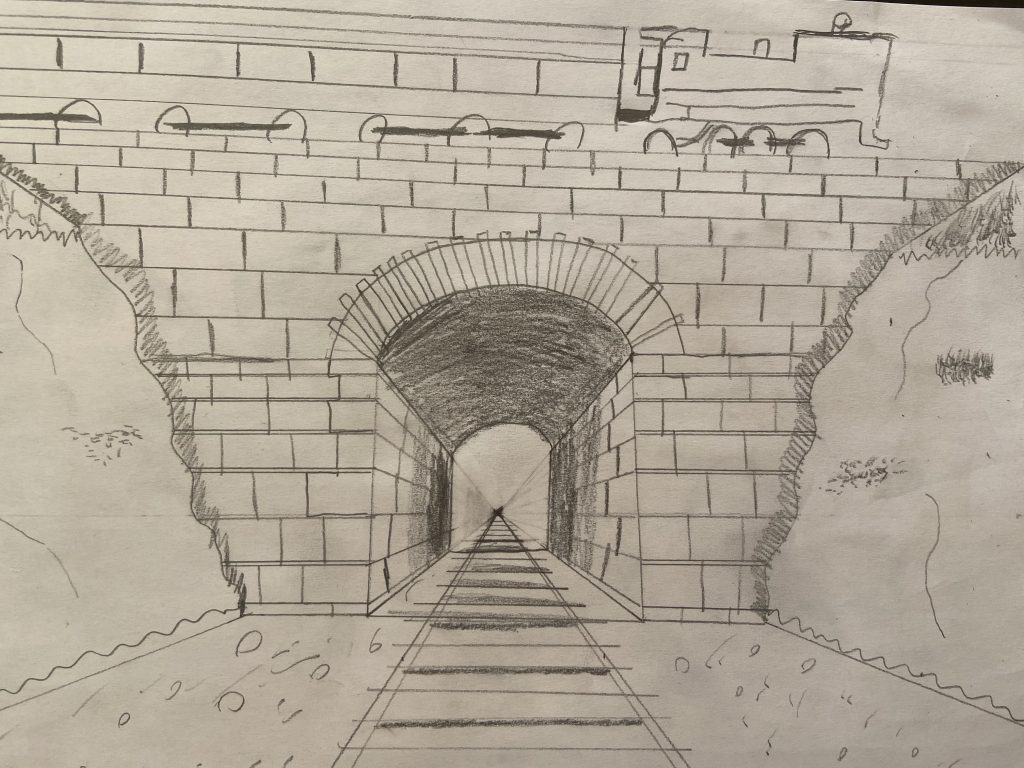
As I mentioned above, this week I worked on one-perspective drawing and the scene was a train tunnel. With the help of the tutorial I was able to make a pretty good product which I would have had no clue how to draw on my own.
The first step is creating a horizontal line that has your vanishing point in the middle of it. Then draw two diagonal lines on each half to create the railroad tracks. Followed by drawing horizontal lines across the tracks to make railroad ties. You will need to use one of these railroad ties as the base of the tunnel, add a vertical line on each side. The next step is drawing a semi-circle connecting the vertical lines. Followed by doing these same steps closer to the vanishing line to create the back of the tunnel.
To build the walls the horizontal lines connected to the top corners of the tunnel need to be longer than the lines connected to the bottom. Add wavy lines to create the hill. After you will need to finish the wall, add a train, add bricks and shading. This will be better understood in the video that is posted above.

Hey Cody,
Good job in your learning project this semester! I enjoyed following along as you tried different strategies and techniques. Have a good summer!