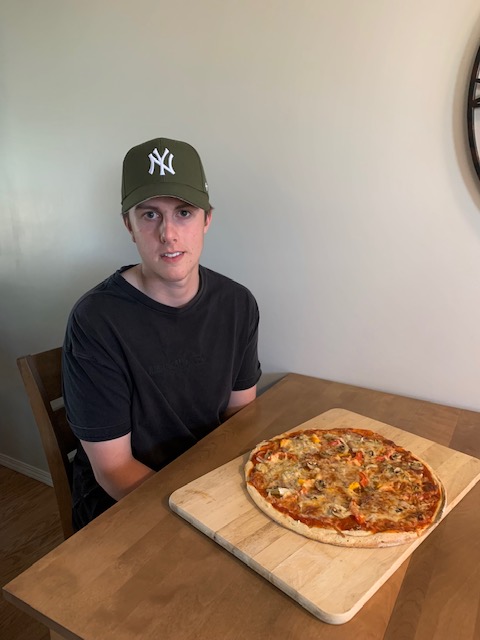
This week for my learning project I chose to make home-made pizza! This was the most challenging things I have made so far and was another great learning experience! Again I played around my moms recipe as she used to work at a pizza place during University. I wanted to make thin crust pizza so I hopped on Twitter and many people were recommending Kraft Dough Mix. Here are the ingredients I used!
Ingredients:
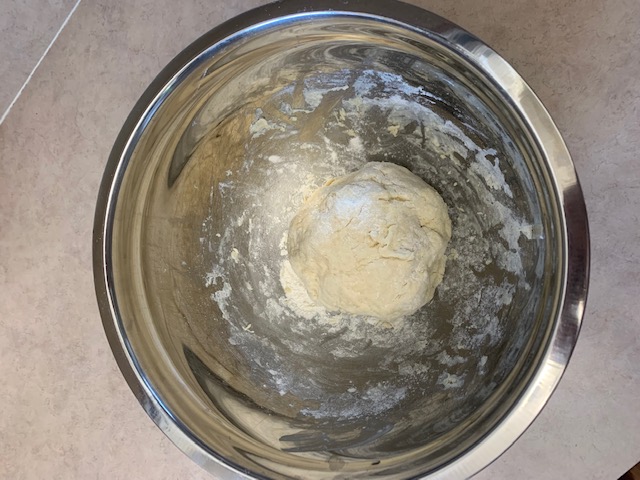
- 1 Cup of Pizza Dough Mix
- 1 Cup of Water
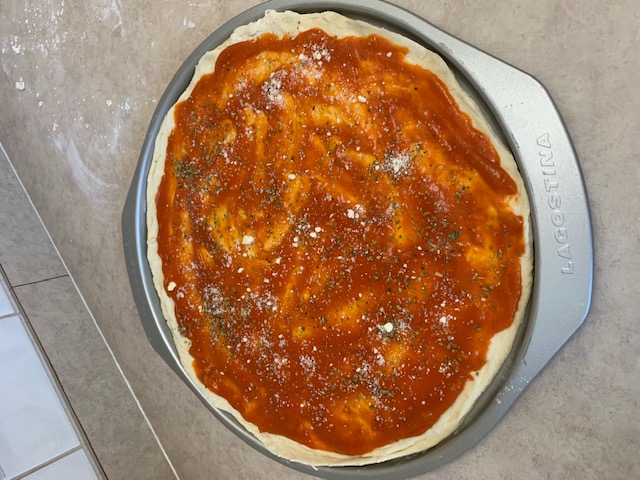
- Pizza Sauce
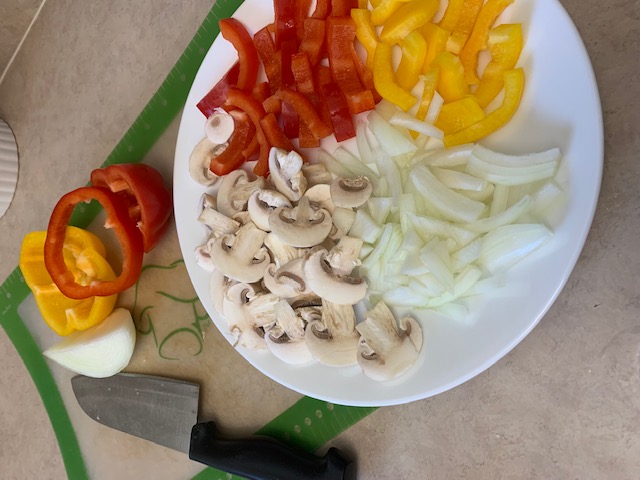
- Onions
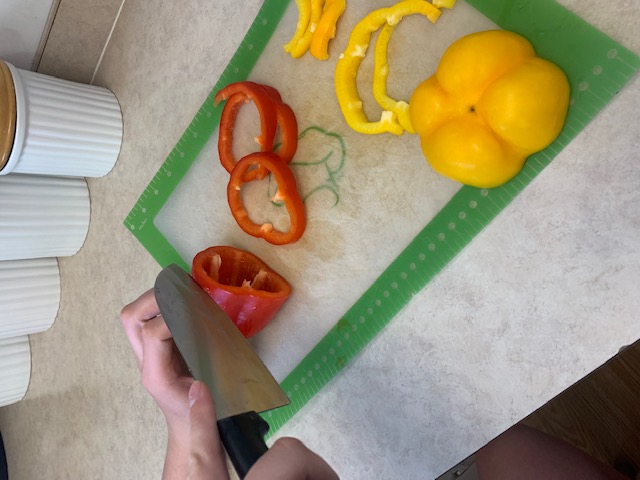
- Red Peppers
- Yellow Peppers
- Mushrooms
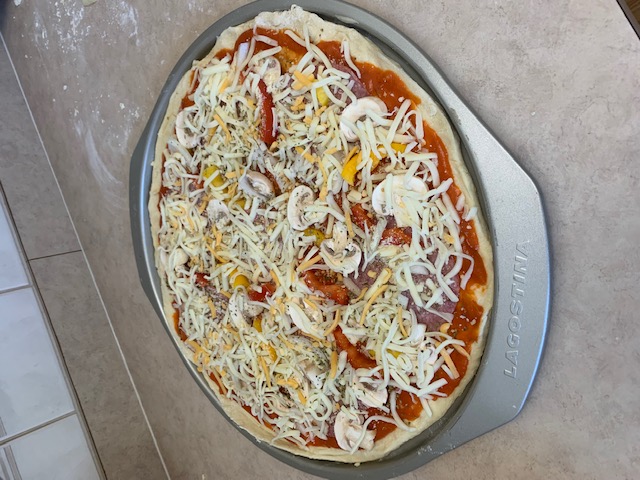
- Mozarella Cheese
Cooking Process:
- Step 1: Assemble ingredients
- Step 2: Pour in 1 Cup of Pizza Dough mix, then add 1 Cup of water and use hands to mix
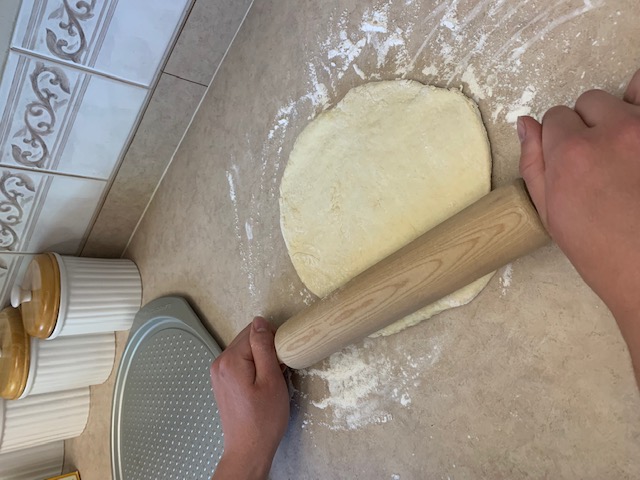
- Step 3: Use Rolling Pin to flatten the Pizza Dough into a round shape to be placed onto cooking pan
- Step 4: Slice Peppers, Onions, and Mushrooms to be placed on Pizza
- Step 5: Add Dough to cooking pan, spread Pizza Sauce and add spices
- Step 6: Add the Chopped up ingredients and Mozzarella Cheese
- Step 7: Place Pizza in the oven and cook at 425 degrees celsius for 15 minutes

Final Thoughts:
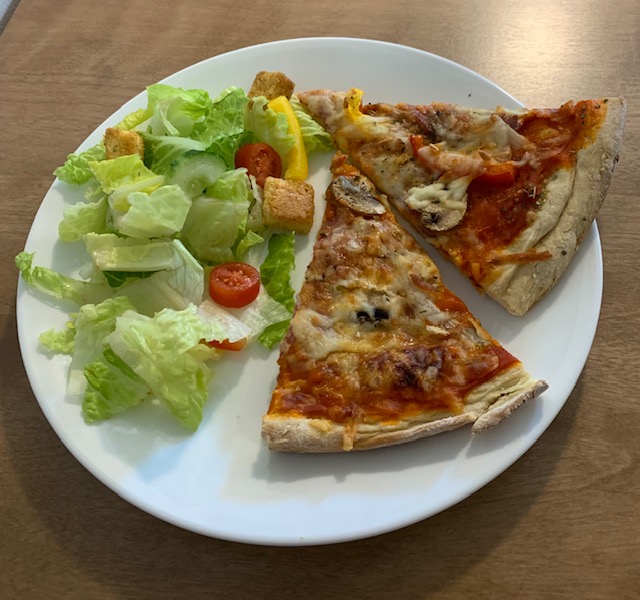
Overall my experience was very positive! I ended up repeating this process twice so I had enough pizza for supper and a bit of leftovers. On my first pizza I did mix in enough water and my crust tasted a bit off so I fixed that for my second one. On my second pizza I let it cook a bit too long and the crust was a bit burnt around the edges but thankfully it was not too bad. I have felt that I have grown as a cook since I began my learning project and that I have a lot more confidence to try new things on my own.
This week I decided to do something slightly different using Live Photos on my iPhone to take pictures. I was then able to put into an album on my phone to share. This was a great feature to use as I was able to document my work throughout cooking. For example, when slicing Peppers I was able to take a picture and when you held your finger on it, it showed a short video of me cutting. Live Photos would be a cool way to document work in the classroom. For example a group of students could show themselves doing a physics experiment using a Live Photo. They could then put their images into a folder and send them to the teacher. A potential drawback to this is that Live Photos work best when using an apple device.