
Okay, let me preface this by saying I have been in the model hobby community for 2 years. It was my COVID hobby that replaced sports. I know my way around miniatures, and I have painted hundreds. That being said this is my first time branching out into making my own miniatures with resin.
To make a long story short, I am currently building and painting a bug themed army for a game called Warhammer 40,000. The barrier to entry for a game like this is the cost, so my goal is 3D print models to play with. (think Dungeons and Dragons, but on steroids)
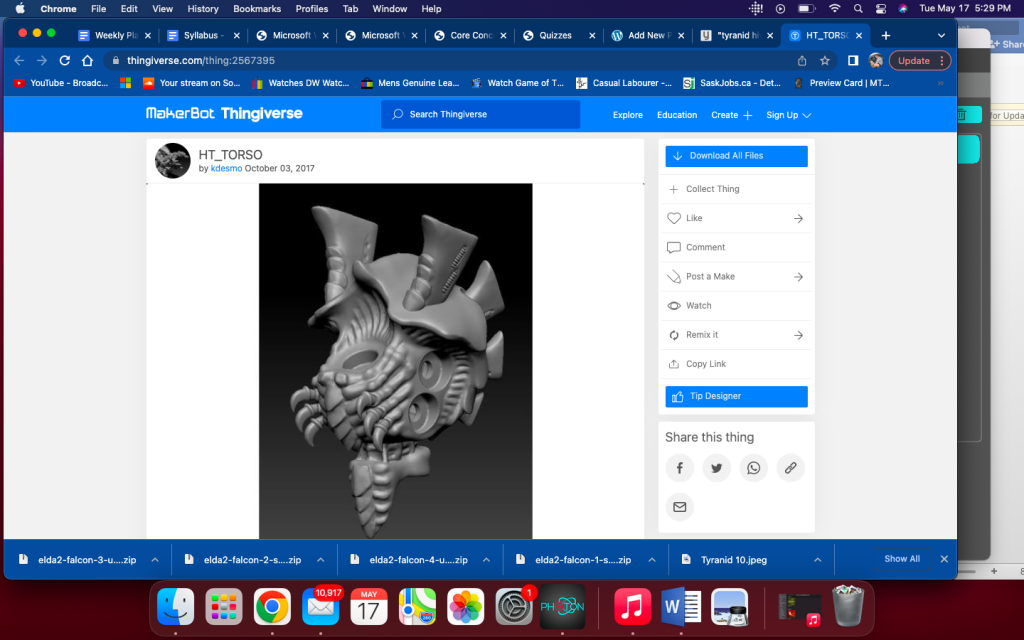
I purchased a kit to start with, and noticed it had extra parts so you could build alternate stances/weapons. Instead of discarding those I figured I could print another body to use those parts on, so I did some internet sloothing. I found a STL file for $5 bucks, paid the creator, and downloaded it hoping it would be what I was looking for.
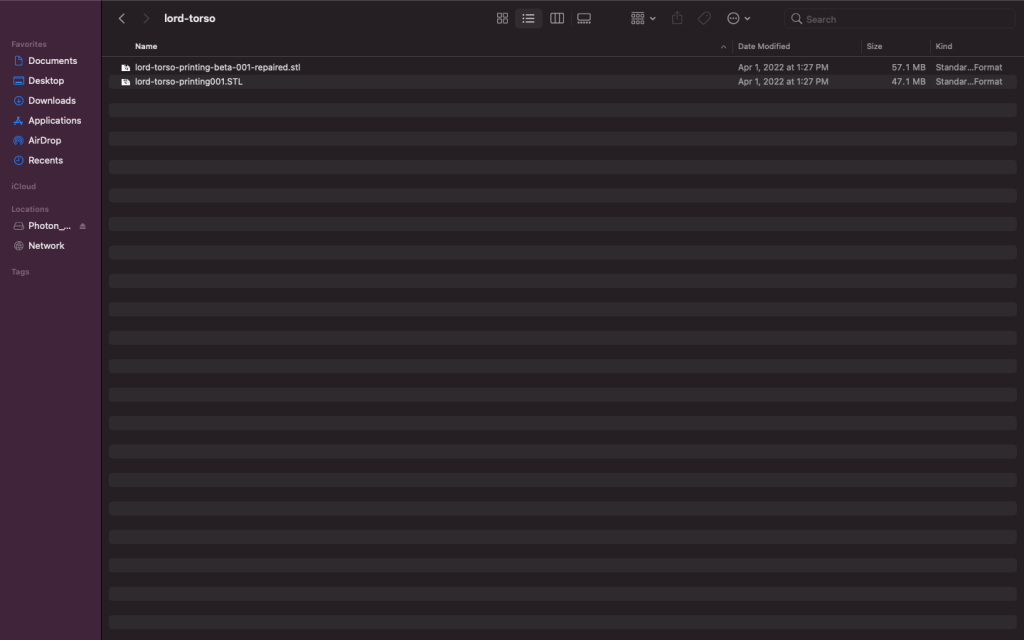
After paying the creator and downloading the STL, it was time to turn this file into a 3 dimensional model. Most people in the 3D community pay for slicers (software used for breaking 3 dimensional objects into hundreds of layers that will print one at a time). I don’t have the money for those, so like the broke student I am I used the basic software that came with the printer.
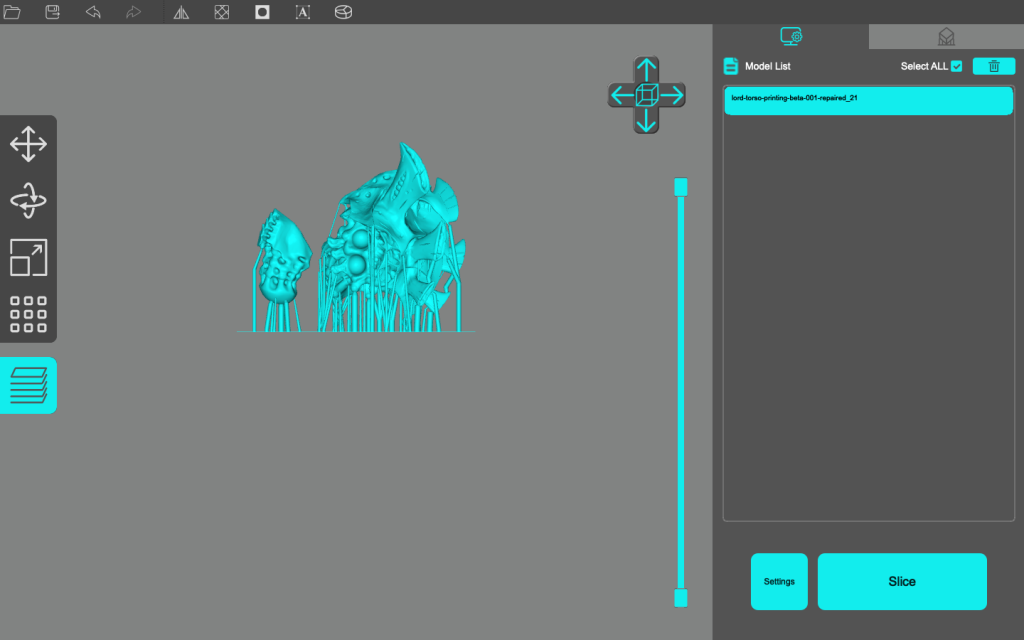
The file immediately turns into the 3D object, however I had to add supports. Supports are those little strings you see in the photo. They serve one purpose, and that is to make sure the model itself prints without chunks falling off during the print. And this is where I made my first blunder.
I totally didn’t add enough supports so near the end of the print the model failed to print the last 10%. I will post a follow up as the results come out.
Morgan – this is such a creative thing to do for your Learning Project! 3D printing is something that absolutely amazes me, and I have absolutely no idea how to do it. However, after reading through your blog post, I feel as though I have a better idea of how the concept works. I love how you included what the file looks like when uploaded into the software! I’m super excited to see how your project ends up turning out – I’m sure the next one will be a success!