After googling and downloading many apps and realizing I was not a fan of any, I finally found the app I wanted to use to put all my pictures together! I had thought about iMovie since I have it on my Mac, but I realized not long after opening it that there was a reason I did not enjoy using it before. To me it was not the easiest to figure out and I wanted something simple enough that I could change it when I needed to and not play around with it for hours, so I finally found Canva! I had thought about using it before the Christmas picture edits but changed my mind even though it looked easy. So I thought it would be a good idea to use it for my Lesson Project to try it out this time around! It is a simple and easy program that gives you little tips before you start going and all the options are right at your fingertips!
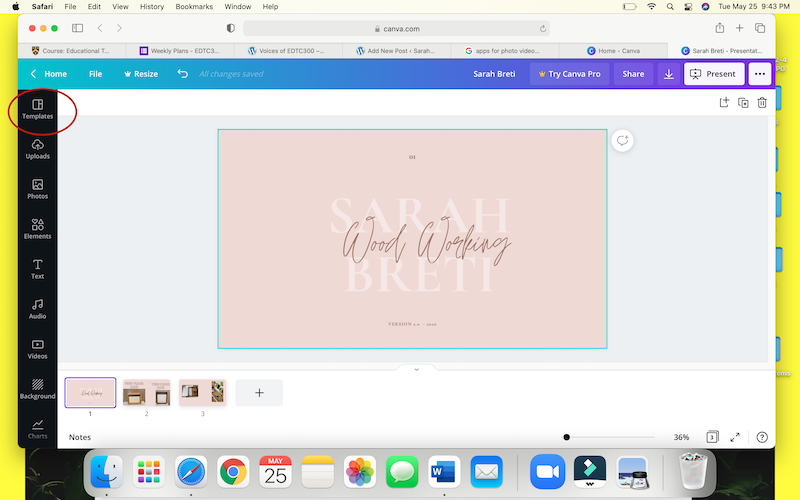
Here are a few of the options I used while starting to play around with Canva
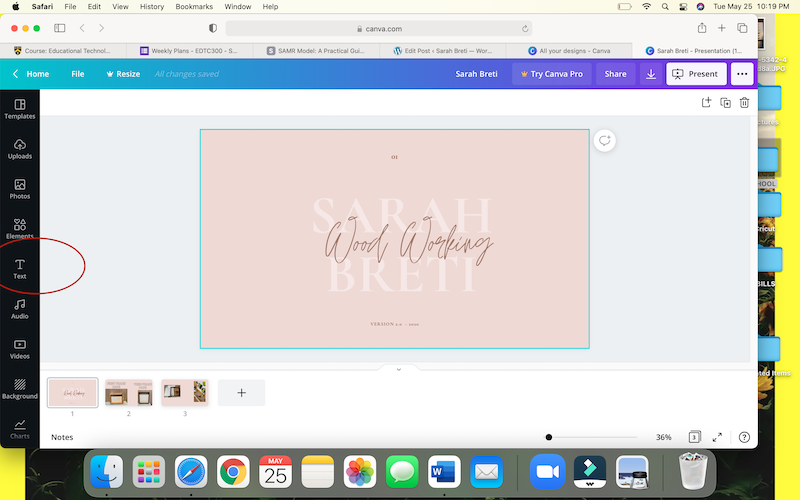
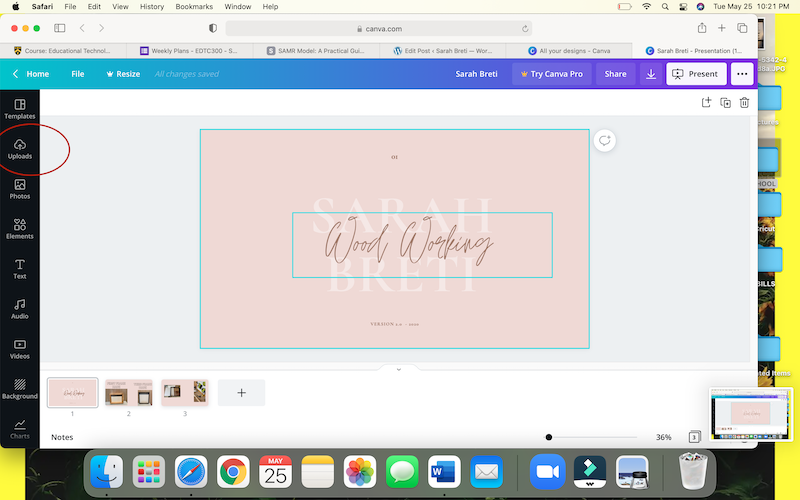
The side bar is easy access where you can find a bunch of different texts
I think this would be a great app for in the classroom instead of possibly powerpoint or something like that as it has newer updated fonts, styles etc. This would fall under the Substitution category in the SAMR model. My students could use it for projects and I could use it to introduce myself at the beginning of the year! We could also use it throughout the year to watch our progress change as we process into the next grade!
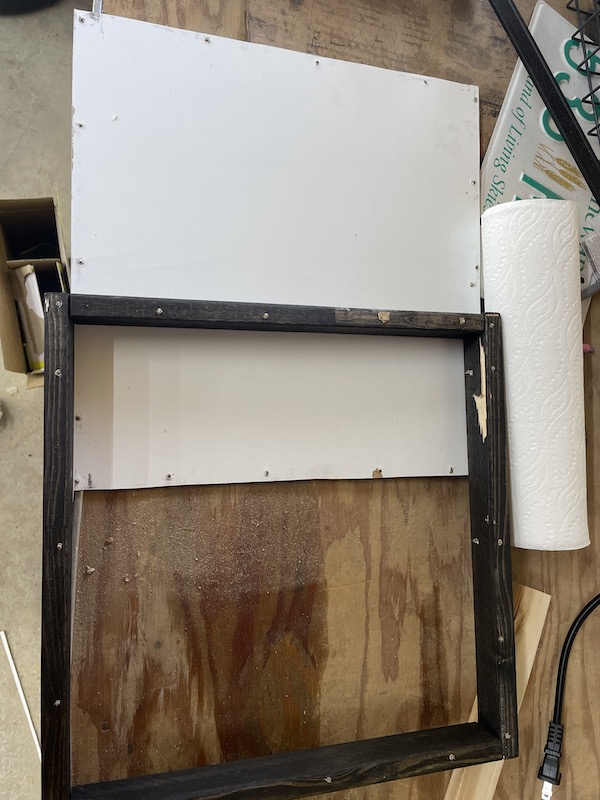
My next step with Canva is uploading a video of me doing the steps of a frame, but this involves me finding the right angle to take the video from when I am making the frames so that will be this week’s project to figure out! I am excited to put all my pictures and soon to be videos together and compare my process as I continue along! Stay tuned for the video process!
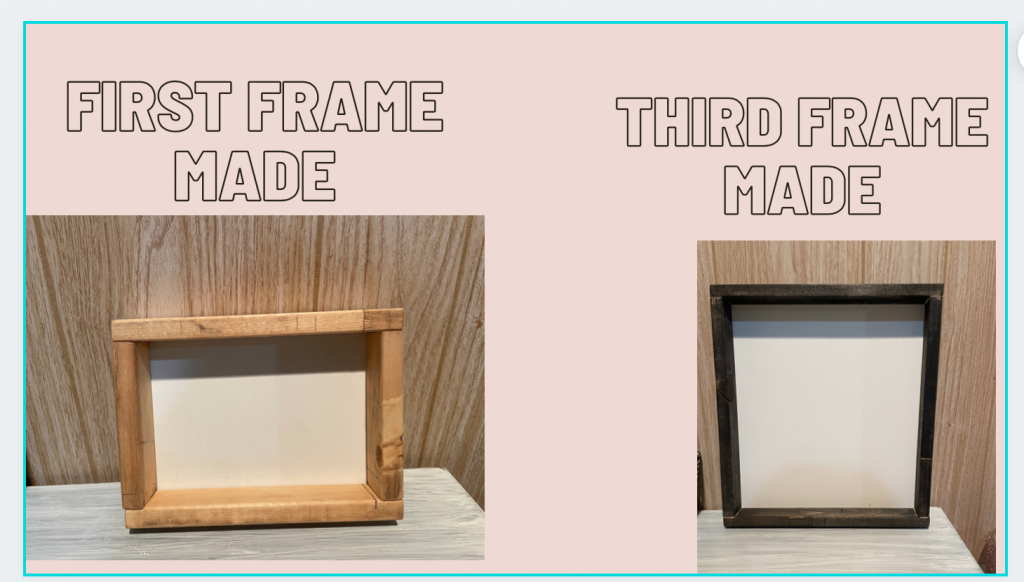
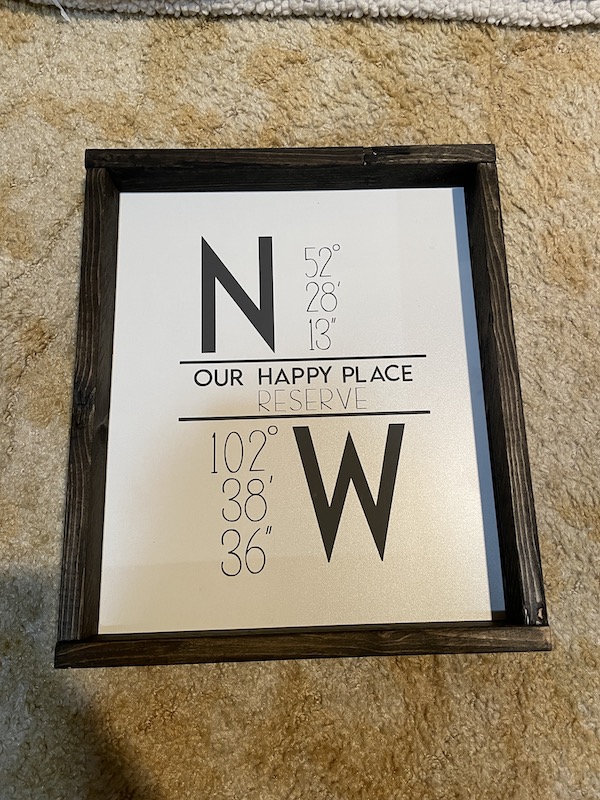
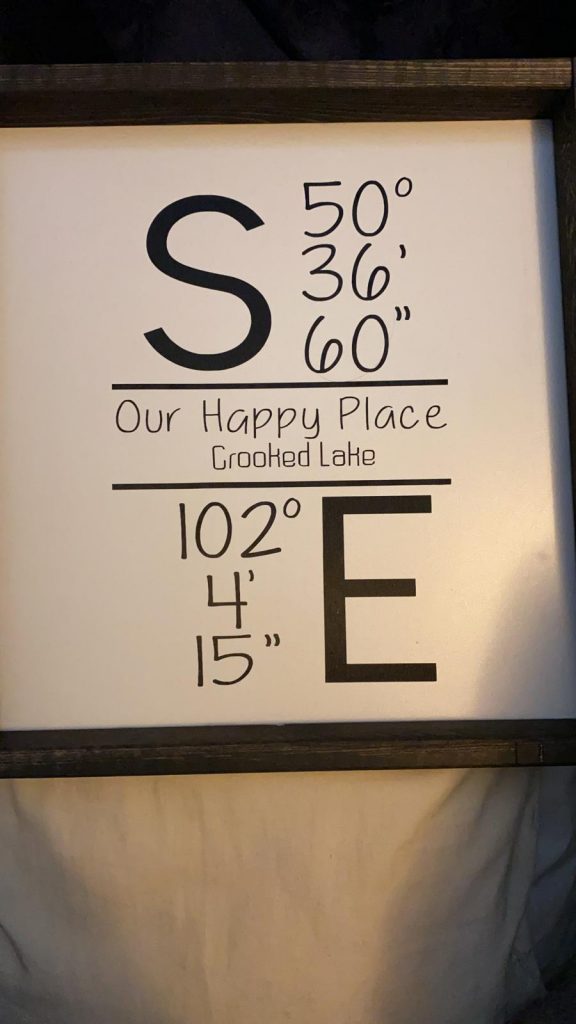
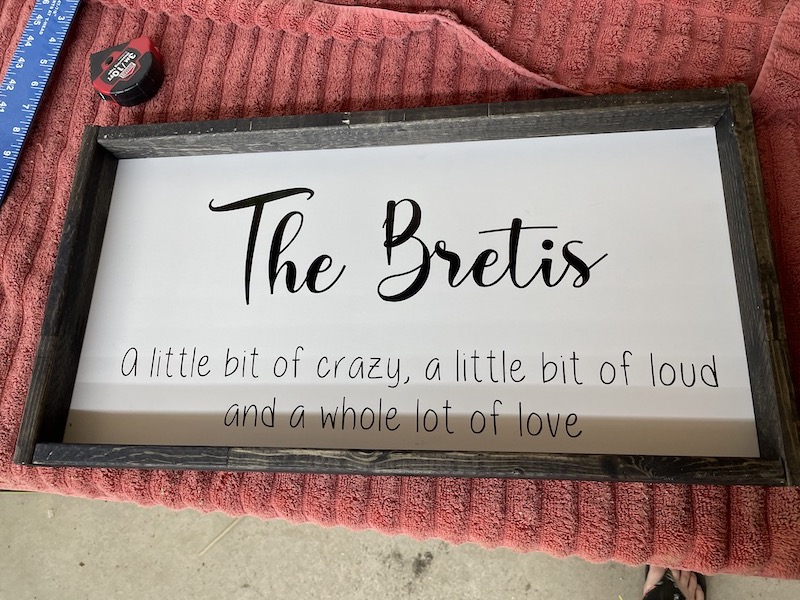
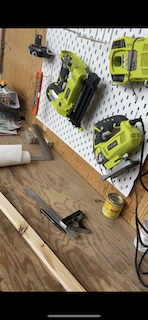
comparison of frames 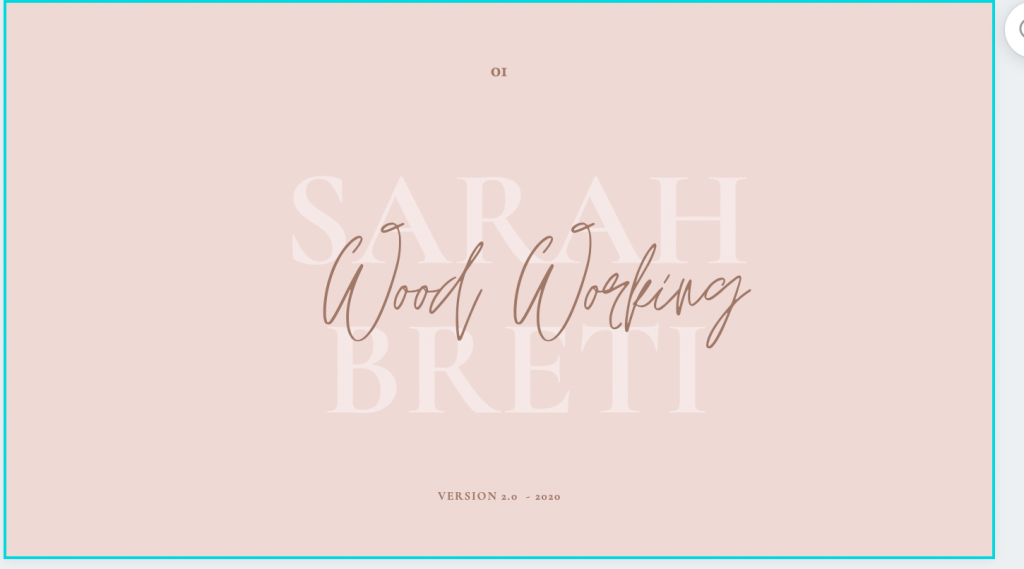
Start of slide/video