The future of the world is in my classroom today - Ivon Welton Fitzwater

Category: Learning Projects (Page 1 of 2)

It’s a Wrap

As my spring semester comes to an end, so does EDTC 300 and my learning project. Looking back on the last few weeks I realize I have come a long way since the beginning. To some it may not seem like much, but gaining the patience to figure out the measurements for the backing of my signs was a big struggle for me. I know that this is still something I will have to work on as I continue making and then hopefully selling when I’m confident! 

Each week in the learning project was not only an opportunity to learn something new with my project but also with myself. Here is a recap of my learning project;

Week one – Am I doing this DIY Right?

  • Decided I’m going to learn more about making frames to hopefully sell one day
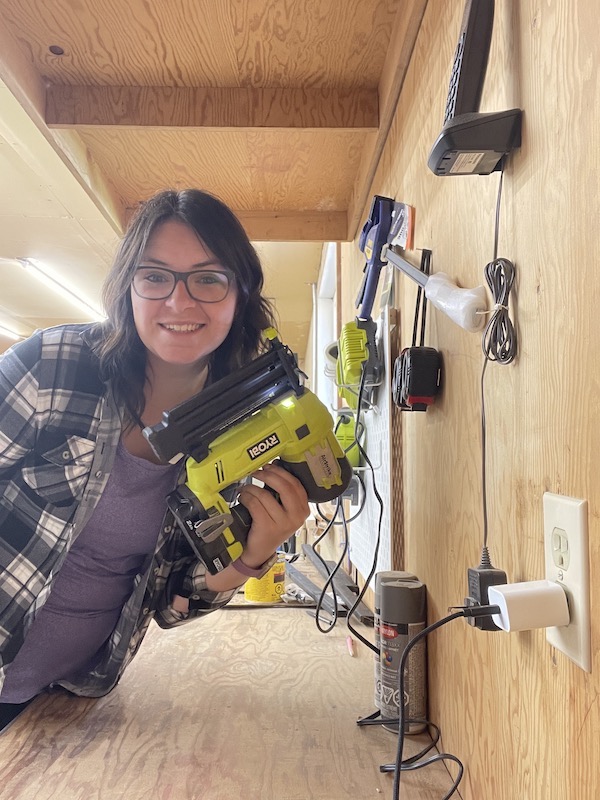
  • I took a chance and bought some new tools, this being a brad air nailer as well as a used mitre saw.
  • Asked my husband if he could help me figure out my speed and depth of the nailer as it intimidated me a bit.
  • Used Pinterest (https://lollyjane.com/how-to-frame-a-canvas/) for some tips and tricks 

Week two – Try, Try, Try again

Week two was completing my Mother’s Day signs and having a few mix ups with that but still rolling with the punches. This week also taught me to not worry so much about the mistakes as I am still learning and I will still make them down the road

Week 3 – Thankful for Canva

This week I found an app that would work for me for editing my pictures when it’s time to sell them. I also learned that I could make a logo with the app if I chose to do so!

  • Did a trial and error on many apps 
  • Learned about Canva
  • Designed a possible logo *insert pictures*
  • Made a comparison in Canva of my first and third frame to remind myself how far I’ve come *insert picture*

Week 4 – Just Keep Pushing Through

This week wasn’t much of a creative week for me. I cleaned my work space so that I could have a clear mind and space for when I began working on my frame! I did learn a few things though;

  • A clear space = a clear mind
  • I’m not as messy as I thought
  • Just because I had a creative funk, doesn’t mean I won’t start again

Week 5 – The Hinge Method

This week I learned a new technique for when I put the writing on my new frame I was planning to make. I used these tips and tricks while finishing up my sign and I think it worked pretty well, check out the pictures in my last post (*link) to see how it turned out! What I thought about while reading and learning about this technique;

  • What works for her may not work for me
  • It doesn’t hurt to try in case it becomes a good method
  • Just because it says to use transfer tape you don’t have to and can use painters’ tape instead; this is also way cheaper!

Week 6 – Today I Struggled to Make a Frame

I think out of all the learning I did up to this week, this one was by far the most enjoyable one I’ve done! Although I struggled and made some mistakes, I was able to laugh at myself along the way and that’s all that matters

  • Found a video for setting up my Ryobi for when I forget 
  • Found an article for how to size my frames and backing easier
  • Used my mitre saw for the second time!
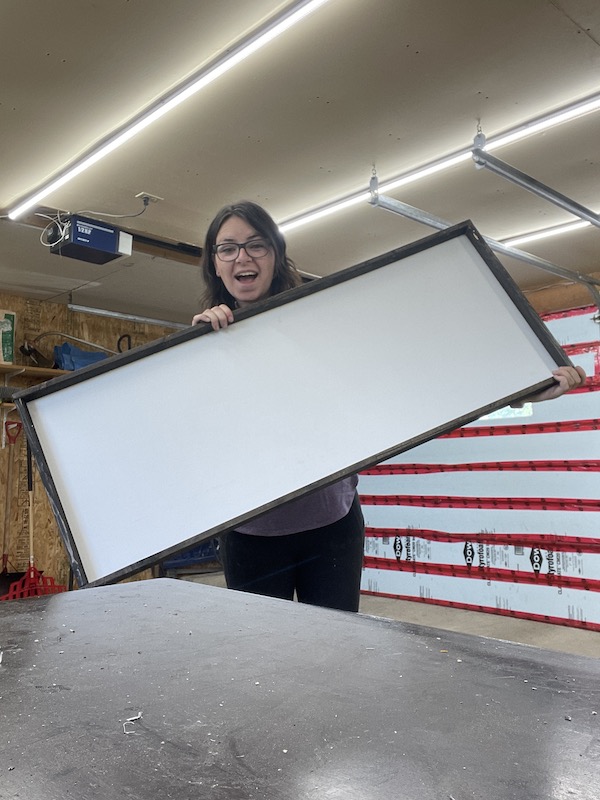
  • Finally finished a frame that I’m so proud of 

Week 7 – The Final Touch

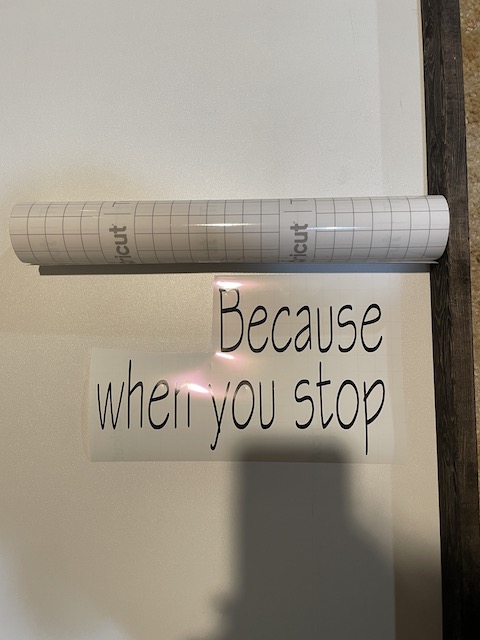
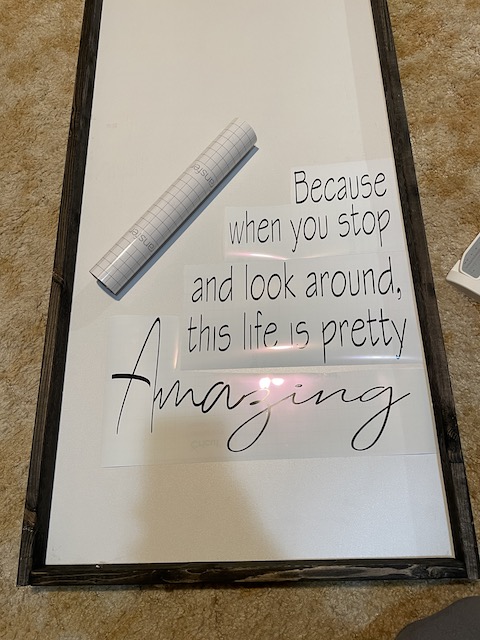
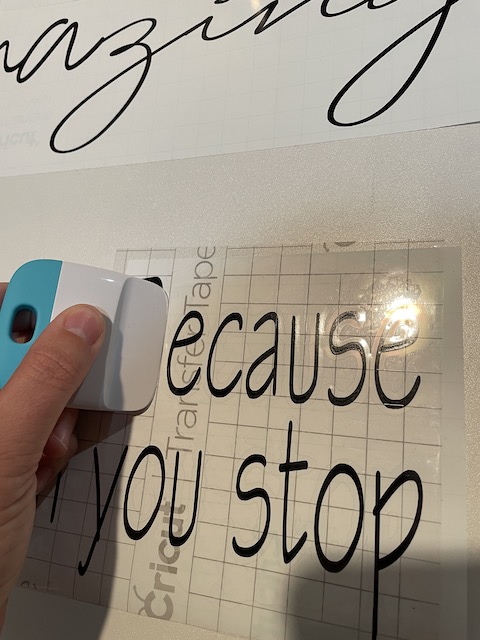
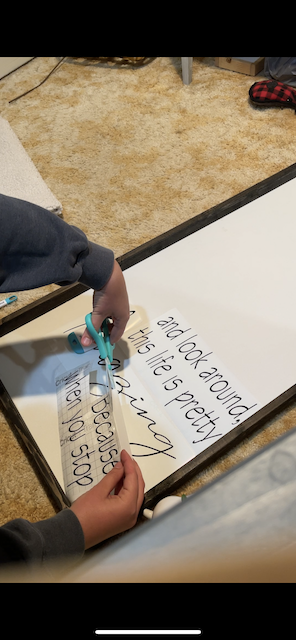
This learning project has come to an end but I have learned so much from just a short time! I am glad I chose the DIY framing and Cricut combo as this is something I have always been interested in learning more about but I have just never had an opportunity to just sit down and learn. This final post is what my frame looks like with the quote on it! Although still not perfect, I am still happy with the results and I cannot wait to continue to make more as time goes on! With putting all my tips and tricks together here is my finally project. I now know as you might notice from the video that I struggled with the Hinge Method and soon realized it was either not for me or it was just an awkward size of frame and I couldn’t deal with it correctly. Either way I will try again for my next project and see how that goes. 

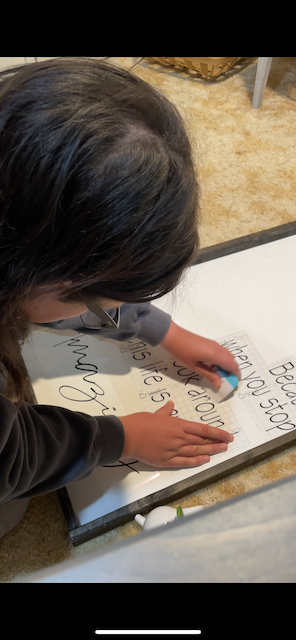
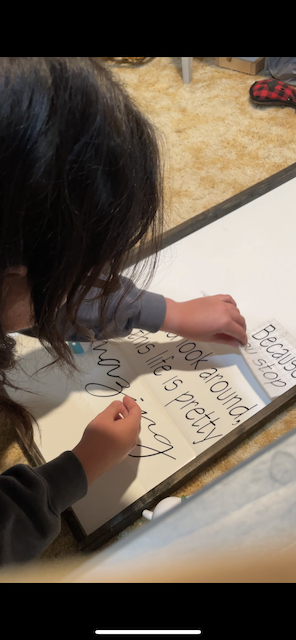
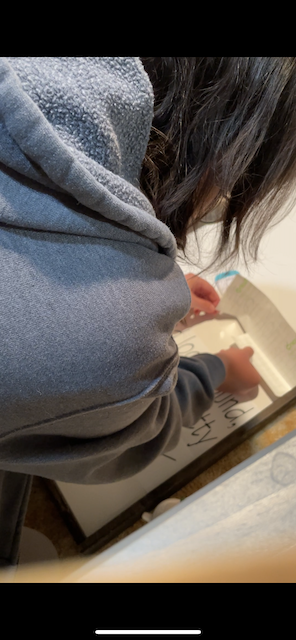
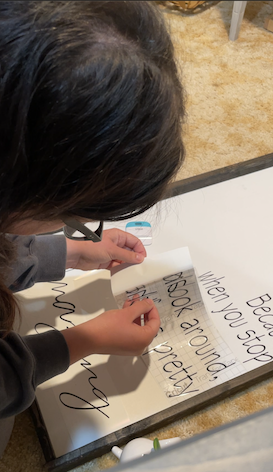
I had taken a video of me doing the hinge method but the video was not uploading regardless of what I did or it was going to take way too long. So here are some snap shots from the video of me attempting the hinge method. Like I said above, I am not sure if it was how I was doing it, I just need more practice or that it just simply isn’t the way I should go, but I struggled with it more than I expected.

All in all my sing turned out good I believe although there are some flaws but that is to be expected and I cannot wait to continue my crafting journey and learn from my mistakes as I go!

Here is the finished product! 🙂

Today I Struggled to Make a Frame

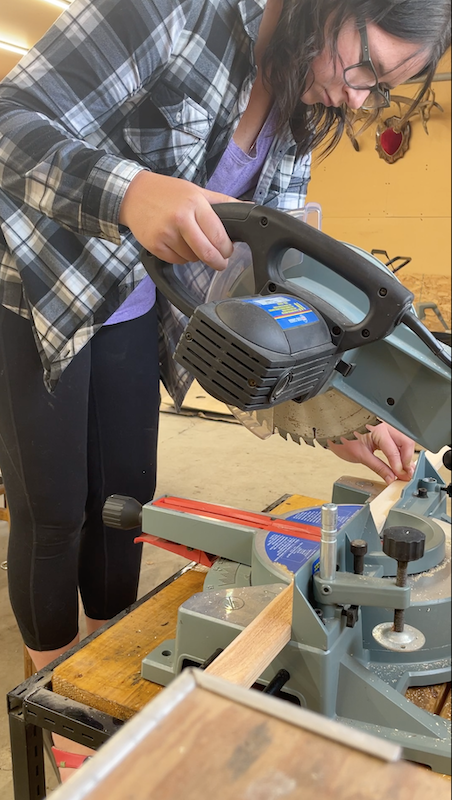
I made a frame the other day and I thought I would show how I made it! There was still no smooth sailing and I knew that it wouldn’t be, but there were more mistakes than I anticipated but I got through it regardless! I started off by first figuring out the size of frame I wanted, which going off of the picture I talked about in my last blog post I knew it had to be long and narrow. So, once I found out how to take pictures of my process with my Apple Watch, I got to work with the cutting of my frame! Below is the process I went through!

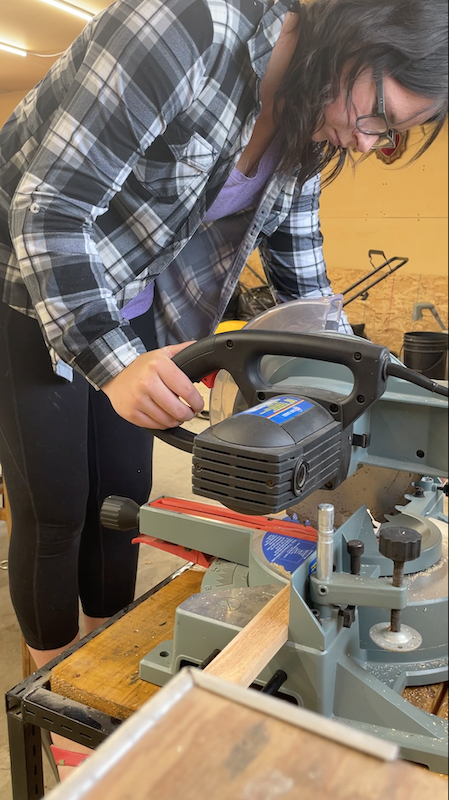
First, I cut the frame to the size I believed I wanted it! There was no logic to my numbers but I liked the size so I went for it.

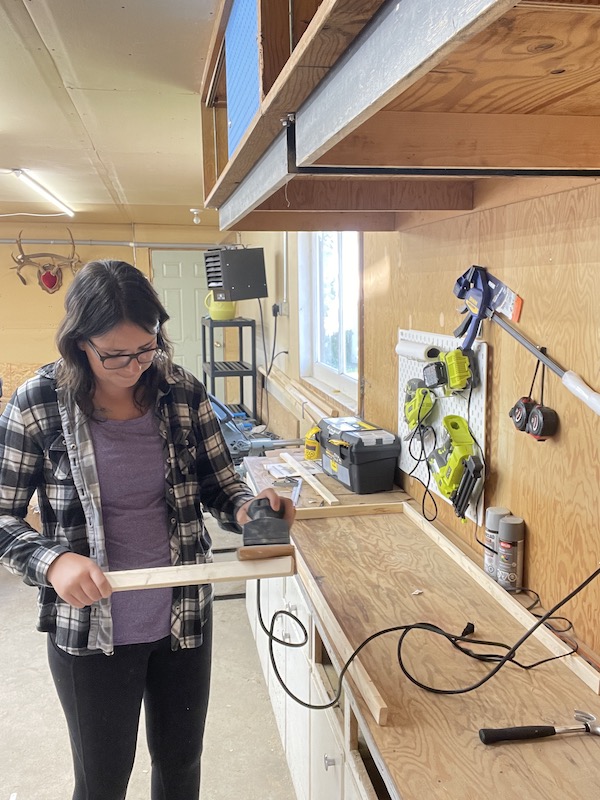
Next step is to sand the wood down, usually it doesn’t have to be done but if the wood is a little bumpy, I choose to do it so the stain goes on nice! Once I sand it, I then put on some rubber gloves so I don’t have stain on my hands for days, and stain the wood.

Once I finished sanding and staining, I took the frame pieces to the table and started nailing them together with my nail gun. I refer to this video when I cant remember what depth I should turn it to. Here is a video of me assembling it and then realizing I made a mistake

Assemble time
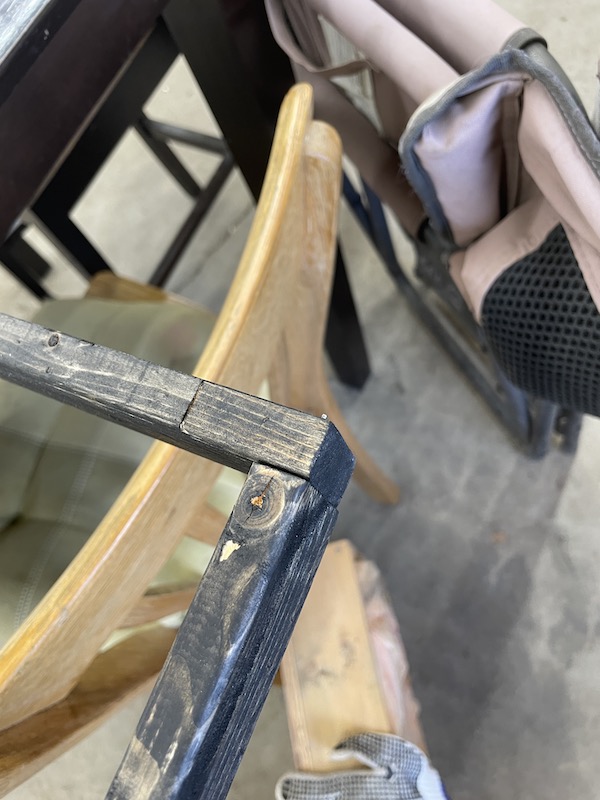
I am assembling the frame when I realize I did the ends wrong

After struggling to take apart the ends as the nails were in the wood pretty tight, I was able to correct my mistake and get back to working assembling it the correct way. Although I did make a mistake with the way the frame was put together, it wouldn’t have affected the frame that much as I could have done the same on the other side, that just wasn’t what I wanted to do then.

In this video above, I complete the frame and with a little struggle I end up putting the backing on which is not shown! The hardest part for me is knowing what size I should make the backing. Before finding this helpful article on Pinterest, I thought it was just as easy as being the same size as the frame but it isn’t always that easy!

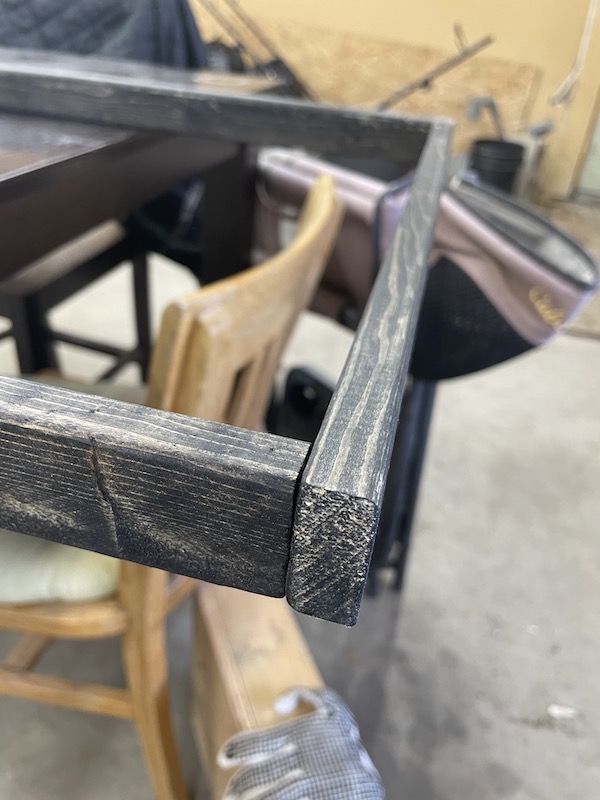
Here is my finished product and I am so impressed with how it turned out even with all the bumps to get to the finished product! I still need to touch some spots up where I had to pull nails out of as it went through the frame, but those are minor details for how good I feel about completing this frame!

Stay tuned for my video of decorating it next!

The Hinge Method

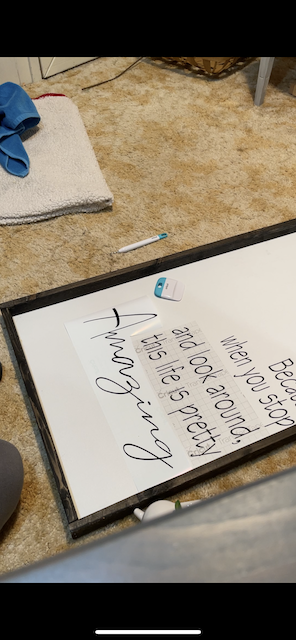
With some advice from Katia, I took to the internet to find some tips and tricks to help me apply my vinyl onto my new frame recently made. While reading and watching I learned something new called the ‘Hinge’ method. Normally I would have taken the transfer tape off once I got the words stuck to hit and placed it on like that, but the way she is showing it, you keep the transfer tap attached and slowly remove the bottom layer from the transfer tape instead. I also think it will be handy to do what she suggested by taking off some of the backing to be able to stick it down on the wood instead of sticking it all down at once. I have learned from mistakes that transfer tape is not the easiest to take off when it is put down, even by accident and sometimes it won’t come off and you just have to roll with how it is laying. 

While doing some more searching I also learned that other than using a permanent vinyl on the wood, you can also use an HTV, or Heat Transfer Vinyl. This makes it look like it is painted on the wood when applying the HTV which may make it last longer in the long run! This is the article I found where it explains how to apply it. Although she talks about a heat press, I just use an everyday iron without the water added and it works the same, although I do need to hold it longer but that is minor.

As I add the words to my frame, which I made the other day if you want to check it out here I will remember the hinge method and hopefully it is easier to put on and I can cut back on how many times I have to take it off to adjust! 

Just Keep Pushing Through

You know those days where you want to do so many creative tasks or accomplish so much homework but then you hit a wall and suddenly you either can’t think of anything good to make or anything brilliant to type? Yea, that was me today. I won’t lie and say that this doesn’t happen often with me, but it does more than I’d like to admit so I try and accomplish at least one or two tasks that day, even if it’s a simple load of laundry and making the bed. I also try and get outside because that always makes me feel better!

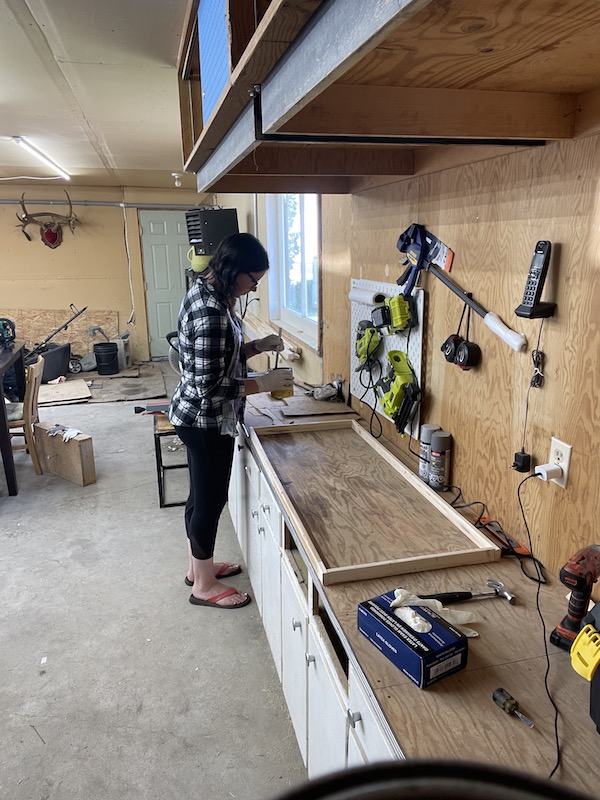
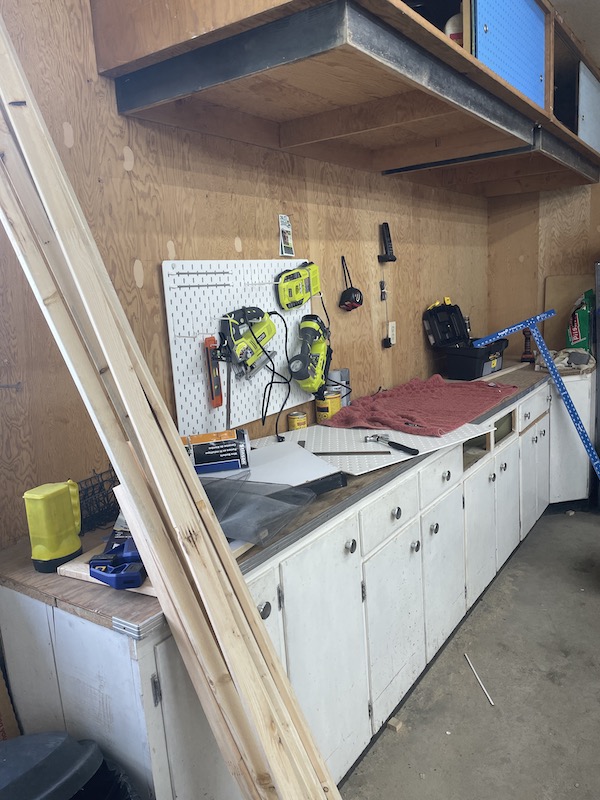
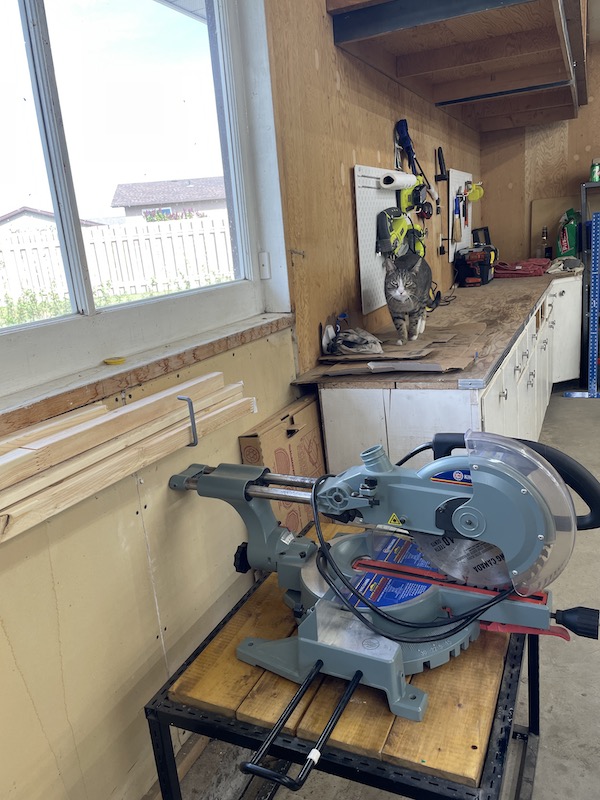
So today, I cleaned the garage as well as my counter work space. This is where I do most of my crafting and it was a mess due to not being home long enough to clean it with seeding happening and constantly running to the field. I’ve learned that when I have a messy space I either shut down and don’t deal with it or I get to cleaning and I’m thankful I finally got to cleaning! I was able to pick up my mitre saw from my mom last weekend so I was ready to take that out of the bag and set it up. I also hung another pegboard so that I had more space to hang my tools instead of on one cramped board. My cat, Remi, even stopped in to check out how I was doing and I think he approved of not having so many obstacles to walk around.

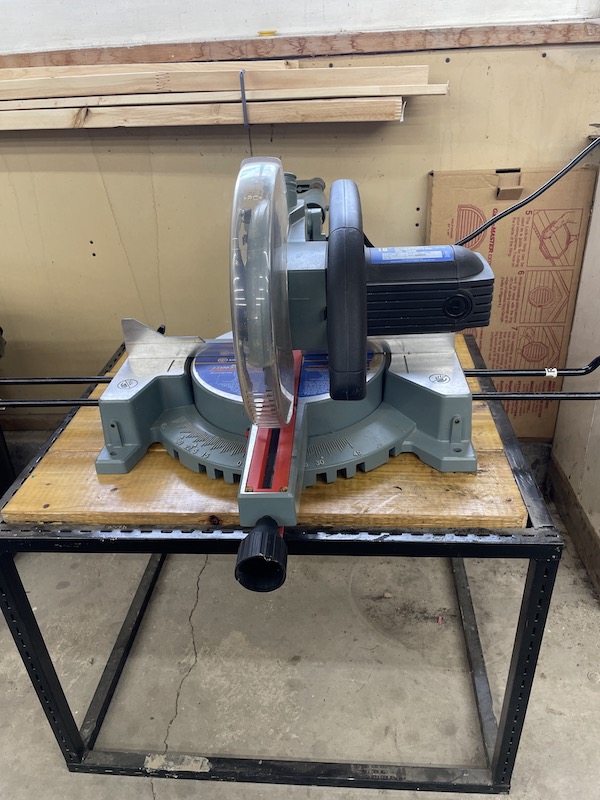
While figuring out how to unlock my mitre saw to practice getting used to it, I realized that I had a small problem other than not knowing how to unlock it. I’ve used a mitre saw before at my previous job, so I knew this one was just going to take some getting used to, but when I realized the handle was on the right side instead of on the top like the previous one, I had used, my eyes went wide, because I’m left-handed. I decided that this was just a bump in the road to get me to where I want to be and I just have to practice!

New mitre saw I can’t wait to learn on!

For my next project, I want to make something like the picture below because it is just a reminder that even on the bad days or the days it is too hard to get motivation, life is pretty amazing and I’m thankful for the people that I have in my life every day. I also think it would be a good chuckle to make the other sign as it seems to be that in our house the cats are the bosses!

https://www.pinterest.ca/pin/534943261996311538/sent/?invite_code=2398fde84500418894a1380cc151ff75&sender=534943399397038057&sfo=1 https://www.pinterest.ca/pin/13440498878415329/sent/?invite_code=8722cf855fa94faca13fb23fa830e971&sender=534943399397038057&sfo=1

I’m glad I got over my creative bump and gained some motivation and I cannot wait to start using the mitre saw, I may have to ask my husband for some help to unlock it first, as well as to create these signs!

« Older posts

© 2024 Sarah Breti

Theme by Anders NorenUp ↑