Category: Learning Project

Learning Project Wrap Up!

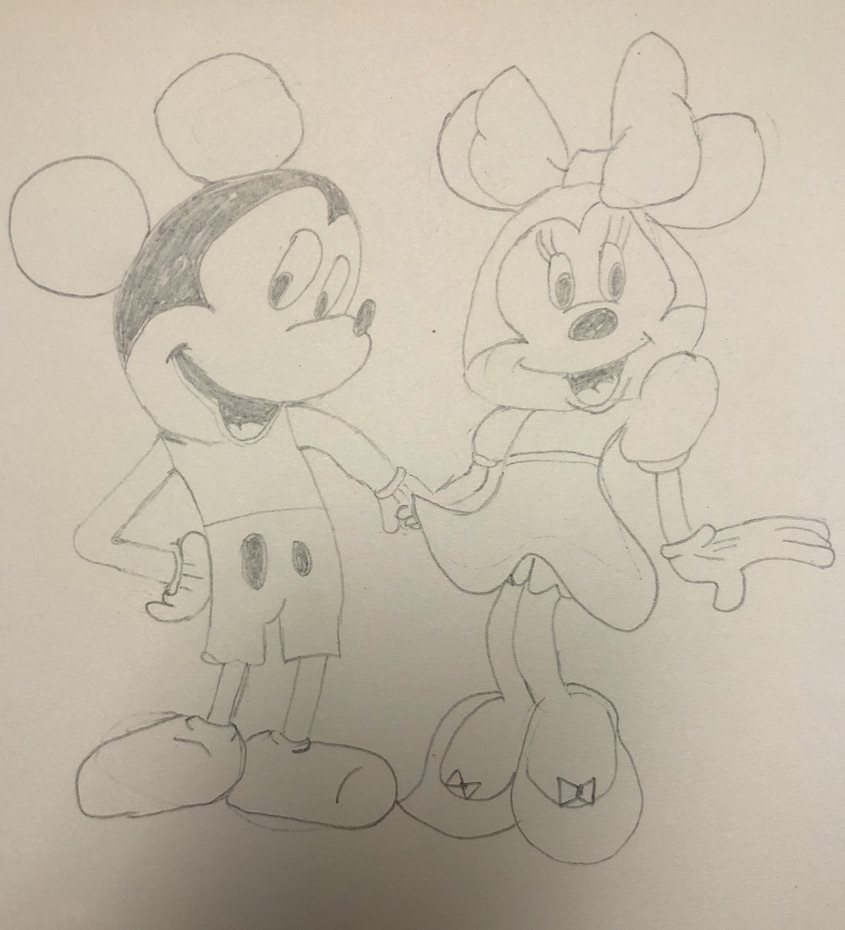
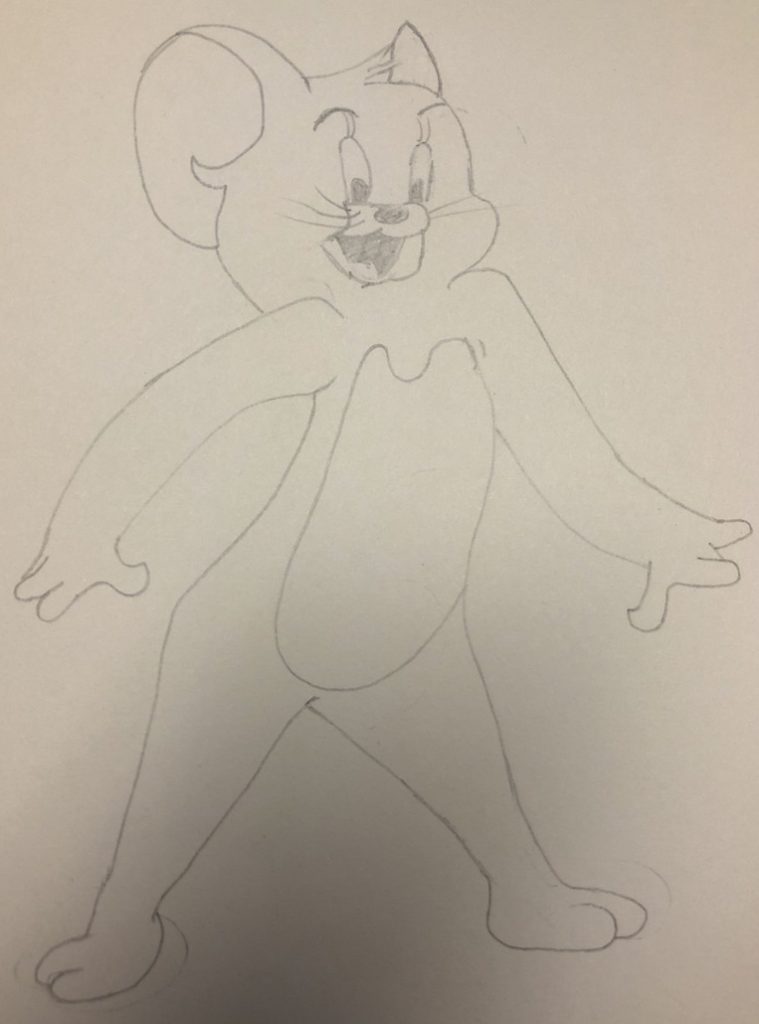
When I started my learning project, I had no idea how to draw faces, the only experience I had was drawing cartoons. (which are not very good)

Throughout the learning project I learned lots of different techniques that I am excited to keep practising to make my drawings better. A few things I learned were using guidelines and shading, along with learning how to draw each feature. The hardest thing for me was to draw the hair, and I could still use a lot of practice.

I learned early on that it was much easier for me to draw with guidelines, then without them. I found that if I didn’t use them my drawing ended up looking sloppy and inconsistent. I found that I valued the consistency that my drawings had when I used the guidelines.

The other thing that was completely new to me was shading/blending. Different videos showed different ways to do this such as using different pencils, your finger, a tissue or a q-tip. I found that I didn’t like the look of the drawings when I tried to use a pencil to shade/blend. I tried the finger and tissue, but they didn’t really work for me, I found that I didn’t have control over where I was blending and making the shading lighter or darker. The q-tip was the obvious winner, it was small enough that I had control of exactly where I wanted it blended and made the drawing smoother than the other techniques. Overall, I really enjoyed learning how to draw faces, it was something that I wanted to learn for a while and I’m glad that I finally got the opportunity to learn it.

For this project I found it the most useful to use videos to learn, I tried to find different channels to find different techniques every week I will list the channels that I used each week below.

RapidFire Art and Farjana Drawing Academy (eyes)
RapidFire Art (noses)

Silvie Mahdal and Ebru Art Channel (lips)

Kirsty Partridge Art (hair)

Last learning project post: putting it all together.

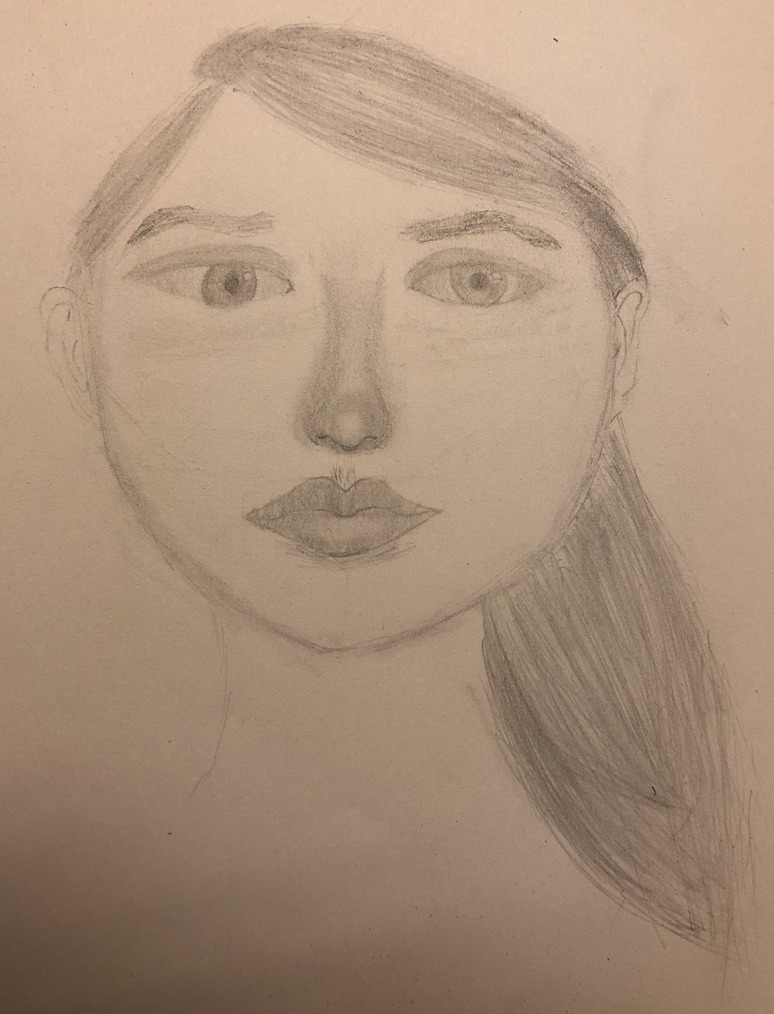
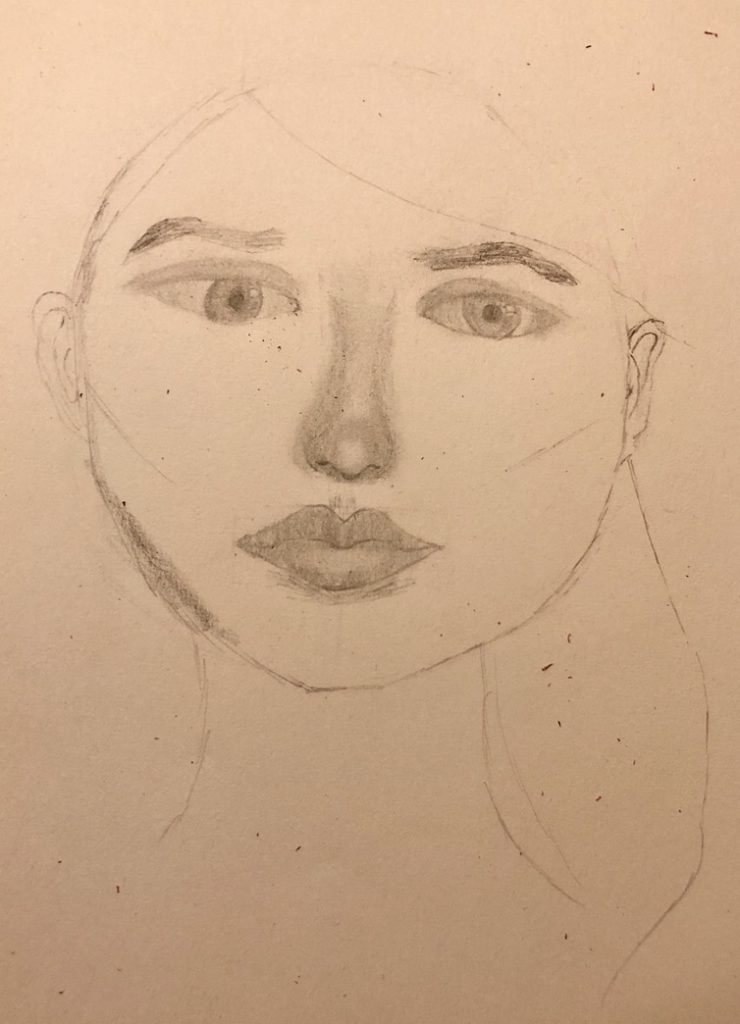
So, this week is my last learning project post (besides my wrap up post), so I decided to put all the things that I learned about drawing faces and put them together to make a complete face. If you want to see how I did each aspect go check out the rest of my learning project posts.

This week I just put everything I have learned in the learning project together to make a face. The only new things I learned this week was where to position everything, and the ears which do not look the best, but they will do for my purposes in this project.

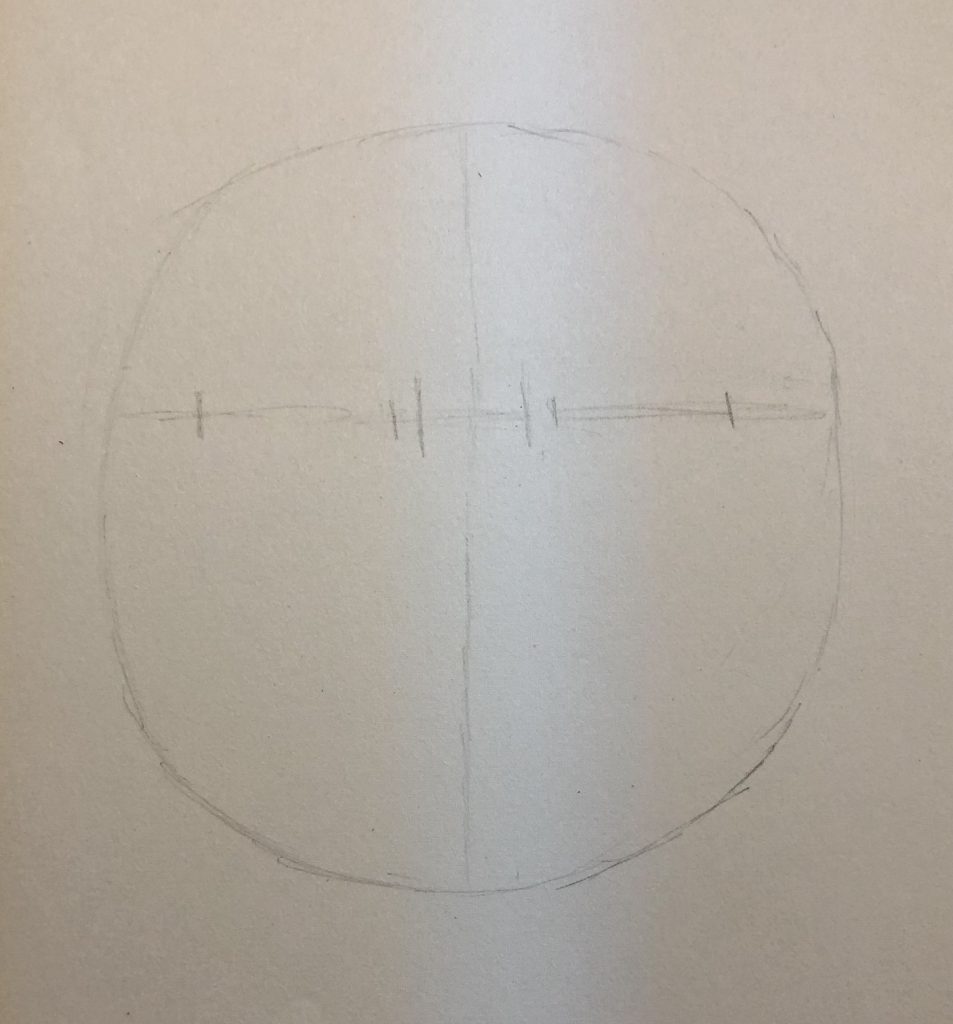
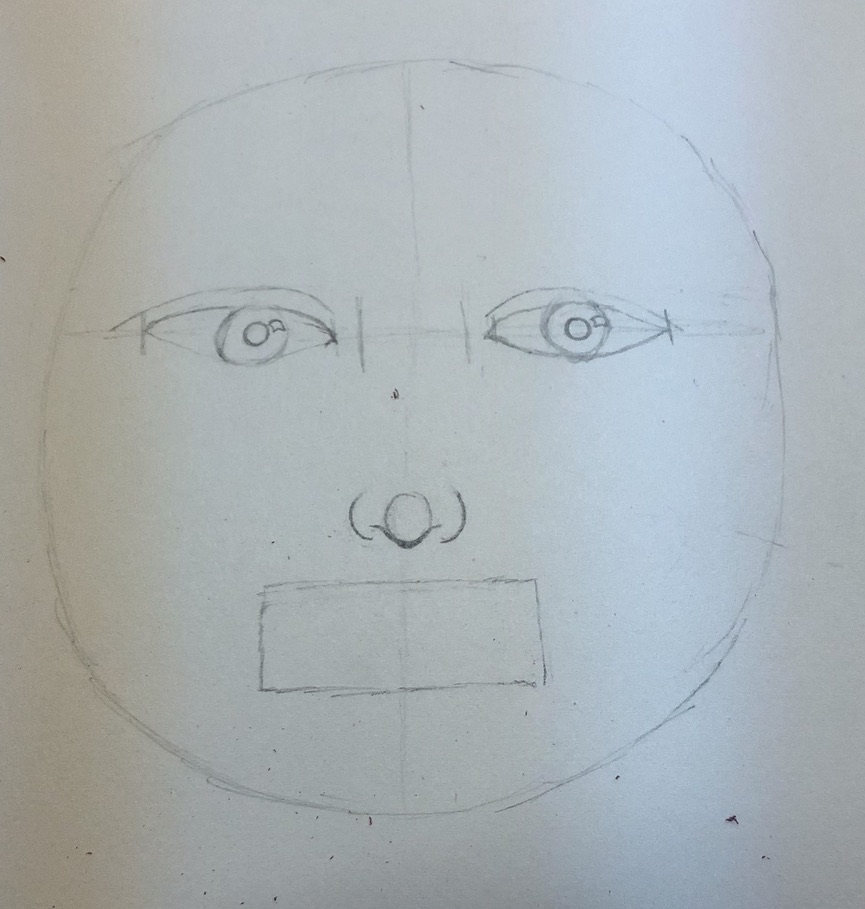
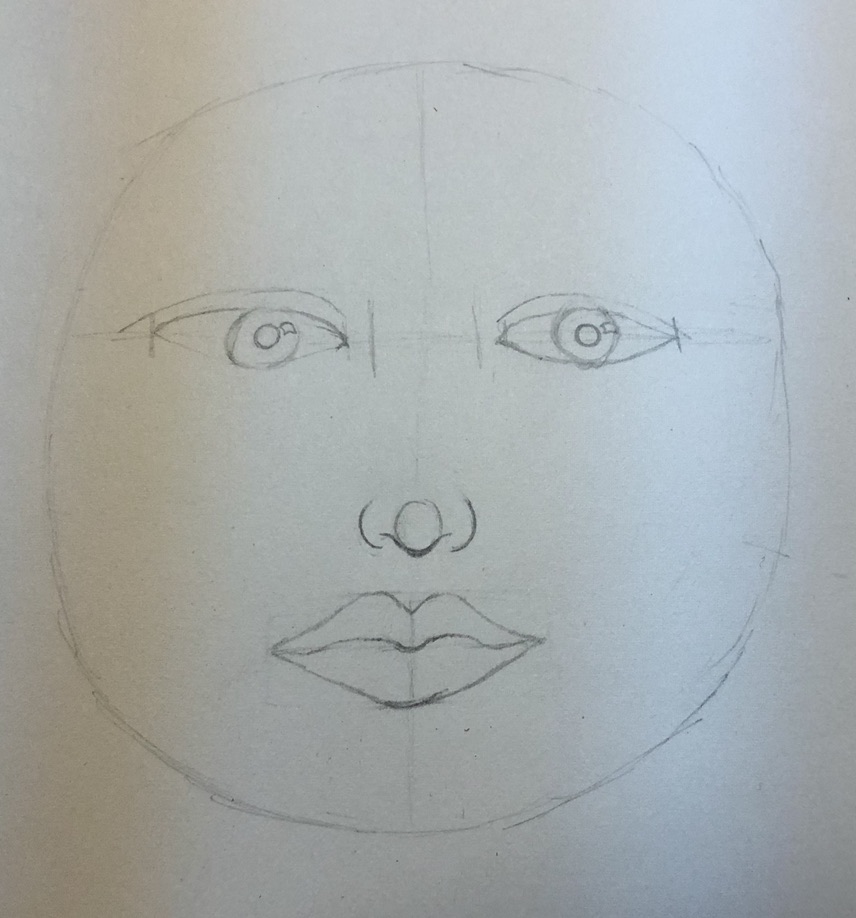
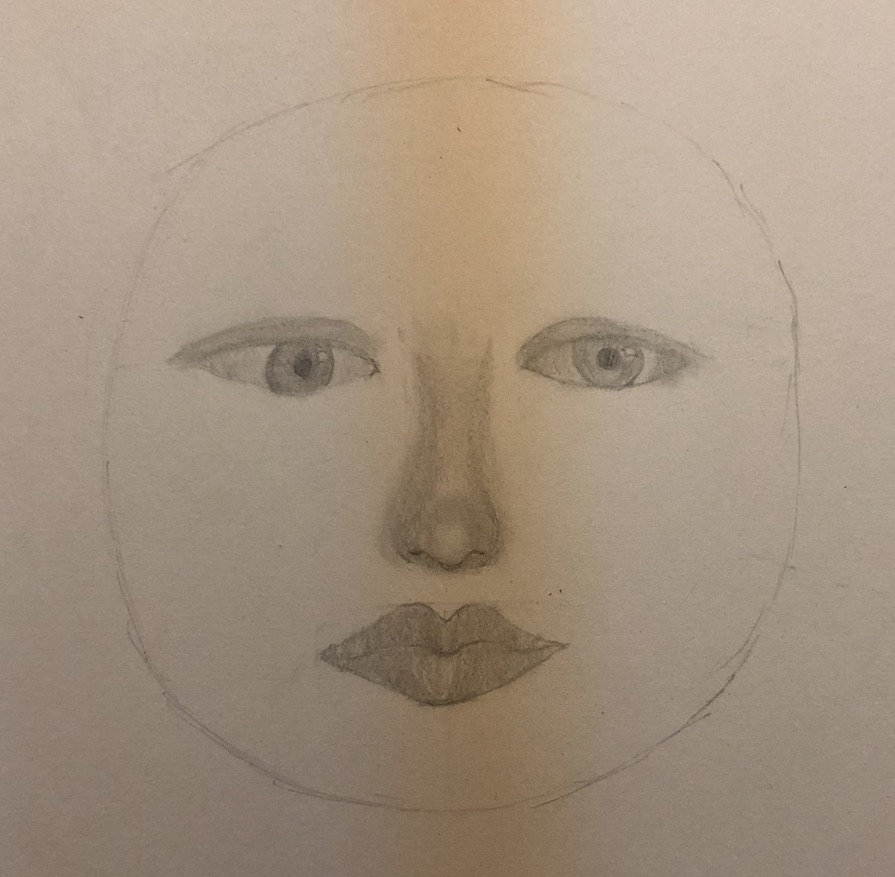
I used this video from RapidFire Art as a reference not for technique. I really liked the RapidFire Art channel for drawing tutorials, they went into lots of detail and explained everything really well, however it was a bit over my skill level so I definitely recommend finding a beginner video if you are just getting into drawing, but RapidFire is a great channel if you have a little more experience. I started by making a general head shape and estimated where the middle of the eyes would be and drew a horizontal line there. Next, I drew a vertical line down the middle of the head, I used these two lines as guidelines. I also made small lines at the sides of the nose and the where the corners of the eyes should be. I then drew each aspect as I did in my other posts and used the video to draw the ears and to do a little more shading around the face. The one thing that was more difficult was drawing two eyes that were the same size and shape.

Overall, I am happy with the result and I’m pretty impressed that I could do everything from videos on YouTube. I could definitely use more practise and I am excited to see my skills improve.

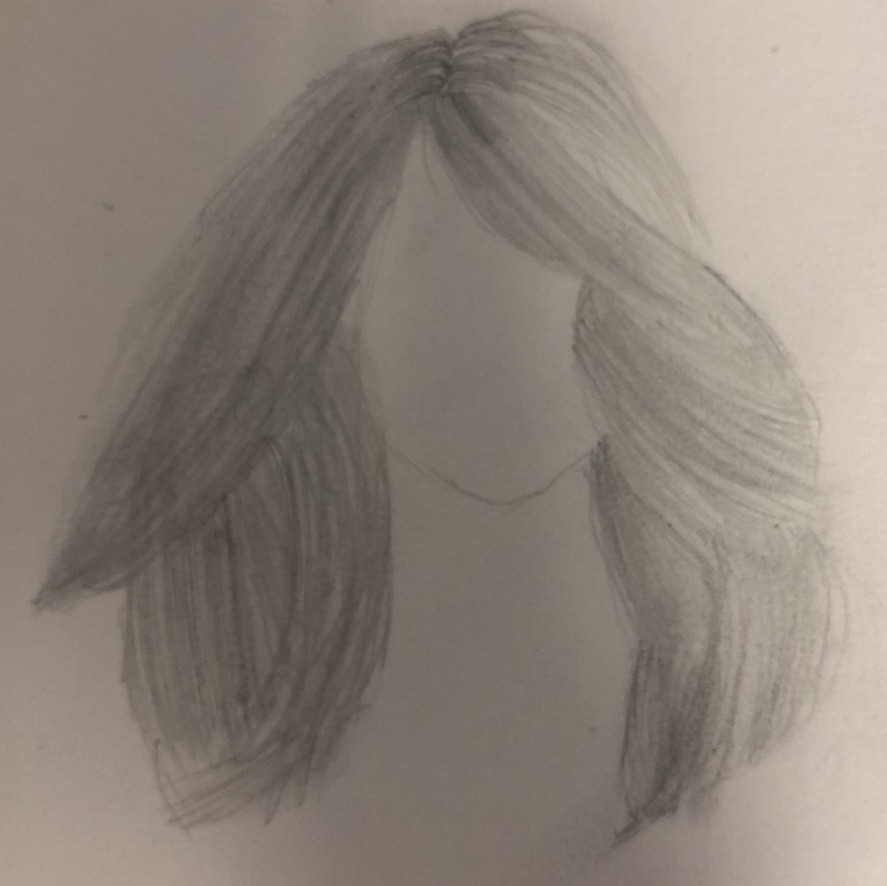
Learning Project: Drawing Hair.

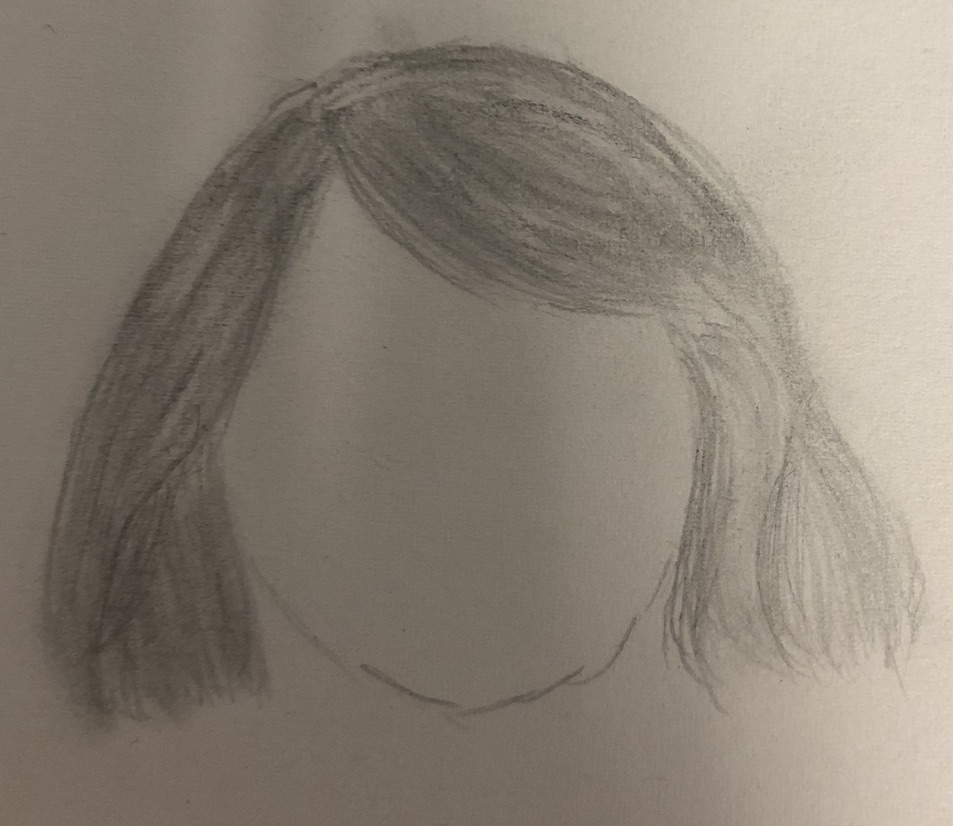
Attempt #1. Definitely could be smoother.

This week I decided to do hair, and it was the hardest part of drawing faces so far. I watched a few videos, but they all seemed to say the same thing (this one was good). It was hard to get the details right, and I could definitely use more practice! However, for the purposes of this project I decided to keep it simple, but there is definitely room for improvement. The hard thing about this week was that the video didn’t really help me, I really had to just practice it until I was happy with it.

Attempt #2. A bit better than the first one.

I watched this video, which was a do’s and don’ts video. So, here is a few things I learned about drawing hair. I need to have a reference photo, I didn’t really try to copy the photo exactly, but it was helpful to have something to look at to guide me (I believe that I was just loosely following the example in the video). It was also easier to draw the hair if I had a general face outline to work with. The next thing was to break it up into different sections and focused on one at a time. And the last thing was to start light and keep adding layers, I feel that I rushed this more than I should have. Also, I found that I had better results if I did one long stroke instead of doing small strokes for the hair. And I did the same shading technique with a q-tip, I did it quite light, so the hair still has some definition. I know I keep using the same shading technique, but I found that it works the best since I don’t have many drawing supplies.

As always suggestions are always welcome!

Time lapsing and drawing lips

This week I tried out an app called Life Lapse (available on iPhone and android) and used it to show my progress in my learning project. The app basically is a stop motion app, you take a series of pictures that make it look like you took a video. I tried out a few different apps before settling on this one, the reason I picked this one is that it has a “ghosting” feature that puts the last picture faded on your screen so you can see the difference between the last picture and the one you are trying to take. This feature was helpful to make your final video smooth. One thing I didn’t like was that it did not offer a tool to add text or any drawing tools, but other apps had the feature, but you had to pay for it. The other thing that I did not like was to get the pro version you had to get a subscription, and it is pretty expensive ($10.49/month). Overall it was pretty user friendly and self-explanatory.

Now for my learning project.

I tried to find videos from different channels that I haven’t used yet. The first video that I found was from Silvie Mahdal called “How to Draw Lips & Mouth in 10 MINUTES – EASY Tutorial for BEGINNERS.” This video did not use very many guidelines, and it was hard for me to make the lips consistent and proportional. Therefore, I found a second video from Ebru Art Channel called “How to draw a lips – Drawing technique,” this video only went over the basic shape but it used a box with a horizontal and vertical line and three circles. I found that I didn’t need the circles, but the lines and the box were helpful. I used the shading technique from the first video and used a q-tip for blending.

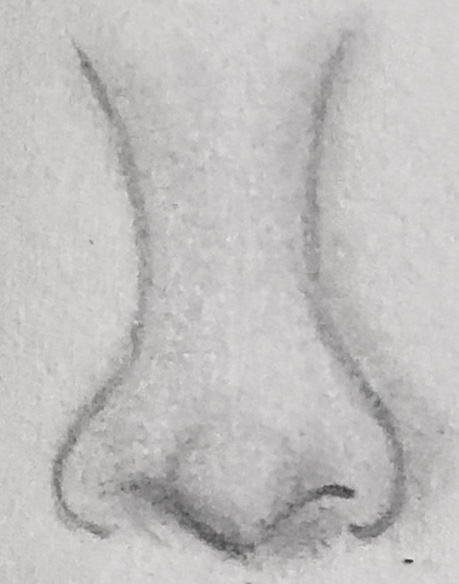
Learning Project: Drawing A Nose

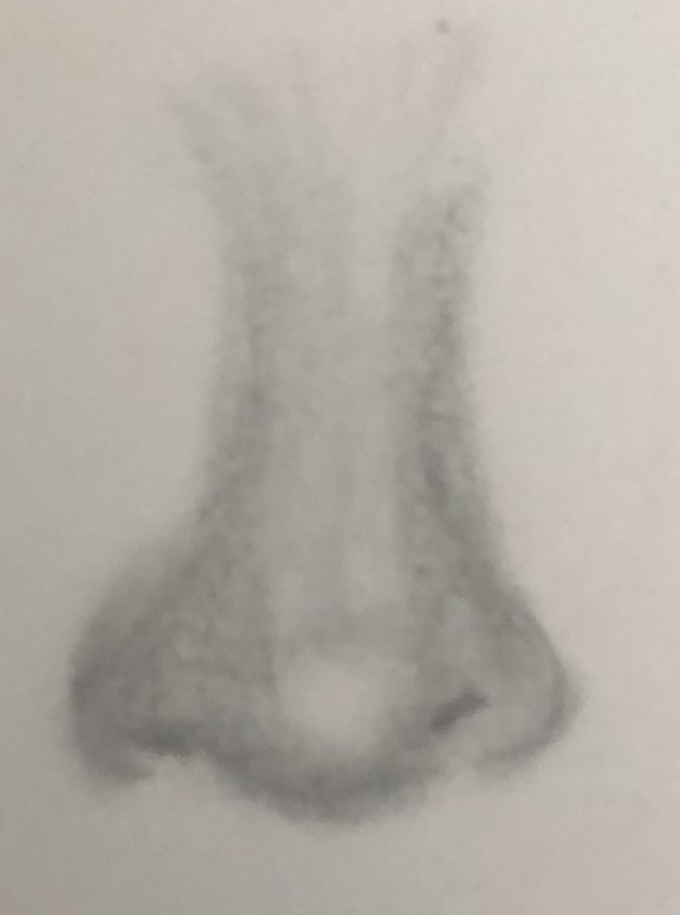
This was one of my first attempts. No shading and just using the circle as a guide.

So, this week, I decided to focus on drawing noses. The structure was pretty easy, I followed another RapidFire Art video. I really like the videos because the artist goes through a lot of details that are helpful to know. For example, they go through where to make the highlights, depending on where the light is coming from in your drawing and how to make different nose shapes. The one downside to these videos is that they are beyond my skill level, however I used some of the things I learned last week to help me.

This was my final attempt, with all the shading, and I went back to darken some of my lines after I was done shading.

I found from last week that it is more helpful for me to use the guidelines, however I found that it worked best if I just drew a circle and use that as my guide. I found that having the circle helped to guide where to have lighter shading. I also found it much easier to just do light shading on the bridge of the nose instead of drawing lines to guide the shading. Also, I used the shading technique from last week’s post, which was using q-tips to shade the parts that needed to be shaded instead of using a pencil. Since I am new to doing shading in my drawings, it was hard for me to do the shading with just a pencil and getting the right shade (it was always too light or too dark) and it was hard to blend and get a smooth result, which is why I used the q-tip technique. I also found it much easier to draw with a #2 pencil then to use a mechanical pencil that I used last week.

Also, if anyone has any drawing tips or tricks/resources that they would be willing to share that would be much appreciated.

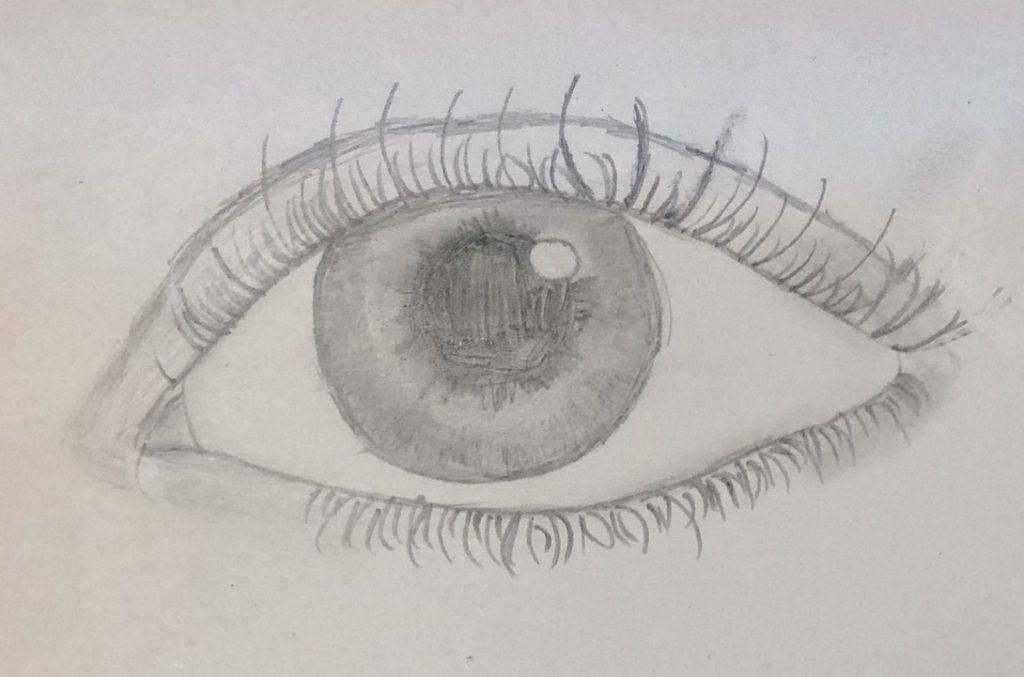
Learning Project: Drawing Eyes

second video technique

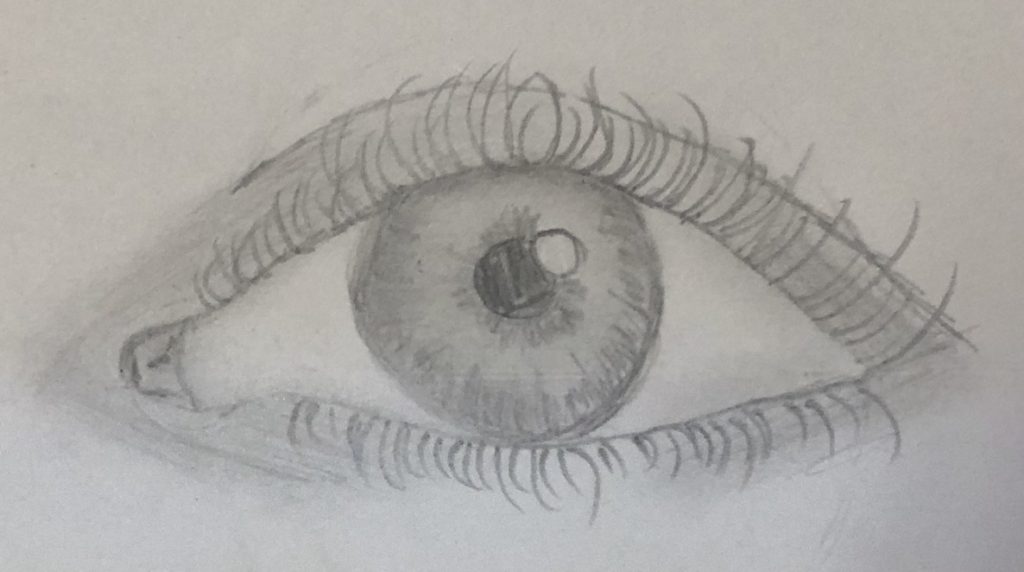
So, this week I decided to focus on eyes. I watched two videos, the first video was from a YouTube channel called RapidFireArt, it super detailed and explained why they did each step, which was super helpful, however I found it to be past my skill level. I did use some of the techniques from the first video but found a second video from a YouTube channel called Farjana Drawing Academy that did it a simpler way and was more at my skill level. The biggest challenge was doing the shading and the eyelashes, the first video explained how to shade with just a mechanical pencil, however the second video explained how to do it with a q-tip, I found doing it with the q-tip was much easier to make it smooth, and the strokes much less visible.

Mixture of first and second video technique (my final product.

So, what I ended up liking the best was doing the main outline with construction lines, I found it was easier to control what the eye looked like (how much it slanted, the overall shape etc.) For the shading I used the q-tip method, I found it too difficult to just shade with a pencil, because I couldn’t get the strokes thick enough or close enough together to make it look natural. It was also difficult to shade/blend the places that needed to be blended while keeping the places that needed to be defined, defined. I found that the lines stayed more defined if I used a #2 pencil instead of a mechanical pencil. I’m overall happy with the way the last eye turned out, the only thing I would like to be a bit better was the eyelashes. I still have not mastered the technique for the eyelashes, but one thing I noticed was that I was putting too much pressure through each stroke, which made them too thick at the end where it should’ve been more of a point. Overall I am happy with the way they turned out.

I’m Drawing a Blank.

Hello! This is the first post of my EDTC 300 learning project. The purpose of this project is to learn a skill through online resources and document the journey on this blog!

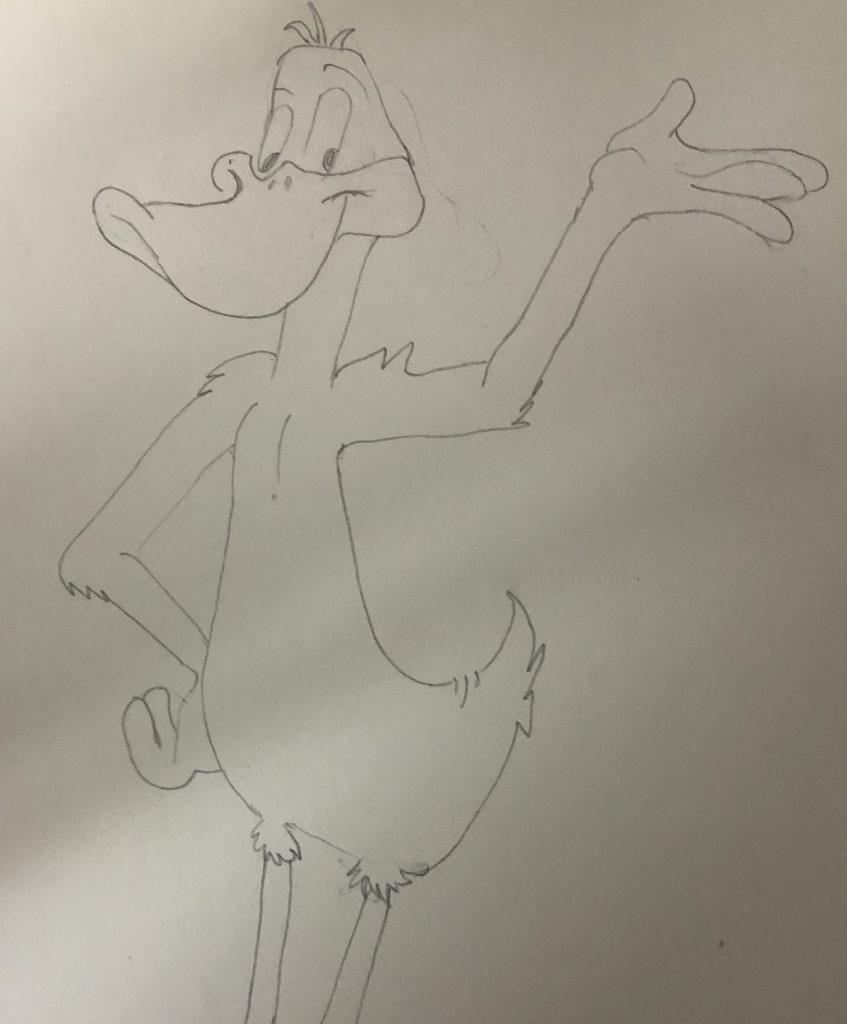
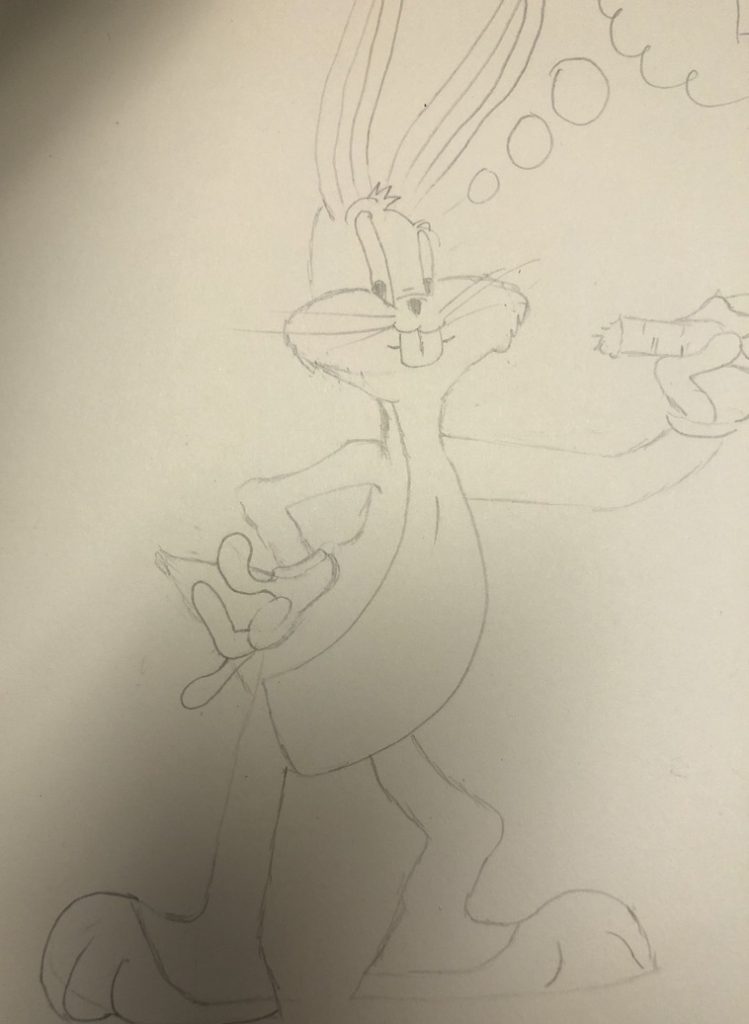
This is about where I am now in terms of skill. I drew this picture of Daffy Duck a while ago.

So, after much debate on what I should do for this project, I finally landed on drawing. Being the indecisive person I am, it took me days to decide on this topic. I have always wanted to learn how to draw and have picked it up from time to time. This project is the perfect excuse to finally learn how to draw. I have learned how to draw some cartoons off a picture, but I would love to learn how to draw faces, so that is what I am going to focus on. I will focus on one aspect a week (eyes, nose, mouth, etc.) and if I have time I will try to tackle some other things as well, and post every week about what I learned, my progress, and what tools I have been using.