Artist or Just a Neat Hack?
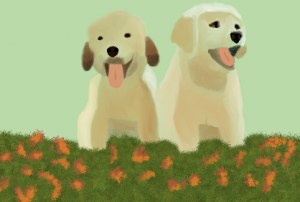
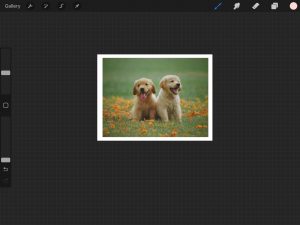
If you read my last blog post about my learning project journey you might already know what this hack or trick I might be referring to is. If not you can go read it by following this link, or if you do not have the time for that here is a quick run down. As I was scrolling on TikTok I came across this video that taught me how to trace a picture. I attempted to trace a picture of dogs out and colour it in. In the end it looked pretty good for my first attempt, however I thought that I could do better and wanted to attempt this trick again. If you did not see my last blog post these two photos below are my result and the photo I tried to trace.


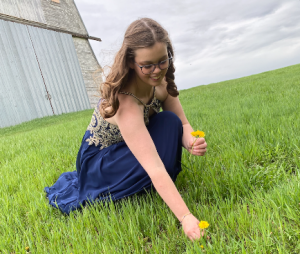
Since I wanted to revisit this technique, I started by looking through my photos to pick something to trace. I decided to go with the following picture that is seen below. This photo is my favourite photo from all of my prom photos and I thought it would be fun to recreate this picture as it is quite simple.

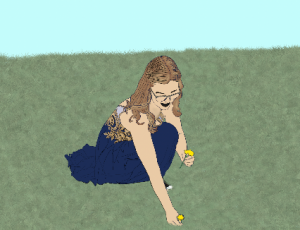
I started this process by inserting the photo, creating a new layer and began tracing the basic outline. It started off going really well and I was enjoying the time I spent on working on this part. Once I finished the basic outline I looked at it all together and decided which detailing lines I wanted to include. I decided to add my glasses, some lines in my hair to show the direction it was flowing, the dandelions I was holding, my mouth, my eyebrows and my shoe. Once I finished those pieces, and looked at the overall product I realized that I needed to add the gold detailing to the top of the dress. I took a break before taking this part on as I knew that I would need to have a lot of patience to complete that part. When I came back to it, I didn’t know where to start, so I just started by colouring over where it was gold. After getting a solid section of doing it this way I took a look at it overall and did not like what the detailing looked like so I erased the entire section I had already done. I decided to zoom in extremely close to the detailing that you could see the pixels and I used smaller tip in the gold colour. After I did a section in this way, I zoomed back out and took a look at the drawing as a whole and I liked it more than the first attempt at the gold detailing but still something was off. I decided to fill in the colour of navy blue parts of the dress, after I did that I fell in love with how it was looking so I decided to colour in the rest of the drawing once I finished the detailing.
Once I finished I really loved how it turned out but I had so much fun working on it I wanted to add some more small, finishing touches. I added grass and I played around with the layers so that some of the grass would overlap my fingers and shoe and parts of my dress that laid in the grass. I also added some lighter colours in my hair to make it a bit more realistic, as well with the gold detailing as the sun reflected off of it in different ways.
This is personally one of my favourites as I loved how it turned out and I had a lot of fun creating it. Let me know what you think in the comments! And if you use procreate on your IPad, have you ever created something through tracing, did you enjoy the process?

Hi Sydney, I must say, your picture is amazing! You did such a great job. What a great keepsake you have made. Also, thanks for the thorough explanation of how you completed the tracing of that photo.
It looks great! I can tell that you spent a lot of time on it. I hope you keep it up after this class is over!
Great work Sydney! that looks like a lot of fun and very artsy. I hope to try it one day!
Hello Sydney,
It was a real pleasure to follow your learning project to its completion. I like how you gathered the information to provide us with basic knowledge. I can say that you finally get there. So, you are an Artist and not just a Neat Hack. Thank you for sharing.