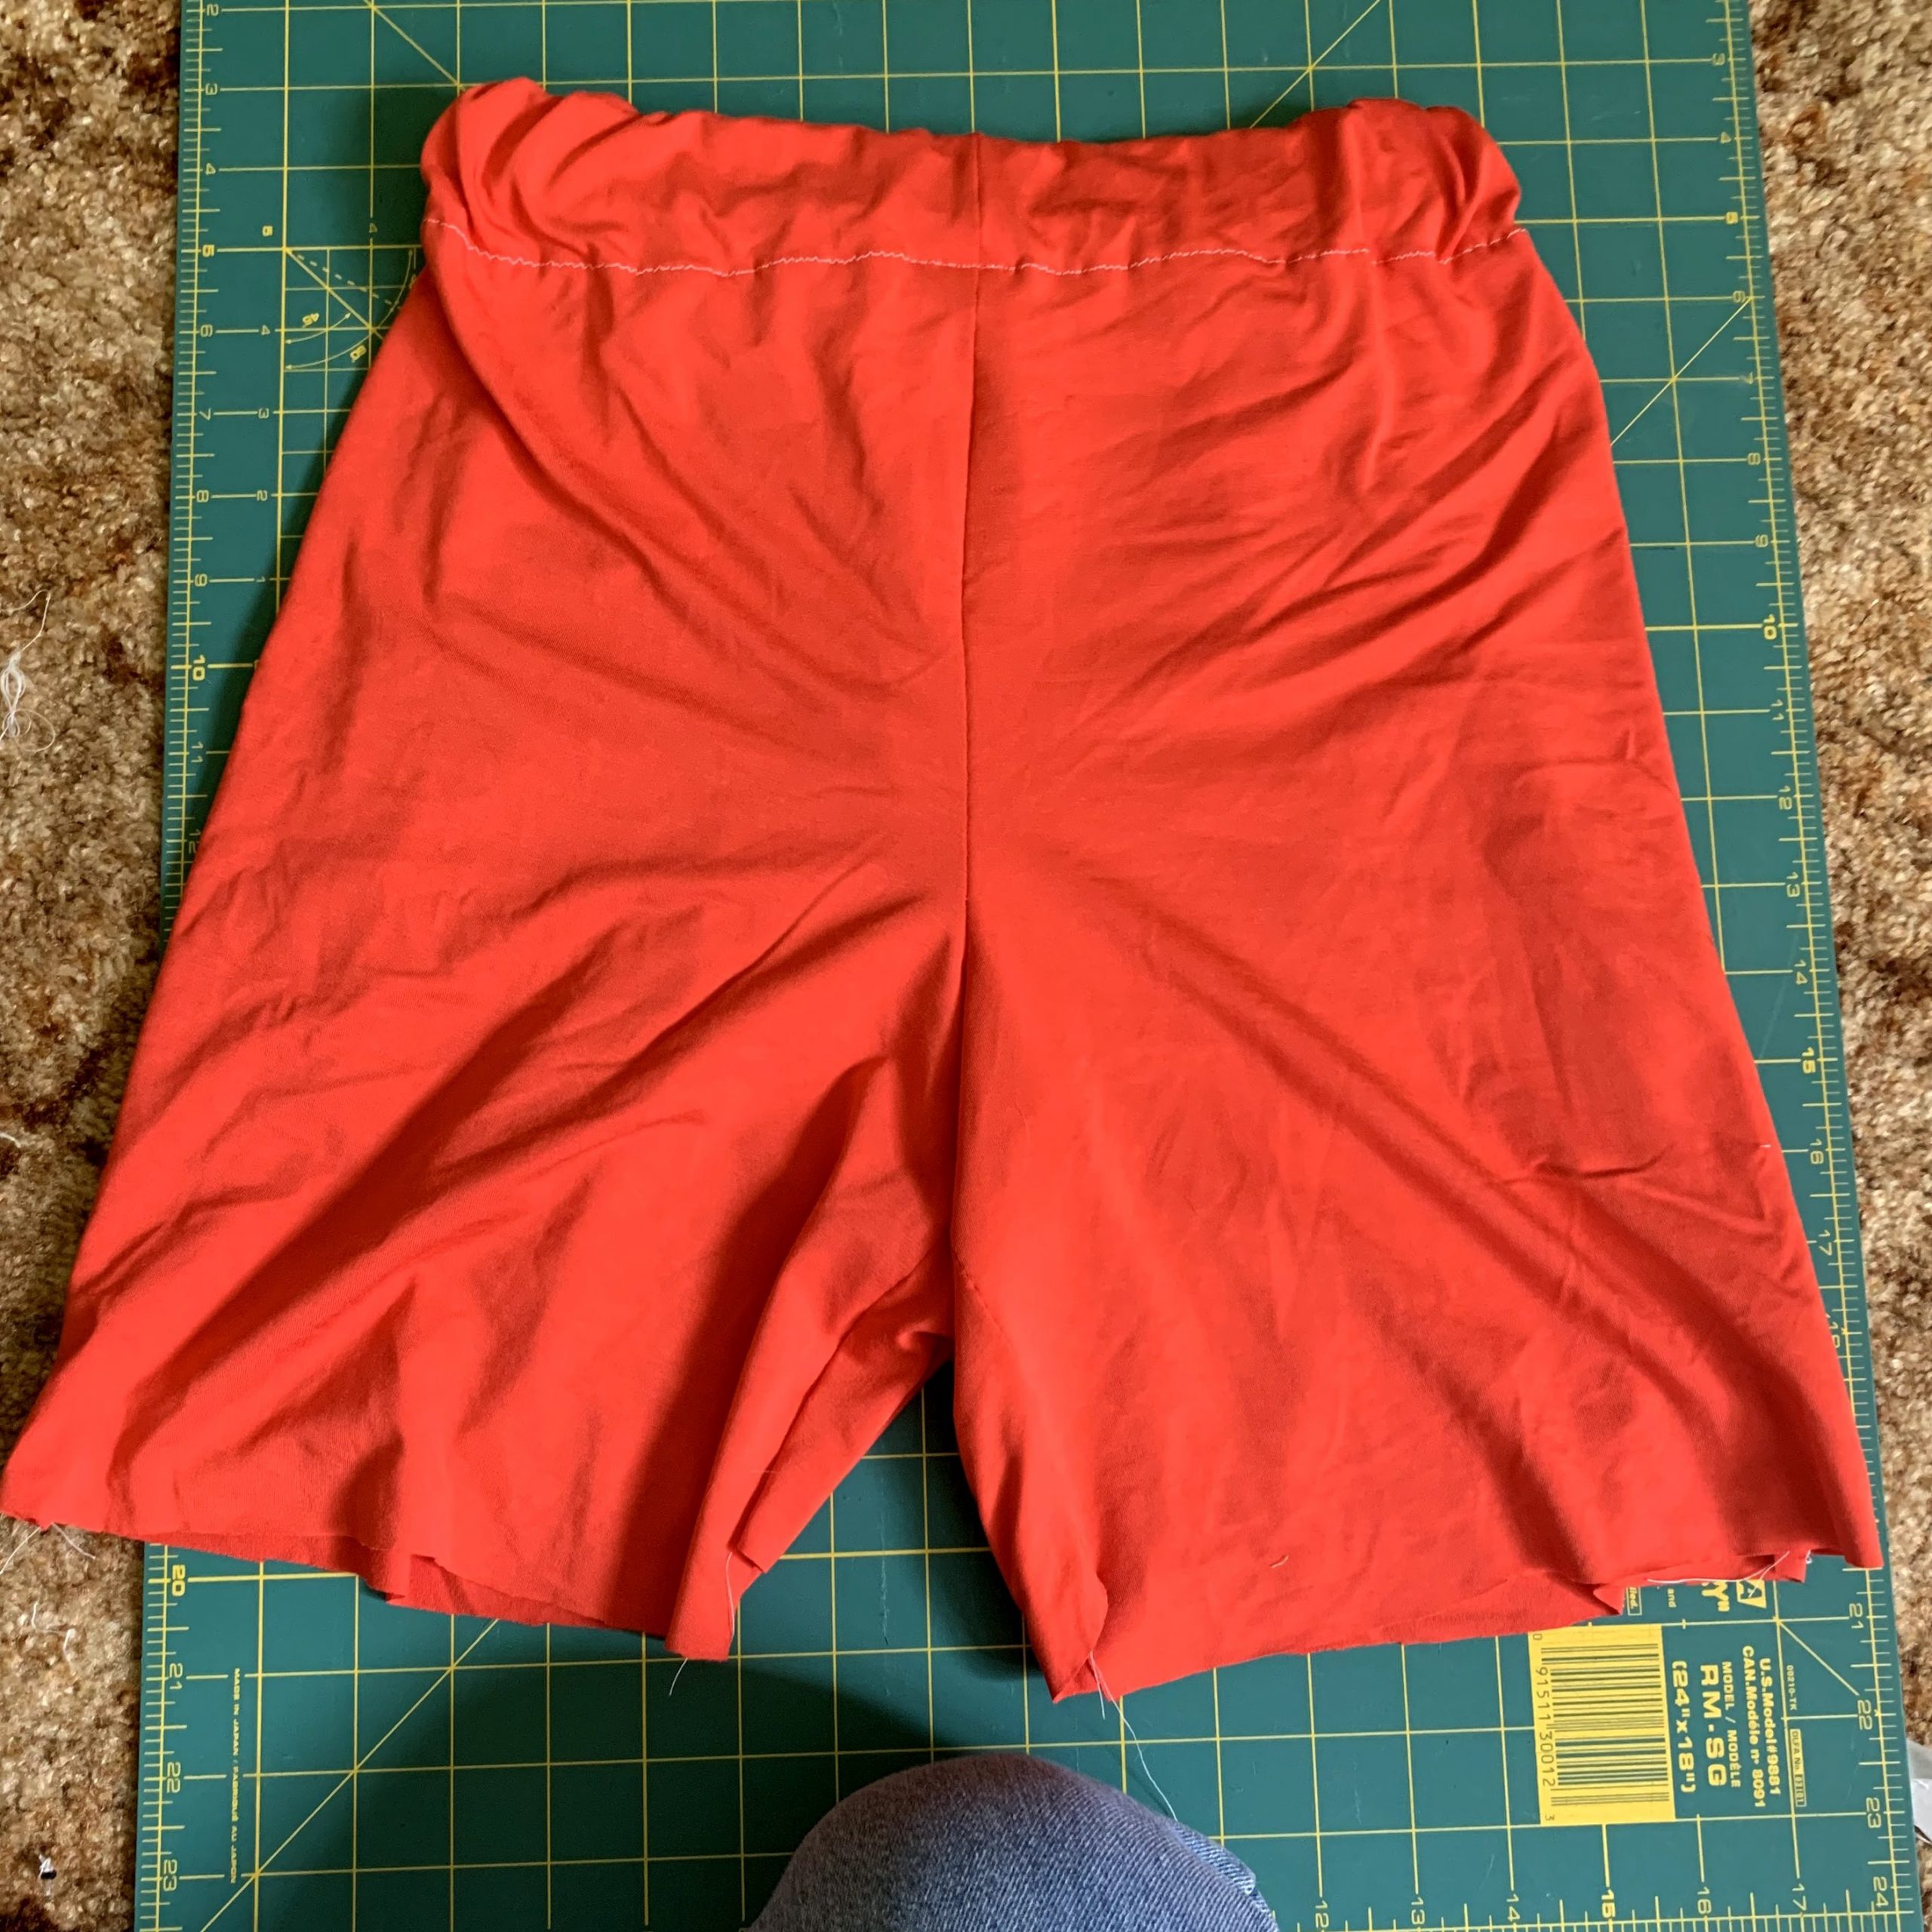
Finally, I have managed to create a pair of shorts that, are and look functional. It took several tries but this final attempt was the best of the bunch! That’s not to say that there are no technical issues, my ability to create a straight stitch is still not quite there, but I managed to make a pair of shorts with no holes and no fit issues.
Making Changes
After two attempts that were less than successful, I made the decision to call up my Grandma once again for some advice. I really wasn’t able to understand where I was going wrong and I was struggling to figure it out based on the videos and resources I could find online. The main issue that I have been running into with the online resources is in the pattern creation, most of the tutorials rely on having access to a printer or using existing clothes as a template and so this was causing a lot of hiccups in my sewing.
So this time around I made several big changes and didn’t follow along to the video as closely as I previously had.
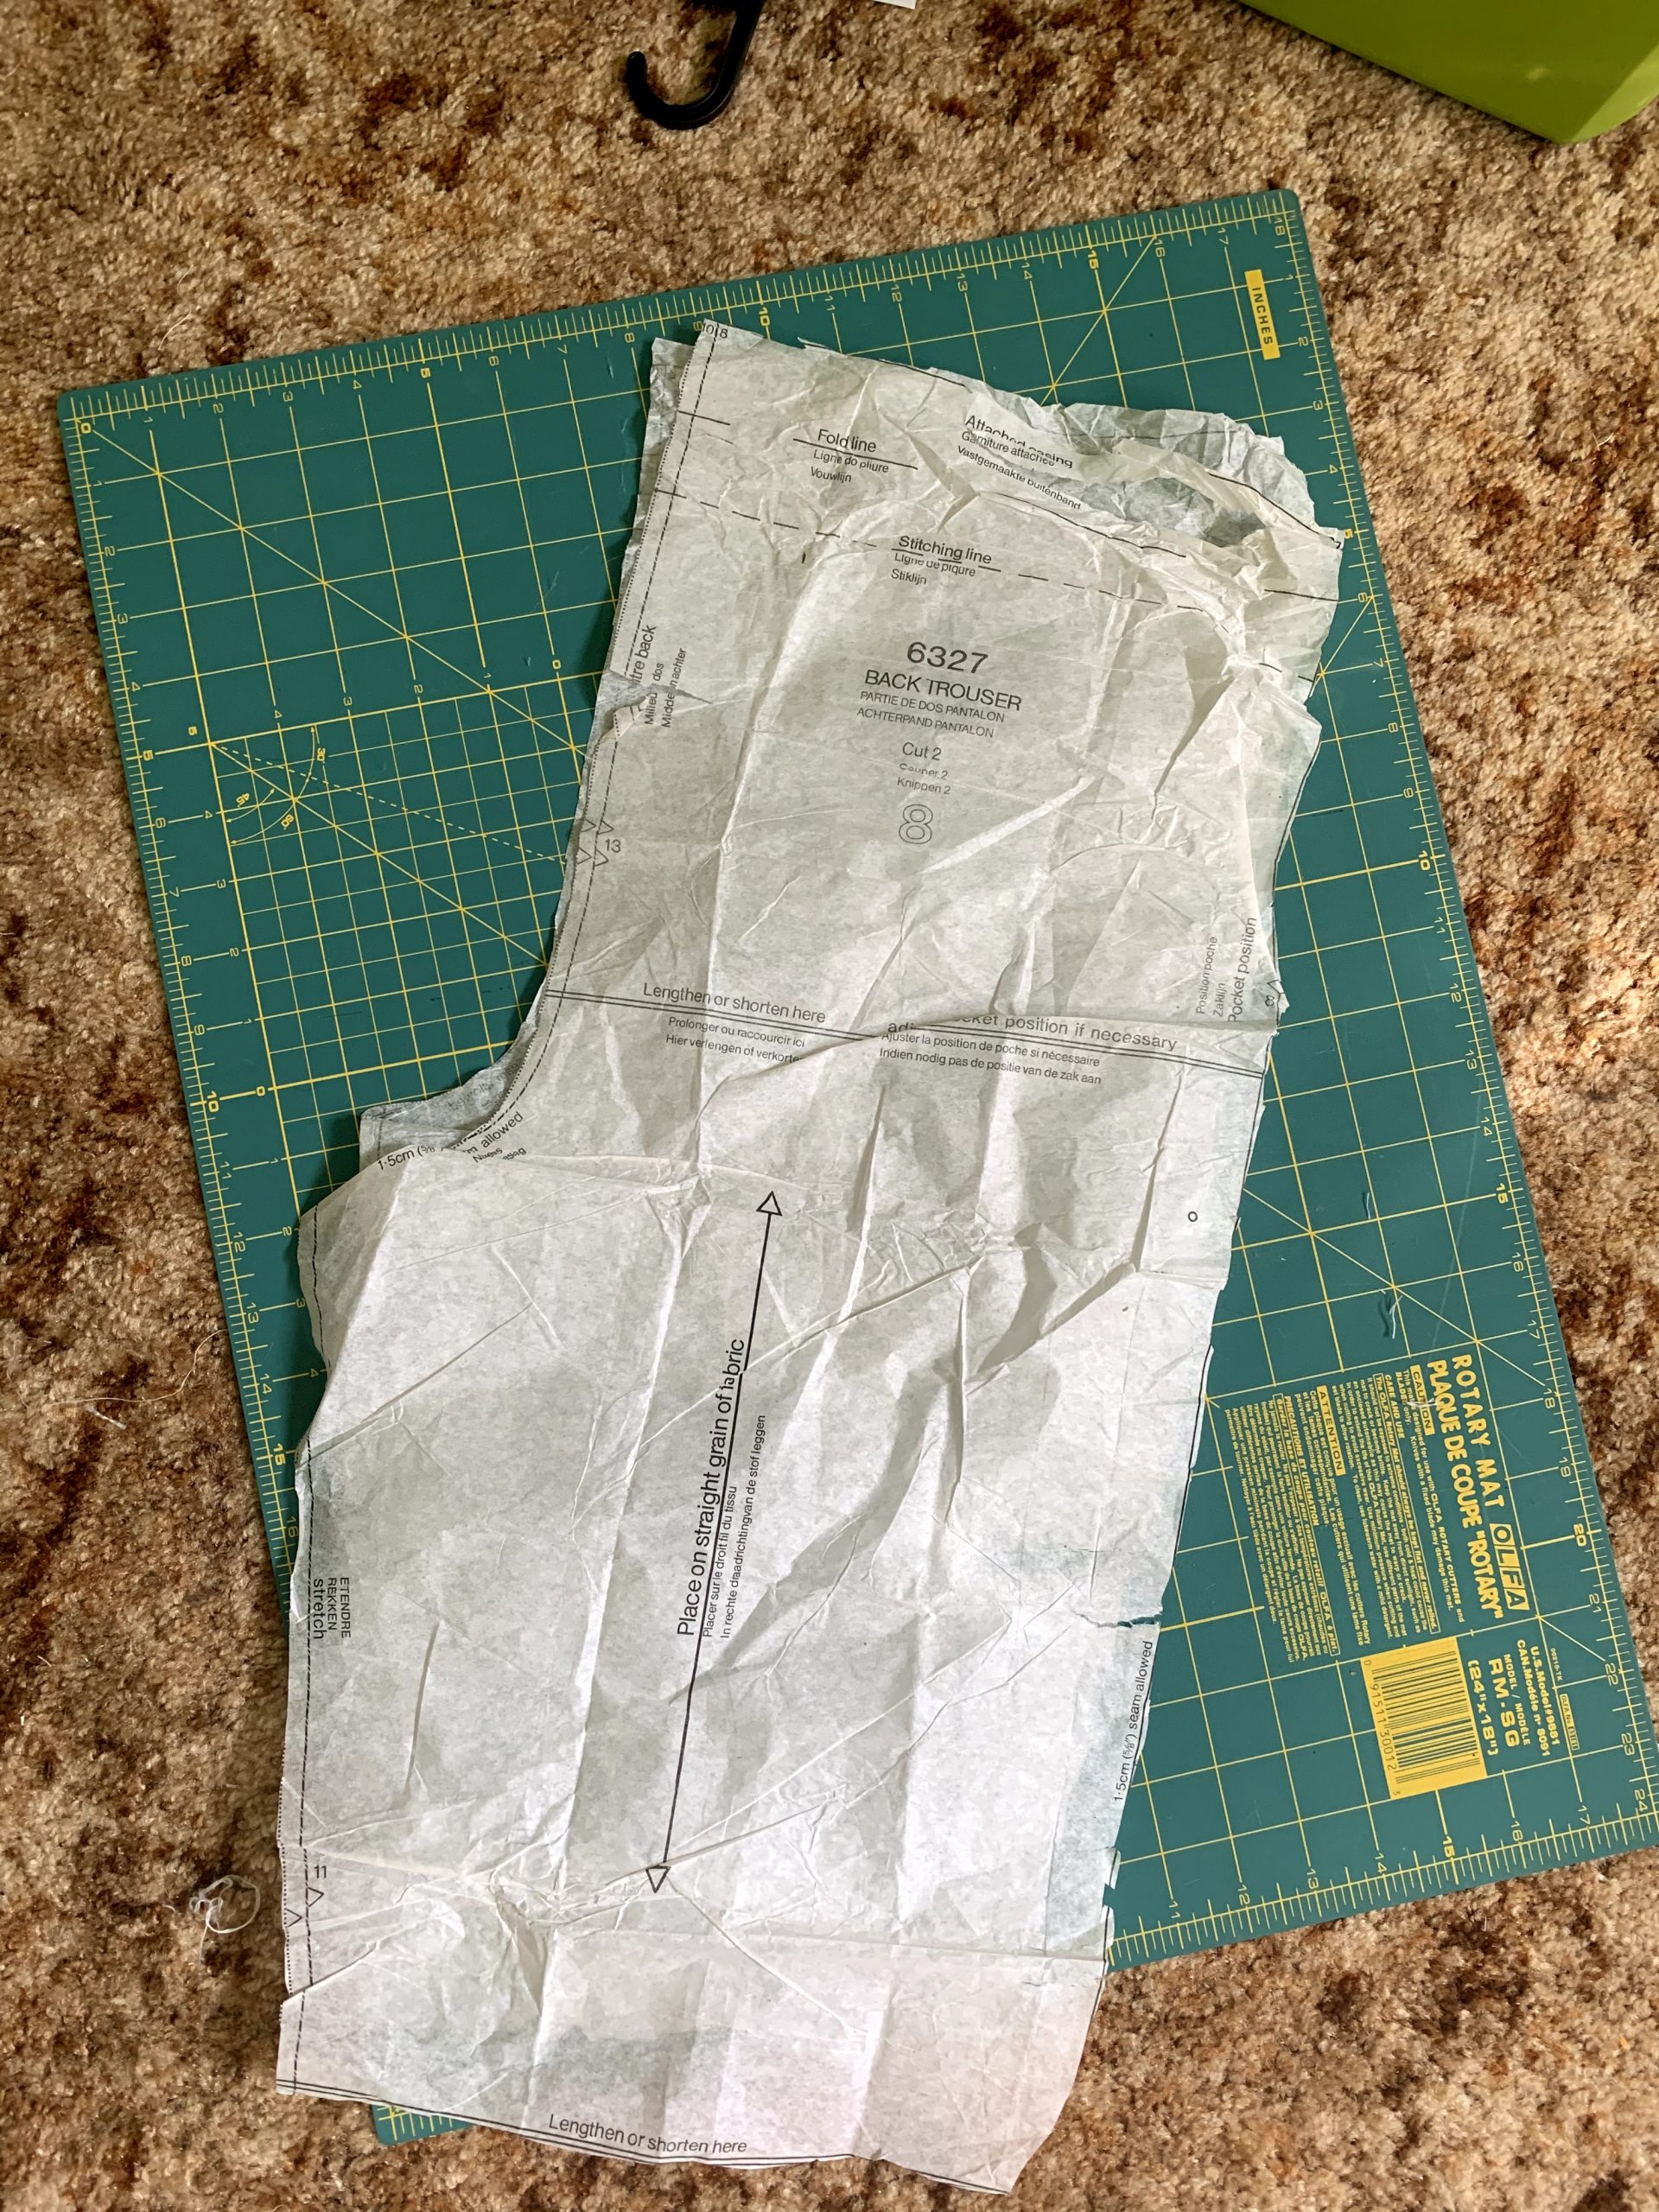
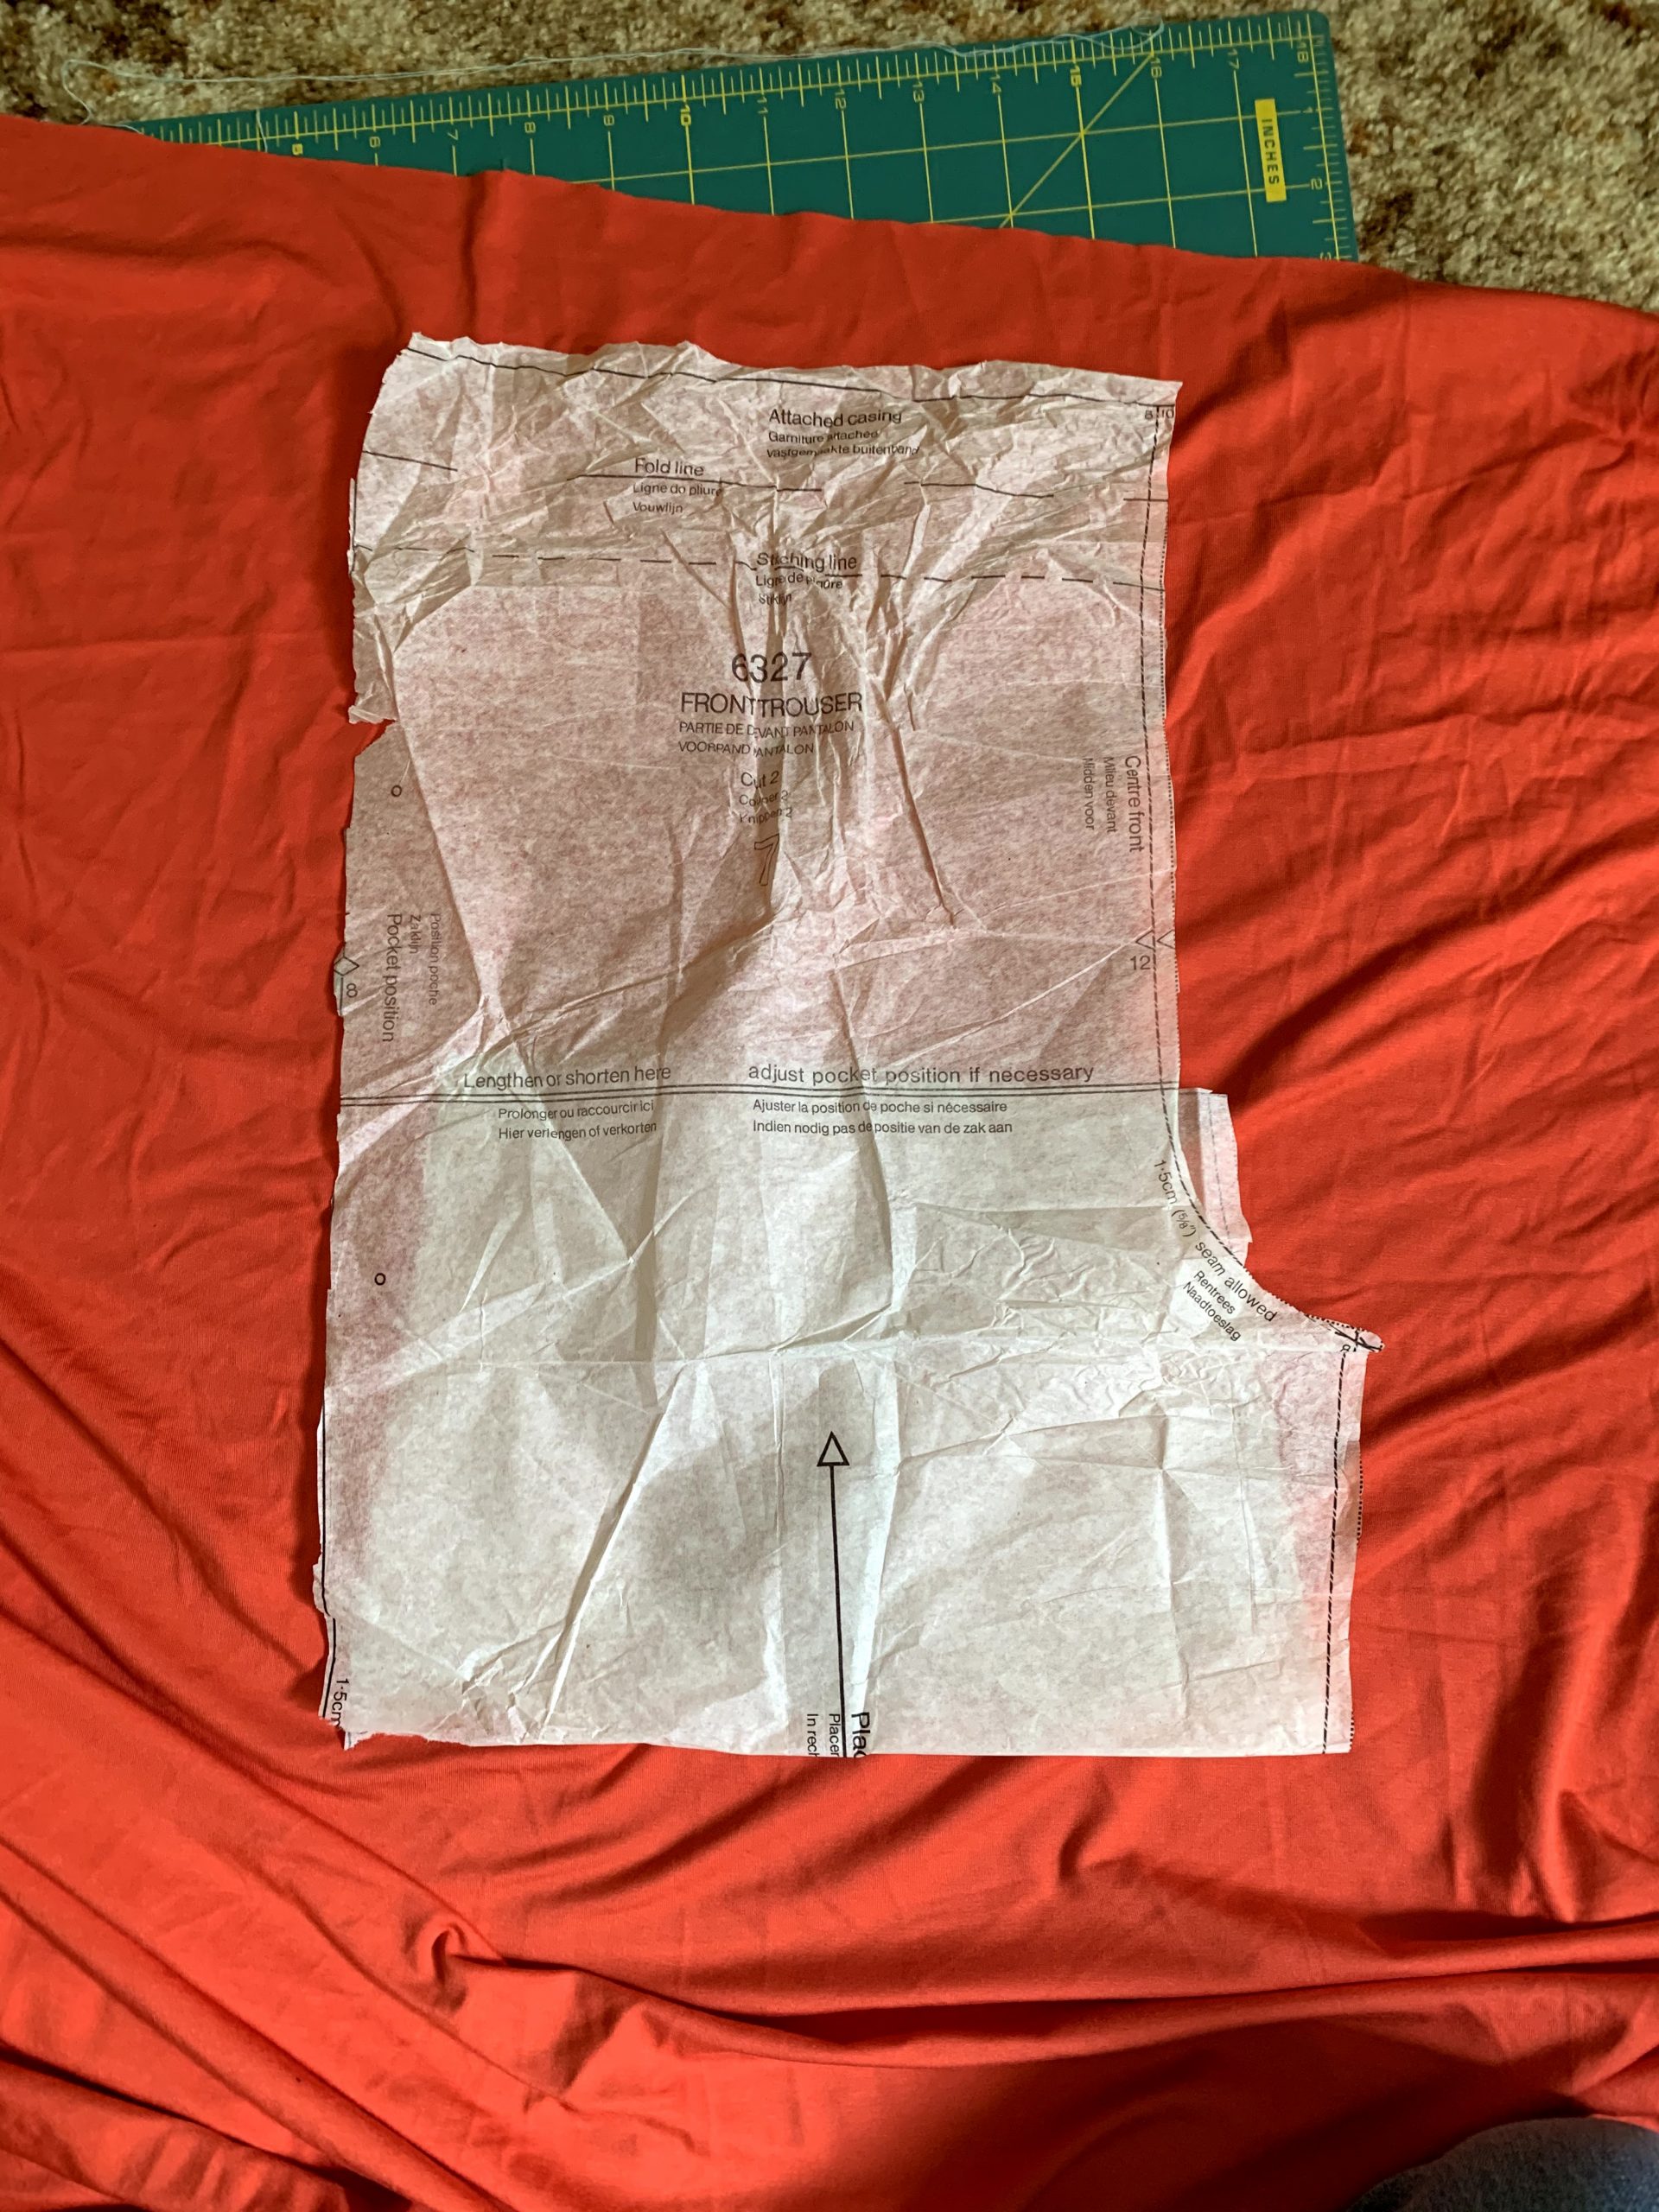
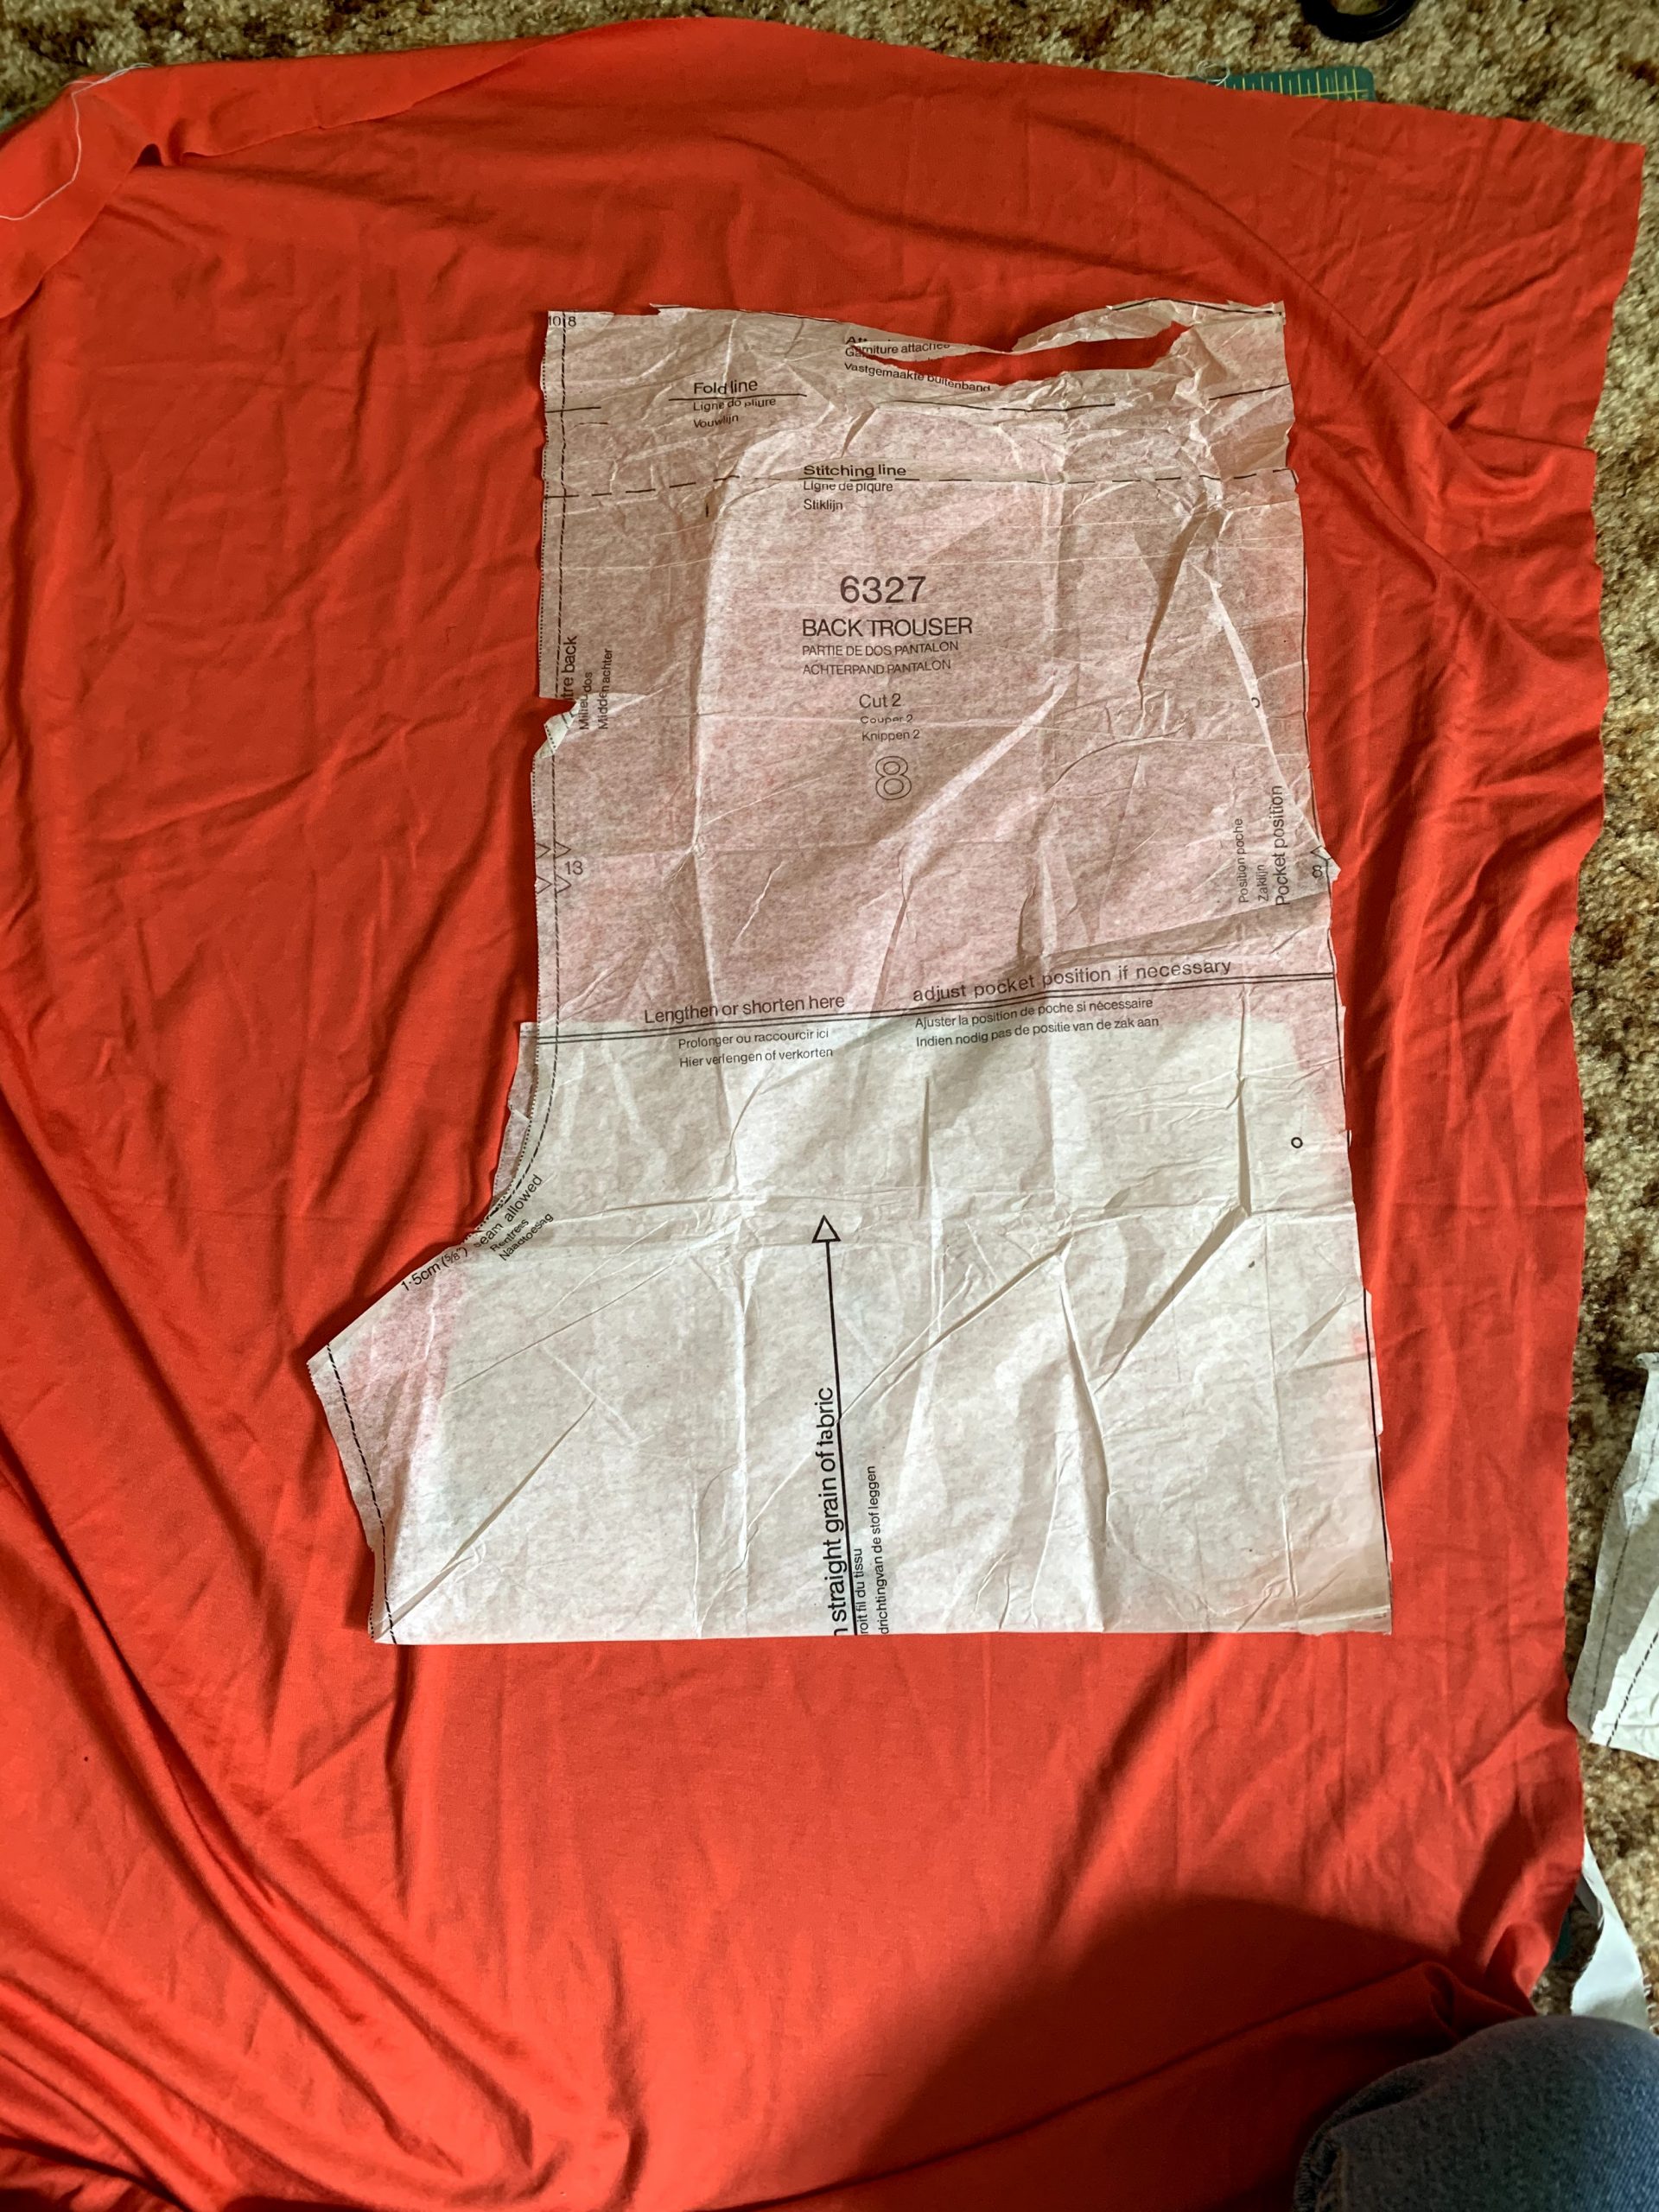
The biggest change was that I used a premade pattern this time around. I have several patterns that were given to me at the very beginning of the semester, and I decided that this would be a good time to use one. I had attempted to create a pattern of my own and it was simply not working. So instead of tracing a pair of already created shorts, I used a premade pattern.
I also ran out of the simple cotton fabric that I had been using previously, so I did yet another new thing and created these shorts with a 4-way stretchy material, a bit like spandex.

The pattern I used 
Front Panel Pattern 
Back Panel Pattern
When sewing with this material and using a straight stitch, you have to pull and stretch the material as you sew. This is a 4 way stretch so I didn’t have to worry about the direction of my seams, but I did have to pull the fabric as it went through the machine otherwise the stitches would rip when I put the shorts on.
Beyond those changes, I followed along to the same video as I had in my previous posts. Beyond having to take into account the stretch of the fabric, the steps worked pretty much the exact same way!
After sewing together all of the panels, I created the casing for the elastic, and threading it through was much easier this time around! Then I was done and had a new pair of shorts!
This time around, I finally had a finished product that fit properly!

2 Comments
Laura
Hey Abby!
I actually made a pair of shorts in my middle school P.A.A. class and they were brutal. Pink with green polka dots and they did not fit me in any way shape or form. I am glad this wasn’t the case for you! Your shorts look far more promising, lol. I really want to make a pair of sweat shorts for this summer and haven’t decided if I will sew some myself or just cut off a pair of old sweats. If I do decided to make some though, now I know I can come to this post for some tips and guidance.
Cheers,
Laura
Abby Leonard
Thanks Laura! The main tip that I have is to find an actual pattern to go off of! Cutting the fabric into the right shape is half the battle and if that doesn’t turn out well, the shorts will definitely not fit properly! Haha!