This course has encouraged me to explore more of my Digital identity as well as keep some things more private than they are. It has also taught me just how beneficial social media platforms can be when used in different ways!
Below is a google slide to show what I have learned throughout this course!
As this semester in EDTC300 comes to an end way faster than I pictured it would! I am happy to have learned what I have and had great classmates along the way that were so helpful along the journey! I cannot wait to use more online resources for myself and in my future classroom as well!
Here is the link to my Contribution of others learning!
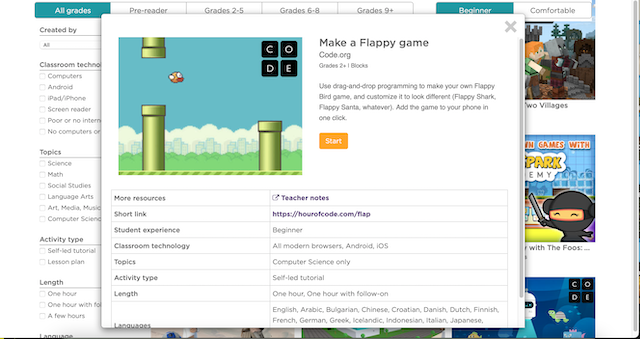
What do I know about coding? Honestly not a thing, but when it was explained in class, it was soon known that we rely on coding whenever we are online! To me, I thought coding was something you had to understand to know how to do it and you have to get into that computer tech learning as well. So, when we were told that our task was to make our own code and show the process, all I thought was, this will be very interesting and gave it a go! I chose the website Hour of Code and after scrolling through some games, I found the one I thought looked fun, easy, and reminded me of Mario Bros! It was called Make a Flappy Game
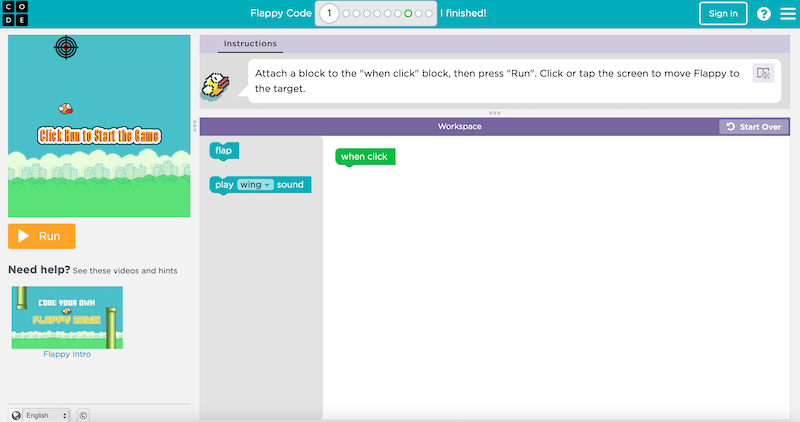
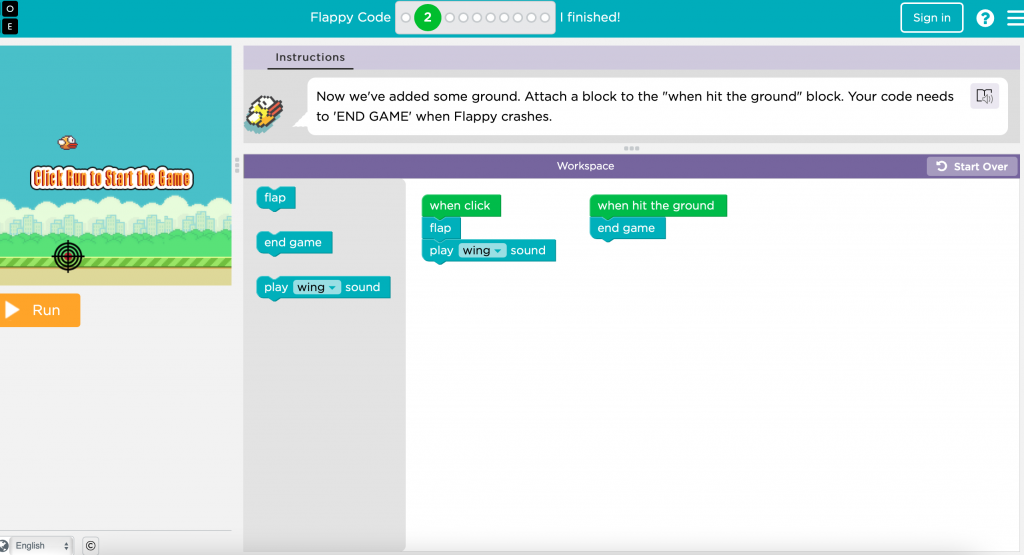
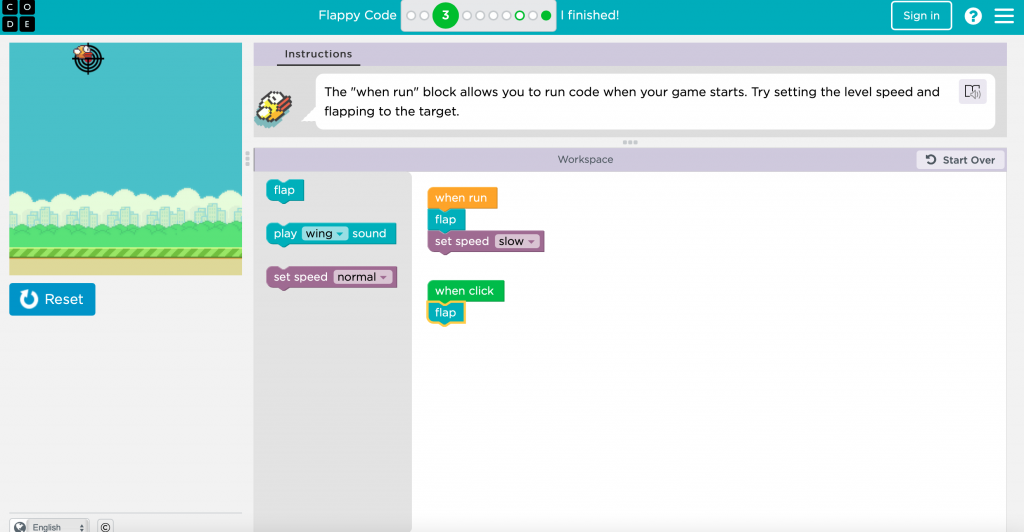
Going into this I was bracing myself because I had no clue what I was doing, but through every level there were instructions at the top of the page that helped explain what to do and made the coding process that much easier.
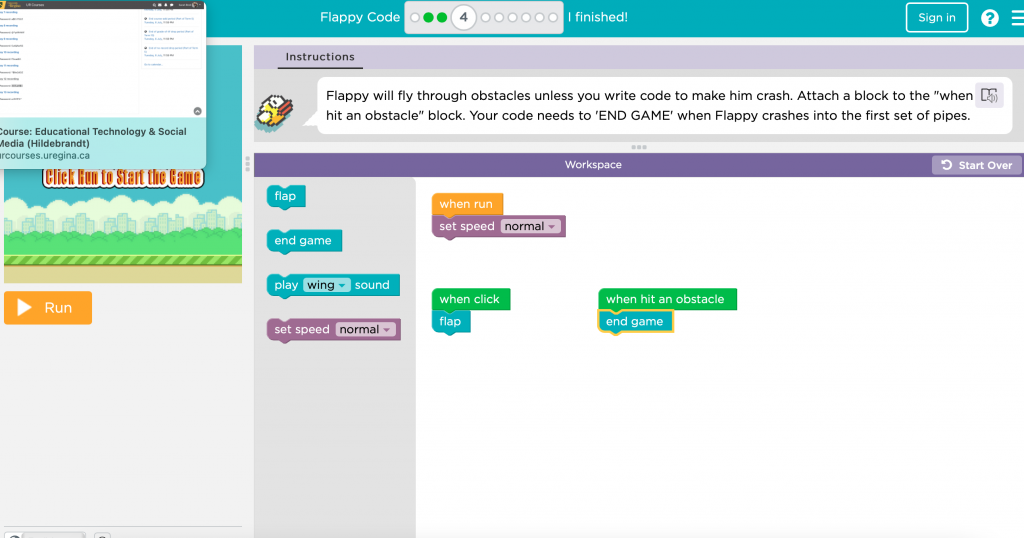
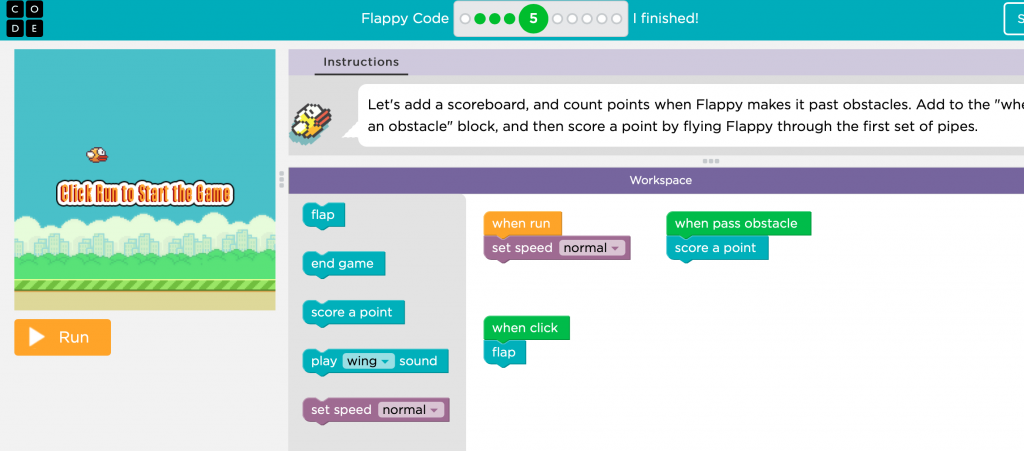
In the beginning few levels, 1-5, it explained to me how to set up the game and I could choose how to make the bird fly, what sound it would make when flying and if it would get points when it went through an object. If the bird hit the object or the ground, the game would be over.
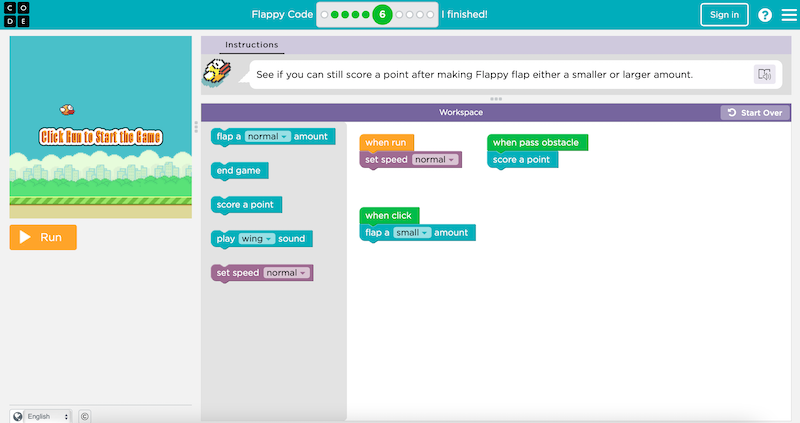
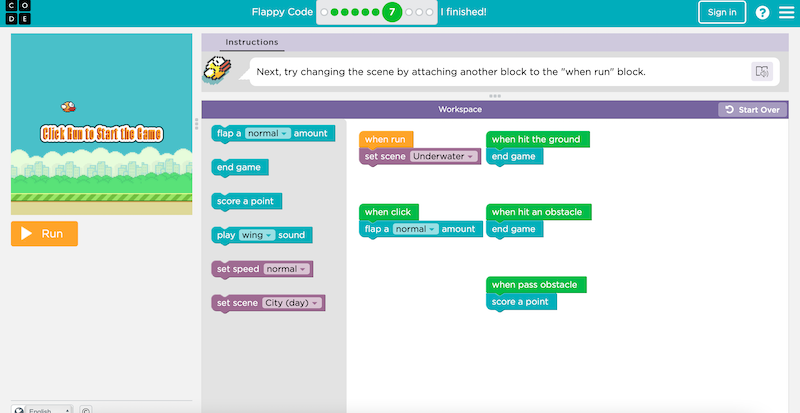
Level 6 had me choose the number of times the bird flapped its wings and to see if I could get a point when doing that. Level 7 I was able to change the background and there were a few options for that as well. I made it so when the bird went between the pipes, the background changed. I thought that was pretty cool!
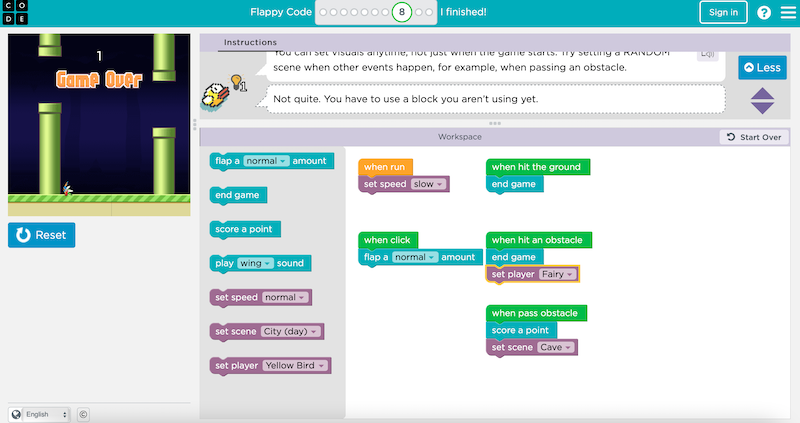
Level 8 had me stumped for a bit, I thought I was following the instructions but I was definitely missing something small and I had a struggle getting through the objects, but none the less, I still made the code happen.
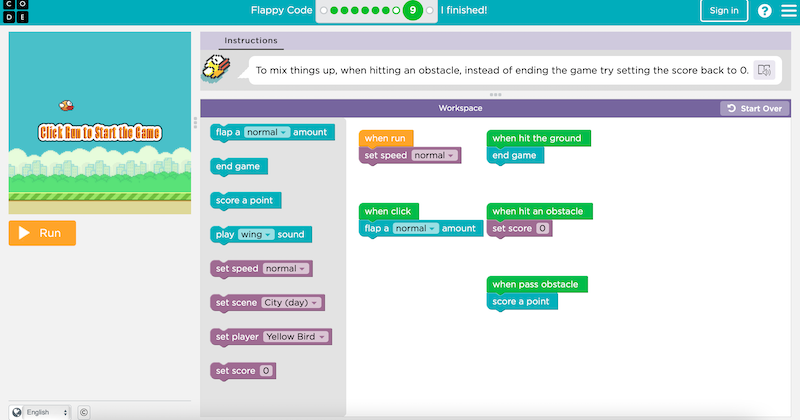
Level 9 simply suggested me putting the score back to zero instead of ending the game if the bird hit the ground or an object. This was easy as it allowed me to continue the game and not start over if I had made it farther than before although I did end up losing all my points which sucked!
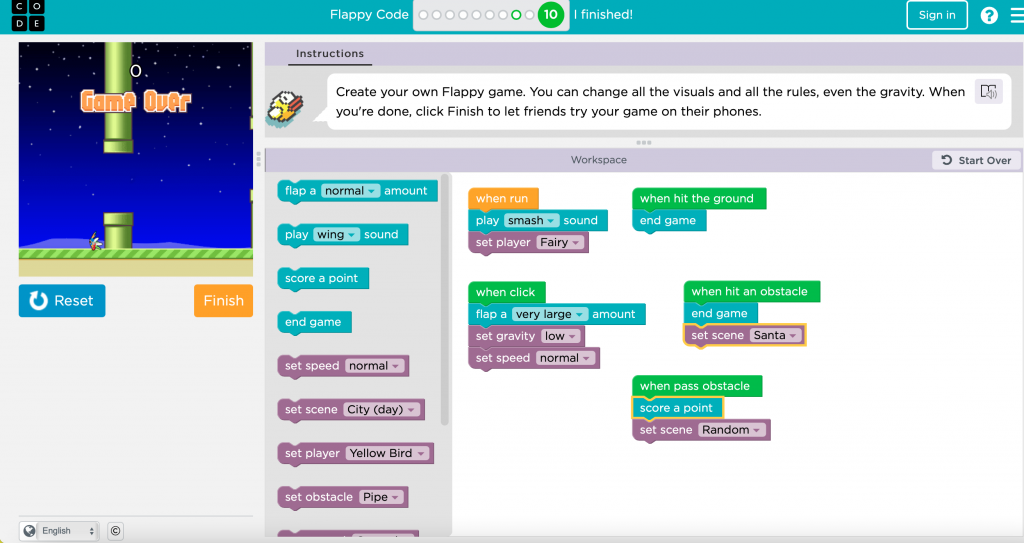
Level 10, which was the last level, allowed me to make my own game from scratch, I wasn’t the best at getting through the obstacles but it was still fun to play around and learn how to do that.
Overall, coding is a lot of fun when it’s looked at in a game type of way. I’m sure there are a bunch of other types of coding but I think I would stick with this one as it is something that is fun and you learn while you do it and it isn’t too complicated. I believe coding to be important because we are in the technology world and we need coding to do basic things on the internet. Without coding, most of the interactions on the computer would not be able to happen.
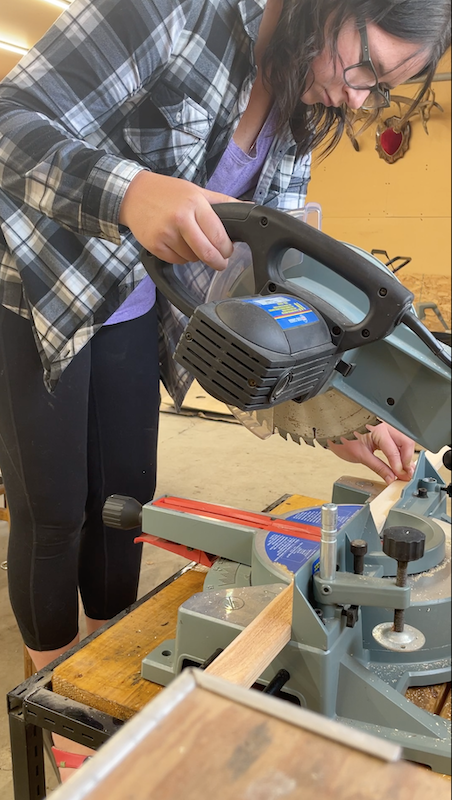
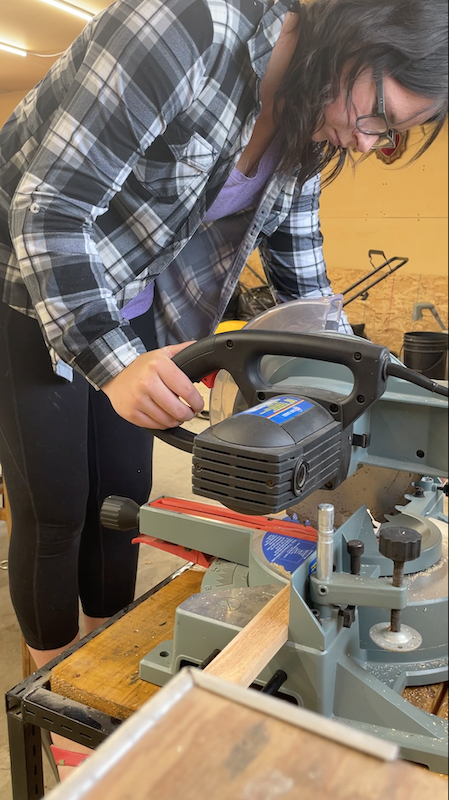
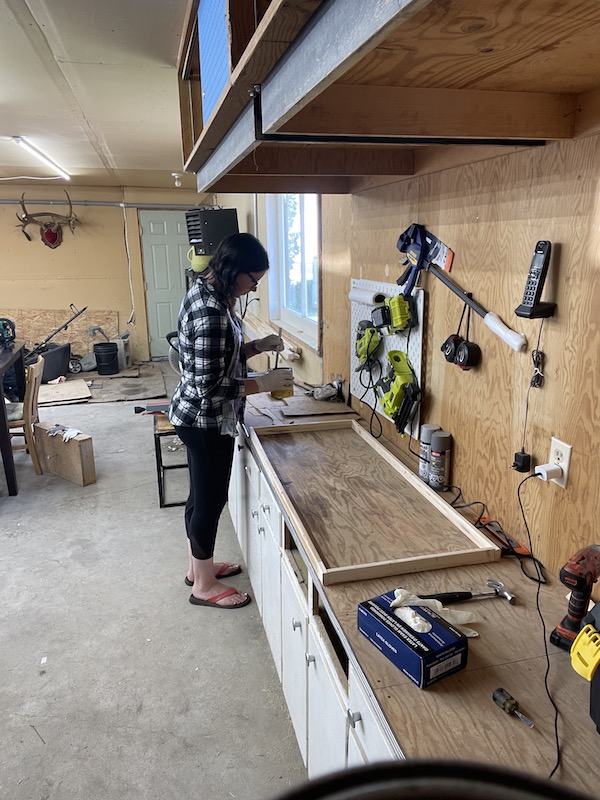
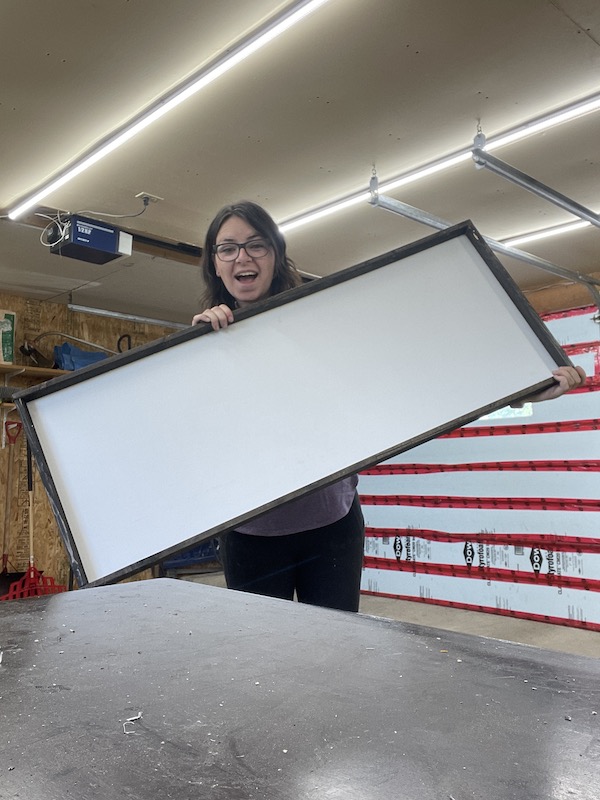
I made a frame the other day and I thought I would show how I made it! There was still no smooth sailing and I knew that it wouldn’t be, but there were more mistakes than I anticipated but I got through it regardless! I started off by first figuring out the size of frame I wanted, which going off of the picture I talked about in my last blog post I knew it had to be long and narrow. So, once I found out how to take pictures of my process with my Apple Watch, I got to work with the cutting of my frame! Below is the process I went through!
First, I cut the frame to the size I believed I wanted it! There was no logic to my numbers but I liked the size so I went for it.
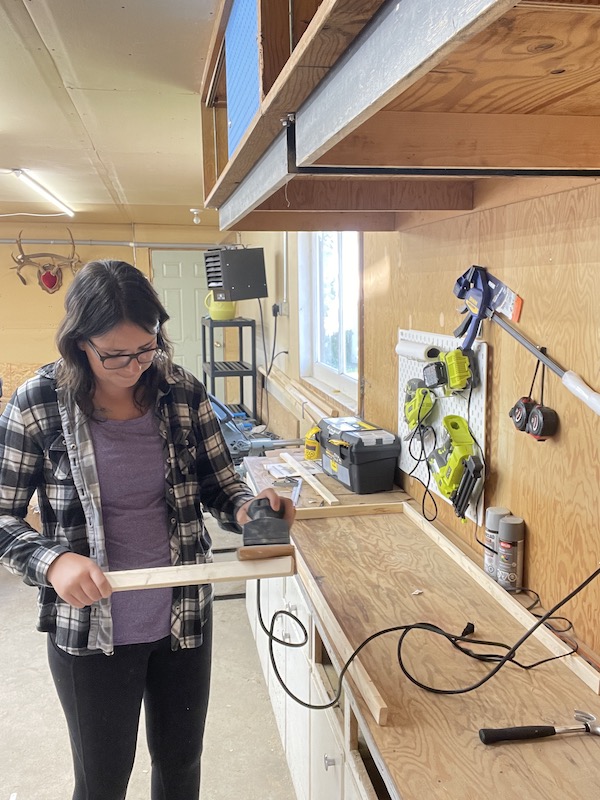
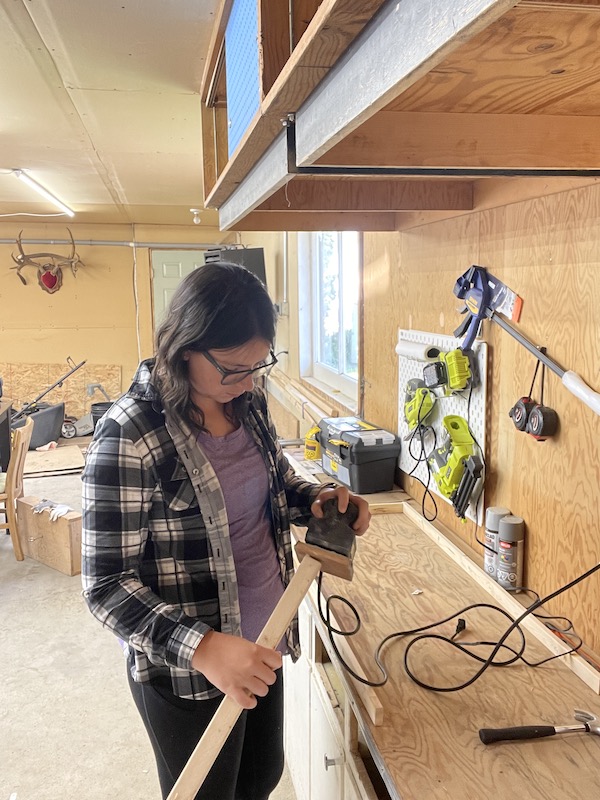
Next step is to sand the wood down, usually it doesn’t have to be done but if the wood is a little bumpy, I choose to do it so the stain goes on nice! Once I sand it, I then put on some rubber gloves so I don’t have stain on my hands for days, and stain the wood.
Sanding
Sanding
Staining
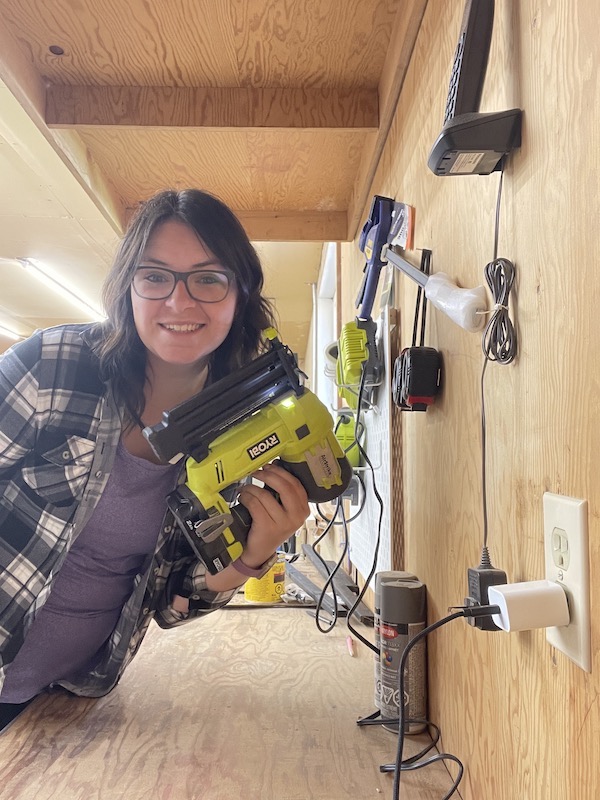
Once I finished sanding and staining, I took the frame pieces to the table and started nailing them together with my nail gun. I refer to this video when I cant remember what depth I should turn it to. Here is a video of me assembling it and then realizing I made a mistake
Assemble time
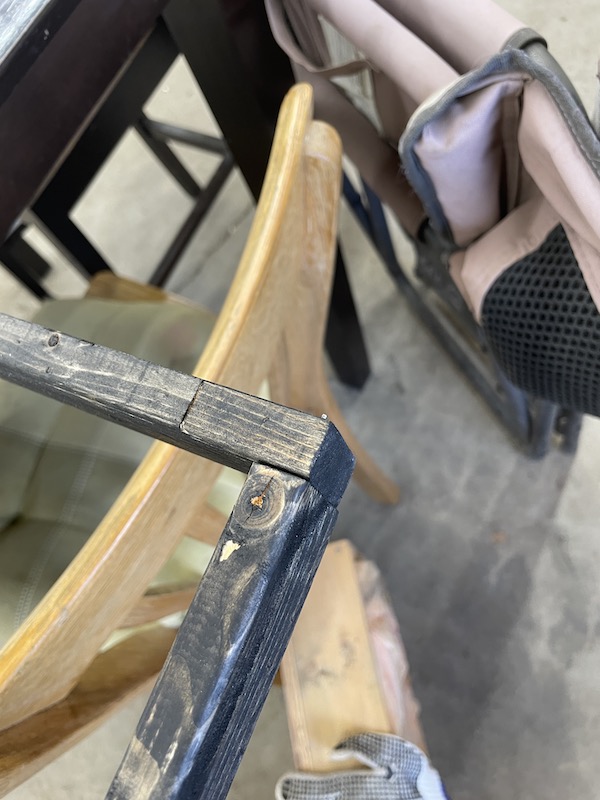
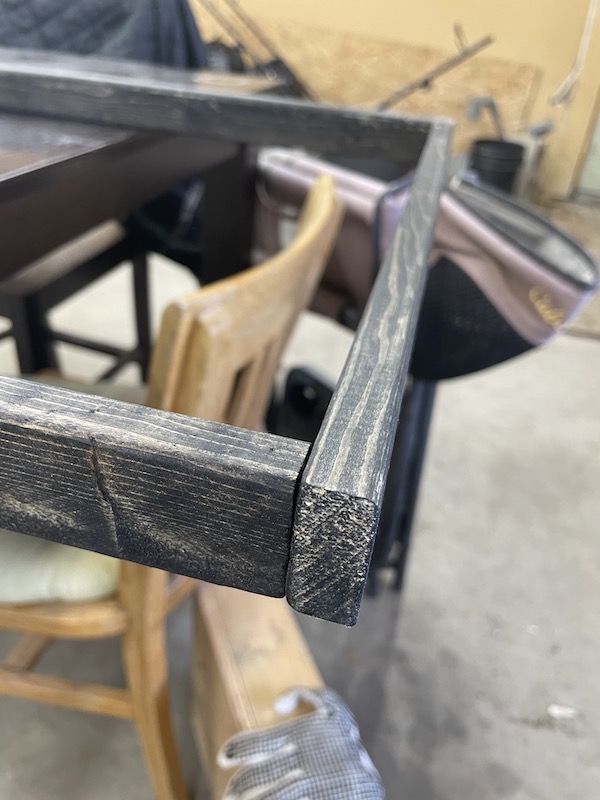
I am assembling the frame when I realize I did the ends wrong
I ended up putting one side of the frame on the inside and one on the outside. I have had this happen before so I know I need to pay more attention
After struggling to take apart the ends as the nails were in the wood pretty tight, I was able to correct my mistake and get back to working assembling it the correct way. Although I did make a mistake with the way the frame was put together, it wouldn’t have affected the frame that much as I could have done the same on the other side, that just wasn’t what I wanted to do then.
In this video above, I complete the frame and with a little struggle I end up putting the backing on which is not shown! The hardest part for me is knowing what size I should make the backing. Before finding this helpful article on Pinterest, I thought it was just as easy as being the same size as the frame but it isn’t always that easy!
Here is my finished product and I am so impressed with how it turned out even with all the bumps to get to the finished product! I still need to touch some spots up where I had to pull nails out of as it went through the frame, but those are minor details for how good I feel about completing this frame!