I made a frame the other day and I thought I would show how I made it! There was still no smooth sailing and I knew that it wouldn’t be, but there were more mistakes than I anticipated but I got through it regardless! I started off by first figuring out the size of frame I wanted, which going off of the picture I talked about in my last blog post I knew it had to be long and narrow. So, once I found out how to take pictures of my process with my Apple Watch, I got to work with the cutting of my frame! Below is the process I went through!
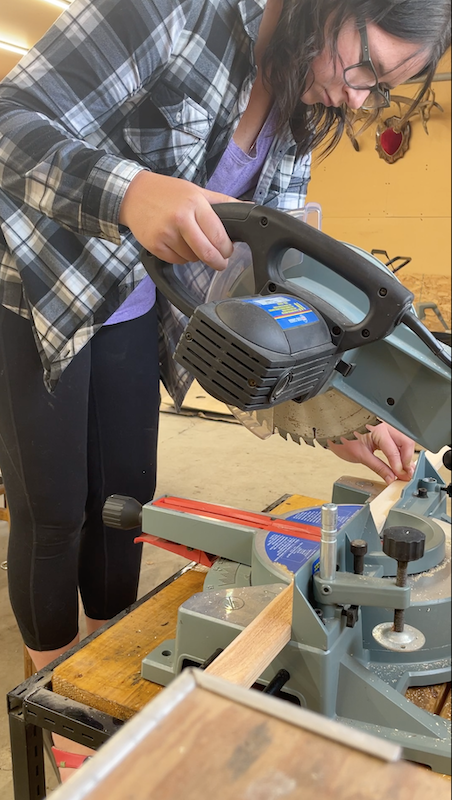
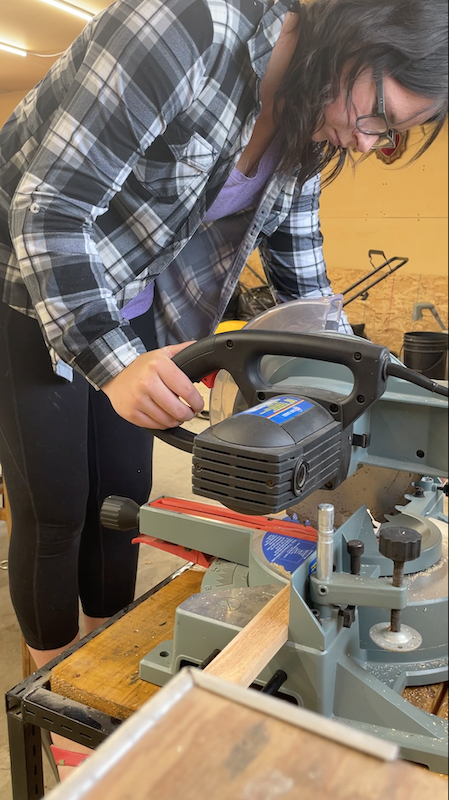
First, I cut the frame to the size I believed I wanted it! There was no logic to my numbers but I liked the size so I went for it.
Next step is to sand the wood down, usually it doesn’t have to be done but if the wood is a little bumpy, I choose to do it so the stain goes on nice! Once I sand it, I then put on some rubber gloves so I don’t have stain on my hands for days, and stain the wood.
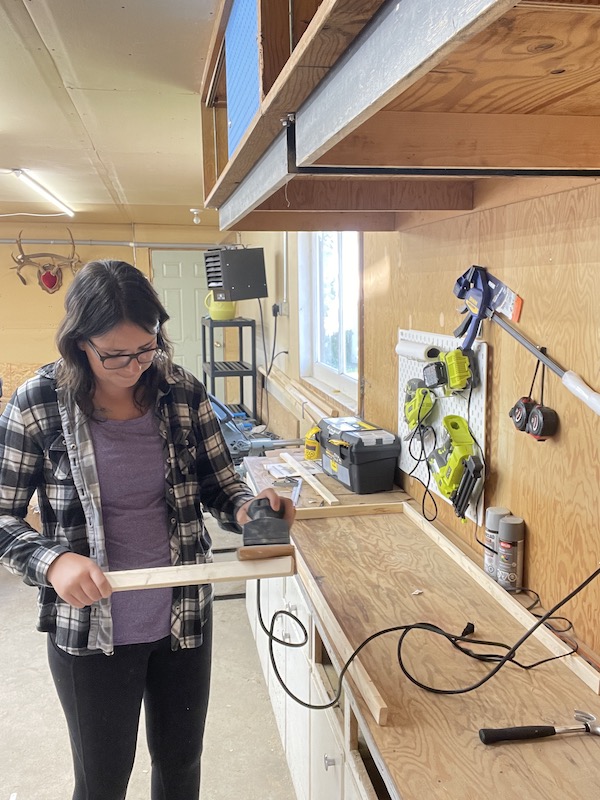
Sanding 
Sanding 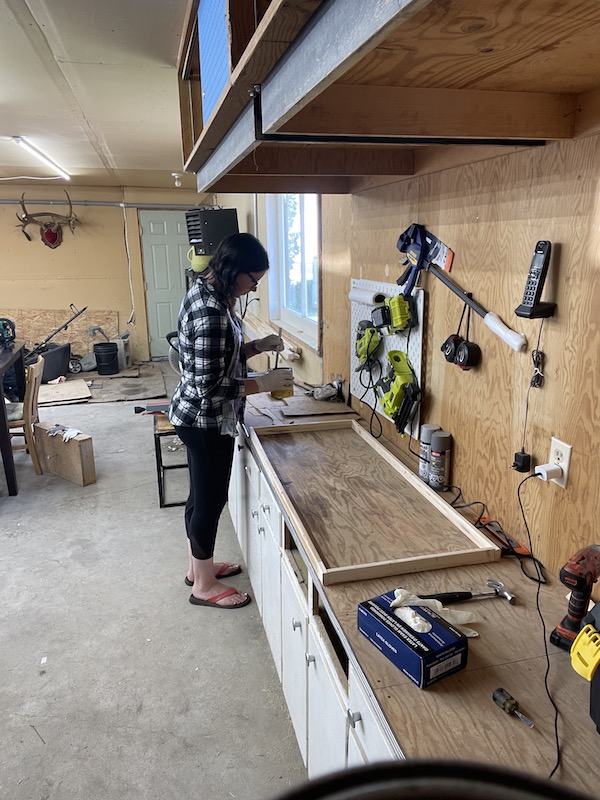
Staining
Once I finished sanding and staining, I took the frame pieces to the table and started nailing them together with my nail gun. I refer to this video when I cant remember what depth I should turn it to. Here is a video of me assembling it and then realizing I made a mistake
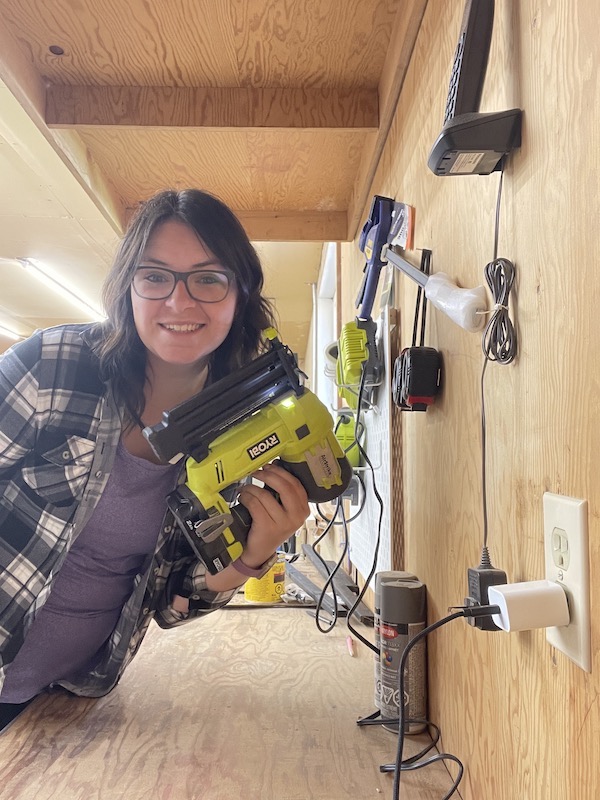
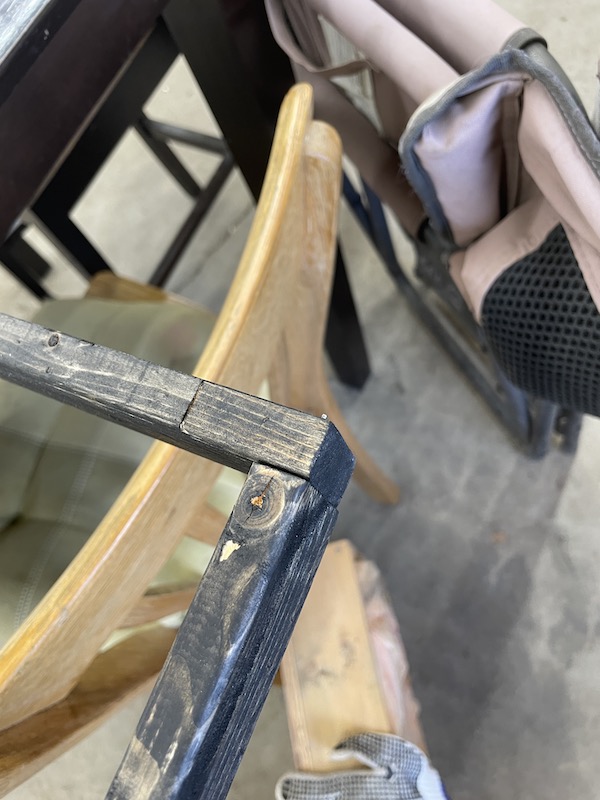
After struggling to take apart the ends as the nails were in the wood pretty tight, I was able to correct my mistake and get back to working assembling it the correct way. Although I did make a mistake with the way the frame was put together, it wouldn’t have affected the frame that much as I could have done the same on the other side, that just wasn’t what I wanted to do then.
In this video above, I complete the frame and with a little struggle I end up putting the backing on which is not shown! The hardest part for me is knowing what size I should make the backing. Before finding this helpful article on Pinterest, I thought it was just as easy as being the same size as the frame but it isn’t always that easy!
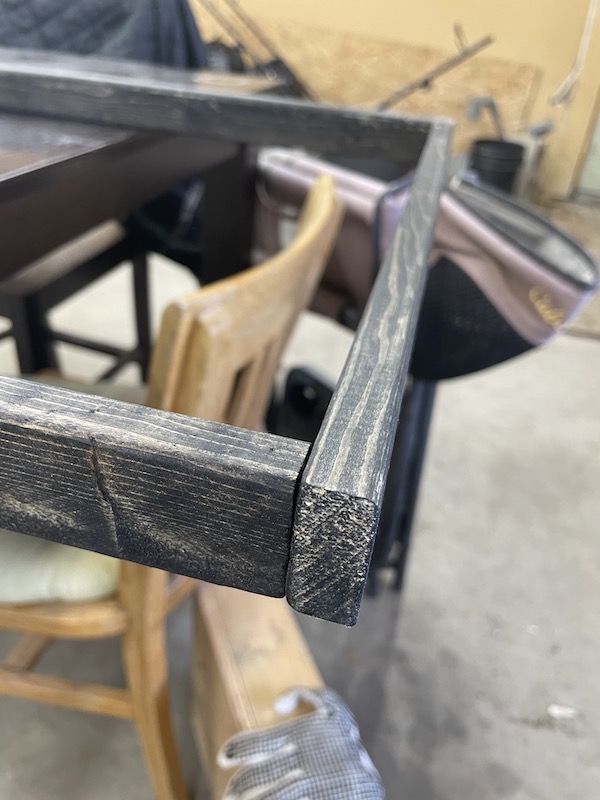
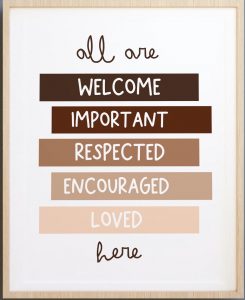
Here is my finished product and I am so impressed with how it turned out even with all the bumps to get to the finished product! I still need to touch some spots up where I had to pull nails out of as it went through the frame, but those are minor details for how good I feel about completing this frame!
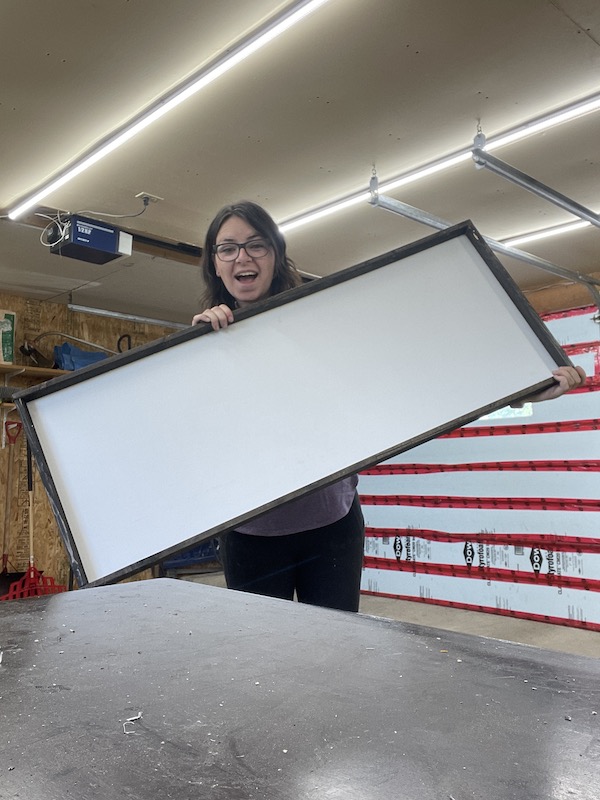
Stay tuned for my video of decorating it next!


Hey Sarah!
I loved this post. The amount of images and videos incorporated is amazing as it feels like I am there with you as you are running through these steps. I am very impressed with the final product as it looks like something you would buy in a store. People make a lot of money creating small businesses with these types of products! It takes time and talent for sure. Looking forward to seeing more from you!