Explanation of Learning Project
With this course coming to an end, it is time to look back and reflect on all that I have accomplished in the past six weeks! For my learning project I decided to challenge myself and learn how to create 3D animations. This is a skill I had always been very interested in, but never actually took the first steps. After researching various options of animating software, I could potentially use, I settled on using Blender, a totally free modeling and animating software! A recap of each week can be found below:
Recap of Each Week
Learning Project Week 1 – Reanimating Old Dreams: Learning Project Introduction
One of my very first experiences with blogging. I explain my motivation for choosing animation as a skill to learn as well as potential goals I would like to accomplish. I also explain my choice in which animating software I wanted to use for the project.
- Introduces Learning Project
- Explains rational for learning skill
- Discusses potential goals for end of project
- Explain what software I will utilize.
- Blender
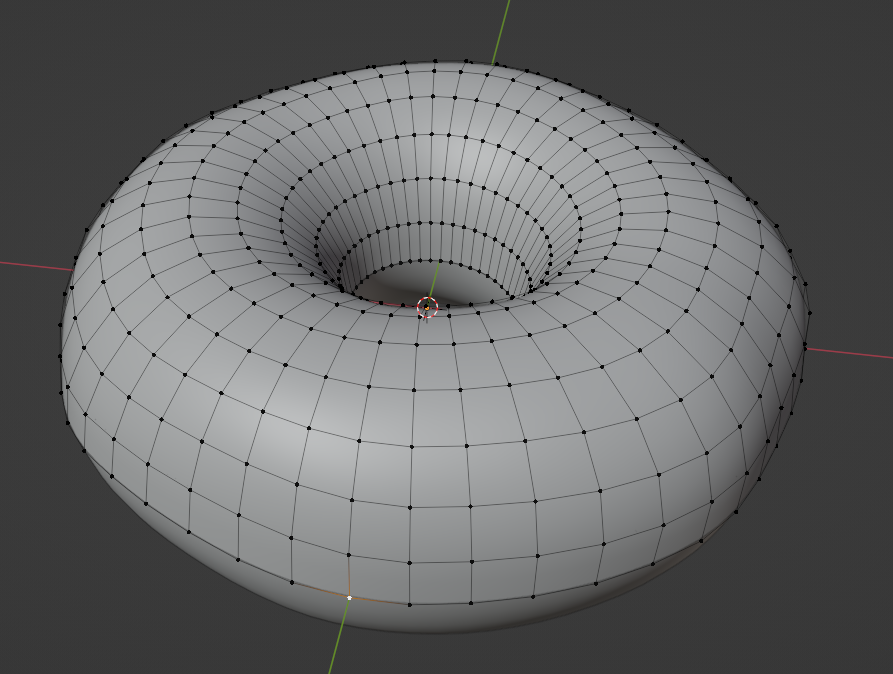
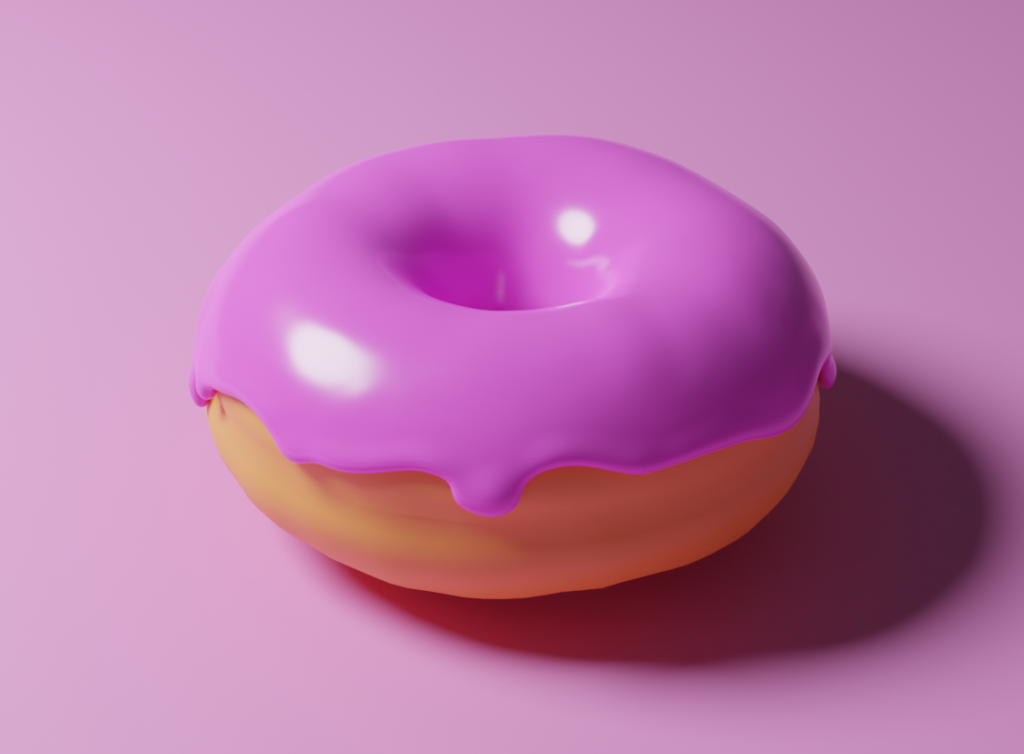
Learning Project Week 2 – Donut Judge the Process: Creating 3D Models
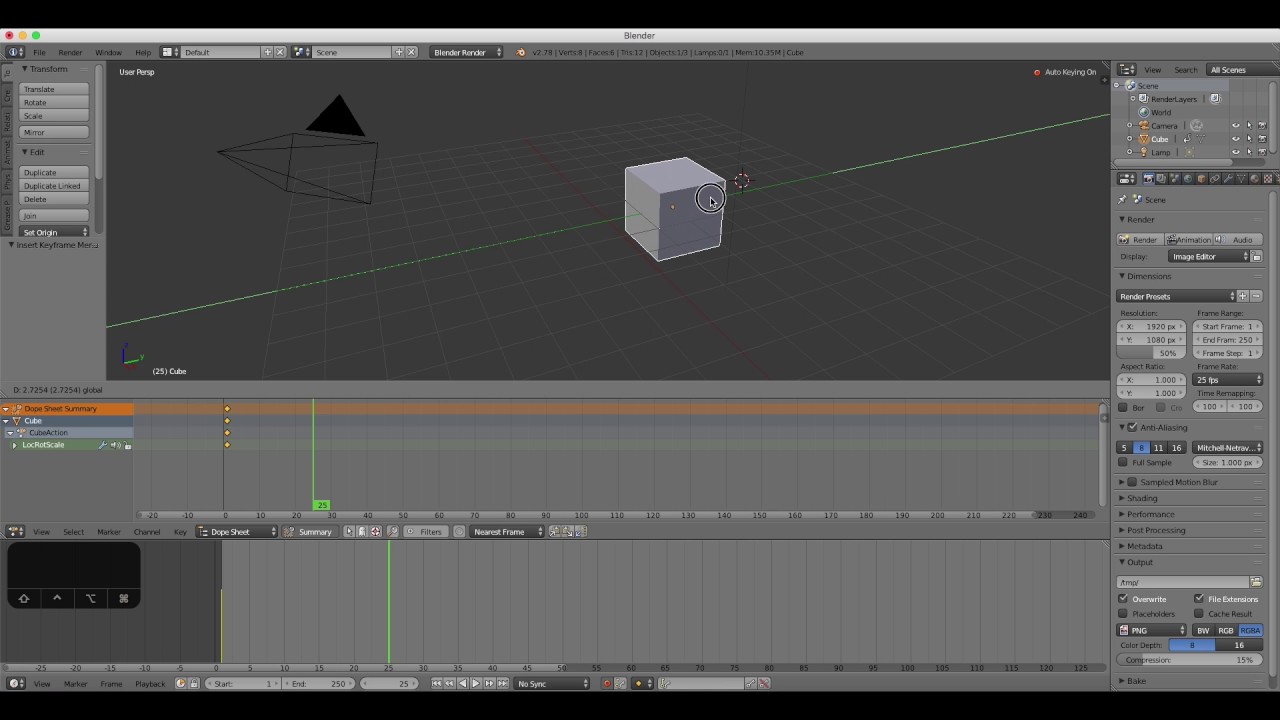
Week 2 is where I begin using Blender for the first time. I use a tutorial series by Blender Guru on YouTube in order to create a 10 second animation of a donut spinning. After finishing the tutorial, I test what I have learned by creating a similar animation of an apple.
- First experience with 3D modeling in Blender software
- Sculpting
- Texturing
- Painting
- First experience animating
- Simple rotation along the z-axis
- Rendering animation and uploading
- Used YouTube and a learning resource
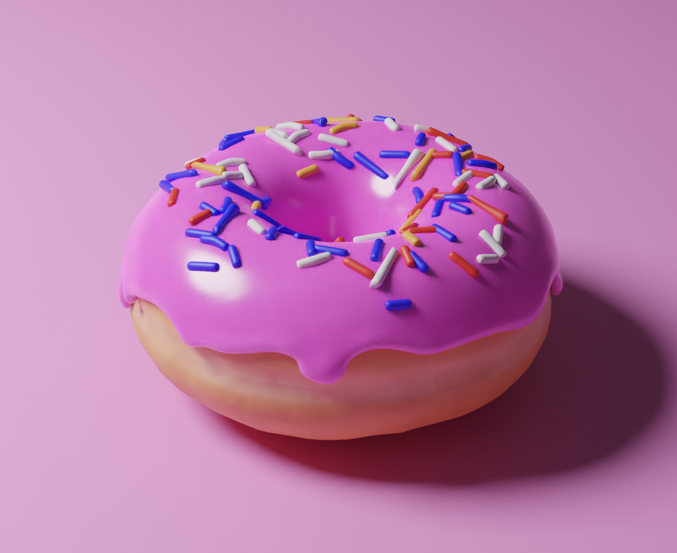
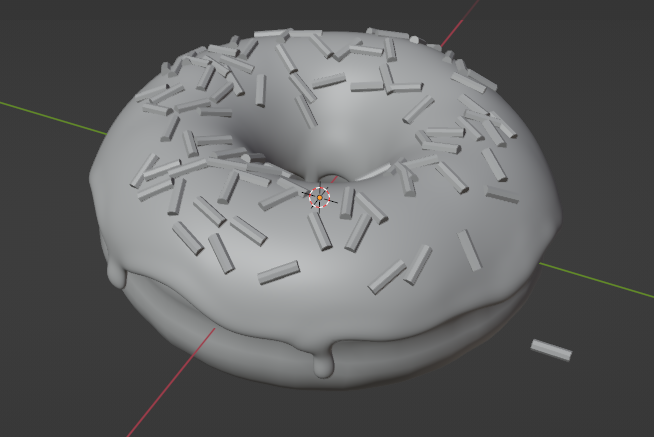
Donut 3D Model 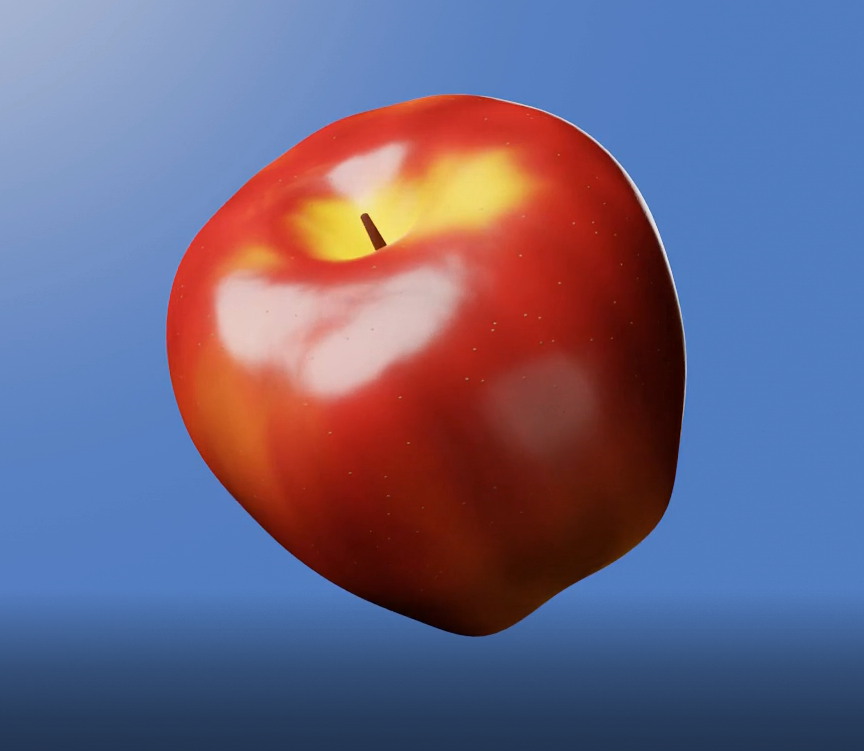
Apple 3D Model
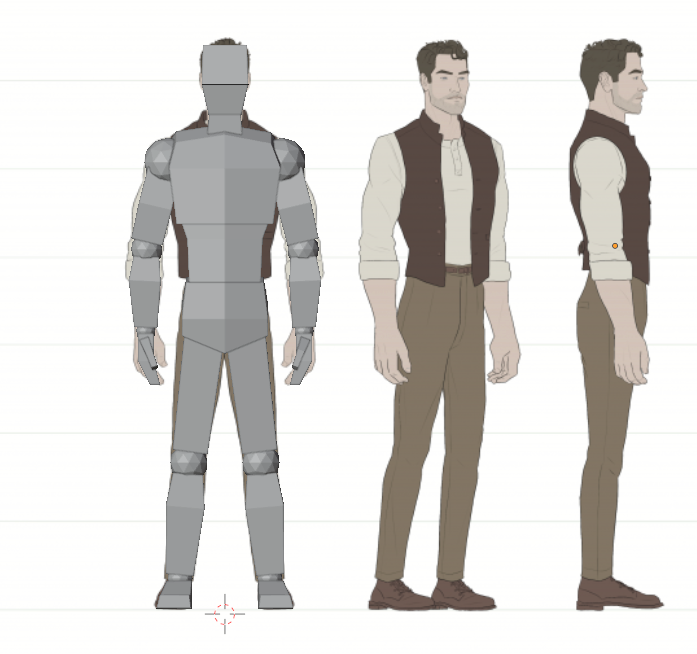
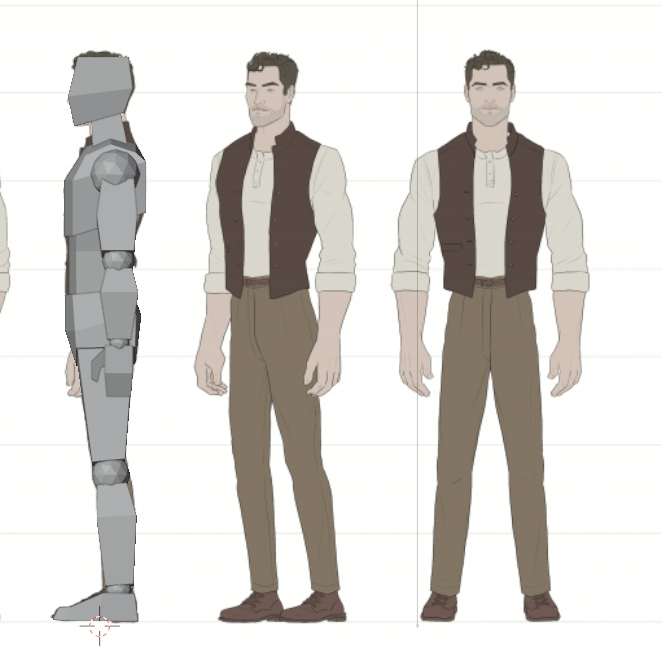
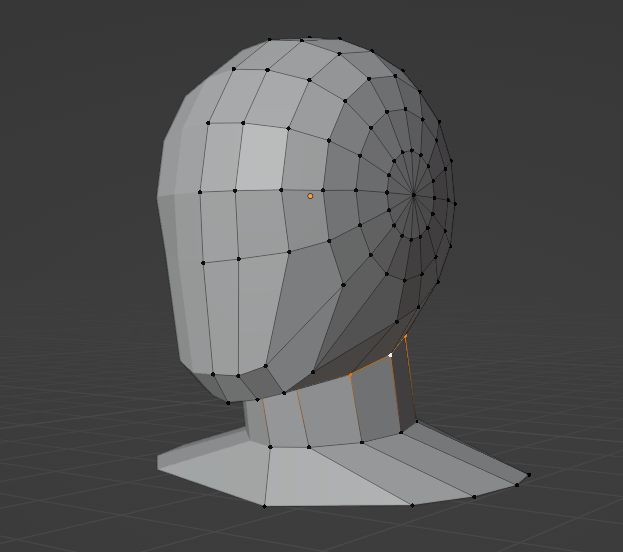
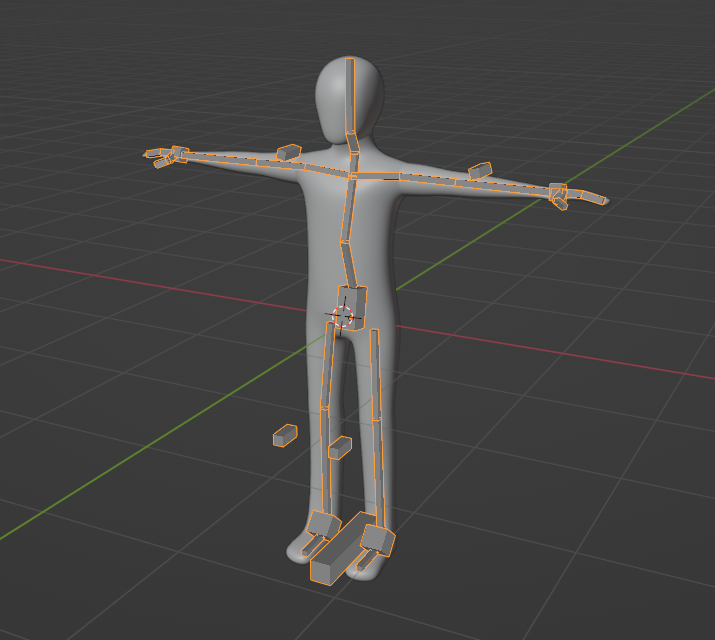
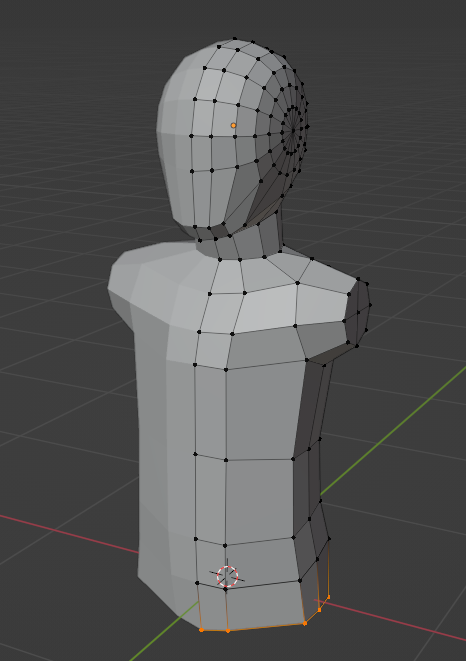
Learning Project Week 3 – Strike a Pose: Character Model and Rigging
In week three I use the modeling skills I learned before in order to create a simple character model. I follow another YouTube tutorial by Ryan King Art in order to create an Armature Rig which is then connected to the character model to shape it into different poses. This was in preparation for future weeks where I could then animate the character model moving.
- Creating a character model
- Rig the model to allow posing
- Used YouTube as a learning resource
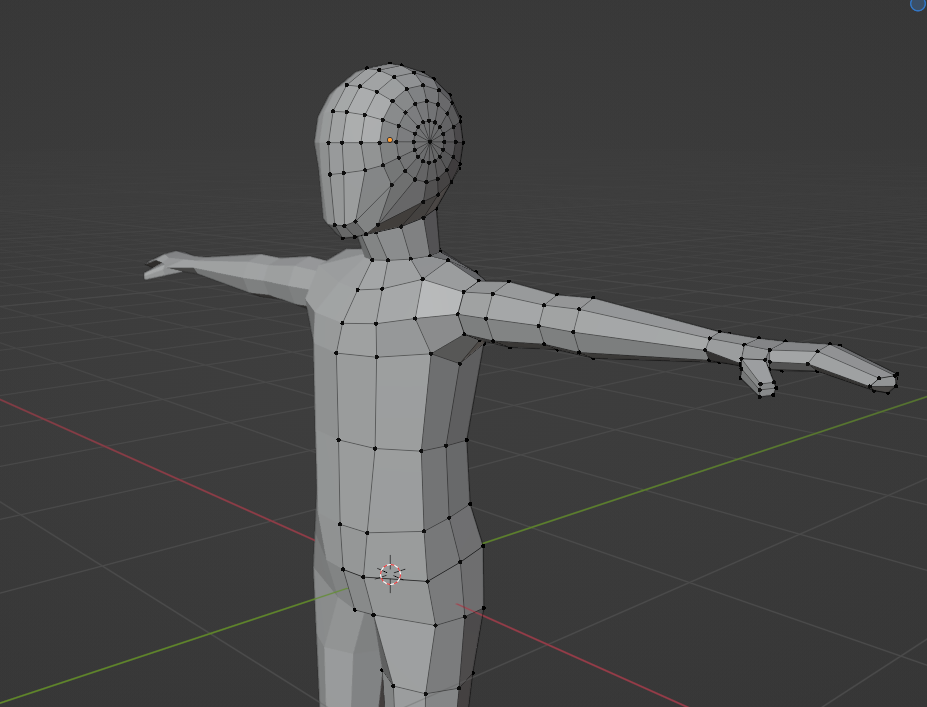
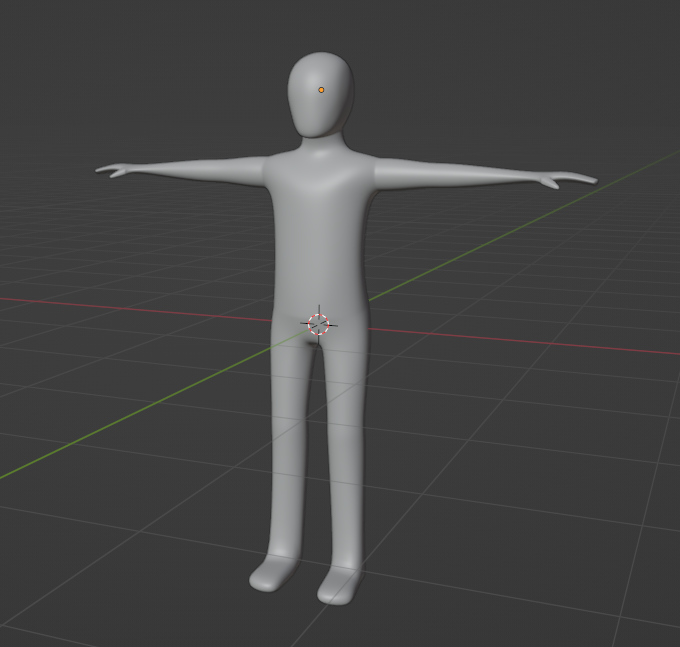
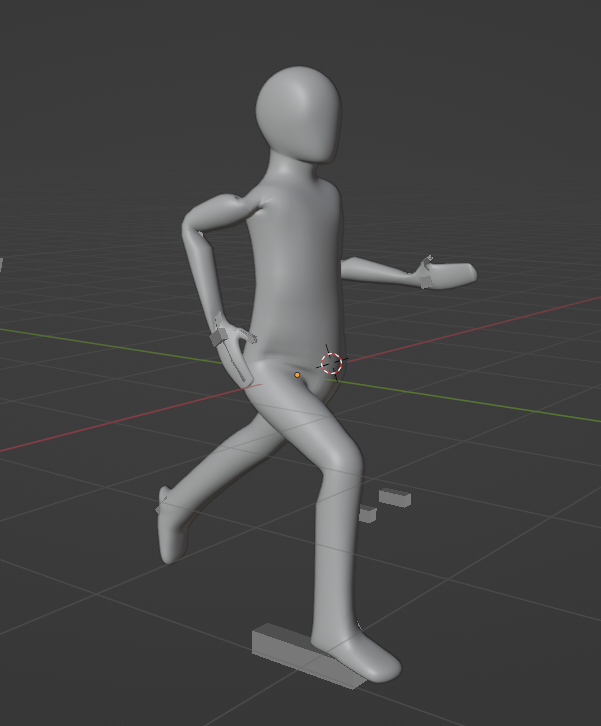
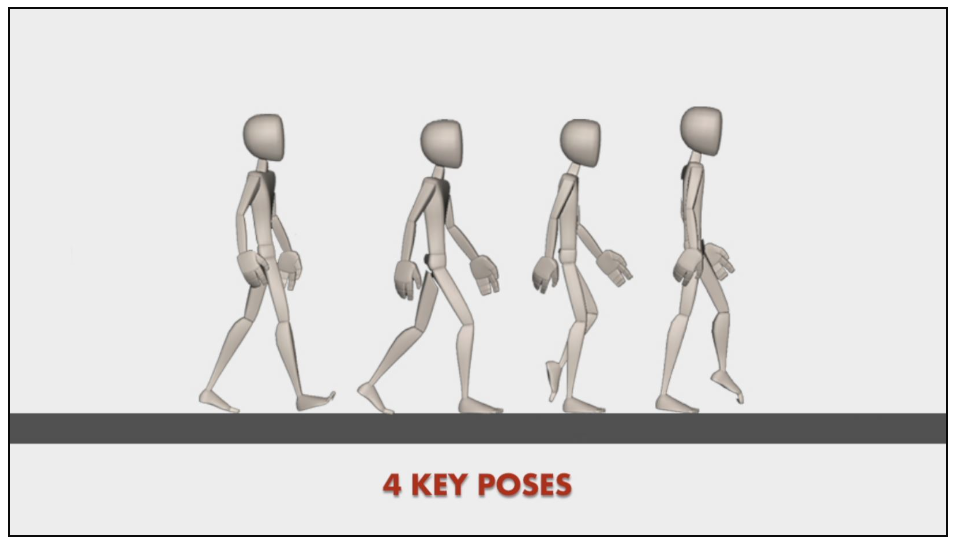
Learning Project Week 4 – A Step in the Right Direction: Animating a Walking Loop
In week four my goal was to animate my character model in a walking loop. I was not happy with the character model I created the week before I decided to create a new character using a video by Grant Abbitt on YouTube as inspiration. Once I had a posable character model that I was happy with, I created a 32-frame (approximately one second) animation of the character completing a walking cycle, which could then be repeating over and over again to give the impression of walking.
- Animate character model posing
- Posing model and inserting key frames
- Learn four key poses in a walking cycle
- Created a YouTube Video showing my animation process
- Recording screen and audio
- Editing video
- Used YouTube and Rusty Animator blog as references

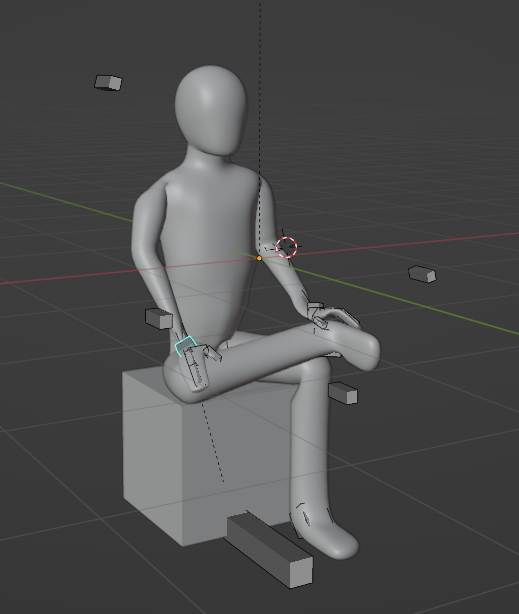
Learning Project Week 5 – My Model Don’t Jiggle Jiggle, It folds
This wee I built on the skills I learned from the walking cycle animation and applied it to a more complicated task, a TikTok dance. I explored using TikTok as a learning resource and found many tips/tricks that would be useful in the future. Because the dance was so long, I only animated the first 200 out of 600 frames this week, with the goal of finishing the animation in the next week.
- Animated more complex movements/dance moves
- Posing model and inserting key frames
- Synchronize movements with music using a reference video
- Recorded my animation process to be used in a video in the next week
- Recording screen and audio
- Explaining animation process and sharing thoughts in the moment
- Used TikTok as a learning resource
Learning Project Week 6 – Dancing Across the Finish Line!
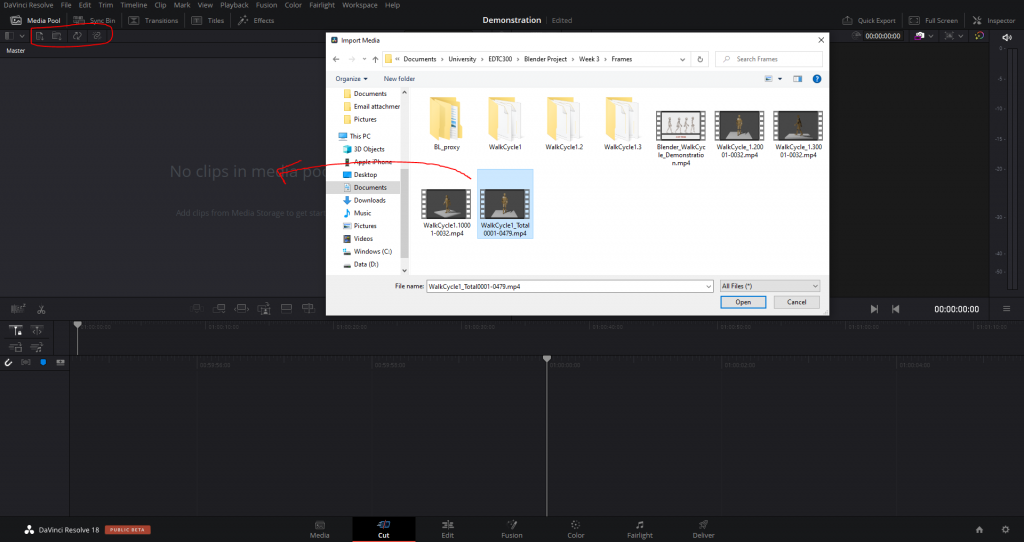
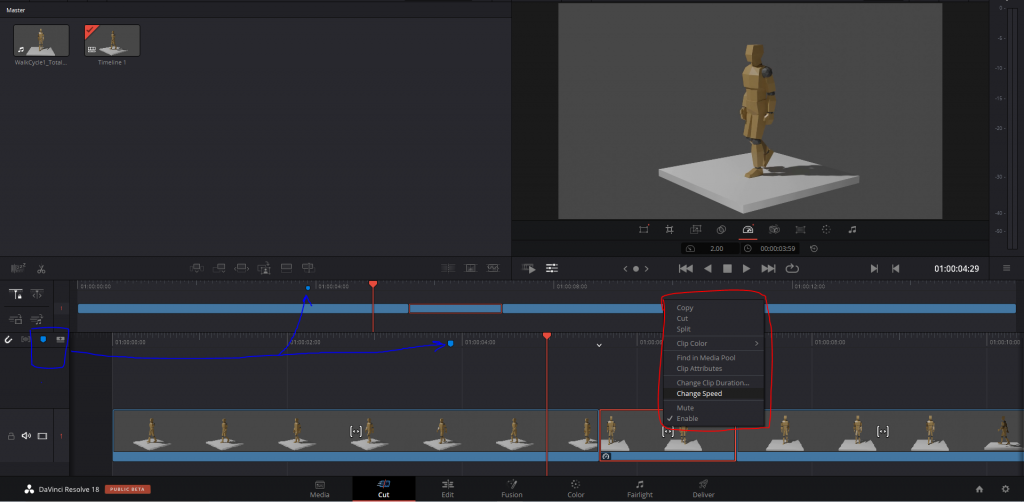
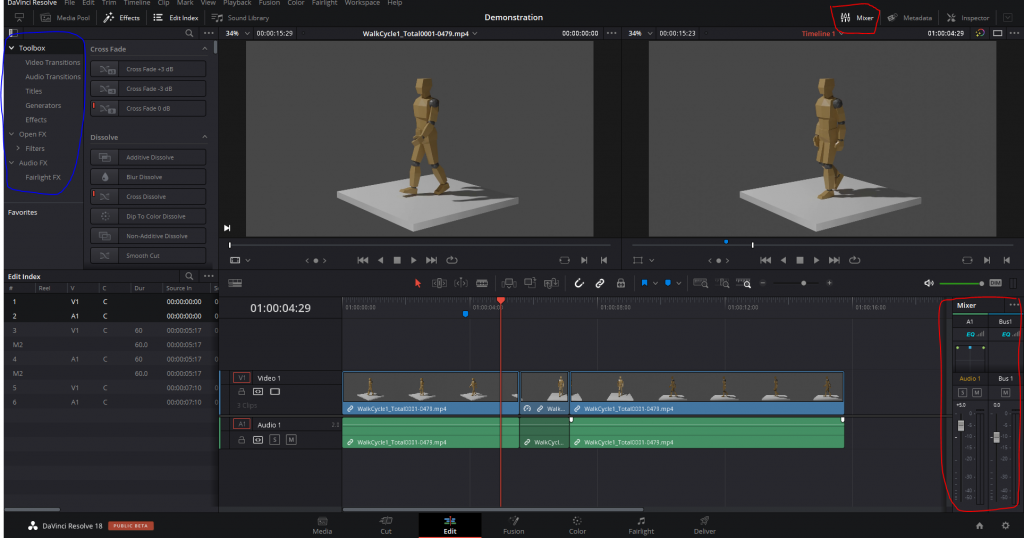
This week I completed animating the remainder of the TikTok dance I began in the previous week. I edited and uploaded a video showing the entire process of the animation including work I did the previous week. I explored a new website called Blender Nation as my learning resource.
- Completed 800 frame (27 second) animation of character model doing TikTok dance
- Posing model and inserting key frames
- Synchronize movements with music using a reference video
- Edited and uploaded video showing my animation process
- Recording screen and audio
- Explaining animation process and sharing thoughts in the moment
- Editing video using Davinci Resolve
- Used Blender Nation as my learning resource
Assessment of Personal Learning Progress
| Prior to Learning Project | Post Learning Project |
| – Minor experience creating 3D models from previous course. – Only brief experience animating 2D scenes. – No experience editing videos. – No experience recording screen and audio for videos. No desire to share things I created online. | – Created more complicated 3D models with variety of detail. – Animating complex movements in synch with music, in a 3D environment. – Recorded and edited videos showing my progress using screen-recording software. – More confident presenting my work to the digital world. – Desire to continue learning new skills and uploading more content. |
Reflections on Using Online Sources
When I began this learning project, I was confident I would be able to find countless tutorials using the Blender software available on YouTube. My intention was to look into a different channel each week an reflect on how each channel compared to the others. This is what I did for the first three weeks. However, upon digging deeper and what the internet had to offer, I found a variety of different sources that could be utilized for various learning purposes.
YouTube is, in my opinion, still the very best way to learn how to animate. The search function is very well optimized, so if you know what you are looking for you will most likely be able to find it. Creators are allowed to upload much longer videos than on other sites, which allows for more complex, detailed, step-by-step tutorials and explanations. I am glad I chose to use this site in the early weeks of my project as I feel it propelled my learning to the point where I was comfortable enough to then explore other resources.
Blogs that I have explored offer an interesting combination of text, pictures, and words. When I was creating the walking animation in week 6, I found it was a valuable format for teaching the theory of what goes into a walking animation, so that I could then apply it into the Blender workspace.
Knowing how TikTok has a limitation on the length of videos uploaded, I did not think it would be a very useful source. What I found was that there are many short videos that showcase specific tips or tricks in the short time frame allowed. Something I have found about Blender is that it is so complex, there are a million different tools and tricks I have no idea are even possible. With this in mind I think where TikTok (and other social media sites like Instagram and twitter) shine is by showcasing these small tricks to make users aware of their existence. Then afterwards they can research more in-depth tutorials on sites like YouTube. Additionally, these sites are great for inspiration!
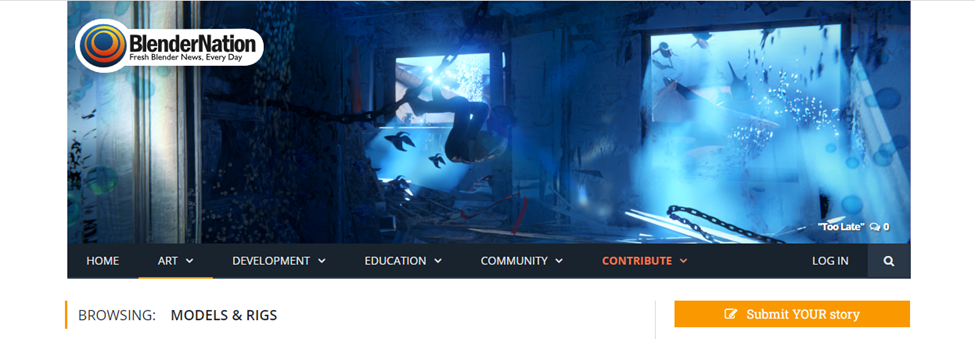
The last resource I checked out was a website called Blender Nation. This site had a lot of content, from tutorials to models and rigs available for download. While investigating it I found that the search function was not very optimized. I feel this resource would be best used similarly to TikTok, for inspiration of discovering new tricks, as well as downloading resources such as models created by other users.
Final Thoughts – Moving Forward
I am incredibly thankful this course has given me the opportunity, and push, to pursue learning this skill. It was always a dream of mine, but one I never thought I would actually take the leap for. After all, who has over six hours of free time to learn how to create a 3D donut?! I am very proud of all I have accomplished in the past six weeks. Moving forward, I would spend more time on detailed modeling. While focusing on learning animation this project, I had my character model dancing in a grey void. I think a nice challenge and change of pace would be to create a detailed 3D environment, with some simple animations to bring life to the scene. A cozy coffee shop or a nature trail are two options that come to mind when thinking of what’s next. I hope I will be able to find the time to continue this hobby well into the future.
Thank you very much for following me on this journey!