Hello everyone! Thanks for checking out this week’s post. My learning project update this week looks a little bit different than usual. I used a platform called WeVideo to compile a video to show you exactly how I have been drawing on Procreate.
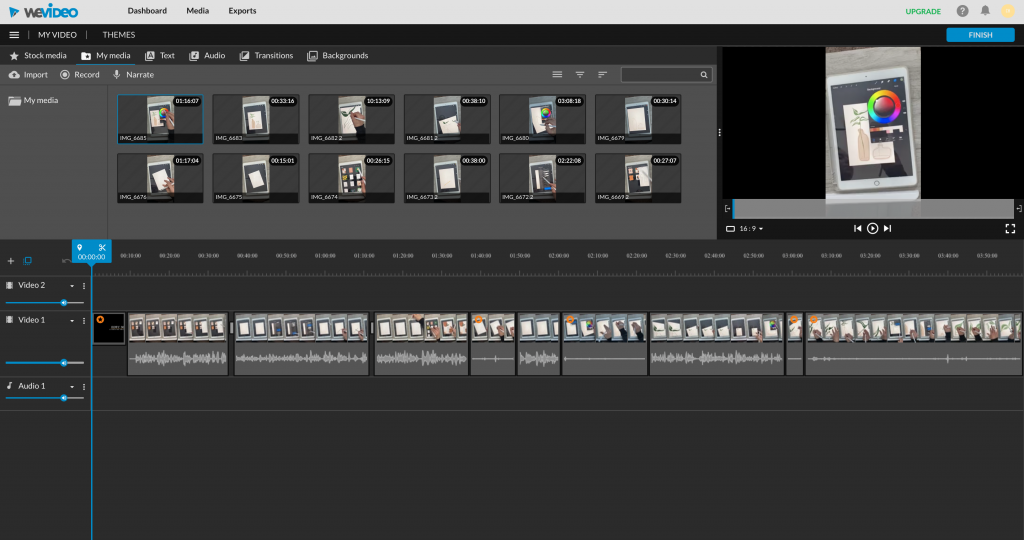
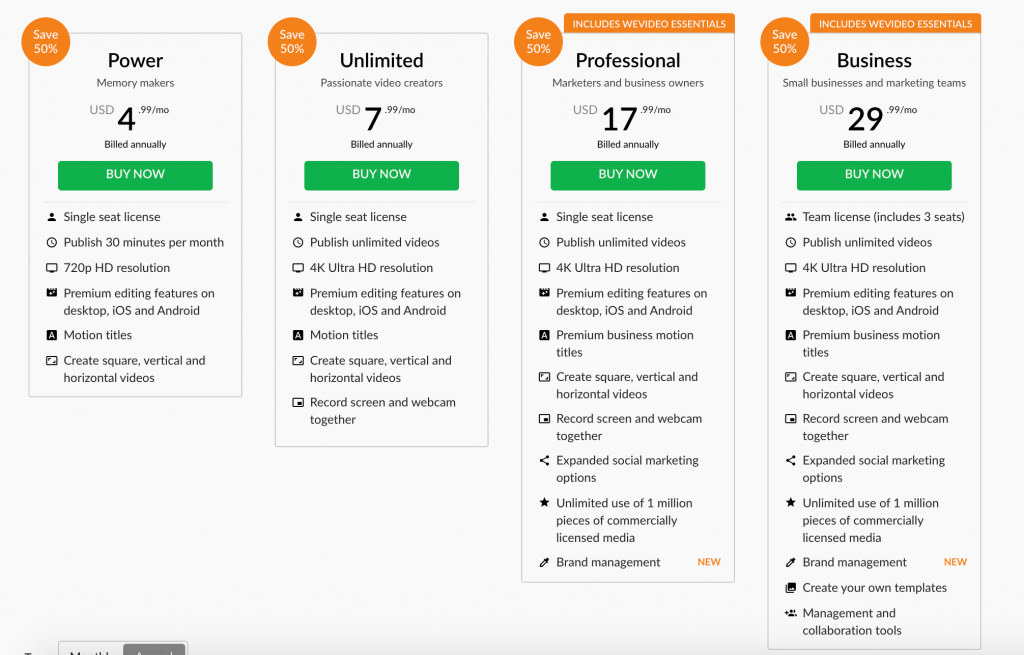
First Impression: This was my first time using WeVideo, and it was definitely a learning curve! I found it to be similar to iMovie in terms of putting pre-recorded videos together. The biggest perk of WeVideo is that your account can be reached from anywhere as it is just a website login. Whereas iMovie is restricted to the device that you started the video on. I have to say that I found myself frustrated with it more than a few times. Given that I was using the free version of the website, there were a lot of restrictions. Several options include adding font, music, and themes or adjusting videos by increasing/decreasing speed and cropping them. The biggest drawback to the free version is you are limited to the size of media you can upload and the overall length of the video (5 mins). This made uploading and compiling the videos slightly difficult. Here is the pricing for WeVideo. I seriously considered buying the Power package because I was so frustrated with uploading my videos, but I ended up pushing through and figuring it out!
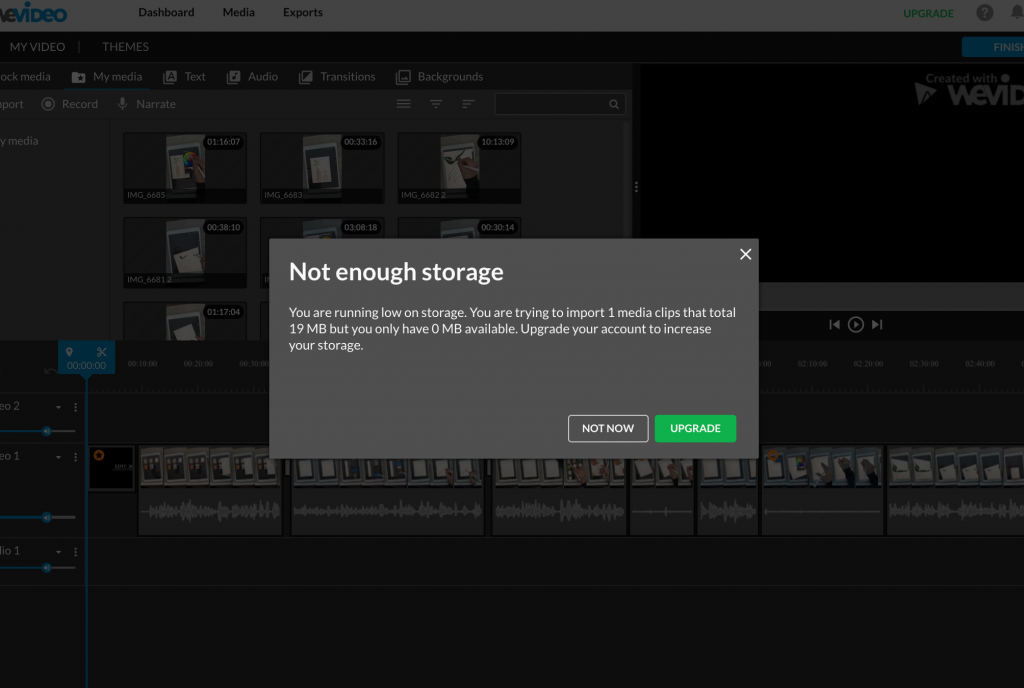
Trying to upload another video 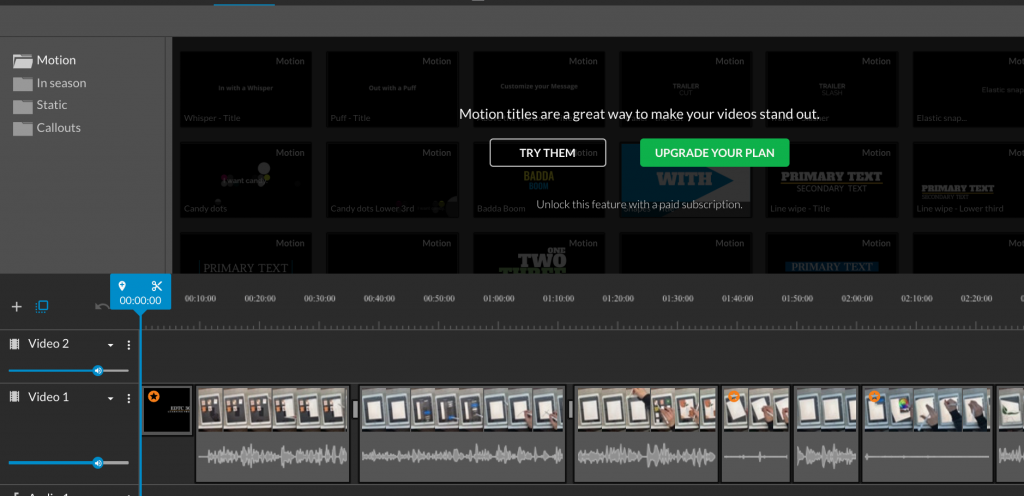
Trying to add text 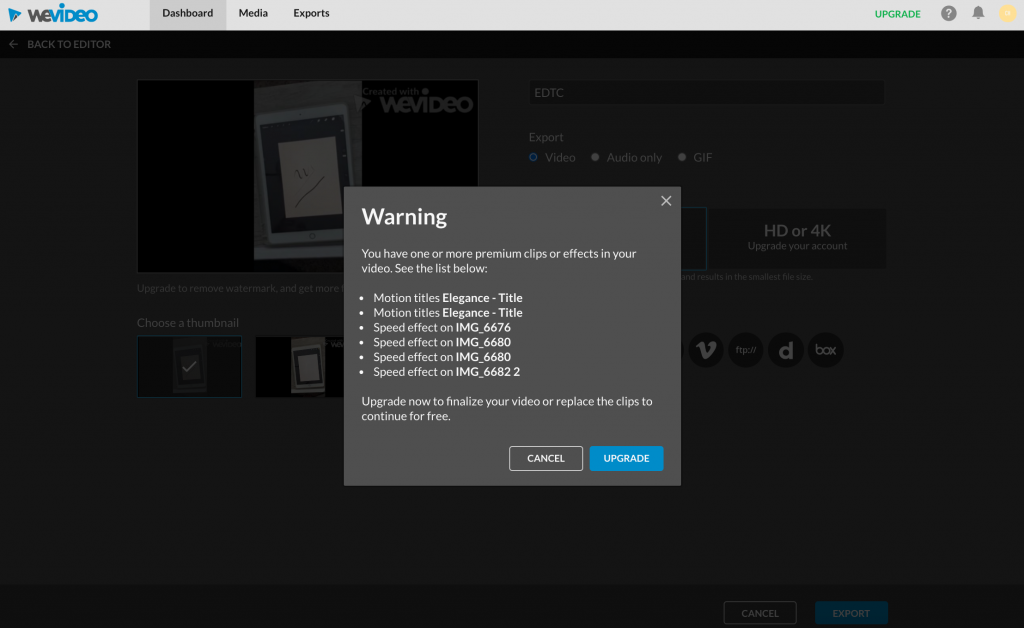
Trying to export
As you can see in my video, there are a few “holes” when it comes to my finished product, and this is because I was not able to upload any new media after my initial uploads…frustrating. I would have liked to add in some of the videos I had explaining procreate more and the process I go through. After trying to export the video, I found out that I would have to take out all of the premium applications I used…I initially thought that you could use them, and my video would have the watermark… NOPE. Sooooo I turned to the next best option Screencastify! After my not-so-awesome experience with WeVideo, Screencastify was a DREAM to work with! I simply recorded my screen and uploaded the video here! Because it is a recording the audio isn’t as great as it was before but that would be my only complaint about Screencastify.
Classroom Application: One major benefit to WeVideo is that it allows for many creators to be on the same account at the same time! This would be super beneficial in the classroom as students can work collaboratively on one video. Another benefit is that it is pretty user-friendly (it would be even better with the paid version). Because of the user-friendly trait, I would say that this would be a fit for students from grades 5-12!

I hope that this blog post gave some insight into the free version of WeVideo and how I have been making my digital designs! Have you tried WeVideo? What were your thoughts? Any tips or tricks for me to use? Let me know in the comments!
