Learning to Use Cricut Vinyl
Welcome to this weeks learning blog post! For this week I learned how to use cricut vinyl to make a super cute project! Click this link to see my inspo!
So step one was to watch many videos to get an idea on how to use the vinyl. Here was one of the videos that made it much more clear. Honestly, the method that I found to work the best was to just go for it and learn as I go, so that’s what I did.
The first step was to go into Cricut Design Space which I previously learned how to use and make the design I was going to cut. This step was relatively easy for me because all I had to do was find the Spotify play bar and the song I wanted to use.
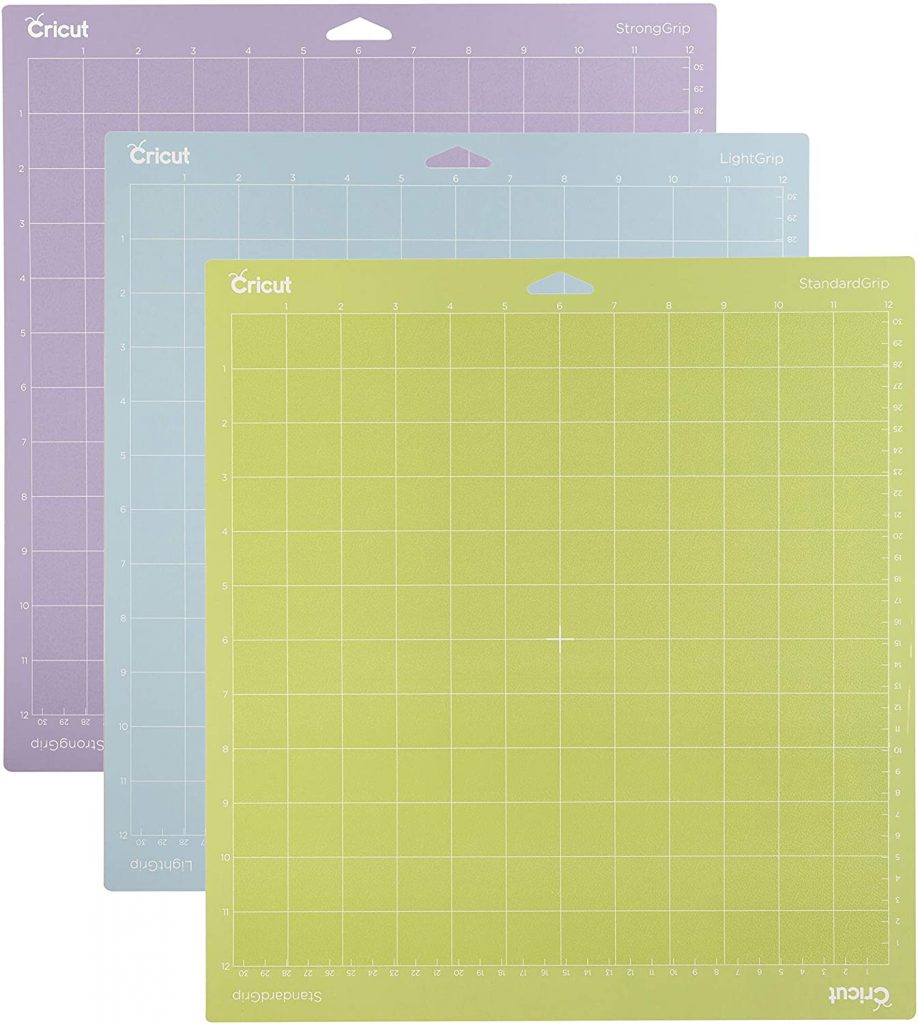
Step 2 was to cut the vinyl to the correct size I needed which was around 8 inches since that was the width of the piece of glass I was using. Next was to line it up on the mat, load it into my Cricut and start cutting. This was super easy since I had already done it when I learned the draw feature.
Once the Cricut was finished working its magic, it was time to carefully peel it off of the sticky mat. LIFE HACK: to make sure the vinyl doesn’t curl up flip the mat upside down and carefully peel the mat away from the vinyl instead of the vinyl from the mat. Now… step four is where I messed up. This is the step of applying the transfer tape. Instead of following the video for some reason I thought it would be a good idea to just do that I wanted which was not a good idea. So to apply the transfer tape, you’re supposed to peel off the unwanted vinyl and then apply the transfer tape on top of only the vinyl that you will be applying to your glass, but I did it backwards and applied the transfer tape before peeling off the unwanted vinyl. Doing this made some of the letters to not stick to the transfer tape which led to me just having to re-cut the vinyl (which by the way is NOT cheap). After I re-cut my design I did it the right way and no shocker, it worked.

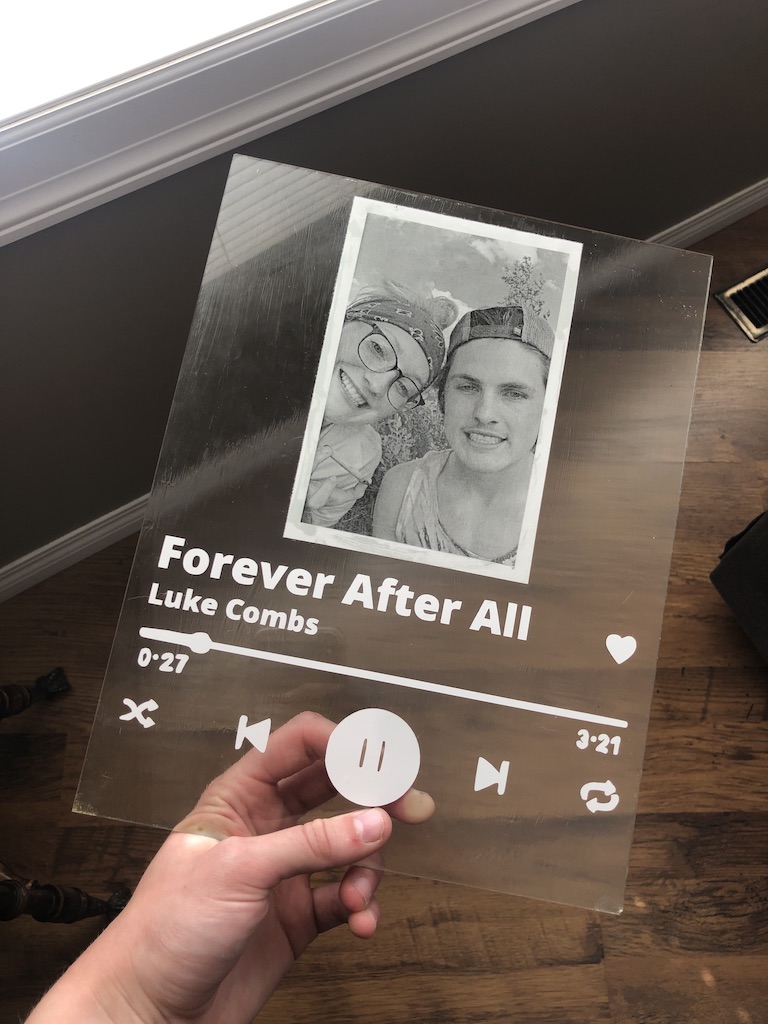
Step 5 was to apply the transfer tape with image that you want to apply to the glass. I used my squeegee tool to press down the vinyl on the glass and carefully peeled off the transfer tape. This left me with the glass and the Spotify play bar and my song of choice on the bottom.
Lastly, apply your photo of choice and cover the whole project in modge podge to seal everything and that’s it! You have a super cute Spotify play bar photo!
Here’s a Tik Tok I made documenting the steps. Don’t mind my horrific transitions, maybe I should have chosen that for my learning project! 🙂
And this is what my project turned out like!
Thanks for reading my fourth learning project blog post this week and I look forward to reading your guys posts!!
How creative! I bet you will use this in your future classroom. Well done.
I love this learning project idea! I’ve always wanted at Cricut but they and the supplies are supperrrrr expensive, you’re right! I can’t wait to see what other things you make, the possibilities are endless!
This is awesome! I thought about learning more about my Cricut Explore 2 for this learning project, but I didn’t. I wish I would have now that I see your amazing project. I got mine for Christmas and haven’t had much time to explore everything it can do! I hope to find some time in the near future to make some cute things like you have! I can’t wait to see what else you make!
That is adorable! I love it!
I love that you let us learn from your mistakes by pointing them out and I appreciated the visual of the videos for those of us that are more visual learners!