It is so crazy to think that this is already the second last week of my learning project, and next week, as promised, I will be baking and decorating a cake from scratch! In preparation for my final project, I decided to learn about using fondant. I found a homemade marshmallow fondant recipe by Wilton to follow. This recipe was extremely user friendly; it allowed you to check off the steps as you completed them and included lots of extra tips, such as how to store the fondant.
I had no idea how much work it is to make fondant from scratch. The recipe was easy enough to follow, but afterwards I spent almost TWO HOURS kneading the dough and adding various amounts of icing sugar, water, or vegetable shortening to try and get it the perfect consistency. Eventually I gave up and decided to just try modelling with it. It may not have been perfect, but I made it work.

“instagram” by mark knol is licensed under CC BY-NC-SA 2.0 
“facebook” by mark knol is licensed under CC BY-NC-SA 2.0
I discovered early on how many great baking videos there are on YouTube, so I have been hesitant to stray away from this platform simply because I know how easy it is to learn from. I have yet to really utilize social media for my learning project, so this week I decided to try and learn how to make a fondant rose using Instagram and Facebook.
First, I tried IGTV. There was very little baking content here, and I was not able to find a single video tutorial on fondant roses. Although I love Instagram, I do not think it is the right platform to use when learning a new skill. Next, I tried Facebook’s watch feature. I was pleasantly surprised with the amount of fondant flower tutorials I was able to find here! The best video I found was by ‘I Scream For Buttercream’; click here to watch it. I liked this video because it did not require any special tools. It also included written explanations of each step on the screen to accompany the visuals, which was really helpful.
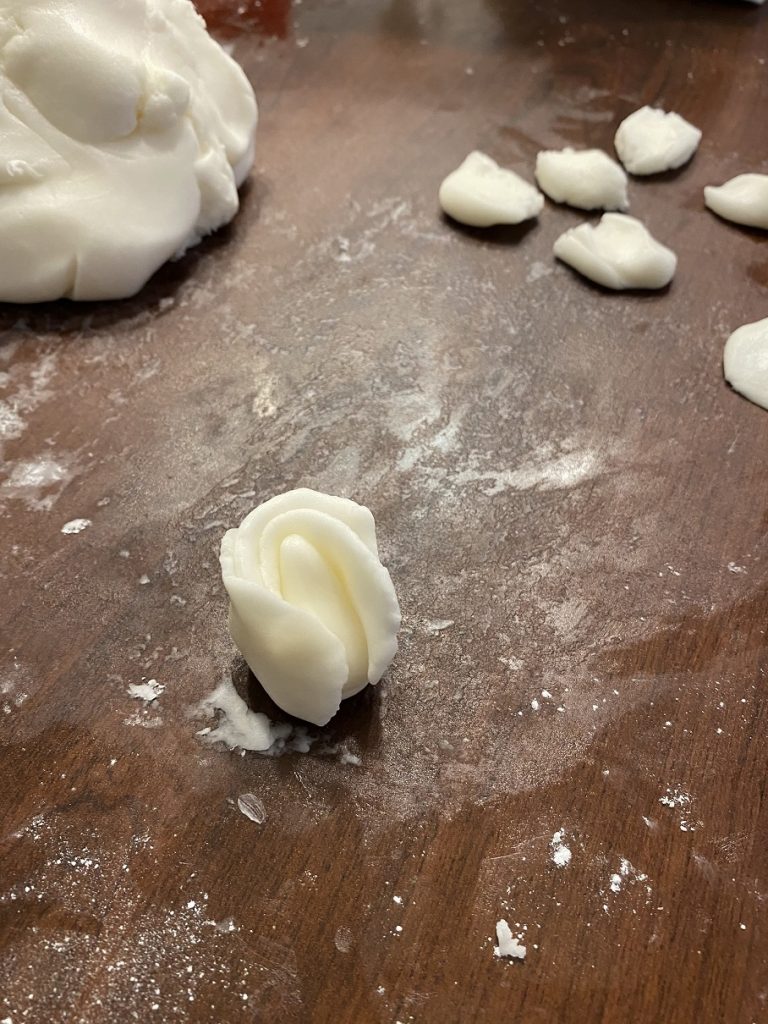
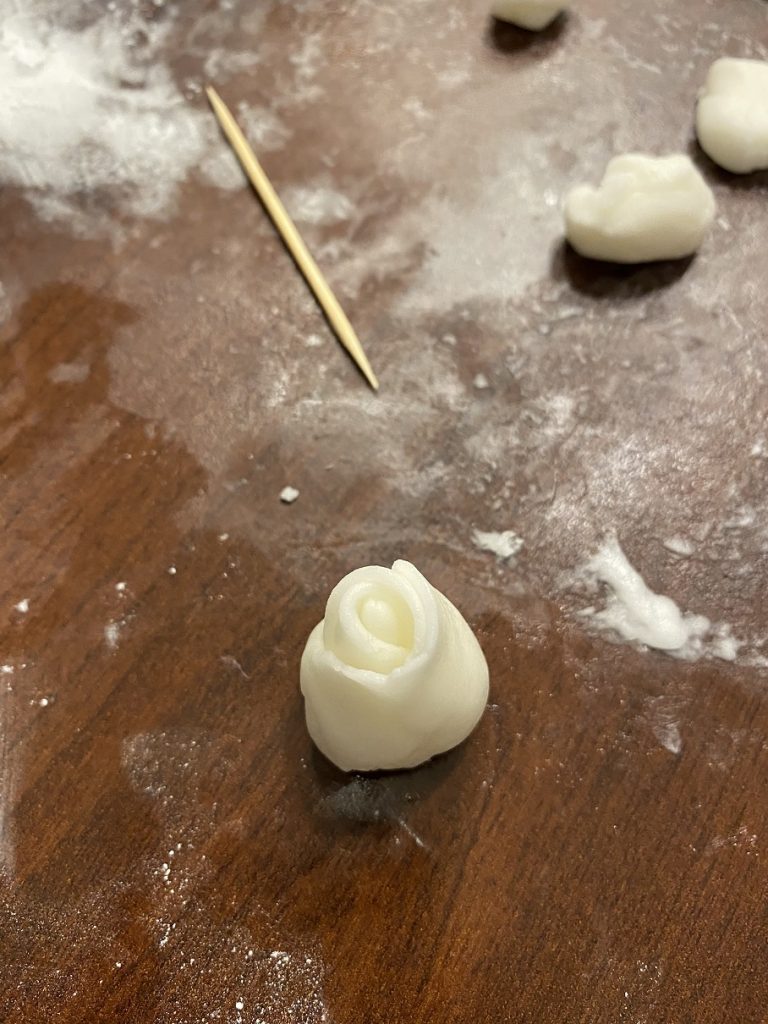
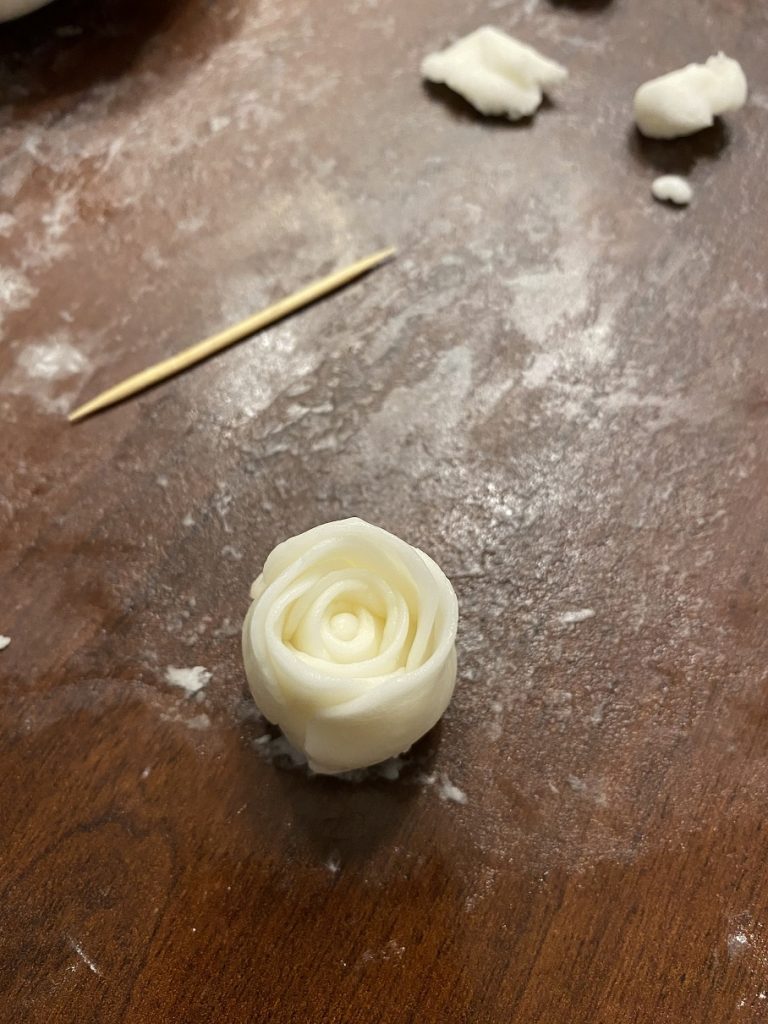
Above is the very first rose I attempted. It did look like a rose, but it was really large and bulky. The center was too big and the petals were not even all the way around the rose.
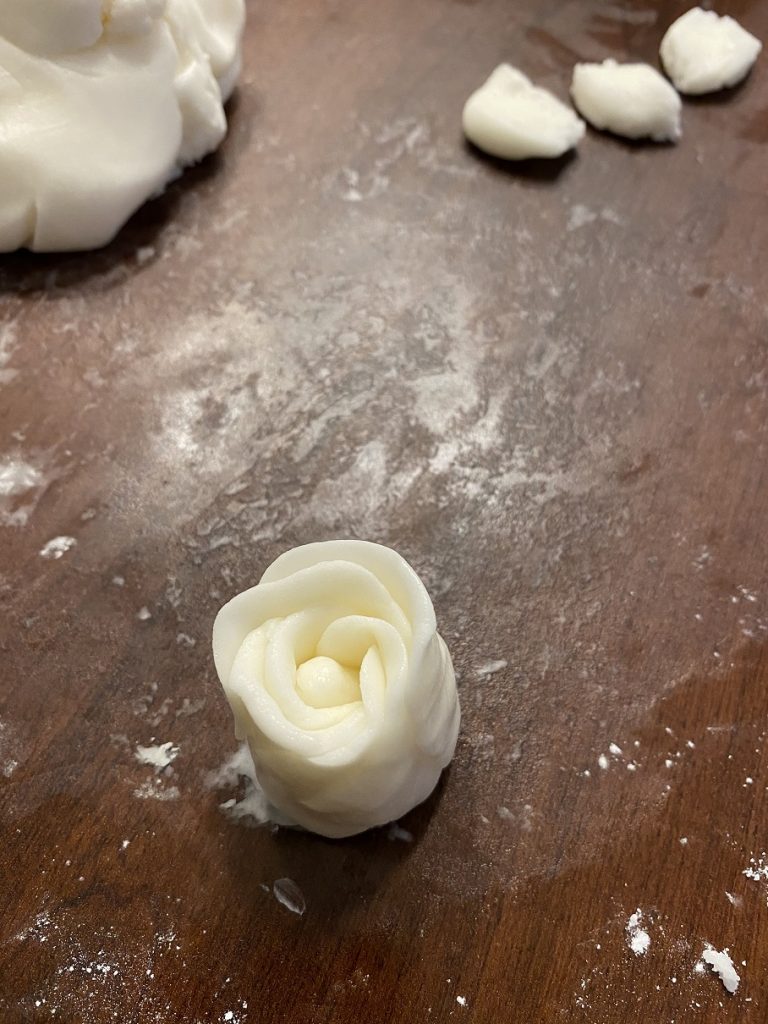
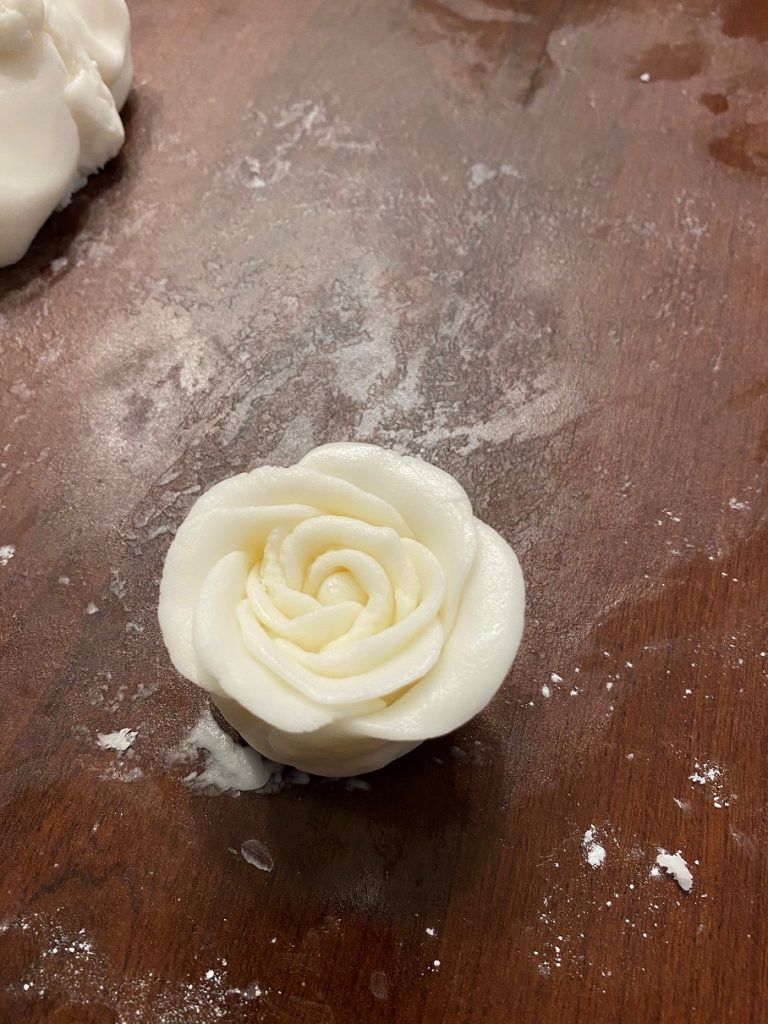
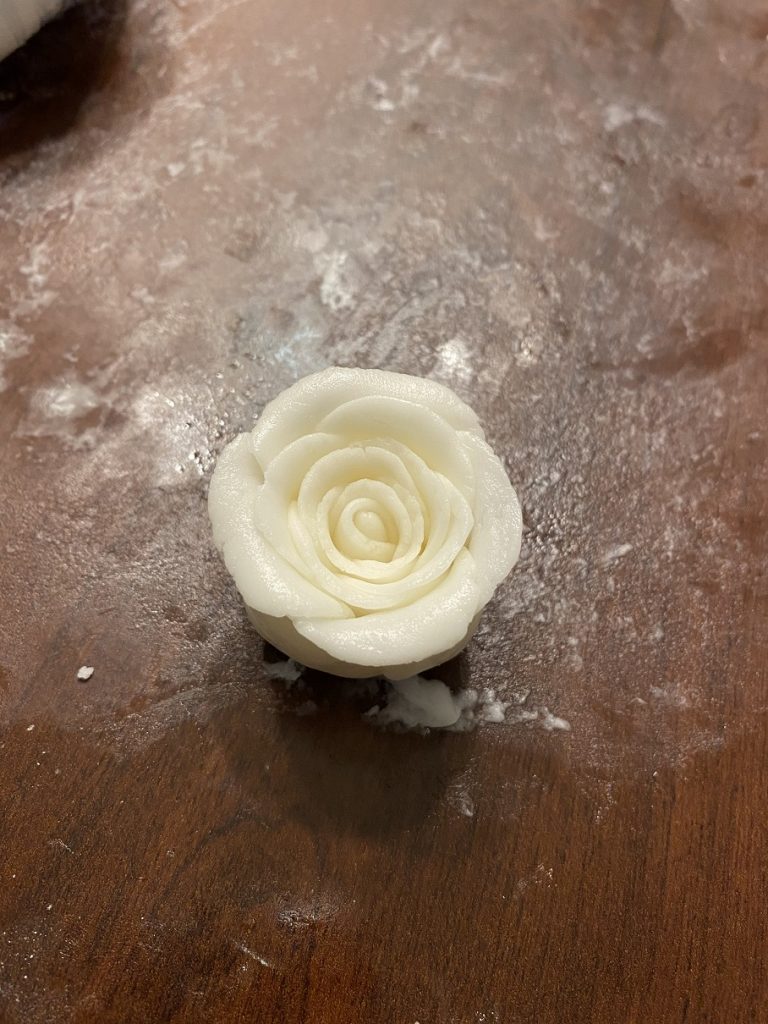
In comparison, here is a rose I made after some practice. This one was much smaller, which I think made the petals look more realistic. I made sure the center was tighter and the petals were even on all sides of the rose.
Overall, I was really happy with the way the roses turned out, especially considering it was my first time. When I make roses for my cake next week, I want to work on making them more open so they look good from all angles instead of just the top. I will also colour the fondant so they pop more. Be sure to stay tuned to see my final project next week!
4 Comments
Mikaela
Hi Sarah,
It is SO crazy that this class is coming to an end and that it’s almost time to wrap up our learning projects – time just flew right by!
It’s awesome that you made your own fondant! As a cake decorator, I used to make my own, but it is definitely time consuming, so I use pre-made now. However, homemade does taste a lot better. Your roses turned out beautiful! Great work! I can’t wait to see how your cake turns out. If you need any tips, feel free to reach out, I’ll be happy to help in any way!
Sarah Stroeder
Thank you so much Mikaela!
carmelfrape
The roses look amazing!! I have used the same recipe for fondant, and it definitely taste better. All your work makes me hungry or have cravings. Can’t wait to see the big reveal!
Pingback: