Working Towards a Journey of Learning
Getting Situated
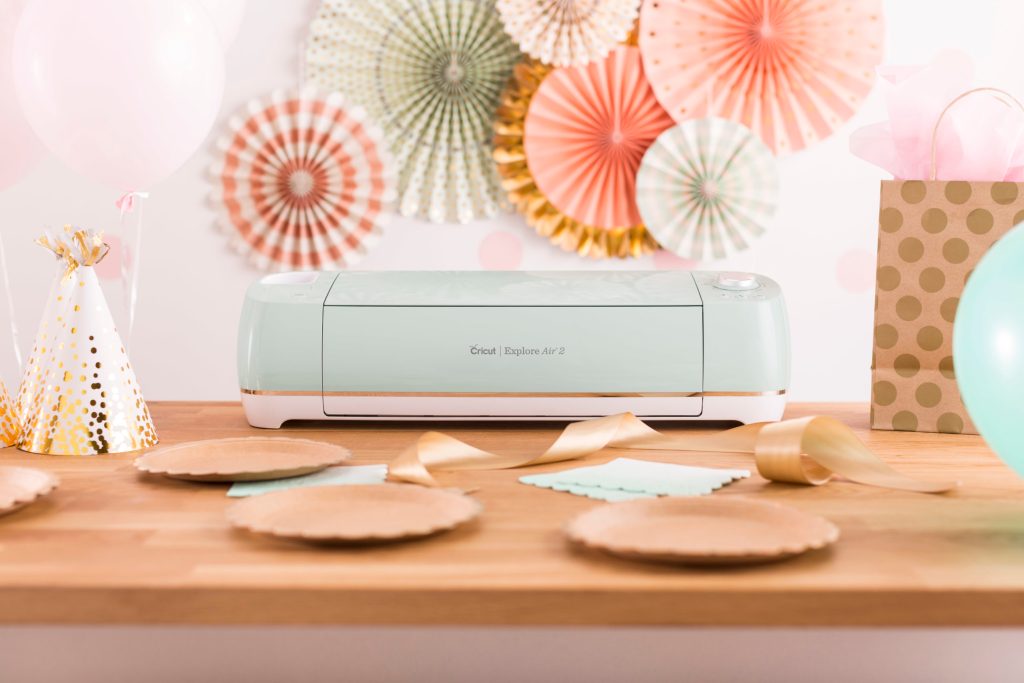
Because I am starting with the Cricut machine purchased by the school, I first had to take down the boxes off of the shelf and reorganize all of them. I mean, it’s great we have the tools and some supplies, but the Amazon box used as an organizer isn’t quite hacking it for me. So, because I am who I am and love all things organized (minus I’m falling real short in that department at home and in my car lately), I started to look online for better organizational options. I started first with Amazon (full credit to the box inspiration) and of course, found an endless amount of options. Let’s be honest, I should have known better, but I was still shocked by the sheer number of items available to organize all things Cricut. And if you didn’t think that was enough, check out Pinterest for even more ideas here! Anyways, one thing led to another and I eventually asked the principal if there was in fact a budget for an expense such as that one… he’s still getting back to me (I wonder why… ha!).
Anyways, after getting past the notion that things need to be better organized, I opened the box and looked in to see the mint green beautiful machine resting inside. I thought to myself, cool, I did it. So, I closed the box and walked away for a bit. Talk about being overwhelmed and a little freaked out.
After some time passed, I tried again. I pulled out the machine, stared at it for a bit, and then realized that I needed to come up with a better plan. One that may have started with the tools needed and how to use the Design Space to create these potential projects that don’t quite exist yet (or at least didn’t when I was looking at the pretty machine).
Reaching Out for Starting Tips and Tricks
Because I know I am totally out of my realm of expertise, not even playing the same sport really, I knew that my first step was to ask for help. I reached out and asked a few friends and they were over the moon excited. I guess Kaytie did say that she wished she had a video camera in her house the day I made fun of her, and all the years after that I continued to poke fun at her expensive card maker. But, in true Kaytie fashion, she told her sister Courtney (yes, the one with the organizing business) and they both immediately flooded my phone with tips, tricks, and beginner projects.
I so appreciate Durston, Chris W, Brittney, Curtis B, and Victoria for reading my last lengthy Cricut post and giving me a ton of support, suggestions, and places to start. I feel so much gratitude for all the people that took time out of their busy lives to help me out and provide feedback on that last post. I can’t say enough amazing things about these people in the Cricut world they are always ready to help and share all of their magic. I also appreciated the folks like Gillian, Colton, and Alec who popped by to show their support and cheer me on (especially because they too have not joined the Cricut World…Yet). Jump to my last blog post, and scroll to the bottom to check out all of the amazing tips and tricks that were suggested.
Planning a Rough Outline of Projects & Learning
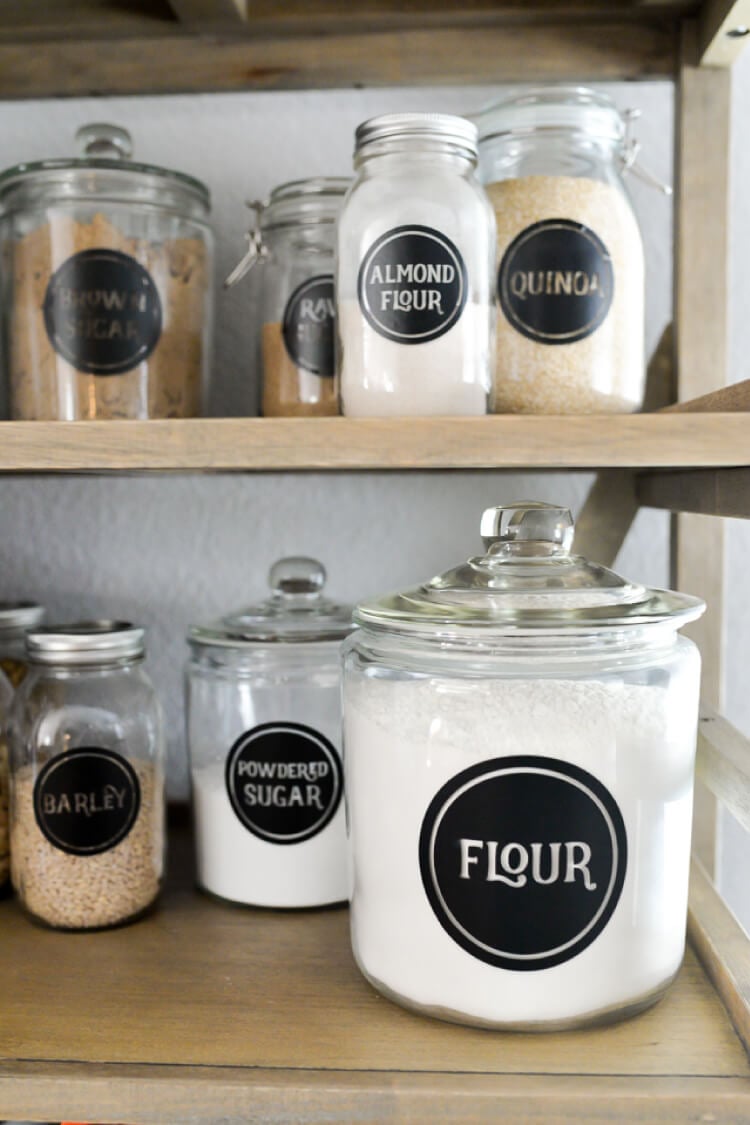
I have been extremely lucky and received a lot of great beginning projects. From T-Shirts, to cutting letters for bulletin boards and everything in between. Kaytie suggested I do spice jar labels, but what she doesn’t realize is that all of them are labeled with the labels they came in when I bought them at the store. Presently, I am not feeling the need to change all of them over to new containers to label them. Who knows, this may be a good project when I get better and have more motivation to organize my kitchen. Maybe that’s the next project after figuring out the Cricut? Anyways, Courtney suggested that spice labels may be hard because they are small and there is quite a bit of weeding involved. I don’t think she realizes that that’s all Kaytie let me do to help her that one time… Doing anything one time pretty much makes you an expert, right?
So, I thought of a rough plan of attack to get started. Maybe this will take me two seconds, and maybe this will take me weeks to perfect, I’m not sure.
- Memory box for my kiddo
- Planter saying
- Name label for my Yeti
- Mason Jar Labels (these are cute too)
- Pantry Labels
- Rae Dunn something… not sure what yet though
- If time permits, a colleague of mine would like her Grade 1 classroom bins labeled.
Like every SMART goal, they should be timely. So, although I know I could throw a ton more on the list, I want to start with a manageable load. I’m hoping that once I start, I won’t be able to stop and I will have to brainstorm a list of way more projects than this. But it’s a start, and I want to be able to hit my first goal. With that being said, I am going to try to get all of these projects done in 10 days. Why not 2 weeks? Because I will procrastinate for sure, and 10 days seems a lot shorter than 14. It’s time to get my tuchus in gear (thanks Marvelous Mrs. Maisel for reminding me of this word).
I plan to take pictures of the finished products (hopefully staged and beautiful… or else epic failures), and myself working on the projects. I am camera shy though, so it’ll be interesting. I’ll have to let my nail lady know that she needs to help me keep my curated nails in tip-top camera-worthy shape (Lori would most definitely laugh at this, as I am not so great at keeping up with the Miller’s). Maybe once a few weeks pass and I feel more confident, I will be able to take a few videos. Gosh, that would be wild!
Getting Acquainted with the Design Space & Tools
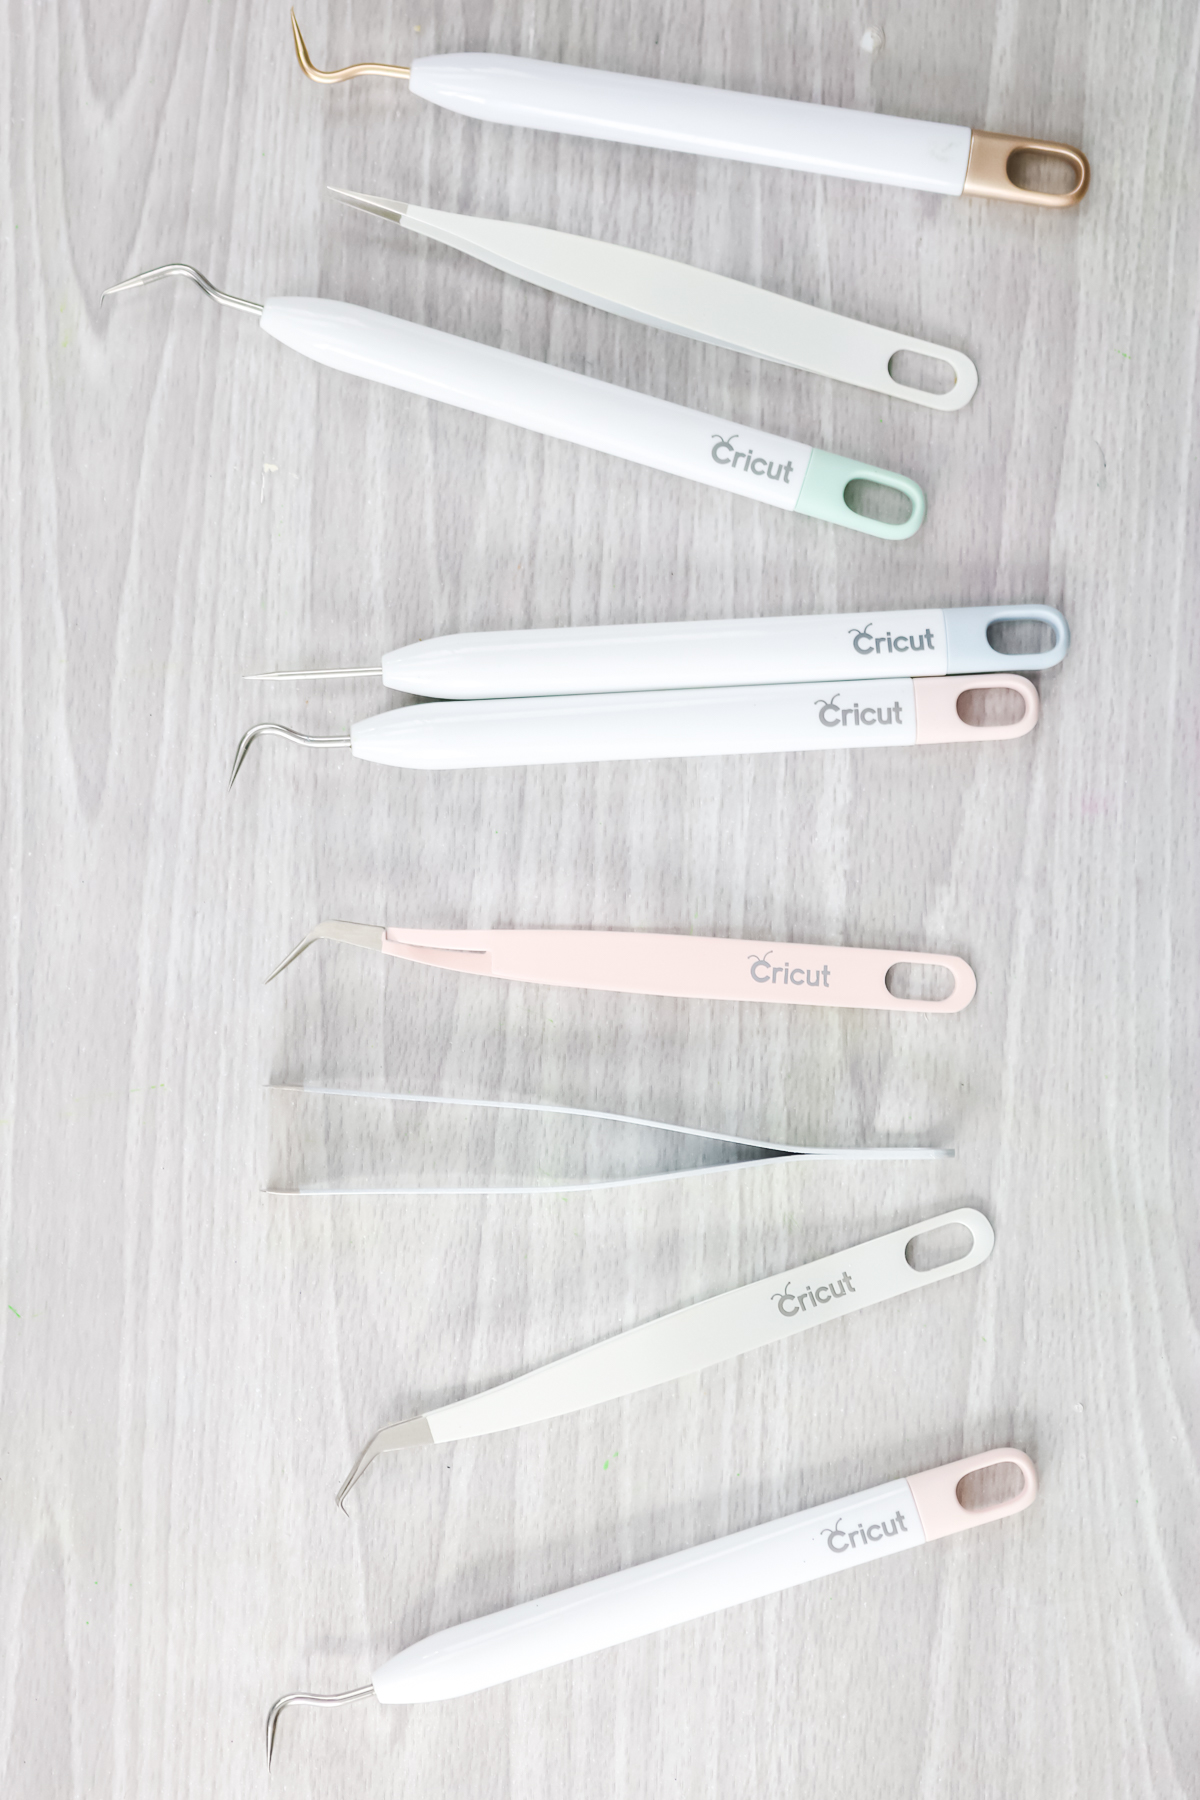
Okay, so I spent a bit of time getting acquainted with the Cricut Design Space. Although overwhelming at first, it is quite basic technology and there really aren’t a ton of options to play around with. I then opened the Amazon box of tools and materials and realized quite quickly that it was a hot mess but had to look past it again to get on with creating.
I found it easiest to visualize my final project by going into the “Make It” view as if I was ready to print. That way, I could see how big it looked and could go back and easily change things that I didn’t like or that didn’t look quite right. I didn’t end up needing that much time to really understand how the program worked (the basics anyway).
First Attempts…
Some advice that I got via Twitter, was to start with a paper to test it. I grabbed some cardstock and decided to help Curtis out, and tried to print #donutstoplearning. I figured it out, and it told me that I would need to do two separate cuts. So, I decided to put two different coloured papers in. It cut great and was fast. It pretty much walks you through the cutting stage, step-by-step. After printing, there were two things that I realized: 1) I chose a font that had little pebble holes throughout it—why? I’m not sure, but I definitely didn’t think that it would try to cut them out, and 2) my brand-new cutting mat was way too sticky!
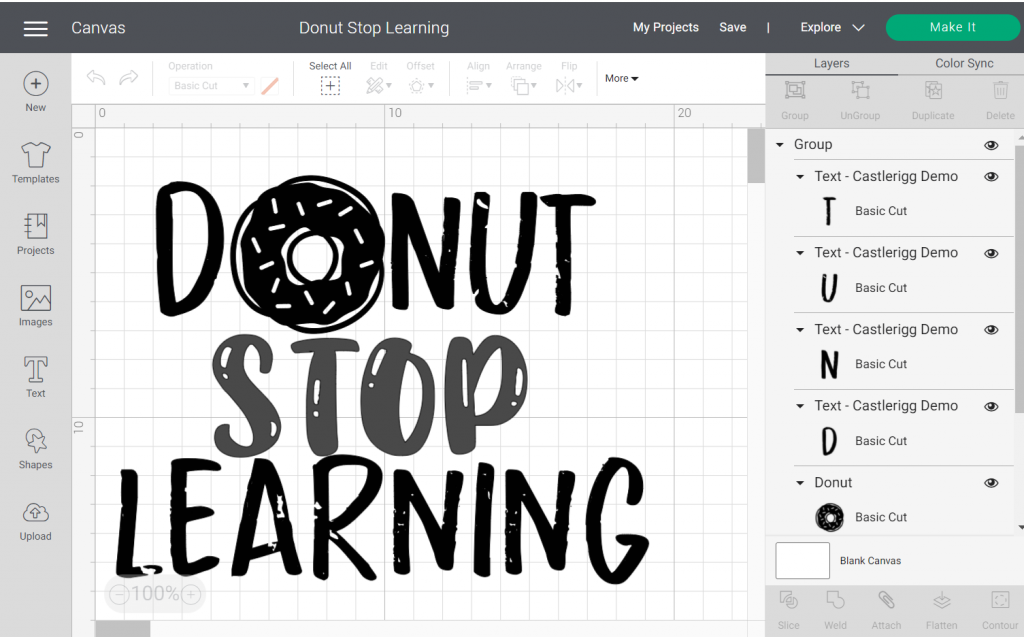
So, although the one font I chose was beautiful, and the other looks like I tried to weed and it was an absolute disaster, I now realize that fonts are important. Weird that I am saying that, as I know this when using a computer, so I have no idea how that slipped my mind. Also, I did some research on the internet because I bought the green mat (as recommended by almost everyone) and I guess this is a common problem with new mats. I learned that you have to season a brand-new mat just a little bit to avoid the mat being too sticky. If you are interested in how to do it, here is one solution. My Cricut community, did you have to do this? Or should I avoid this advice big time?
Even though the mat was too sticky, I tried another project with the vinyl material. I want to make a memory bin for my son with his first and last name on the front. I watched a great how-to video and followed Rachel step-by-step pausing the video while completing the steps on my end. Even though I followed all of the steps and was confident that I was doing it 100%, I realized that this isn’t something that can be rushed through. When pulling away from the excess vinyl before weeding, I pulled it rather quickly and crumpled it up into a ball without even realizing that a letter wasn’t stuck to the transfer paper. Because I didn’t want to accept defeat, I uncrumpled the ball and sifted through the cuttings to find the letter. I am lucky that it wasn’t a total loss, and I was able to salvage it and stick it back to the transfer paper. Unfortunately, I was getting a little bit ahead of myself and printed out the name for the memory bin without having the physical box to put it on. So, with some quick thinking, I stuck the backing from the transfer tape back on to cover the sticky side of the vinyl. I was also told by many that you should try to reuse your transfer tape as much as you can instead of tossing it after each project (unless it’s super gross or not working anymore).
Even though I really like the cardstock option, I am not as drawn to it like the vinyl. Maybe it’s because the first font that I chose wasn’t ideal, and looked like a bad attempt at weeding (can you tell, I’m still not over it), or maybe it’s the satisfaction of labeling things that I want to work more with the vinyl. Whatever the reason, I am excited to keep practicing and learning more. There is definitely no shortage of Cricut tutorials or material out there on the internet and social media to really get a good understanding of how to use the machine at home.
So, let’s be honest here for a second. Did I get to all the projects I had originally outlined above in the last 10 days? Nope. I didn’t. But I did get a good start on things. I read and watched a lot of stuff on how to use the Cricut, as well as tips and tricks, I reached out and made some connections via Twitter and online, I also connected with Kaytie and Courtney in Ontario to get some good starting ideas, and I broke the machine out of the box and played around a bit. Am I 100% satisfied with my first attempts? Also no. But it’s a start and we all have to start somewhere, right? I look forward to getting things organized this week and getting a good handle on the making stages.
Did You Say Hacks?
I am all for hacks when it comes to furniture, organization, or stuff like this. Does anyone like browsing on Pinterest for a good Ikea hack? They’re my favourite, hands down! Anyways, I know some of my classmates have already given me a few hacks, but I would love to learn more. That means if you have them, feel free to share them! Anyways, I did some research about Cricut hacks, and although I find them interesting and I am hopeful they work, please take it with a grain of salt as I have never tried them before (or yet I guess). Anyways, some Cricut making hacks I came across are:
- Use a lint roller to pick up small pieces or other items stuck to your cutting mat,
- Clean your mat with baby wipes, season it if it’s too sticky, and use Easy Tack spray to make it sticky again, and,
- Wrap painters tape around your hand when weeding to stick the small pieces to for easier clean-up.
If Opportunity Doesn’t Knock, Build a Door -Mitlon Berle
I have relied heavily on the people that come around to read my posts (yup, even if you have to as a course requirement). I appreciate each and every one of you, and you have all been vital in my learning, growing, and understanding during this course. I am excited to hear from you! Feel free to answer one, several, all of the questions or leave a general comment. Please do not feel obligated to answer all of them either. Thanks again for helping me on my journey and supporting me through it all.
- How did you get started with the Cricut Craze?
- What were some of the beginning projects you tried? How did that go?
- What helped you become a more proficient user of the design space?
- What Cricut hacks do you swear by? Or what Cricut hacks did you try and would not recommend?
- What are your go to resources or social media accounts for the Cricut?
- What would you like to see more/less of in my blog posts?
- What ways would you like to see my Cricut projects showcased (ie. TikTok video, Tweet, Pinterest, pictures, etc.)?
Great post Kelly! You’ll have to let me know your opinion of the Cricut Design Space as you move along in your learning. I’ve heard and read that the design of the software is similar to some of the options for CNC Routers and 3D Printers. Although the outcome is much different, I know it is usually a balancing act in trying to make software easy to pick up for a new user, but also have enough options available to not have an experienced user looking for more.
I keep saying I don’t need to spend money on another gadget, but your posts are convincing me it may be worth it!
Hey Colton, thanks for popping by. To be honest, so far I have found the design space to be pretty basic. When printing, it tells you what to do step-by-step, and it’s pretty old school in appearance (or so I think anyway). I do have to say that it is a pretty neat machine, and I can see the potential in it. I mean, at first, I was thinking “How much can a person label?” but now I see that there are more functions and uses for this tool. I still have a lot of learning to do, but I think I am getting a fairly good grasp on things! I will have to rely heavily on the people around me though and social media, the internet, etc. to learn more but I am excited and nervous all at the same time!
Back in the day, when scrapbooking was a huge trend, my family had a Cricut. It was a very old one with a couple of cartridges and definitely nothing fancy. I did use it a bit to cut letters for my classroom, but it was more of a pain since it’s very old and doesn’t work well. I had the opposite problem; my mat wasn’t sticky enough!
Your project and this post made me want to buy one! I don’t have any tricks or tips for you, but you helped me realize what I’m missing in my life! I would spend so much time printing and labeling everything in my house and my class.
I’m excited to see what you do and now I might need to check Michael’s for a Cricut 🙂
Megan, thanks for stopping in! I am glad that my post has sparked an interest in you. I am sure that you will be able to pick it up quite easily, as you have some background experience in it (even if it was a different version). It has been pretty exciting, but I also don’t realize how much time it can take at times. It has been a pretty fun learning project, and something that I will be doing in the future. I need to get more creative now, but I am feeling the pressures of school, moving, and life right now. Hopefully this will spark some new excitement for me too! Thanks for checking in!
I thought of you the other day! I was redoing a bulletin board in my room and had to make the lettering myself. I was cursing thinking of all that cutting. That is when the idea of using a cricut to make my letters popped into my head. I thought if only I could bug you to make them for me. Thankfully someone else in our school has a cricut and was able to make them very quickly and easily. Not to mention with perfection compared to cutting with my shaking hand! I love the idea of the memory box. I hope to get on making one for my kids too. What a great way to keep those amazing things from school. I also love the dry goods containers! Such an elegant look!
OMG! Sorry for the late reply, Jocelyn. I am glad that you thought of me! I for sure could have made them for you! I am glad that you found someone else quickly to make them so that you avoided all of that work. It can take so much time doing things by hand, so the Cricut has been great for that. Who would have known that people pay so much money for those memory boxes and now I can save some money and make them myself. I think I have made about 6 of them now. The inside folders take a while to label with the vinyl, but it does look sharp after. I am excited to see what you come up with for your memory box! Please do share! Thanks for popping in, and sorry I am a bit late on the old response!